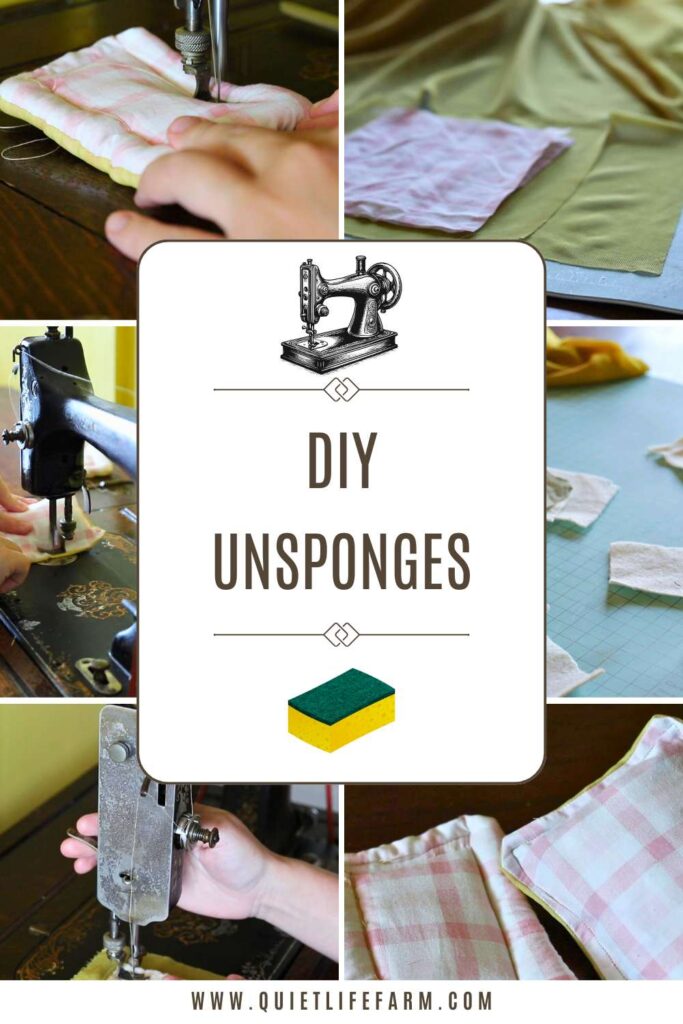
DIY UnSponges: How To Sew Reusable Sponges
How to make DIY reusable sponges, or “unsponges!”
Today, I’ll be making unsponges — two different ways!
These sponges have a scrubby side, a soft side, and an absorbent center.
After they’re used, they can be thrown into the washing machine and used again.
Since they use so little fabric, it’s a great project for scrap fabric.
Their official name is “UNsponges” which I think is so cute!
You can watch me make these sponges in my YouTube video!
Materials
You’ll need COTTON fabric for these sponges.
Microfiber, polyester, and synthetic fleece will not work well for these sponges.
Linen will work for these sponges as well!
For one of these sponges, I used cotton quilting batting for the absorbent center. For the other one, I just stuffed it with scraps of (cotton) fabric.
The scrubby side of this sponge is made of tulle.
You can also use the netting bags used to package onions and oranges at the grocery store as the scrubby part of these sponges.
Another material I think would work very well for these sponges is burlap, and next time I have some burlap I plan to make a bunch of sponges using the burlap for the scrubby side.
Sewing Tulle
My sewing machine really did not like sewing through this tulle.
It wasn’t even the thickness that bothered my machine, and it was pretty thick since I had many layers of cotton quilt batting as the absorbent center of the sponge to sew through.
But something about the tulle made my sewing machine not want to pick up the bottom stitches.
I found when I turned the sponge upside down so that the tulle was on the bottom, my machine was able to sew stitches normally.
So, if you struggle with sewing the “scratchy” part of your UnSponge, try turning it over!
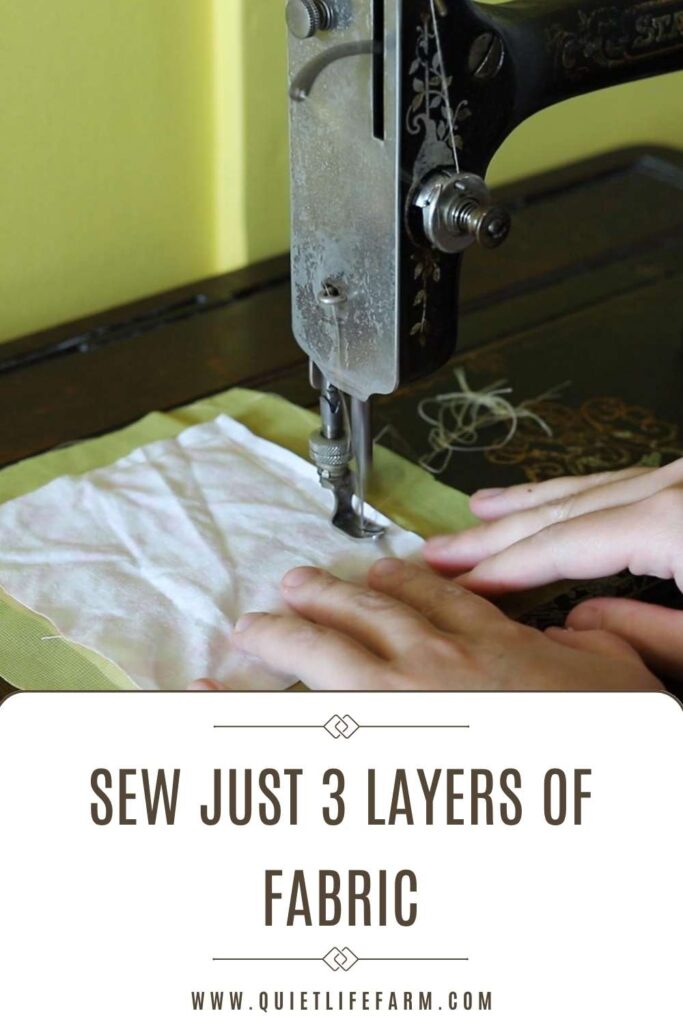
How to Sew Sponge #1
Cut out 2 squares of cotton fabric, 5.5″ x 6″.
Cut out one layer of tulle, about an inch wider on each side than your cotton squares.
Then, cut out several pieces of cotton quilting batting, 5.5″ x 6″.
Place your two squares of fabric right sides together with the tulle in the center, and then lay your absorbent cotton quilting layers on top.
Sew 3 edges of the sponges closed with a 3/8″ seam allowance.

Turn your sponge right side out, with the tulle layer being exposed so your sponge has a “scrubby side” to it.
Fold in your raw edges before sewing closed.
I top stitched around the top of the sponge to hold everything into place a little better. Top stitch about 1 – 1.5″ away from the edge of your sponge.

It was a pretty thick sponge to sew through and looked pretty messy by the end of it.
I decided to try making a sponge a different way, and I liked the second way of doing it much better.
Sponge Style #2
For the second sponge, I only sewed two squares of fabric and one square of tulle.
I started this sponge the same way as the first sponge, except I did not cut out any absorbent quilting layers.
Instead, I just cut out the two 5.5″ x 6″ squares, and one square of tulle that is slightly larger than these squares.
(I cut the tulle larger than the fabric squares to make sure it didn’t shift while sewing, and since tulle is a little “holey”, I didn’t want it to easily come undone.)
I put the layers of fabric right sides together, and put the tulle in the center for a little sponge sandwich, and sewed around and turned it right side out.
It was much easier to turn this sponge right side out. The first sponge was a bit of a pain to turn right side out.
For this second sponge, I stuffed it full of fabric scraps and scraps of leftover cotton quilting batting that are too small to use for anything else.

After I stuffed the sponge, I sewed around it to close it, and to hold everything into place a little better.
I pushed the fabric scraps towards the center of the sponge as I sewed all the way around it to keep it out of the way.

Zero Waste Sewing
I’m going to start saving even my tiniest of scraps for these sponges.
This is the perfect way to have zero-waste sewing.
Those teeny tiny scraps that aren’t good for anything else will now have a very useful, everyday purpose.
Which is the better sponge?

It was really fun to test out these two styles of sponges.
If your sewing machine is finicky with thicker fabrics, I’d definitely stick to sewing these sponges the second way.
I feel like the first style has the potential to have a more polished look with a little practice, but I definitely prefer the second style for how much easier it is to make, and because it has immediately and permanently solved my problem of what to do with all those teeny tiny scraps of fabric.