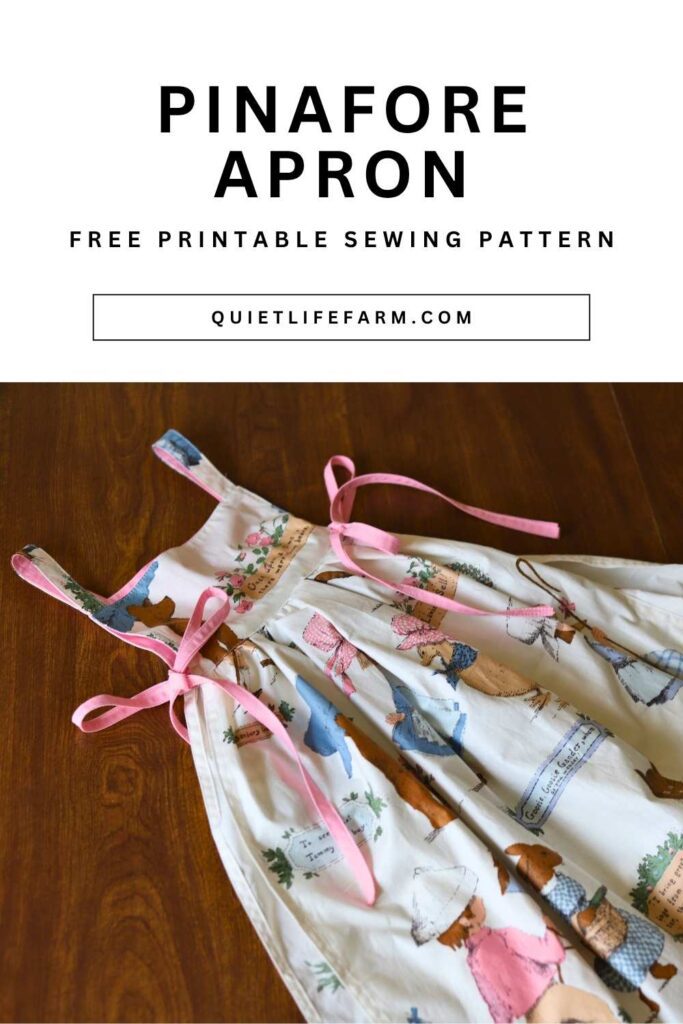
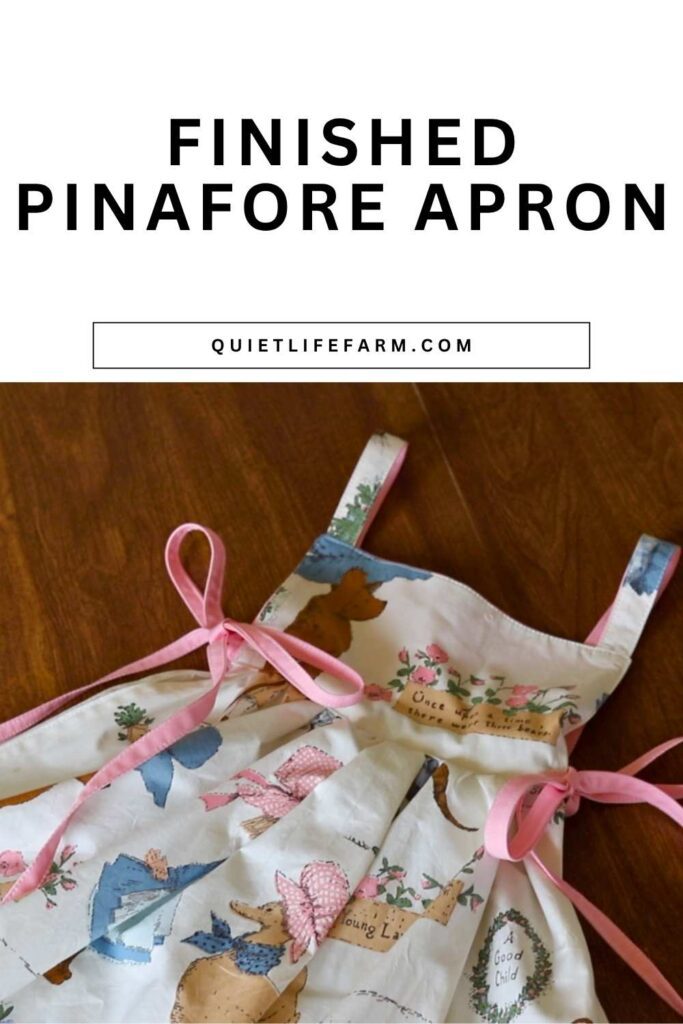
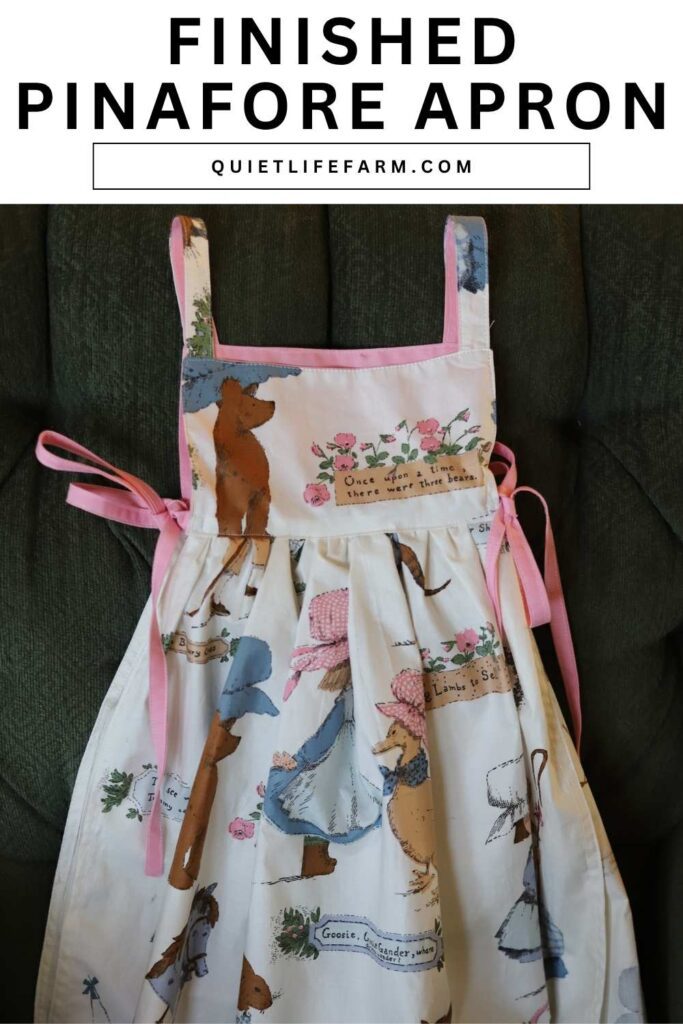
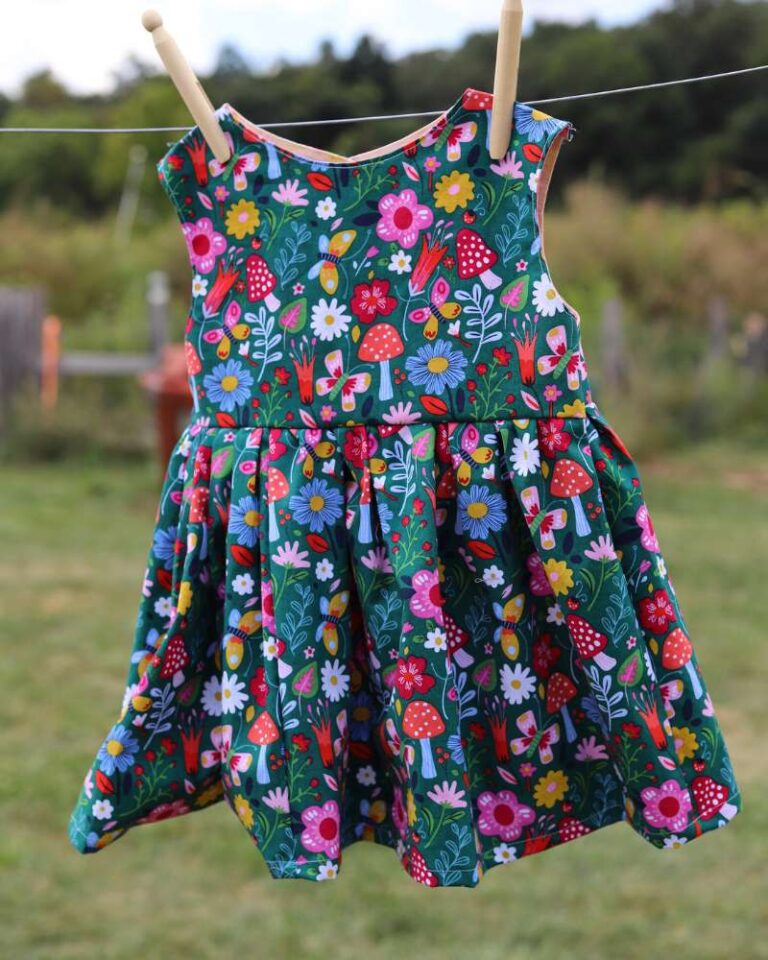
A Child’s Pinafore Apron: FREE Printable Sewing Pattern
Below you will find my sewing pattern for a child’s pinafore apron! The pattern comes in sizes 2T – 10. Print it out, then follow along on the tutorial!
Disclaimer: As an Amazon Associate, I earn from qualifying purchases.
Today I will be showing you how to sew a child’s pinafore apron using my free printable sewing pattern.
This apron comes in sizes 2T – 10, and is suitable for beginners to make.
I’ll show you how to make this apron step by step!
Supply List
To sew this apron, you will need:
- 2 yards of cotton woven fabric
- Small amount of fabric to use as lining
- Sewing Machine
- Hand sewing needle and thread (optional)
- Free Printable Pattern (get yours below!)
Print Your Pattern
Print your pattern by using the form below.
The free PDF will be sent directly to your email inbox!
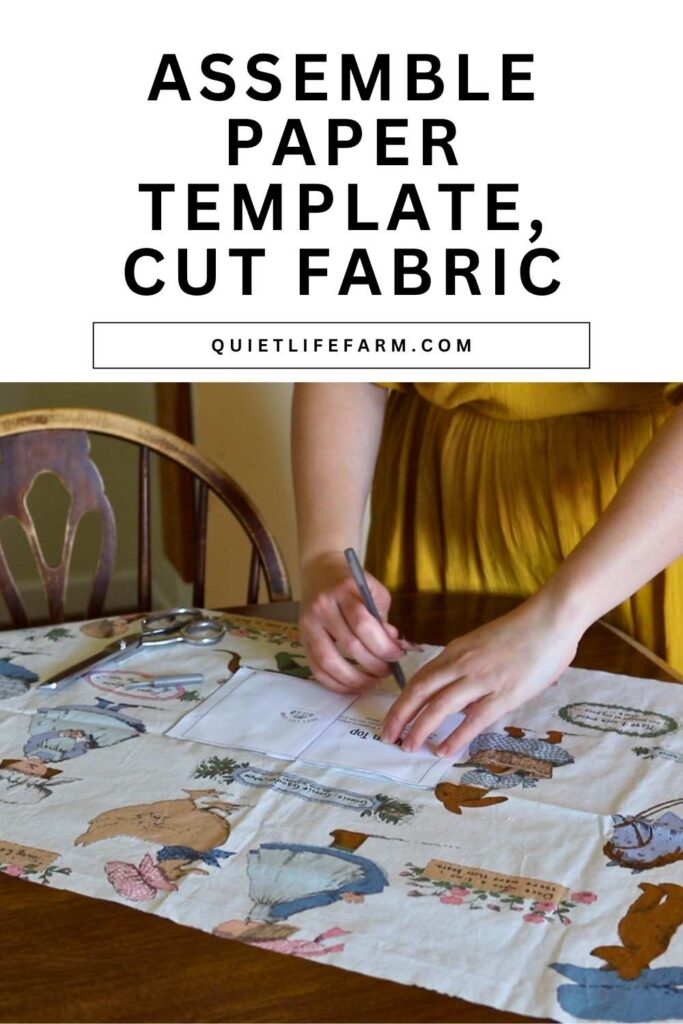
Assemble your pattern as directed, and cut out your pieces of fabric.
Please note that there are no skirt pieces included in the printable pattern, but a sizing chart for how to print out the skirt pieces (they’re just squares – it would be a waste of paper to include them).
Please also note that for the skirt pieces I photographed in this tutorial, I used the length measurements, but just cut to the width of the fabric for an extra frilly skirt! You can absolutely just do this, too!
Video Tutorial
If you’d prefer to watch a video tutorial of how to make this pinafore, you can do so on my YouTube channel!
Video Tutorial Coming Soon! Stay Tuned!
Cut Your Fabric
For the top of the apron, you will want to cut out two pieces of your main fabric, and two pieces of your lining.
For the shoulder straps, you will also want to cut out two pieces of your main fabric and two pieces of your lining.
Cut out 4 side ties for the apron, and cut out a front skirt and a back skirt for your apron.

For the skirt, please see the sizing chart. OR, you can just use the chart for the height of the skirt, but keep the width of your fabric for an extra frilly skirt! (most yardage is around 44-60″ in width)
Sewing The Side Ties
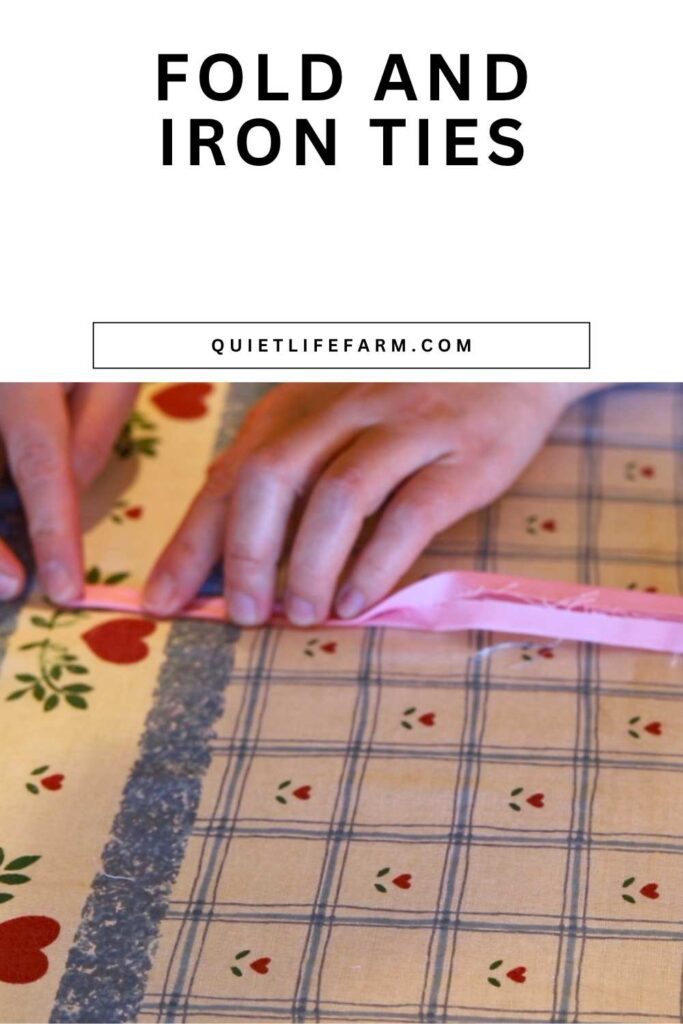
You will want to make 4 ties for the sides of this apron.
To make the ties, fold the short end of the tie, then fold each of the long edges towards the center.
Fold in half one more time, then iron into place.
This will conceal all of your raw edges.
Iron your ties flat.
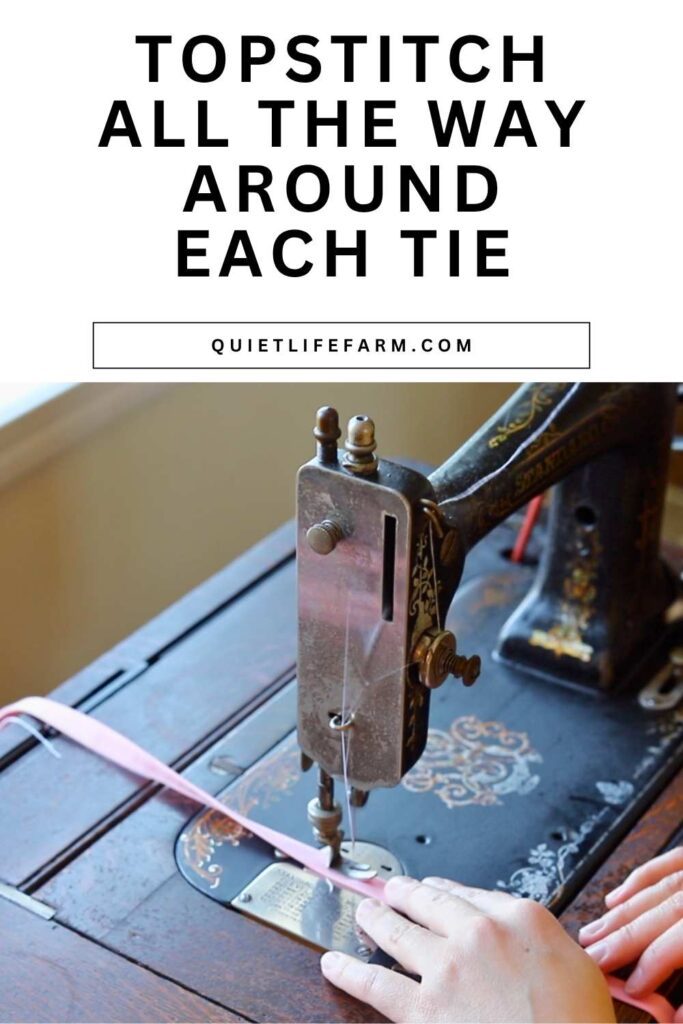
Then, topstitch all 4 sides of the tie, going around each tie in a long rectangular shape.
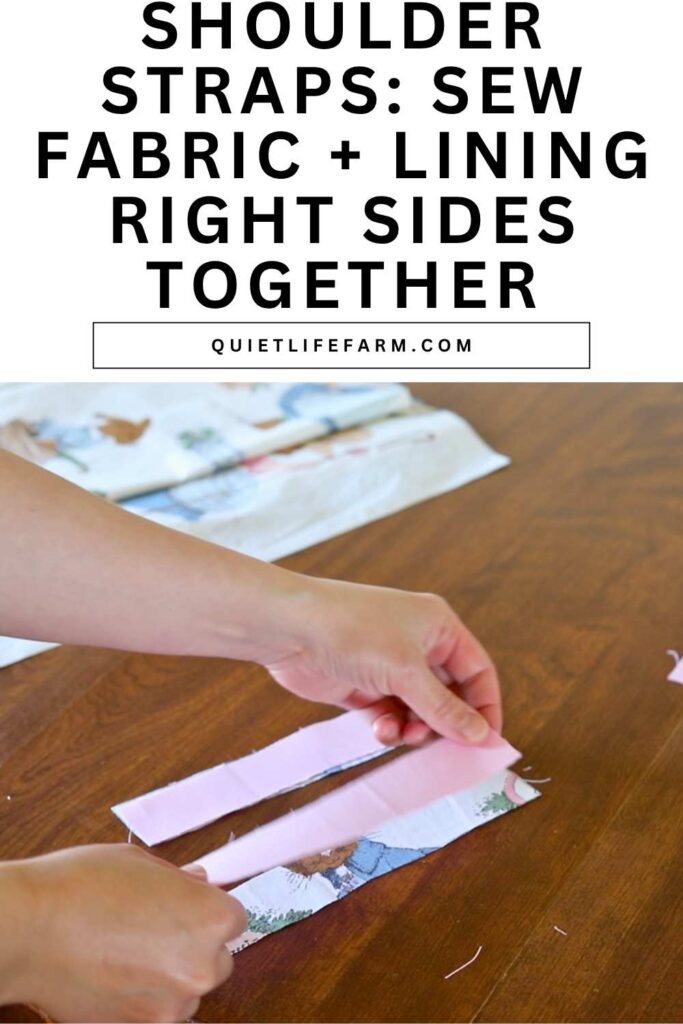
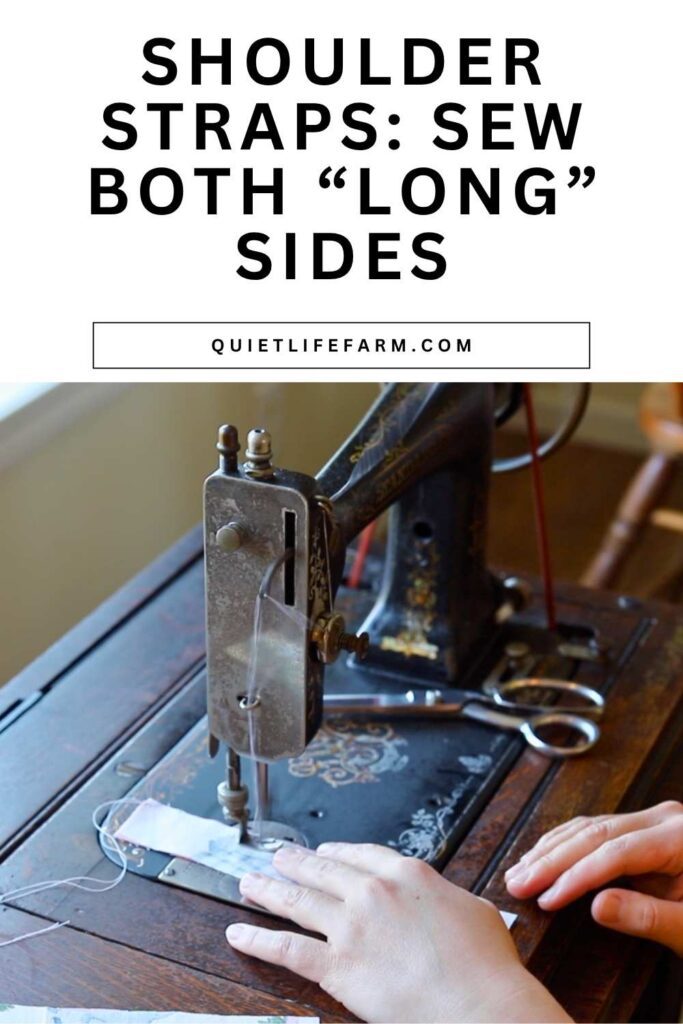
Sew The Shoulder Straps
To make the shoulder straps of the apron, lay the main fabric and lining right sides together, and sew the long sides only, leaving the short sides open.
Turn out each shoulder strap and iron flat.
Then, topstitch each shoulder strap right at the very edge of the straps.
Sew The Top Apron Front
Now it’s time to sew the top apron pieces.
First, make a sandwich with the shoulder straps and the front apron pieces, putting the shoulder straps in the middle, and the front top apron main fabric and lining right sides together.
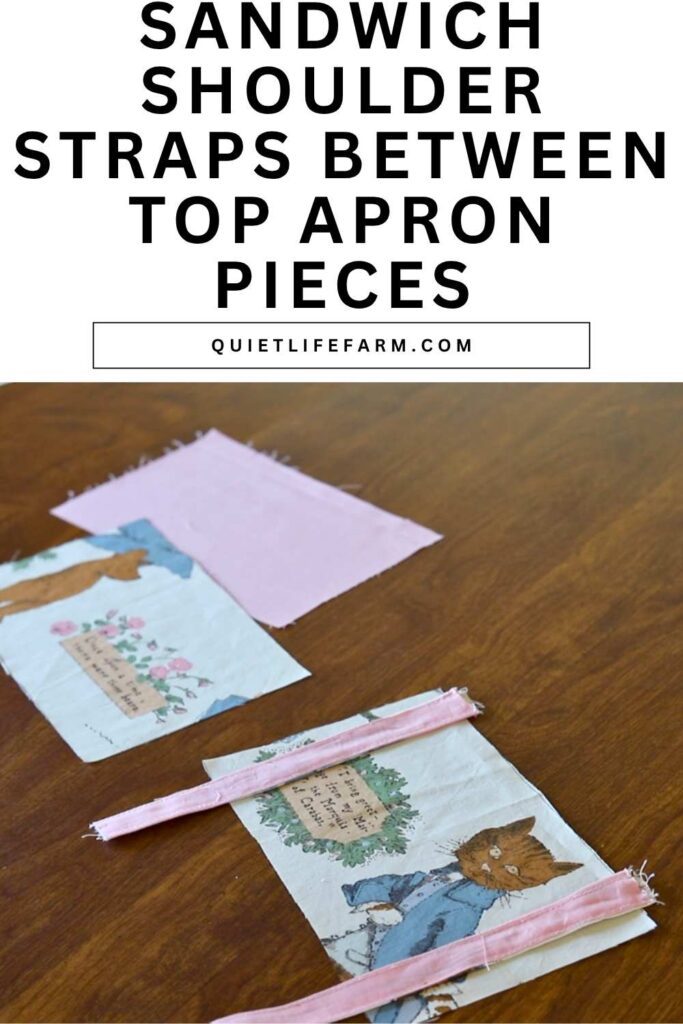
The shoulder straps should be about ½” away from the outer edge of your apron, and it’s okay to lay them just slightly higher than where the top of the apron front lays.

Pin everything into place.
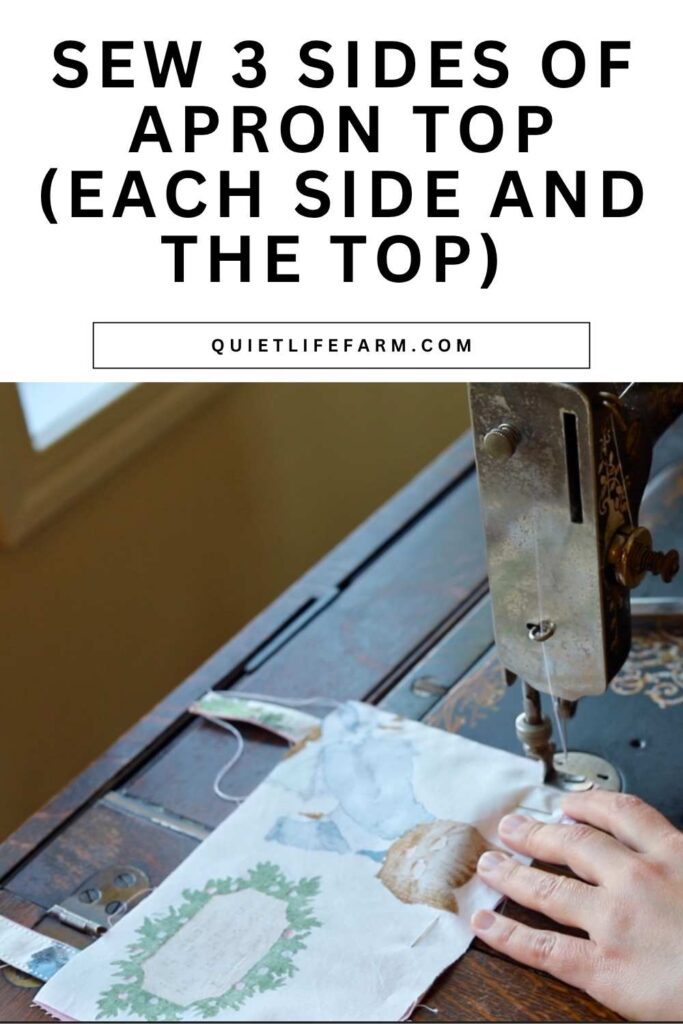
Then, with a 1/4” seam allowance, sew the sides of the apron front and the top of the apron front, being careful to not accidentally sew the sides of the shoulder straps down.
Clip into your corners, making sure you do not cut into your stitches.
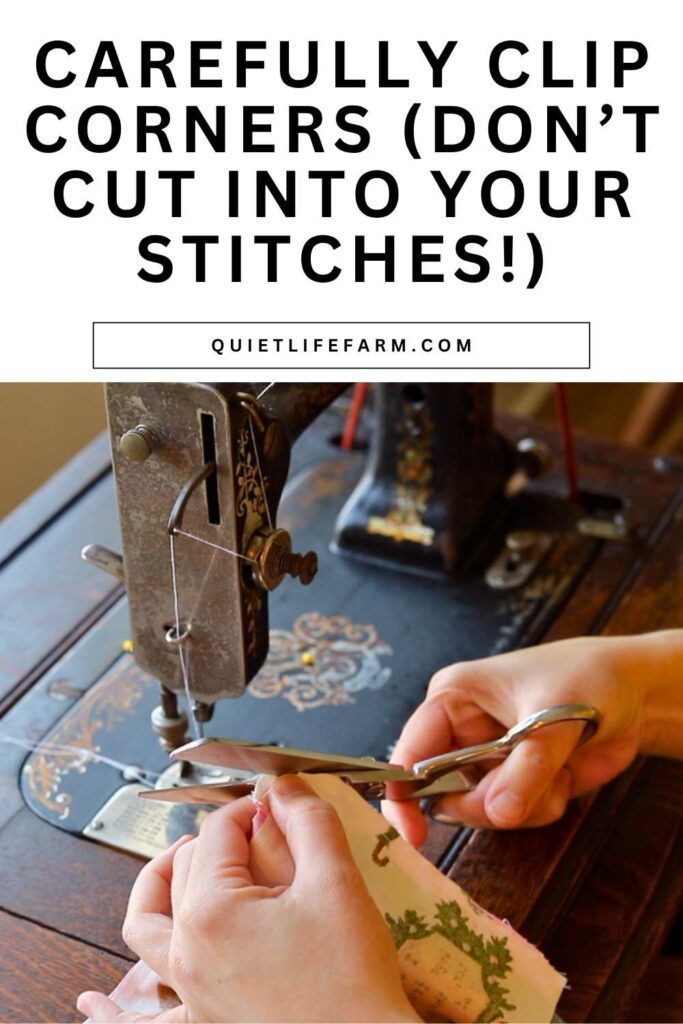
Turn everything right side out.
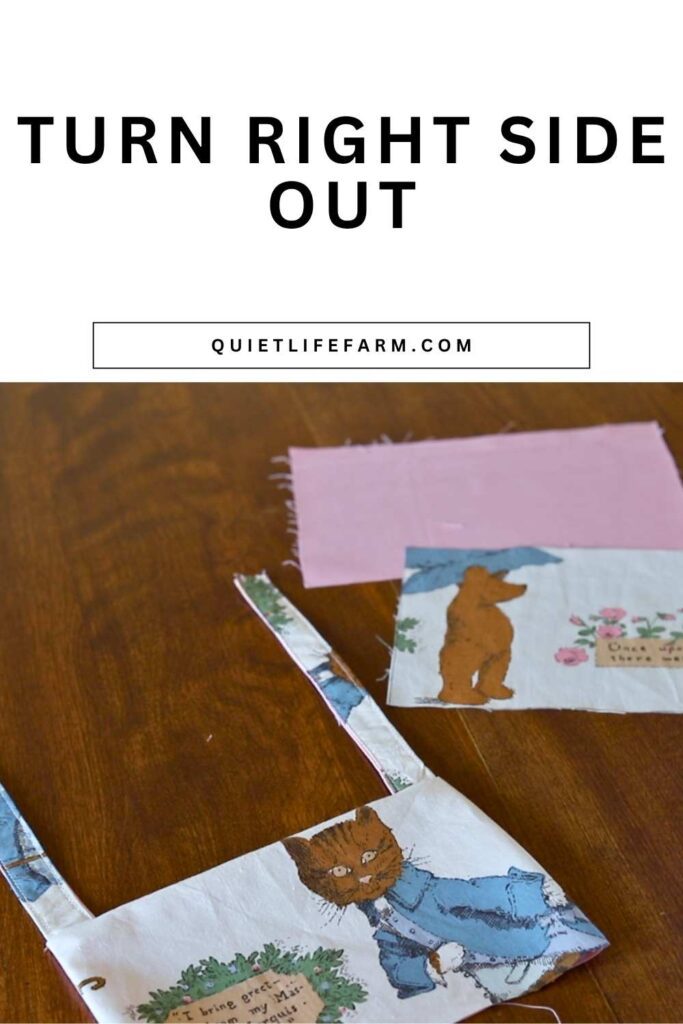
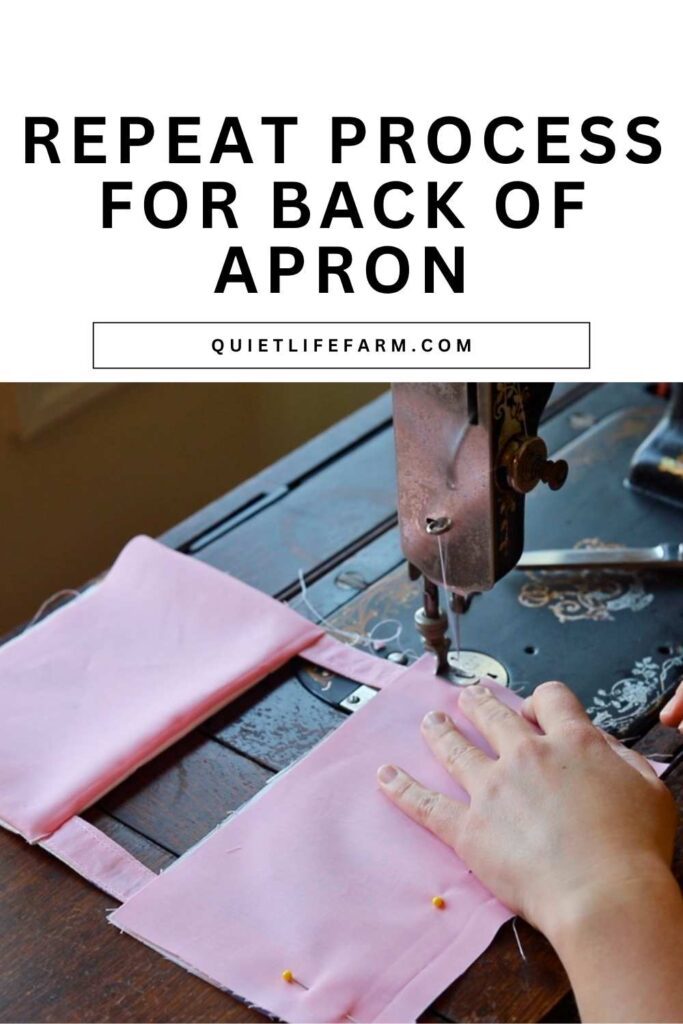
Sew The Top Apron Back
To sew the back of the apron to the straps, sandwich the pieces together between the straps just like before, this time on the other end of the straps.
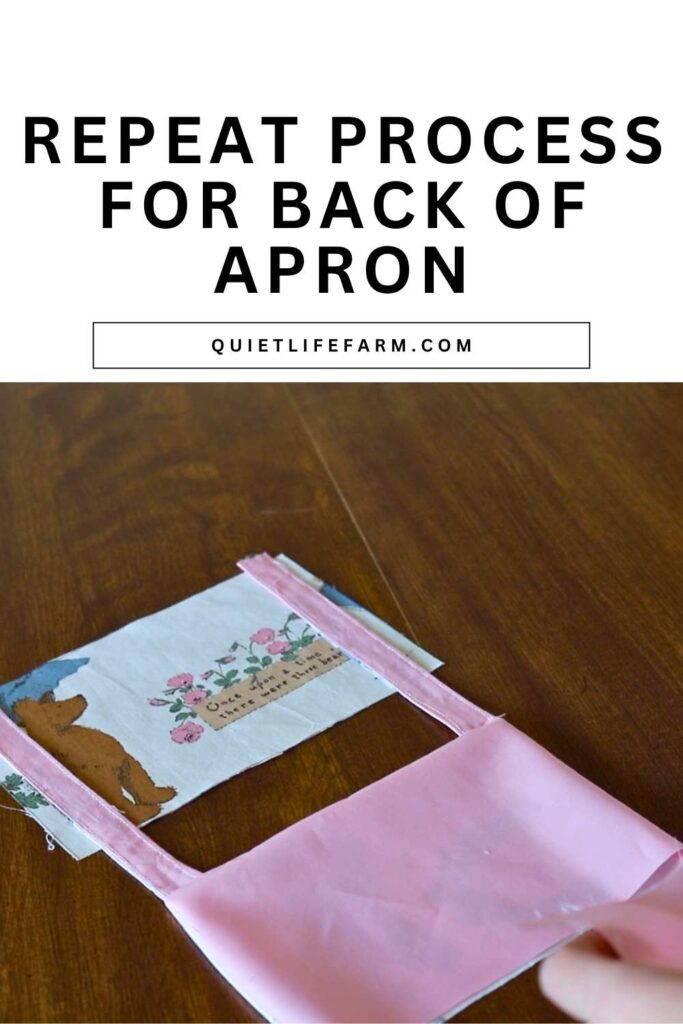
Sew the sides and the top just as you did with the front of the apron.
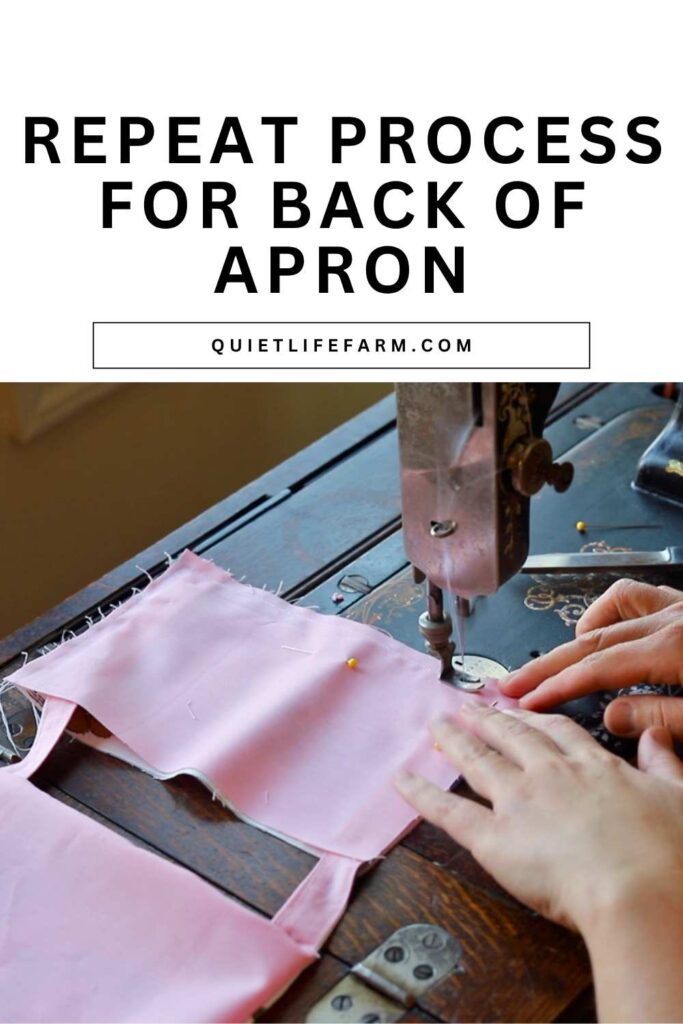
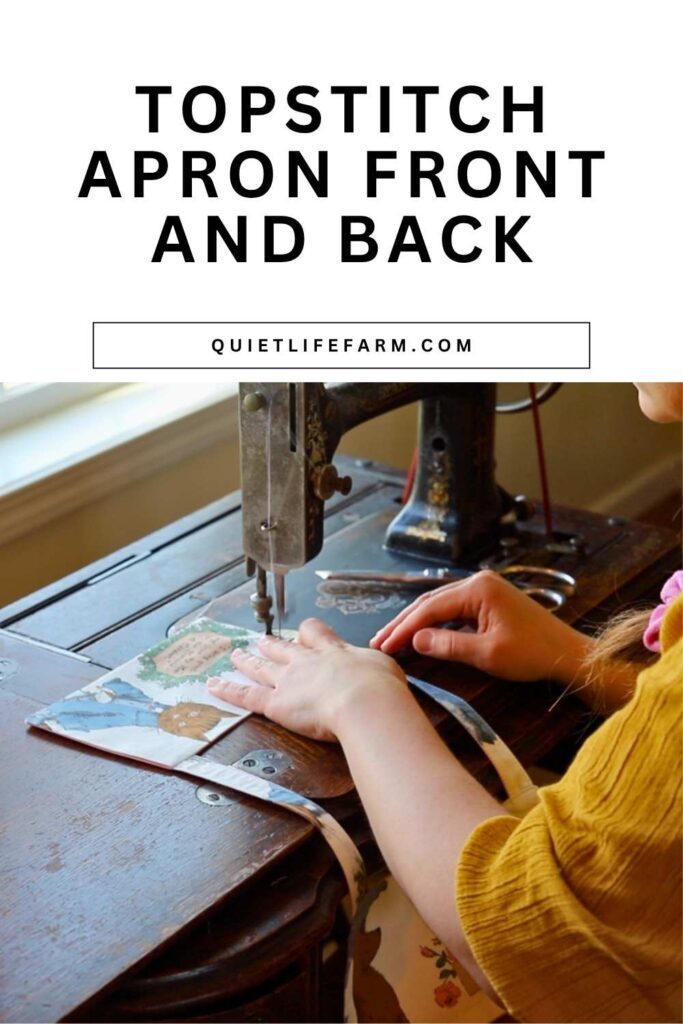
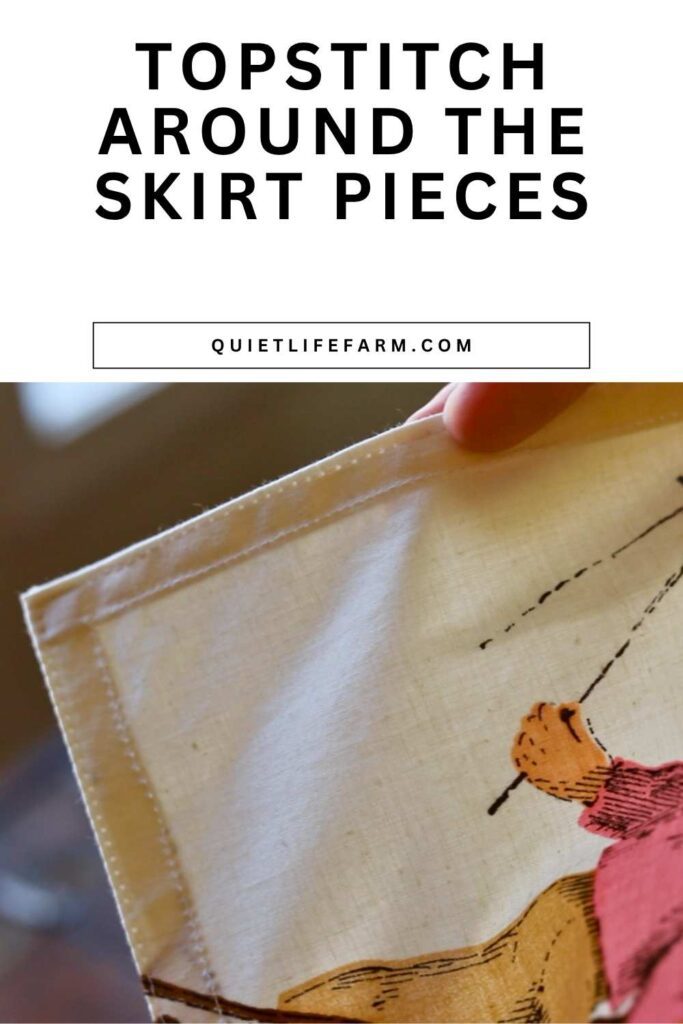
Topstitch around the front and the back of your apron — ONLY the sides and top of the apron — leave the bottom of the front and back pieces OPEN, and do not topstitch the shoulder straps a second time.
Sew The Apron Skirt
Next, we’ll need to hem 3 sides of the skirt pieces.
We’ll need to hem the bottom of each skirt piece, and the sides.
The top of the skirt does not need to be hemmed.
The best way to hem the skirt is to iron your hem into place first.
Fold each edge over two times so that the raw edges are enclosed inside the skirt.
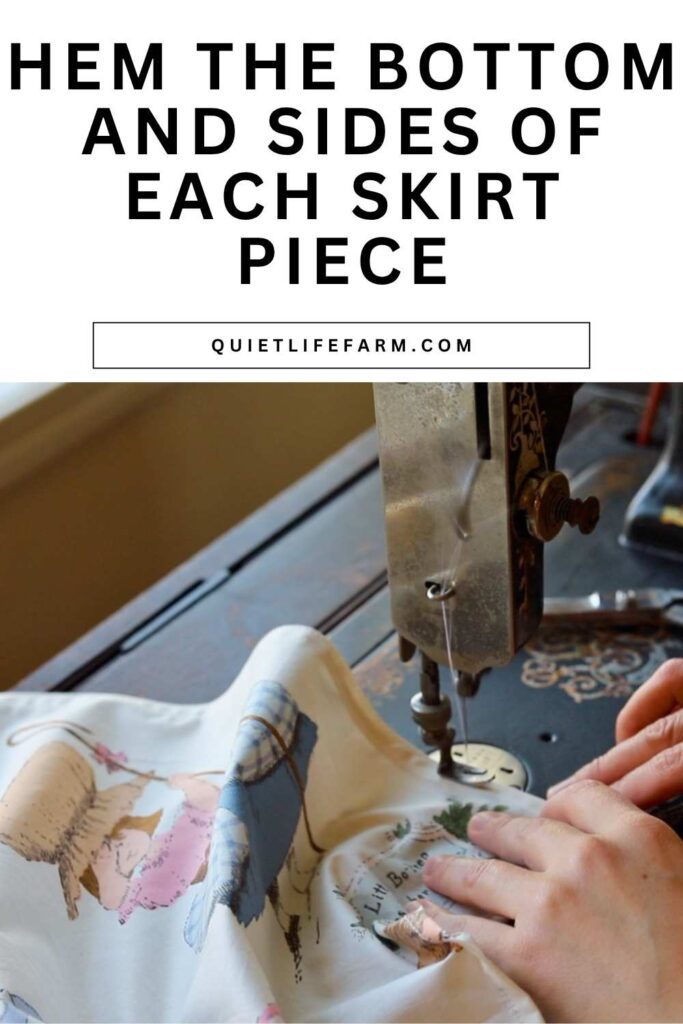
After giving each hem a good iron, take the skirt pieces over to your sewing machine and sew the hems into place.
First, topstitch the edge of the fold of the hem.
This should be roughly 1/2” away from the edge of your fabric.
Then, topstitch a second time around your hems, right at the edge of your fabric.
When you make your topstitches, a little trick you can use is to adjust your stitch length to be slightly longer to help your stitches look more straight.
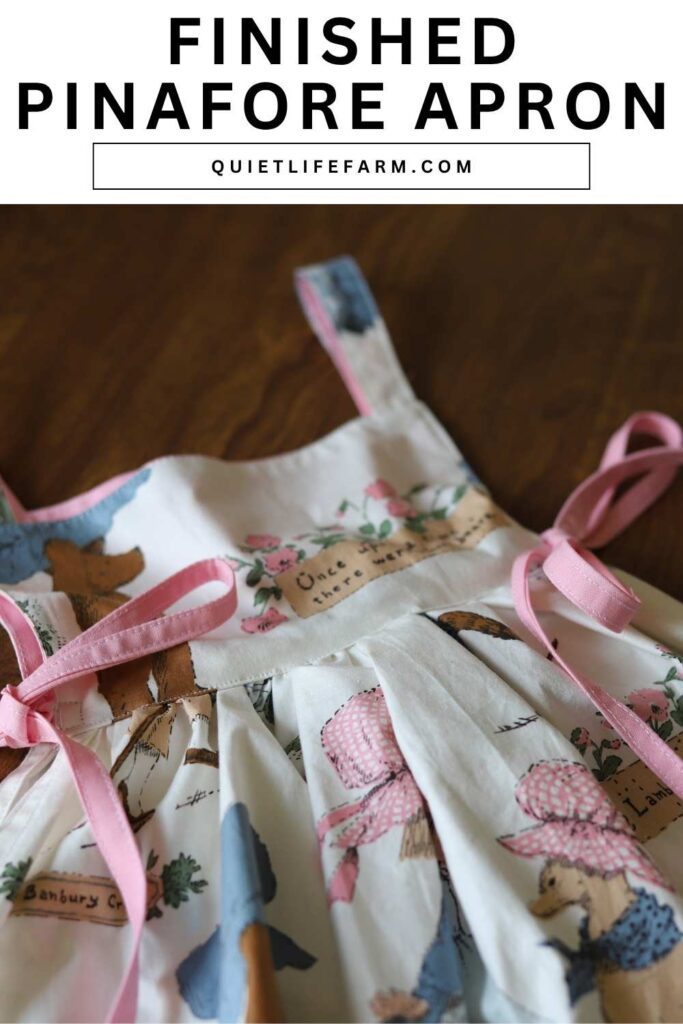
Sew Skirt To Apron Top
Use a basting stitch to gather up the top raw edge of each apron skirt.
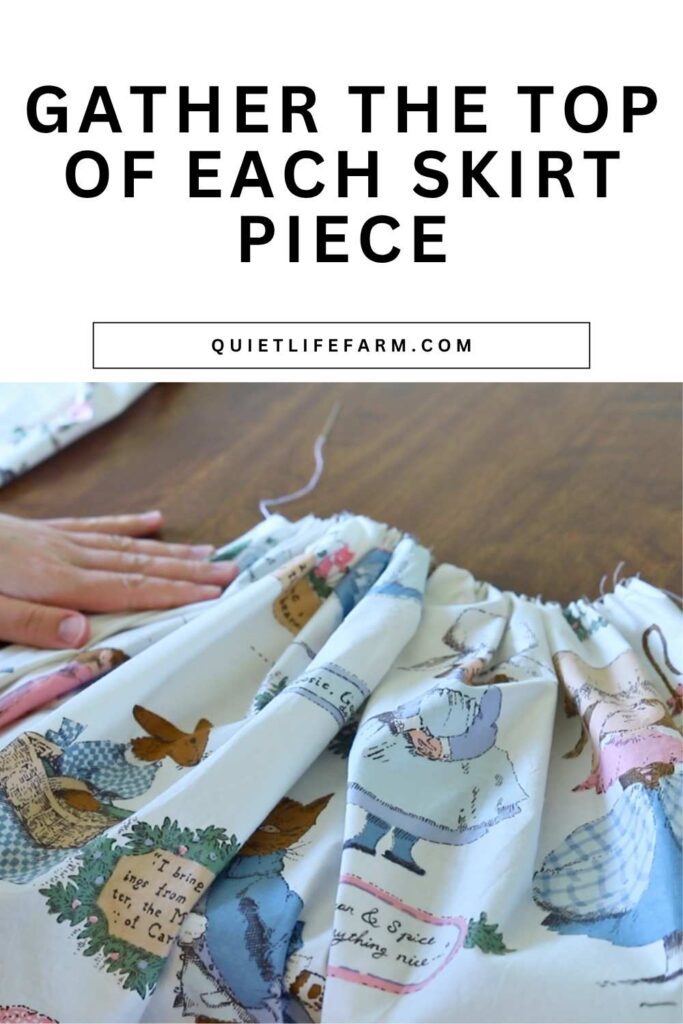
Then, you will sew one apron skirt to the front of the apron, and the other to the back.
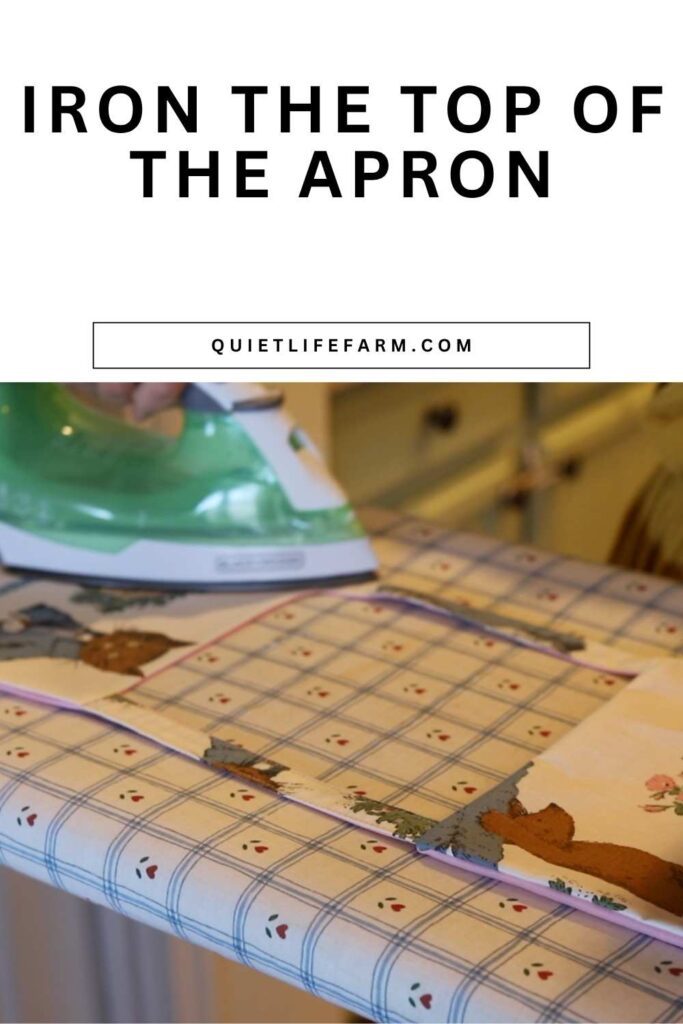
To do this, you will first want to fold the remaining raw edges of the top of your apron to the inside of the apron.
Iron flat to hold these hems into place.
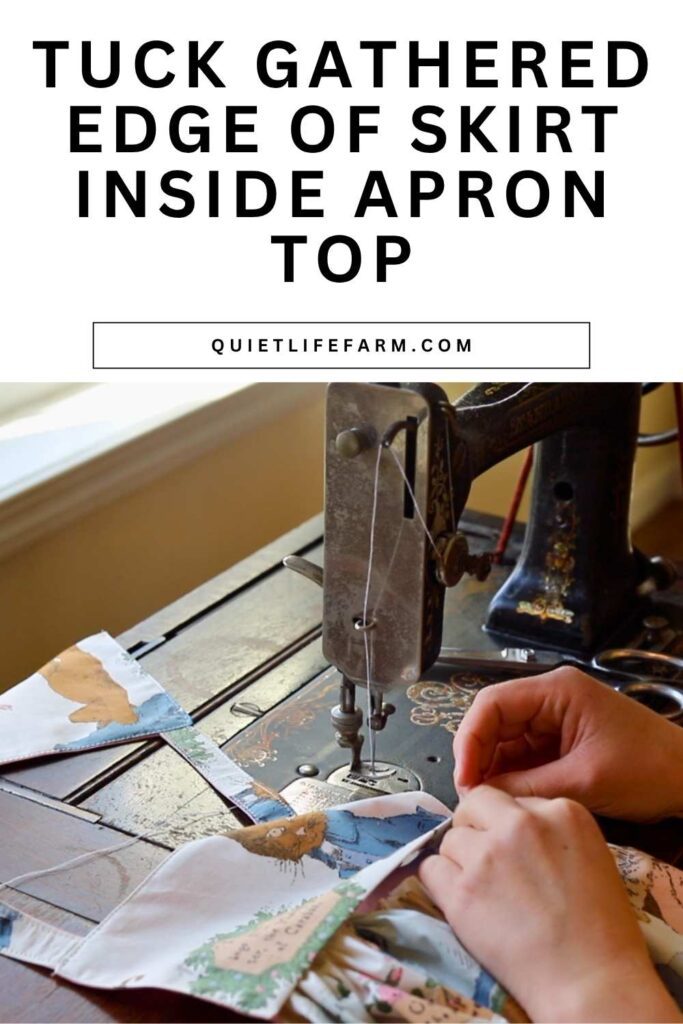
Then, you will adjust the gathered raw edge of each apron skirt, and tuck it inside the apron front and the apron back.
You’ll want about 1/2” of the gathered portion of the apron inside the apron tops.
Sew into place.

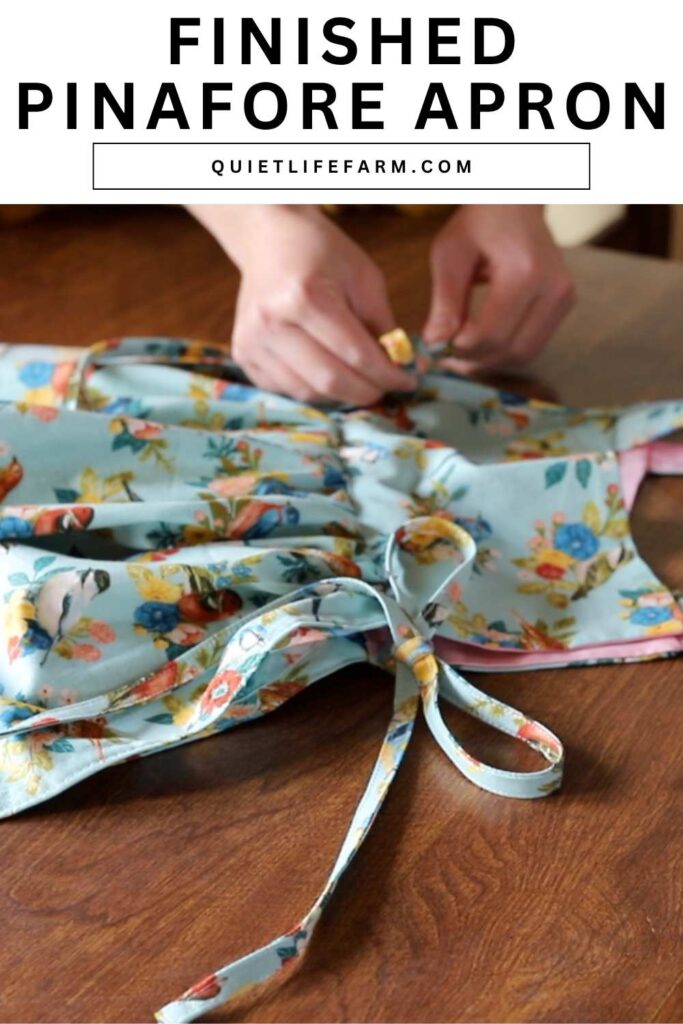
Sew On All 4 Ties
Lastly, sew the ties for the apron into place.
You’ll want them to sit at the very bottom of the top pieces of the apron, so that the apron will tie closed at the sides of the body.
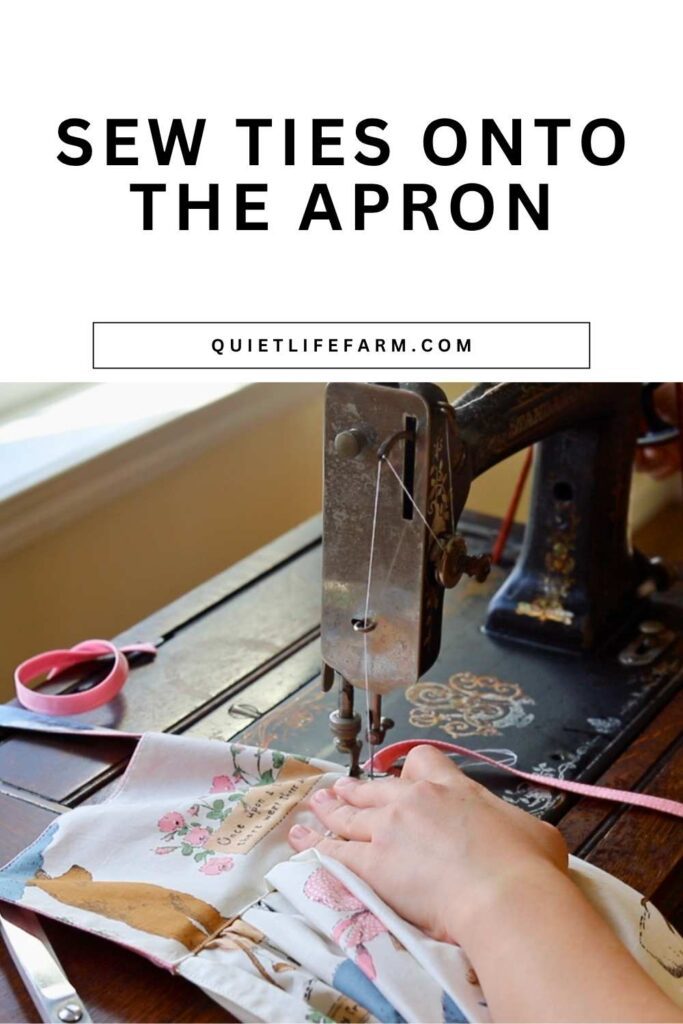
Sew each tie securely, sewing a little square around each tie.

Thank you for your pretty pinafore pattern. I have 4 grandies who will love one or even two.
From Robyn in Australia.
Thank you for your kindness, and for blessing your grand babies with handmade gifts! 💗
I would like the cute pinafore sewing pattern. I’m not sure where to get it. Thank you!
Thank you for your comment! You can get the pattern using the form titled “Get your free pinafore sewing pattern here!”
I hope this helps!
Thank you for sharing both pattern and tutorial.
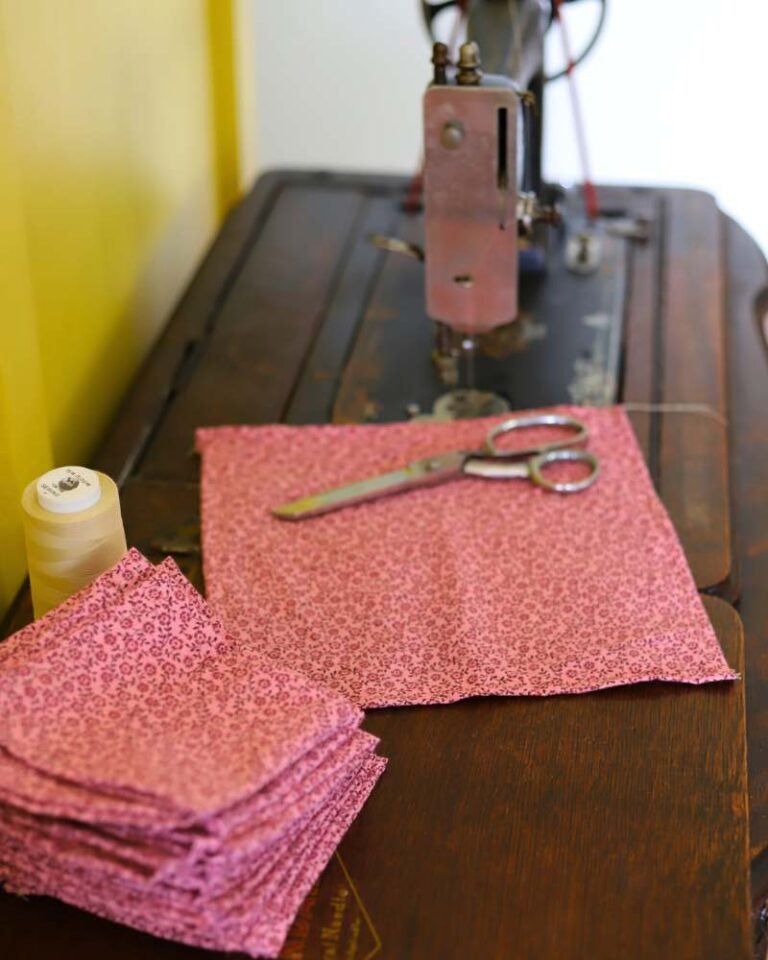
I just love the printed fabric you used. It really “makes” the dress. Where can I get a similar themed fabric?
Thank you for your kindness! Unfortunately, I found the fabric at a thrift store so I don’t have a link to share for it! It’s definitely a vintage print.
Please help! All I find on your page are the statements
“Print Your Pattern
Print your pattern using the form below”
I cannot find the actual form or any link to click on in order to print the pattern. Where, exactly, is the correct place? Can you please point me in the right direction?
Thank you,
Robin Crawford
Hello, Robin! I’m so sorry you had difficulty finding where to get your pattern! There is an email form so that the patterns can be sent automatically through email on each page. I have recently had a reader tell me that they found that Firefox browsers prevent the email forms from displaying for some reason…. I haven’t checked this, but perhaps in the future you can try using something such as Chrome! In the meantime, I’ve emailed you the patterns you’ve requested. Check your “promotional inbox” if you don’t see them!