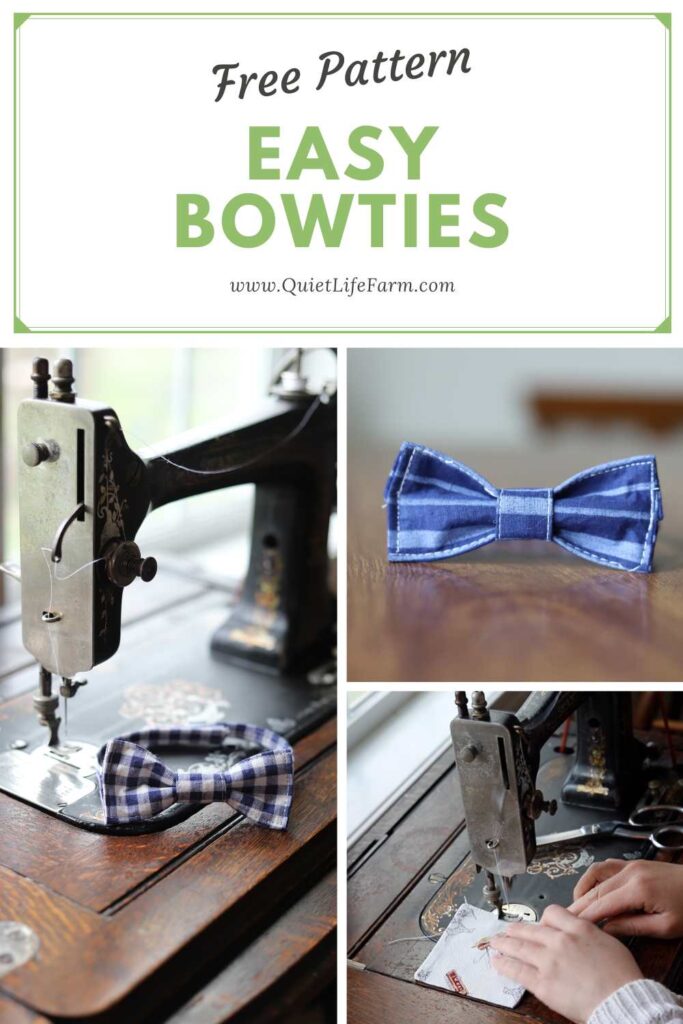
How To Make A Bow Tie: FREE Printable Pattern
Here’s how to sew a bow tie! This pattern comes in a child’s size and a toddler’s size.
Disclaimer: As an Amazon Associate, I earn from qualifying purchases.
Below you will find my FREE sewing pattern for making a bow tie!
These bow ties come in a size for children and a size for toddlers.
They are adjustable with velcro, so there is no specialty hardware needed!
This is a FREE sewing pattern that can be PRINTED.
The pattern is suitable for beginners.
I have a fully photographed step by step tutorial below, and I also have a video tutorial for this pattern.
NOTE: Unless otherwise noted, everything is sewn with a 1/4″ seam allowance, which is included on your printable pattern
Supplies Needed
To make these bow ties, you will need:
- Woven fabric (NOT stretchy knit fabric)
- Featherweight Fusible Interfacing (yes, you really do need it and it can be found here!)
- Velcro
- Scissors
- Hand Needle + Thread (there is a very tiny amount of hand sewing needed)
- An Iron
- Sewing Machine
Print Your Free Pattern
To print out your free pattern, fill out the form and it will be instantly emailed to you!
Be sure to print your pattern at 100% scale.
Iron your fabric before cutting out your pattern.
Use your pattern to cut out your fabric and your interfacing.
You will need one piece of interfacing for each piece of fabric.
Video Tutorial
To watch a video tutorial for this sewing pattern, you may do so here:
Iron Your Fabric + Fuse Your Interfacing
To make the bowties, you’ll first want to iron fusible featherweight interfacing onto each of the pieces.
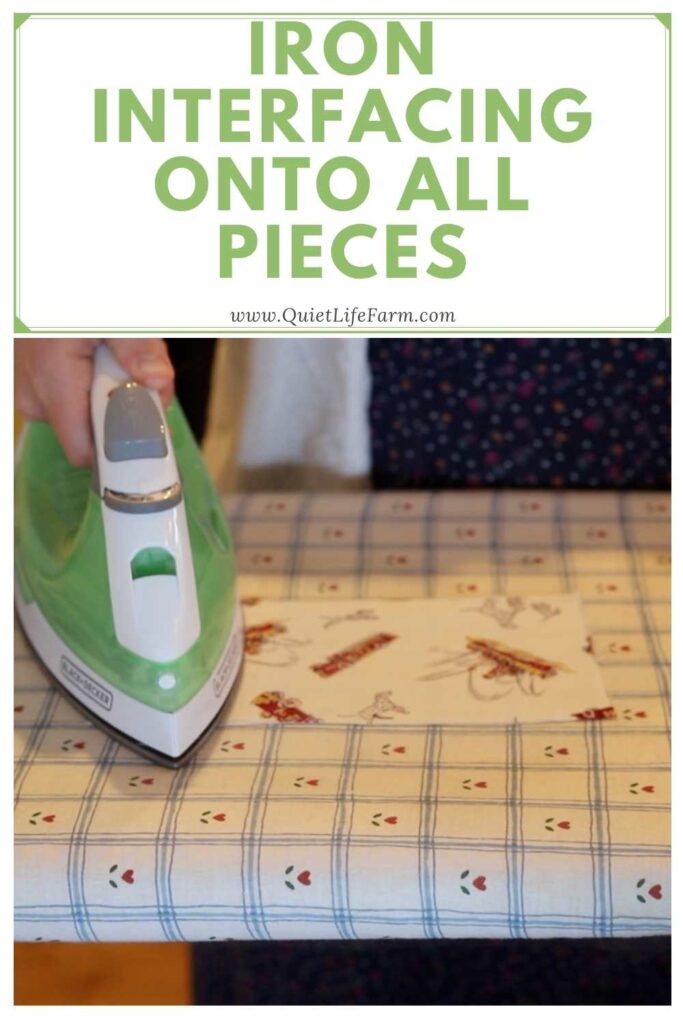
The bumpy side of the interfacing has the glue on it – make sure this side of the interfacing is facing the wrong side of your fabric.
Use the iron to sort of pat the interfacing into place, before flipping your fabric over and giving it a good iron on the right side.
Sew the Bow Tie
Next, fold the bowtie right sides together, leaving a little opening in the center of the bowtie.
IMPORTANT: It’s important that the opening of your bow tie is at the TOP of your bowtie. So if your fabric has a pattern that you don’t want to be upside-down on your finished product, make sure you leave your opening on the part that is at the TOP of your fabric design.

Clip the corners of the bowtie, being careful not to cut into your stitches, and then turn the bowtie right side out, carefully poking out all your corners and folding your remaining raw edge inside the bowtie.
Iron again!
The more you iron, the better your bow tie will turn out!
Iron the bowtie flat, and sew the opening of your bowtie closed.
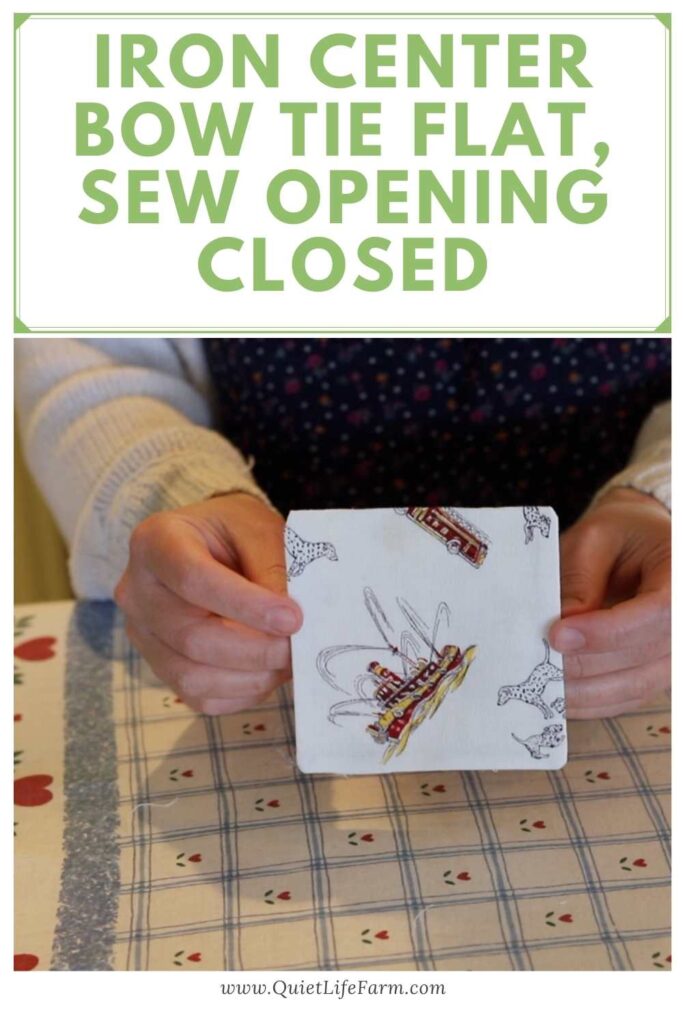
The opening should be at the top of your bowtie.
You do not want to topstitch the sides of your bow tie, otherwise you will be topstitching this part twice in one of the next steps.
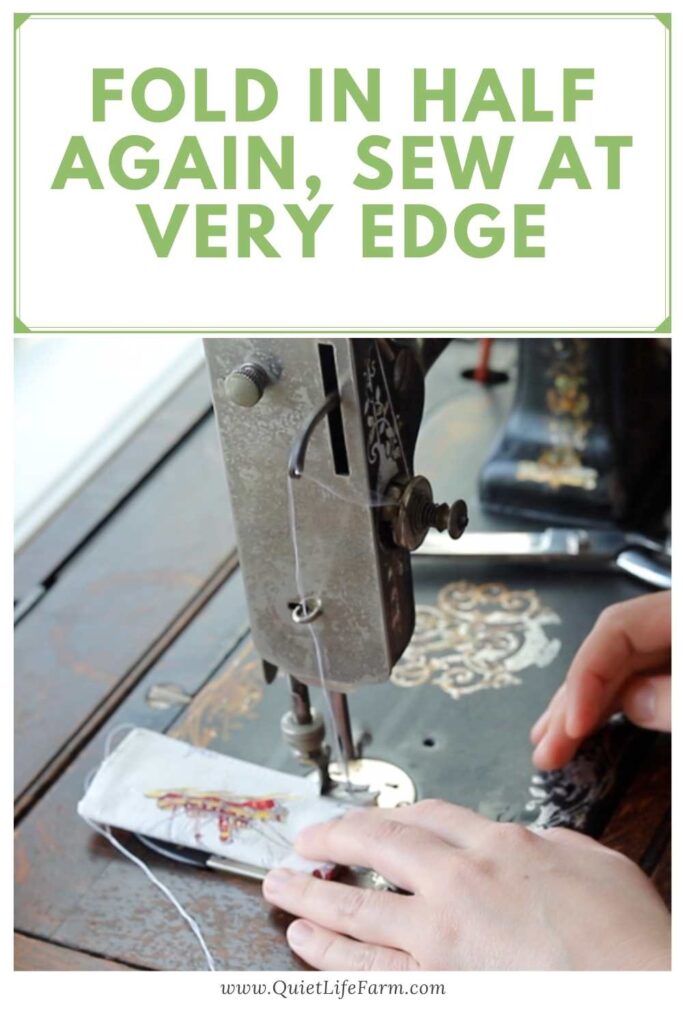
Sew The Bow Tie a Second Time
Fold the bow tie in half, and sew close to the edge to hold in place.
Flatten out your bowtie, keeping the seam in the center back.
You’ll also want to fold the center of your bowtie in half and sew 2 of the edges, leaving one edge open.

Turn the center “tie” of your bow tie out.
Something such as the eraser end of a pencil is helpful for this part.
Iron everything flat.
Fold in the raw edges and top stitch all the way around.

Making The Neckband
To make the part of the bowtie that goes around the neck, fold the short end in, then each of the long side pieces towards the center, and then fold the neckpiece one more time in half.
Topstitch all the way around the neckpiece in a long, thin rectangular shape.

Putting It All Together
To assemble the bowtie, fold the center of the bowtie, lay the neckpiece in the back, and use the tie of the bowtie to hold everything into place while you hand sew the center tie in the back.
You can use a whip stitch or a blanket stitch to hand sew the back of the tie into place.
Cut a piece of velcro in half so that it fits the neckpiece.

You’ll want it to be about 1-2″ long, depending on how adjustable you want your bowtie to be.
Sew a rectangular shape to attach the velcro to the edges of the neckpiece.