Fillable Carrot Fabric Easter Egg: Free Printable Sewing Pattern!
These adorable little carrots can be filled with Easter goodies! The pattern comes in two sizes, and is FREE to PRINT!
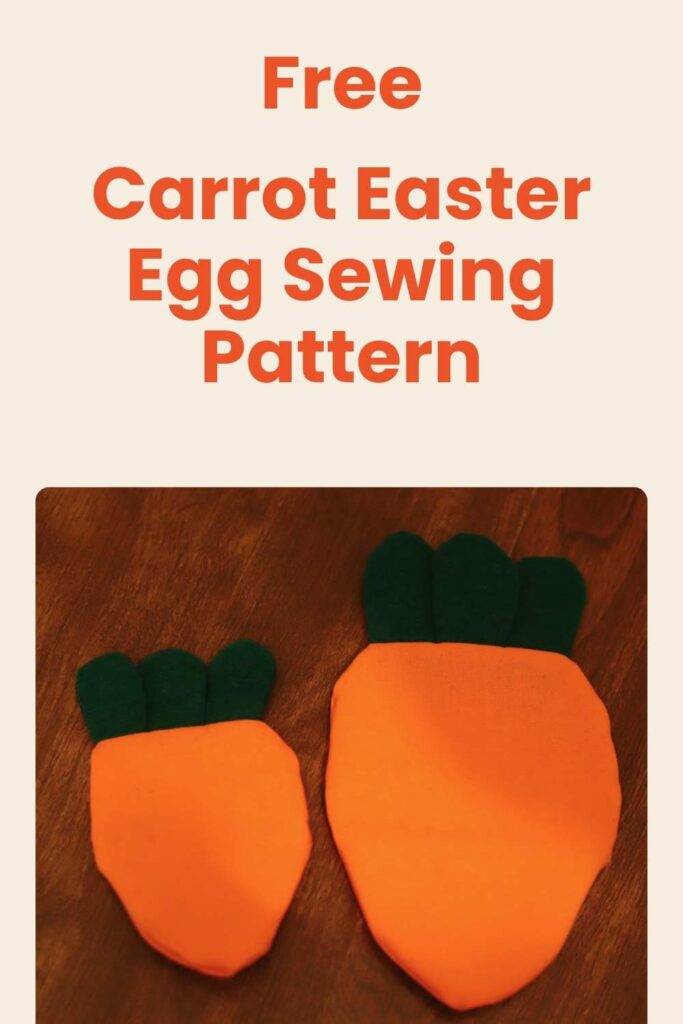
For this year’s reusable Easter Egg sewing pattern, I’m sharing with you some carrot Easter eggs!
Our family loves reusable fabric Easter eggs and has been using them for years.
Each year I like to add a few new fabric Easter eggs to our collection. This year, I made some carrot eggs, and I’m happy to share the pattern I made for them with you!
This is a very easy sewing project — these “eggs” are quick to make!
The eggs have a little opening on the back so that little Easter treats can be slipped inside.
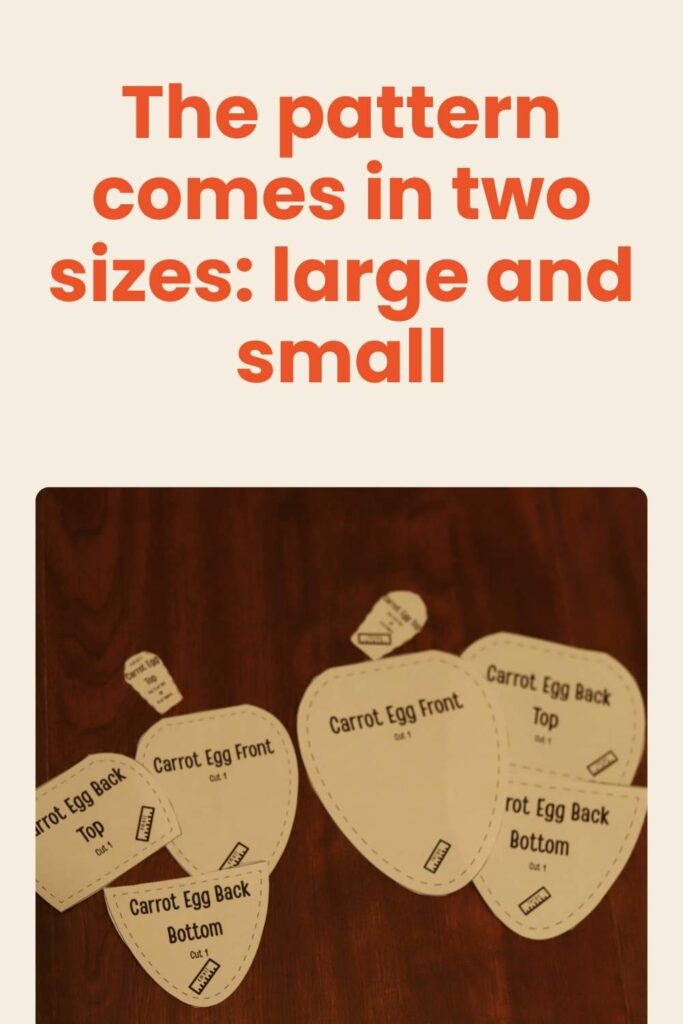
This sewing pattern has two sizes — a bigger size and a larger size.
Make both sizes, or just decide which size you like the best!
This sewing pattern uses a 1/4″ seam allowance. The seam allowance is included on your pattern pieces.
Get Your Free Pattern HERE!
If you’d like to print out this sewing pattern for free, you may do so here!
Cut Your Fabric
Once you’ve printed your free pattern, you’ll want to cut out your pattern pieces, trace them onto fabric, and cut them out.
Be sure you use just the “small” size pieces for the smaller carrot, and only the “large” size pattern pieces for the larger carrot! (don’t mix them up! each piece has the size marked on it to help you keep track of what is what!)
For each carrot you will want to cut out:
- One front piece
- One top back piece
- One bottom back piece
- 3 green carrot top pieces if you are using felt (and cut on the dotted stitching line of your pattern piece for felt!) —OR— 6 green carrot top pieces if you are using fabric (cut at your solid seam allowance line if using regular fabric that will need to have the raw edges finished!)
Again — how many carrot top pieces you need to cut out, AND how you cut them out — depends on if you are using felt or cotton fabric.
If you’re using felt, you won’t need to hem any raw edges, so you’ll only need 3 carrot top pieces. (this is the method I use in this tutorial!) You’ll also want to cut out the carrot top piece of your paper pattern on the DOTTED line, not the solid line! This will give you a slightly smaller carrot top piece and will make it proportionate to the carrot.

If you’re using some regular green cotton fabric, you’ll need to cut out 6 carrot top pieces. Use the full paper pattern piece if using regular cotton fabric, as this will give you a larger piece with room for sewing together and turning out.
Hem The Back Pieces
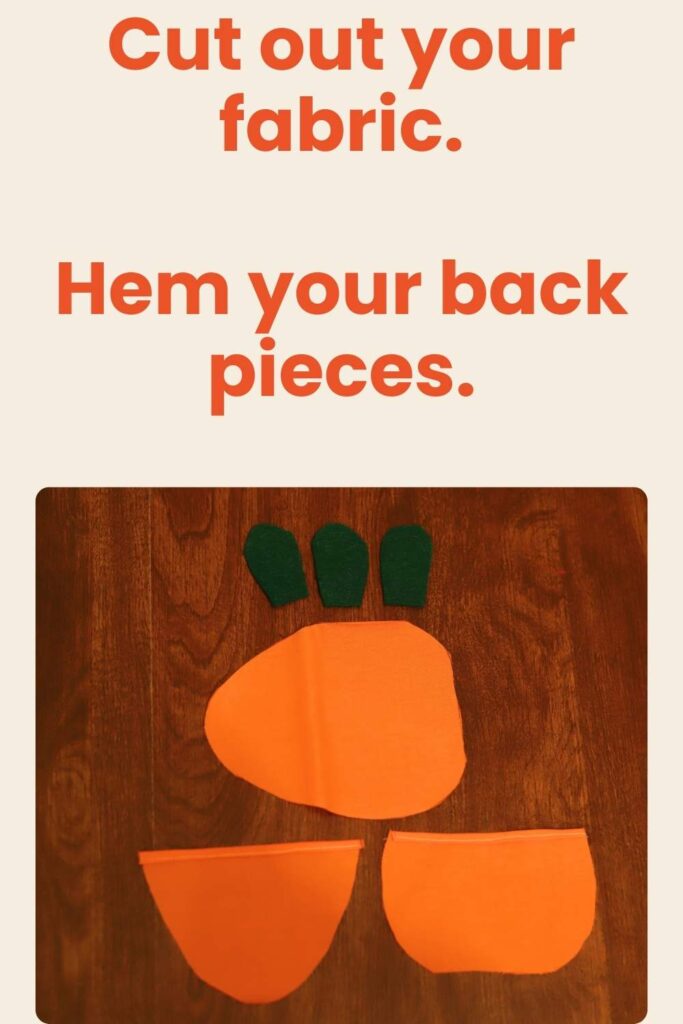
The first thing you will want to do is hem both the top back piece and bottom back piece.
Hem the straight edge of each piece.
The straight edge is the “center” of the back of the egg — the opening.
Hem using a 1/4″ seam allowance.
You can fold down your hem once or twice, just as long as you stay within that 1/4″ seam allowance!
To get a very neat hem, iron your hem into place before sewing.
Carrot Top Pieces
If you are using regular green cotton fabric for your carrot, this step is for you.
If you’re using felt for the carrots, you can skip this step!
Put two carrot top pieces right sides together, and sew the curved edge, leaving the bottom edge open.
Clip into your seam allowance around the curved edge.
Then, turn right side out.
You should now have 3 total completed carrot top pieces.
Again — if you’re using felt, skip this step!
Sandwich Your Carrot Together
Next, you’ll create a little carrot sandwich.
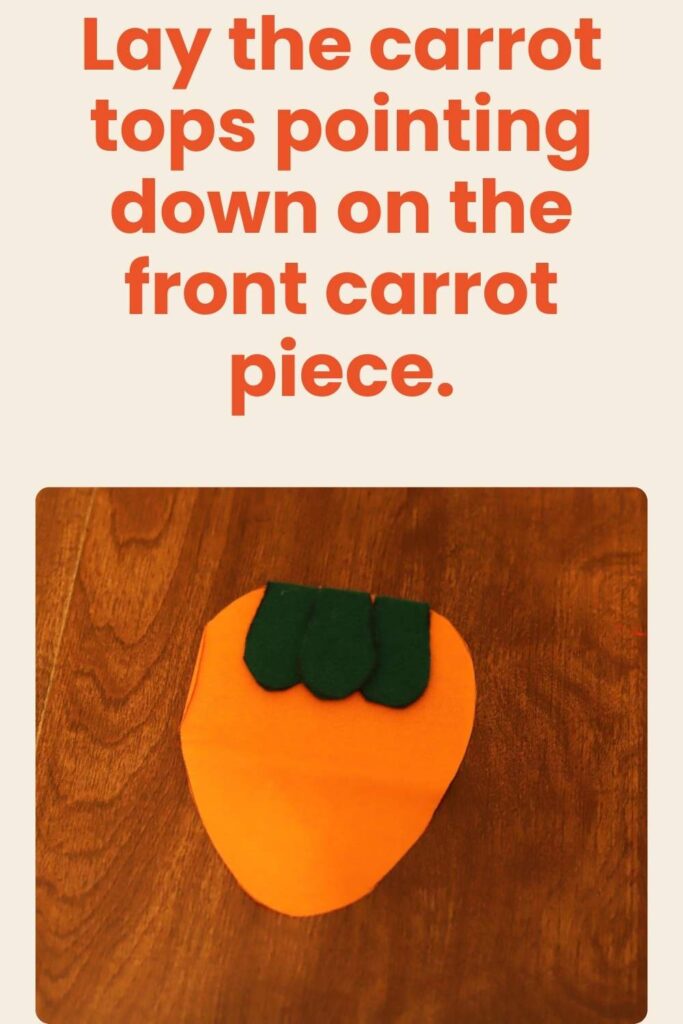
Put your front carrot piece down on your table, “pretty side” (right side) up.
Then, lay down your 3 carrot top pieces across the wide top of your carrot, raw edges lined up, and the tops of your carrot pointed DOWN towards the “pointy” end of your carrot.
Lastly, lay the two back sides of your carrot DOWN (right side down, “dull” side of fabric facing up).
It doesn’t matter what order your top back piece or bottom back piece are laid down in, as long as they are at the “top” of your sandwich.
Sew Your Carrot
Lastly, sew your carrot together!
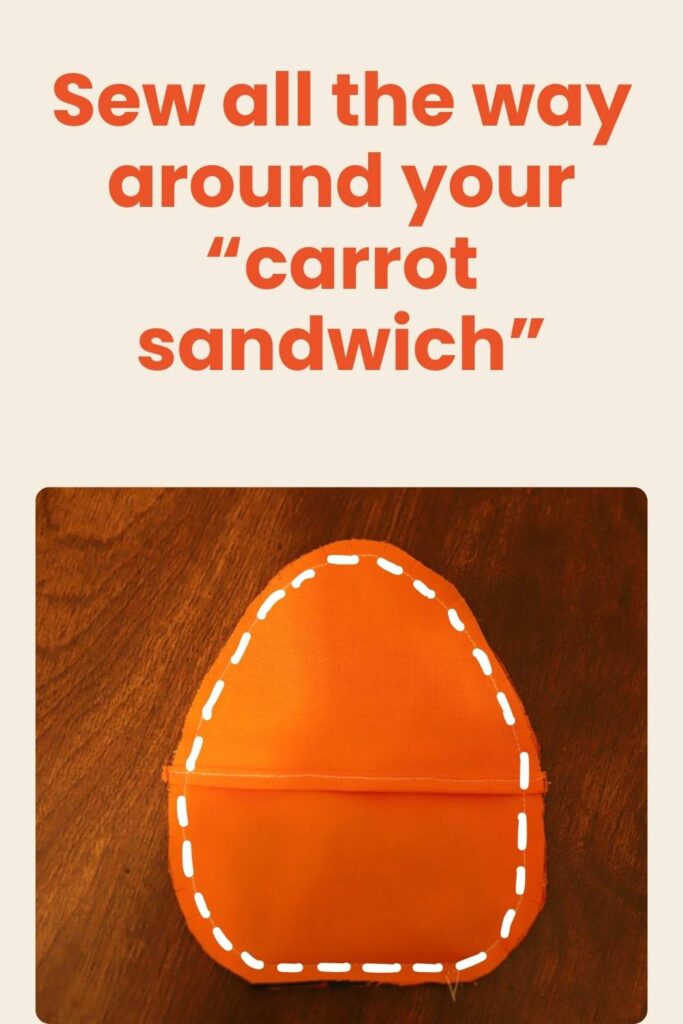
Sew all the way around the edge of your carrot sandwich, with a 1/4″ seam allowance.
Snip into the seam allowance of your curved edges, then turn your egg right side out.
That’s it! There’s your Easter Egg Carrot!
(The large and small sizes are made in the exact same way!)
Happy sewing!