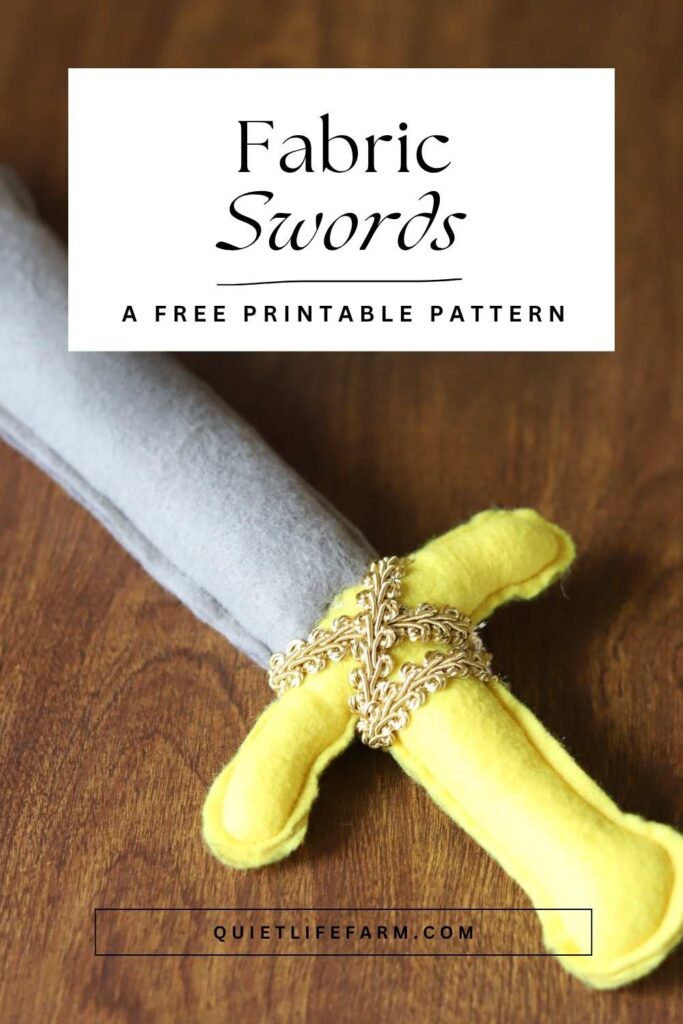
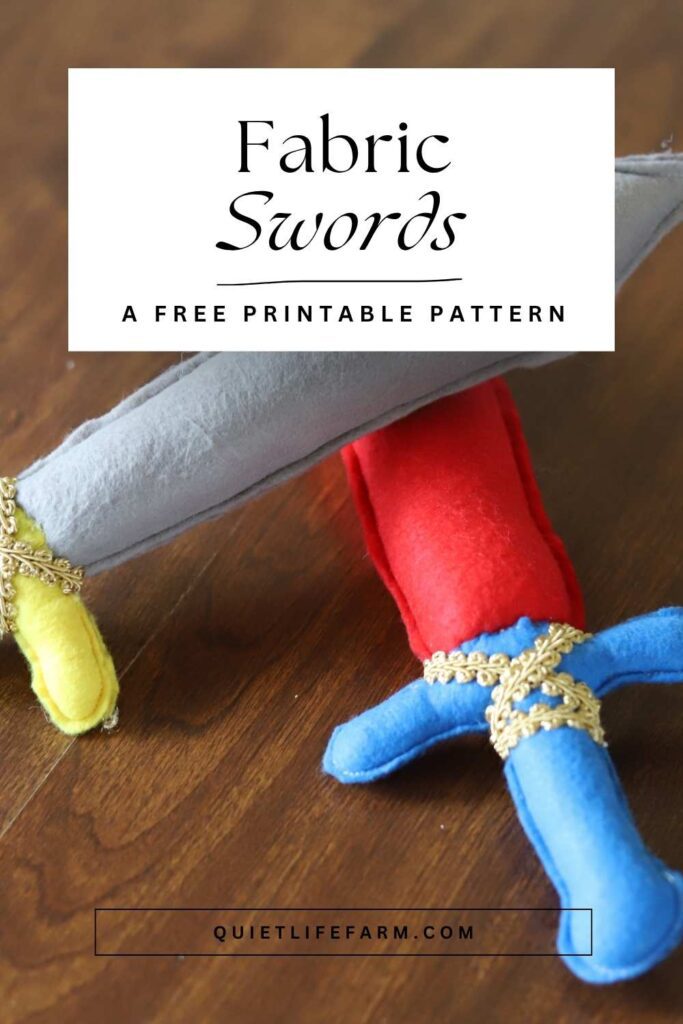
How To Sew a Felt Play Sword: Free Printable Pattern!
Here’s a quick easy sewing project to make a sword out of felt! Below you’ll find a (free) printable pattern, photographed tutorial, and a video tutorial, too!
Disclaimer: As an Amazon Associate, I earn from qualifying purchases.
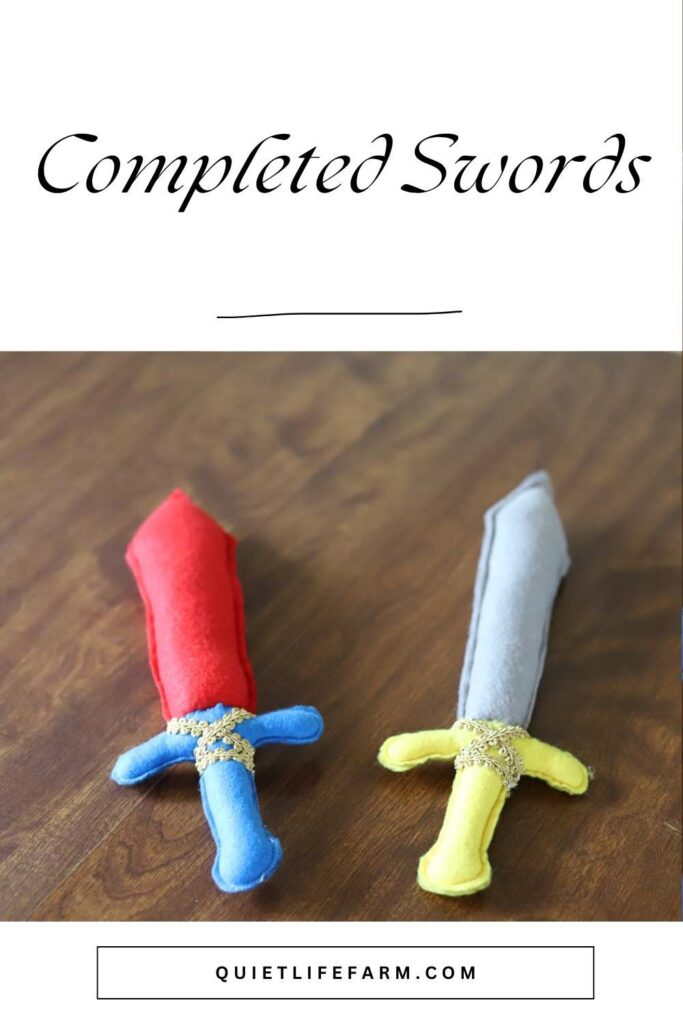
This sword is a quick and easy sewing project!
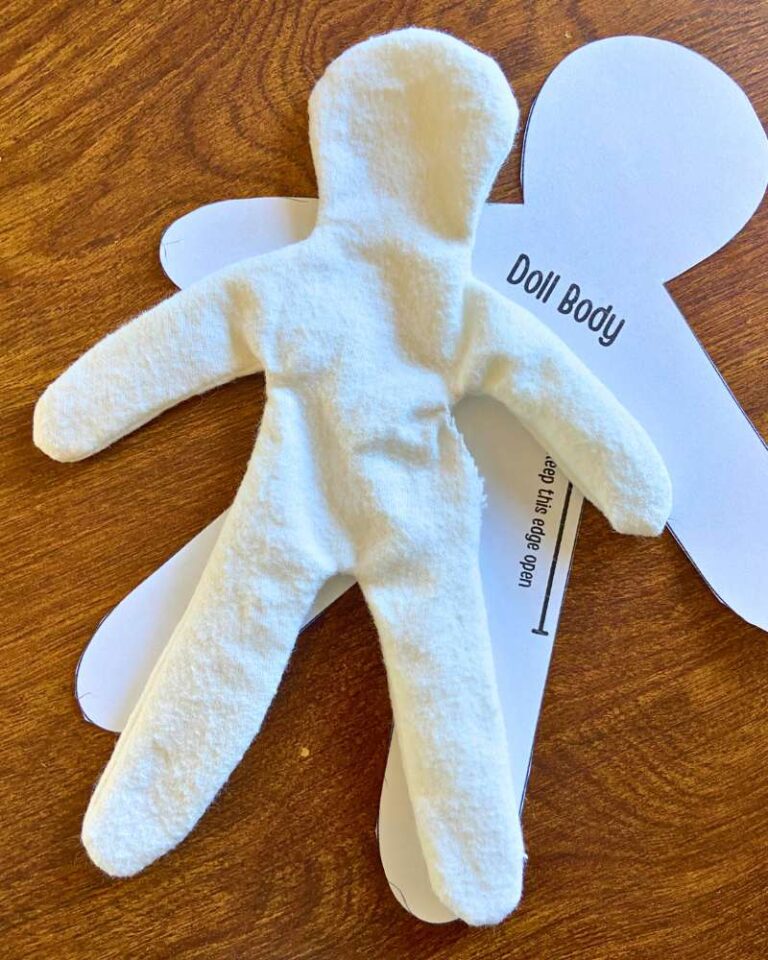
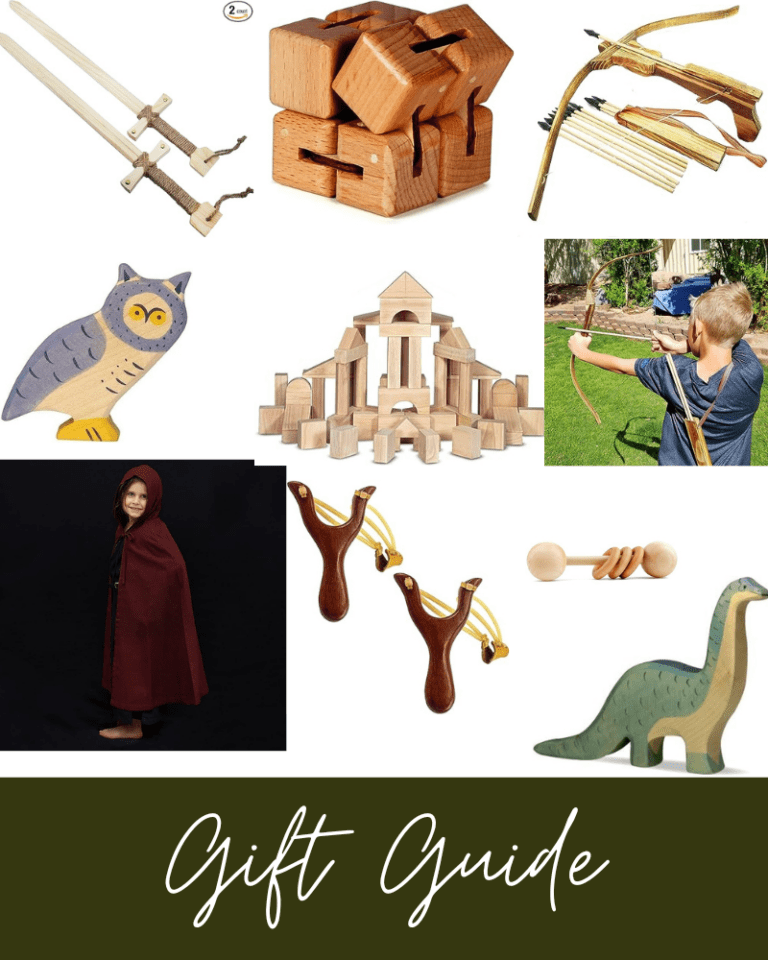
It pairs perfectly with my free printable cloak sewing pattern, so please be sure to check that out, too!
Print out the free pattern below.
Then, you can either follow along with the written/photographed tutorial found on this page, or you can watch me make it in a video tutorial!
Supplies Needed:
- Felt, two 12×8″ sheets (I like this felt; it’s a better option if you want to use more natural materials, and it’s still very affordable!)
- Fiberfil or wool to stuff your sword with
- Scissors
- Sewing machine or needle and thread (you WILL need a needle and thread for very brief hand sewing)
- Fancy gold trim to decorate your sword with (here’s what I used!)
Print Your Free Pattern!
Draw up your own pattern, or print out mine for free!
Be sure to print your pattern to 100% scale — do not “fit to page.”
No pattern assembly required. Everything just fits on your standard A4 printer paper.
Video Tutorial
If you’d like to watch me make this sword, you can do so in this video!
Video tutorial to be released mid-April 2026! Stay tuned!
Cut Out Your Pattern Pieces
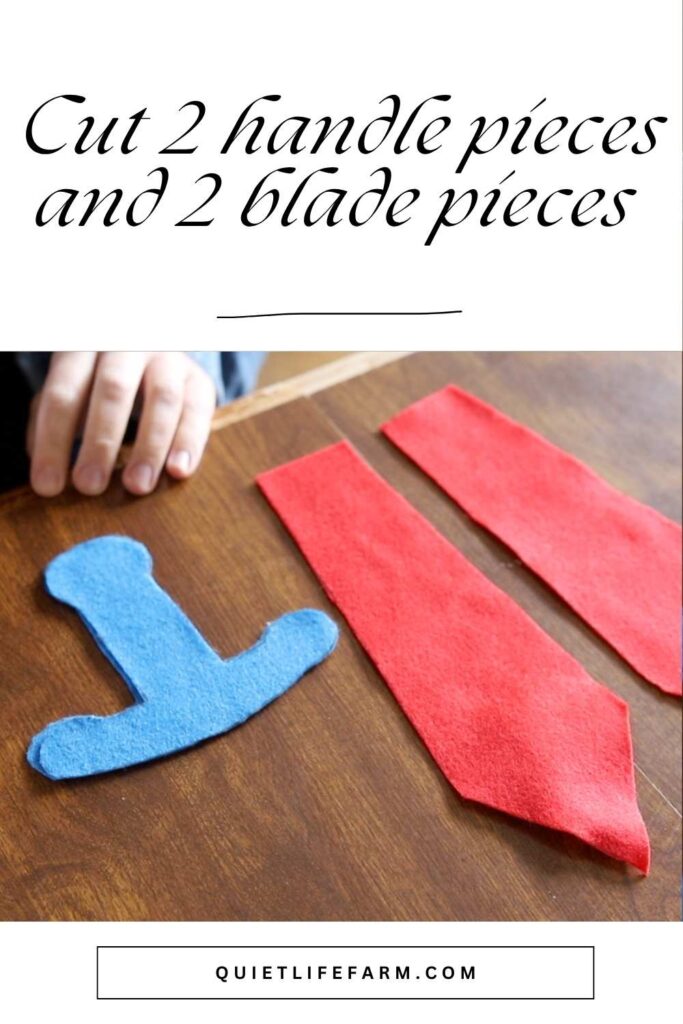
Cut out your pattern pieces.
If you’re using the felt sheets I recommend, you’ll only need two of them for each sword you make!
Decide on a felt color for the top of your sword and the handle of the sword.
You can choose more “realistic” colors, but I love anything colorful and bright.
Cut out your pattern pieces. Since this is a felt pattern, there are no seam allowances. You’ll just sew as close to the edge as possible.
Making This Sword With Woven Fabrics
If you decide to use a cotton woven fabric, just use the pattern pieces with an added 1/4″ seam allowance instead. (These are the pattern pieces with the dotted line on them; they are slightly bigger to allow you to “turn out” your fabric)
While this tutorial is for felt swords, I’ve included a pattern option for cotton woven fabrics, too!
Follow the same steps, except you’ll want to sew your blade and handle right sides together and then turn out before stuffing.
All the other steps for making a sword out of woven fabric will be the same.
And, (if this matters to you) the felt swords and the swords made from “regular” fabric will be the same size when finished.
Sew the Blade and Handle of the sword
Sew the top (the blade) of the sword.
You don’t need to worry about a “right side” and “wrong side” since we’re just using felt.
You can either sew the pieces together by hand with a blanket stitch, or carefully sew very close to the edge on your sewing machine.
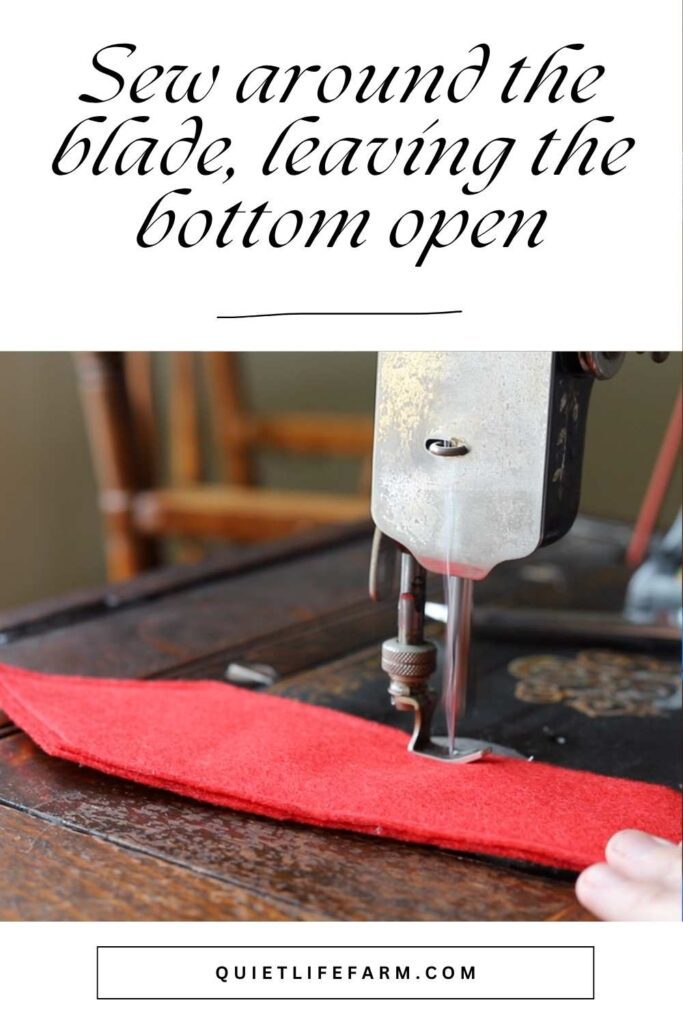
If you opt for the sewing machine, just be careful that you didn’t accidentally slip off your felt on one side while sewing. I like to flip my swords over and sew around a second time if needed over any spots I might have “fallen off of” while sewing.
You’ll sew the blade of the sword and the handle of the sword.
Leave the bottom of the blade of the sword open for stuffing.

Leave the top part of the handle open for stuffing — only leave just enough room for the blade of the sword to be sewn onto it. The rest of the top of the handle should be sewn closed.
Stuff The Sword
Stuff the blade and the handle of the sword very, very firmly.
Stuff as firmly as you can, all the way to the edge of the open parts of each sword.
Sew The Blade to The Handle
Whether you opted to sew with a machine or by hand up until now for your sword, this is the part you must sew by hand.
Stick the blade inside the handle of the sword.
If you’ve stuffed the sword properly, you really shouldn’t be able to stick the blade inside the handle very far.
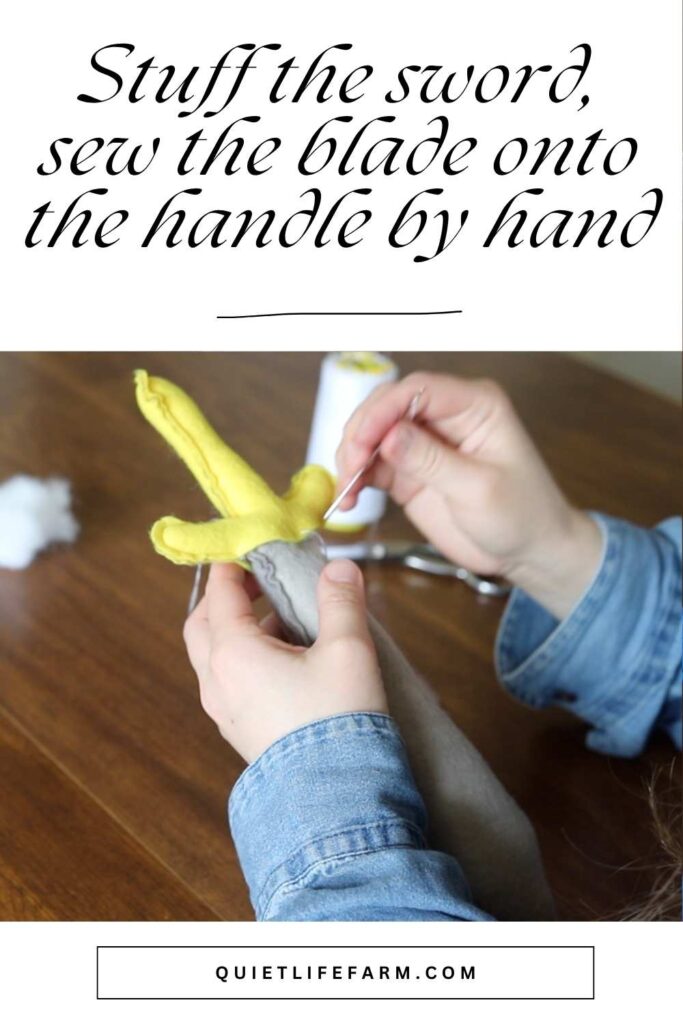
Sew some quick stitches just to hold the blade in place on the handle, then use a ladder stitch to sew the blade onto the handle of the sword, going all the way around two times. You want to be sure your sword is strong enough to withstand play!
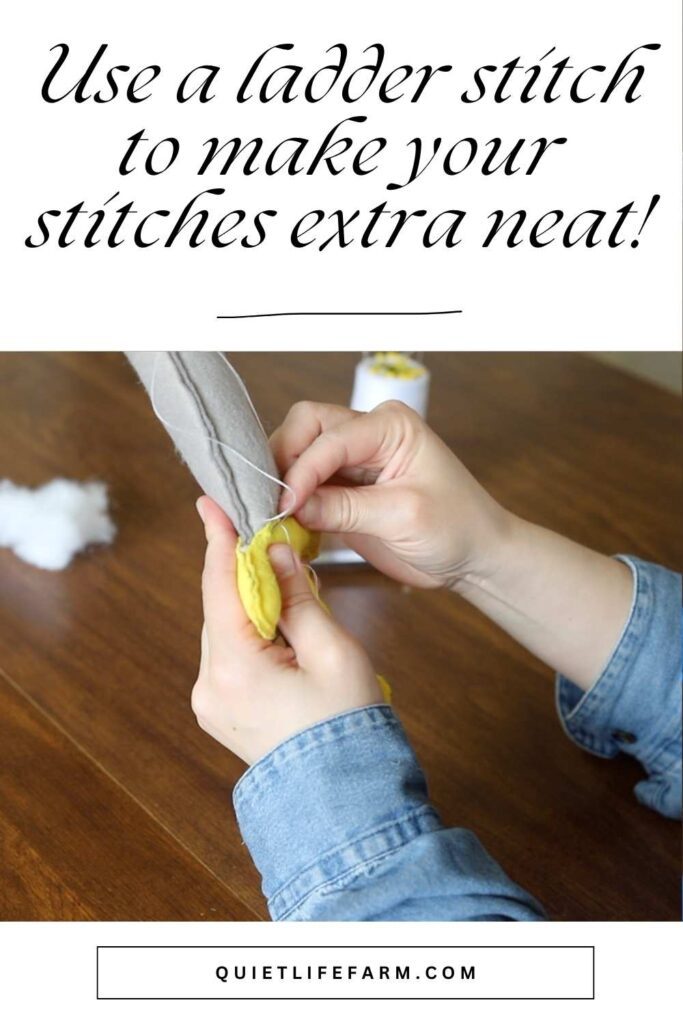
Knot your thread, then use your needle to pull the thread inside the sword to hide it.
Sew on some fancy trim!
This step is of course optional, but it really does add an extra touch of whimsy to put on some pretty gold trim.
Wrap some trim around the handle of your sword, and sew it into place very very securely.
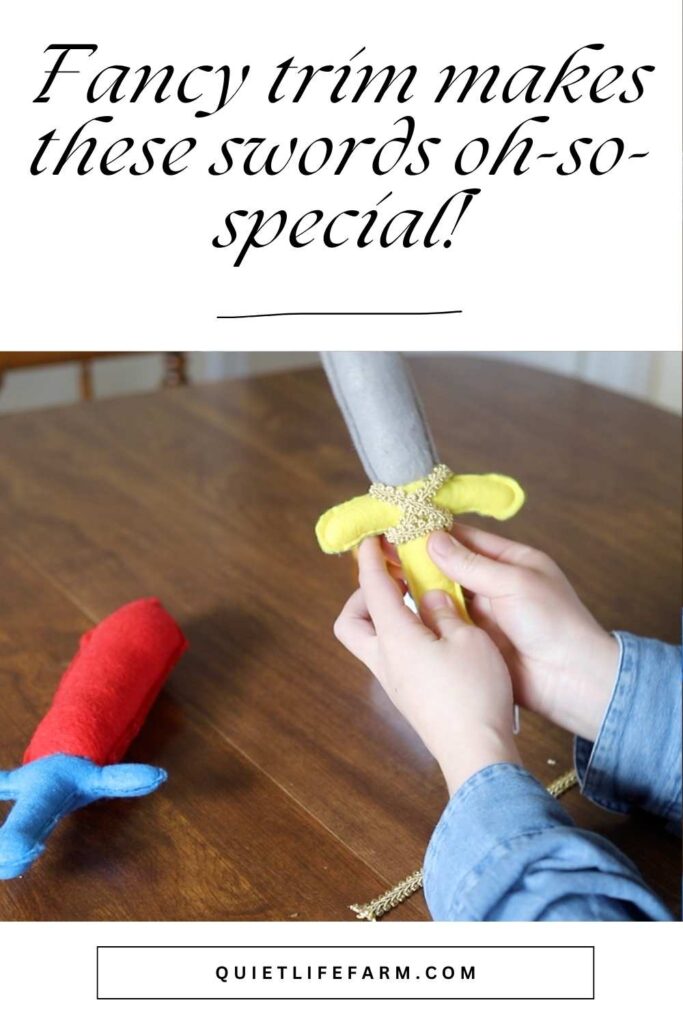
I used 12″ of trim for each sword.