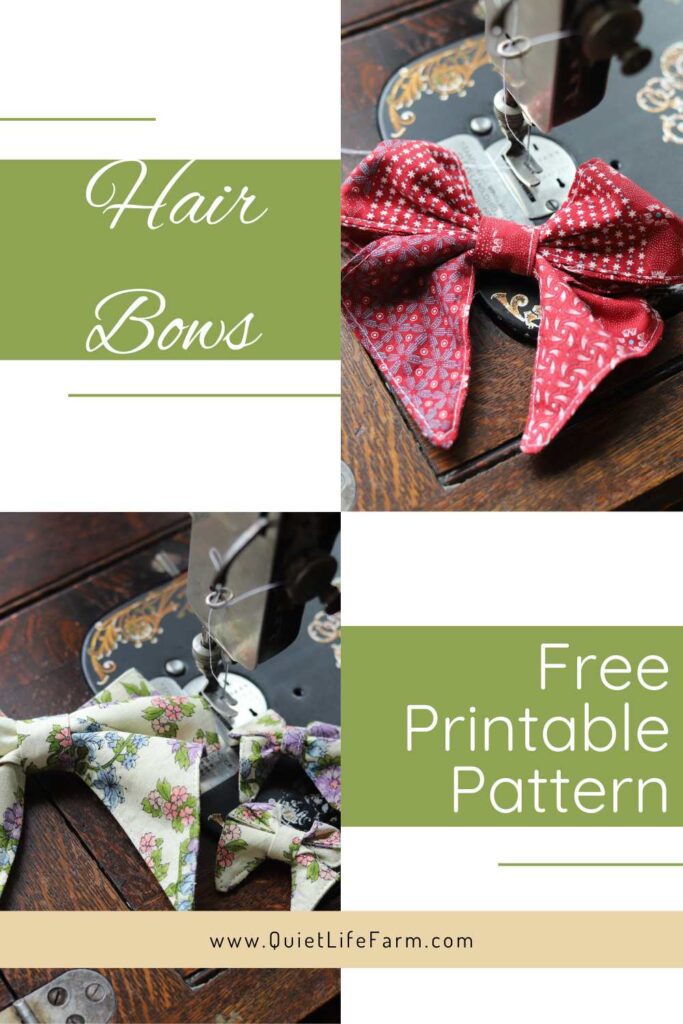
How To Sew Hair Bows: Free Printable Sewing Pattern
These hair bows are easy for beginners to make! The pattern can be printed out. There is a large size bow pattern and a small size bow pattern included!
Disclaimer: As an Amazon Associate, I earn from qualifying purchases.
Below, you will find my free printable sewing pattern and tutorial for making hair bows!
These hair bows come in two sizes — a nice big bow, and little bows!
I also have a video tutorial for how to sew these bows.
You can put these hair bows onto clips (which is what I do), or you could sew them onto a headband.
These bows come in two sizes. The process for both is the same, except for a couple of things I mention at the end of this post!
Supply List
To make these bows, you will need:
- Woven Fabric (don’t use stretchy knit for this project)
- Forceps (really useful when making the little bows)
- Hair Clips (150 — one hundred fifty — of these costs less than $8!)
- or — nylon headbands (great for babies!)
- Featherweight Interfacing (optional — great if you want a “stiff” bow)
- Hot Glue (everyone needs a decent hot glue tool! This is what I use!)
- Sewing machine + hand sewing needle/thread (there is a tiny bit of hand sewing involved!)
- Free Printable Pattern (get yours below!)
Printing Your Free Pattern
To print your free pattern, you can have the PDF emailed to you here!
Print the pattern out at 100% scale.
The large bow prints out on 3 pieces of paper — tape these pages together at the margins before cutting out your pattern.
Video Tutorial
You can view the video tutorial for this sewing pattern here:
Sew the Bow
Let’s get to making these hair bows!
Fold the bow in half, right side together.

Starting at the folded corner edge, sew towards the center of the bow using a 1/4″ seam allowance.
Stop towards the center, and start sewing at the other corner of the bow, stopping close to the center of the bow and leaving an opening right in the middle.

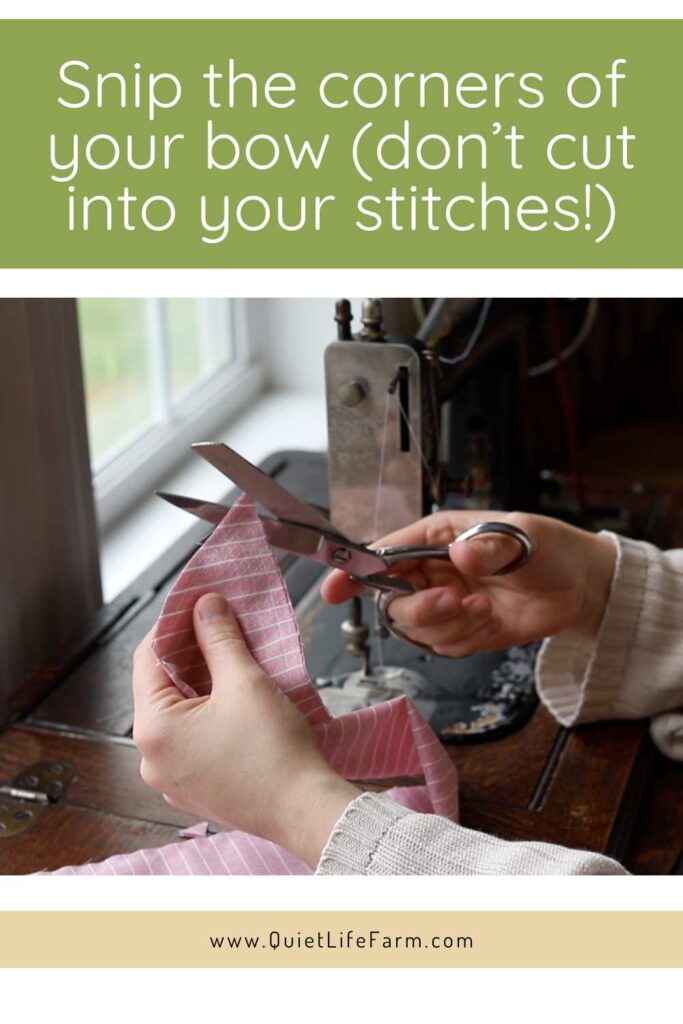
Clip the corners of your bow, being careful not to cut into your stitches, and turn your bow out.
For the center of the hairbow, just fold the center tie in half wrong sides together and sew the long edge.
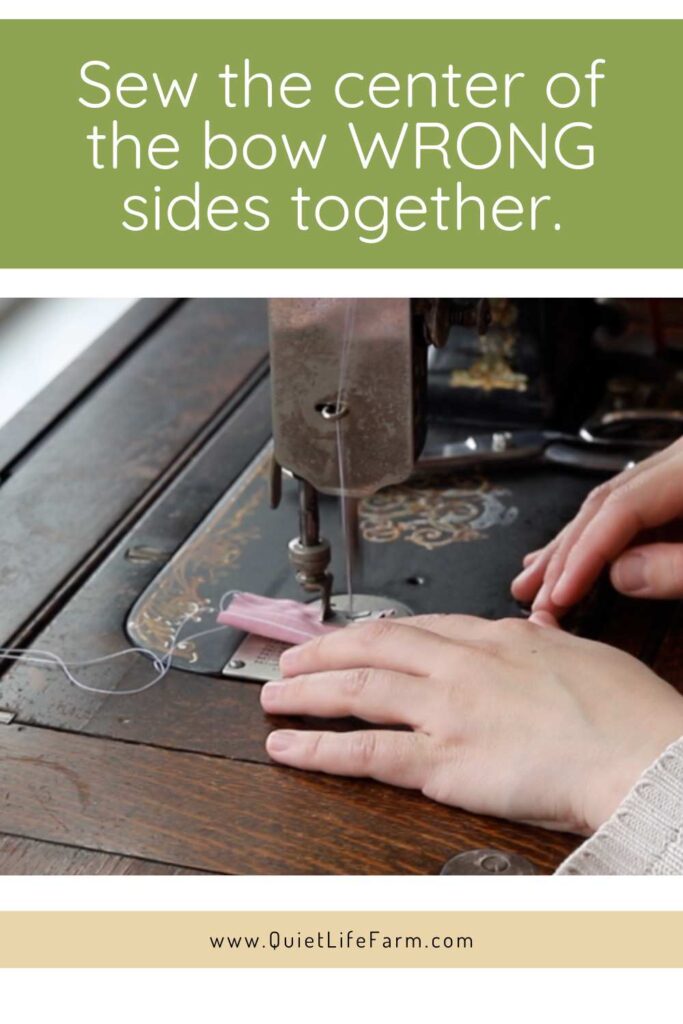
Since I’ll be using hot glue to attach these bows to hair clips, I’m not really concerned about any raw edges since the hot glue will take care of that.
Turn Out The Bow
Fold the opening of the bow inside your bow, and iron flat.

Fold the raw edge of the center tie so it’s positioned right in the middle back of the piece, and iron this flat, too.

Topstitch
Topstitch all around your hair bow.

It’s really helpful to adjust your stitch length to be slightly longer when topstitching, as it helps give the appearance of having very straight topstitching.
You can also topstitch the center tie of your hair bow too, if you’d like.
Fold the Bow into a “Bow Shape”
Fold your hair bow so that the folded edge is on the top, and the “points” of the bow are pointing downwards.

Next, use a basting stitch to hold the bow into this position and to prepare to gather it up.

You can then gather your basting stitch to gather up the second of the bow.
Gather the Bow
After you’ve gathered the center of your bow, you can wrap your thread around the center a few times to really hold it into place before knotting your thread.
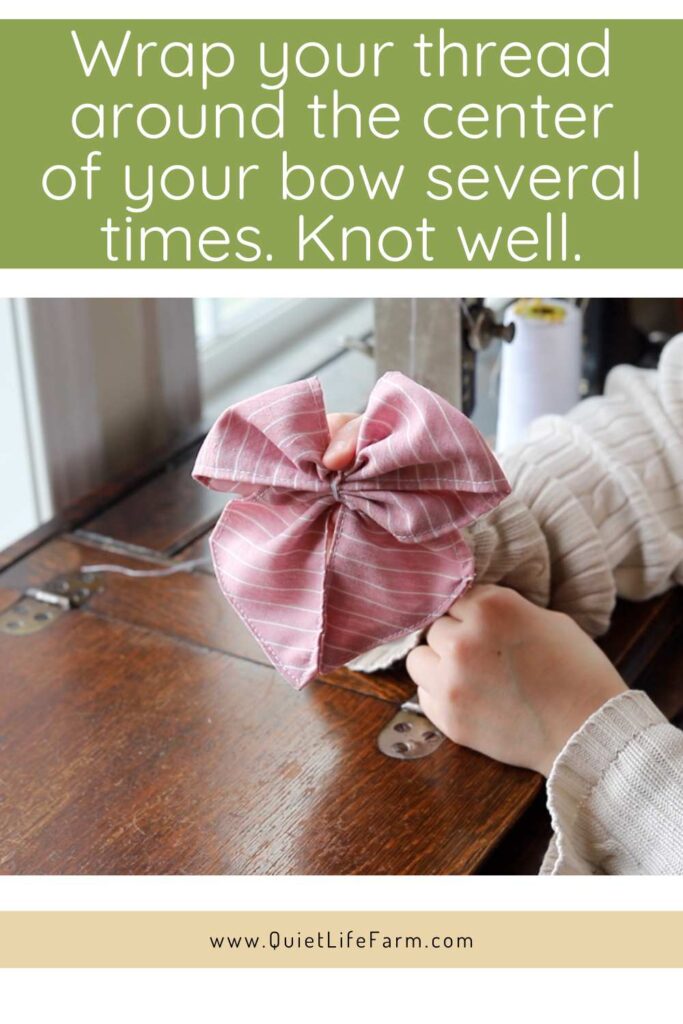
Hand sew the center of the bow into place, making sure all your stitches are hiding where the back of the bow will be.

Bow Variations
There are a couple variations to this hair bow pattern.
You may choose to have a hairbow that firmly holds its shape.
You can do this by ironing featherweight fusible interfacing to each of your pieces before making your hair bow.

I will add that this makes certain parts a bit more finicky to make, especially in the smaller size.
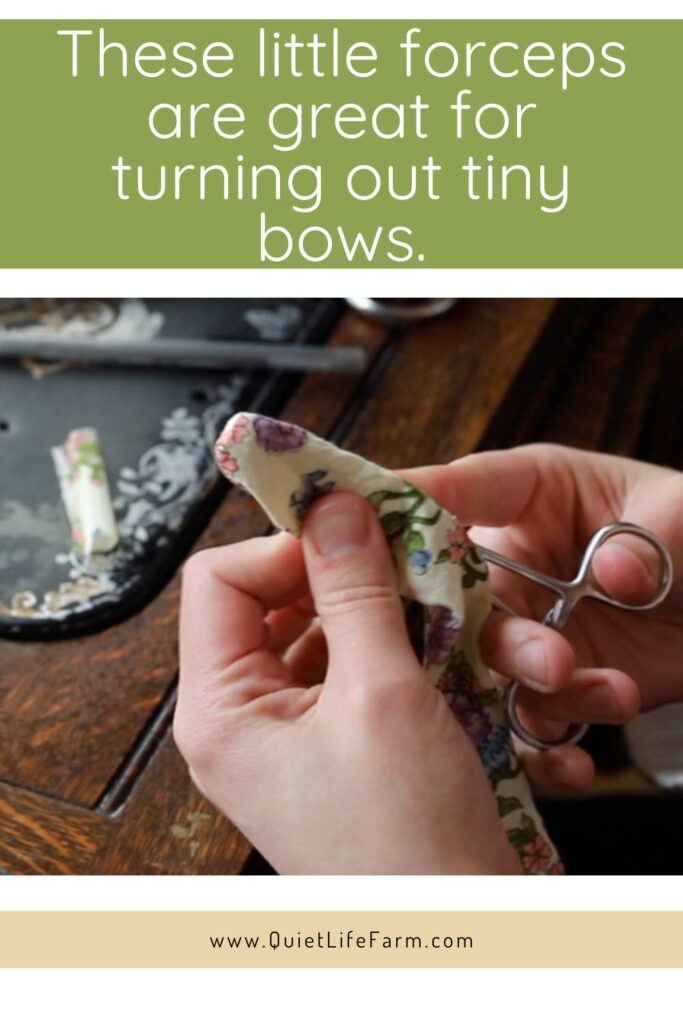
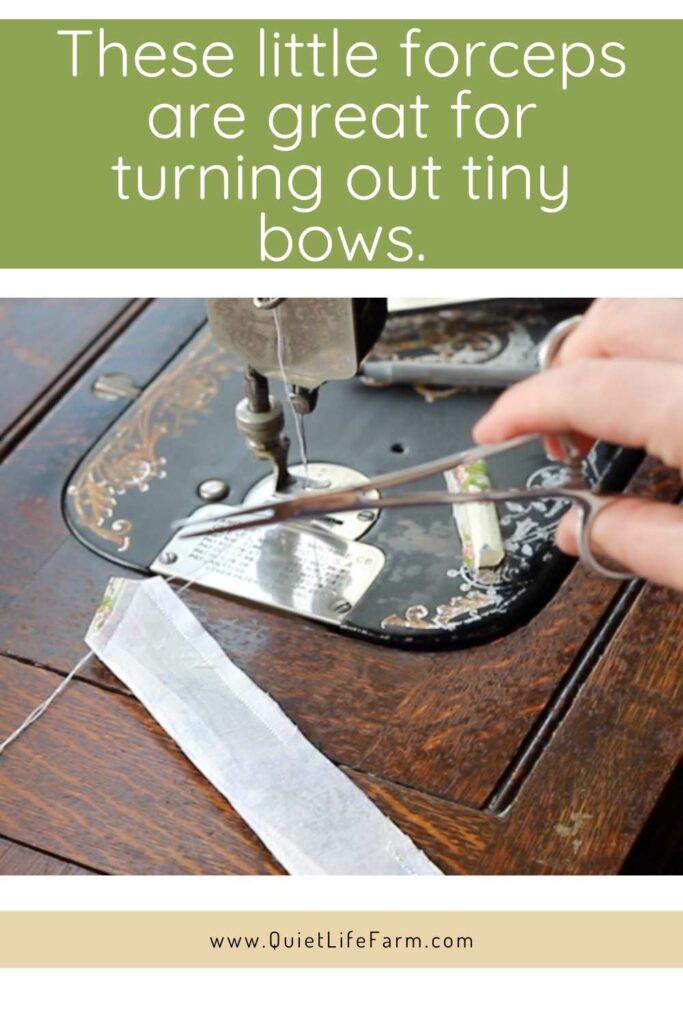
And – while making the smaller size, interfacing or no interfacing, it’s good to note that these little forceps are excellent for helping to turn out the smaller hair bow size.
Attaching Hair Clips
To attach the hair clips to the bows, push the clip into center of the hair bow.
Poke the hot glue inside the center tie and put a dab of glue inside the tie to hold the clip into place.
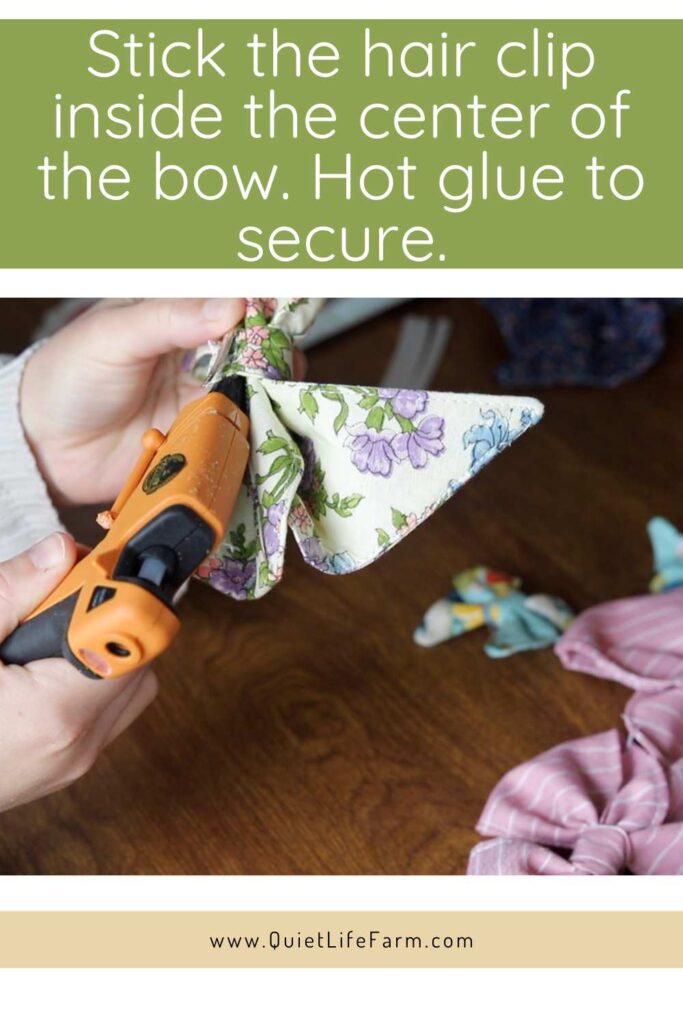
After waiting a moment for the hot glue to cool a bit, push the center tie into the glue to hold everything firmly into place.
Making “Pairs” of Bows
It’s also good to note that if you are making two of the same hair bows to be worn at the same time, you should put the clips facing opposite directions in each bows.

This makes putting the hair bows in a little girl’s hair much easier to do.