Free PDF Mermaid Sewing Pattern: Simple and Easy!

As an Amazon Associate, I earn from qualifying purchases.
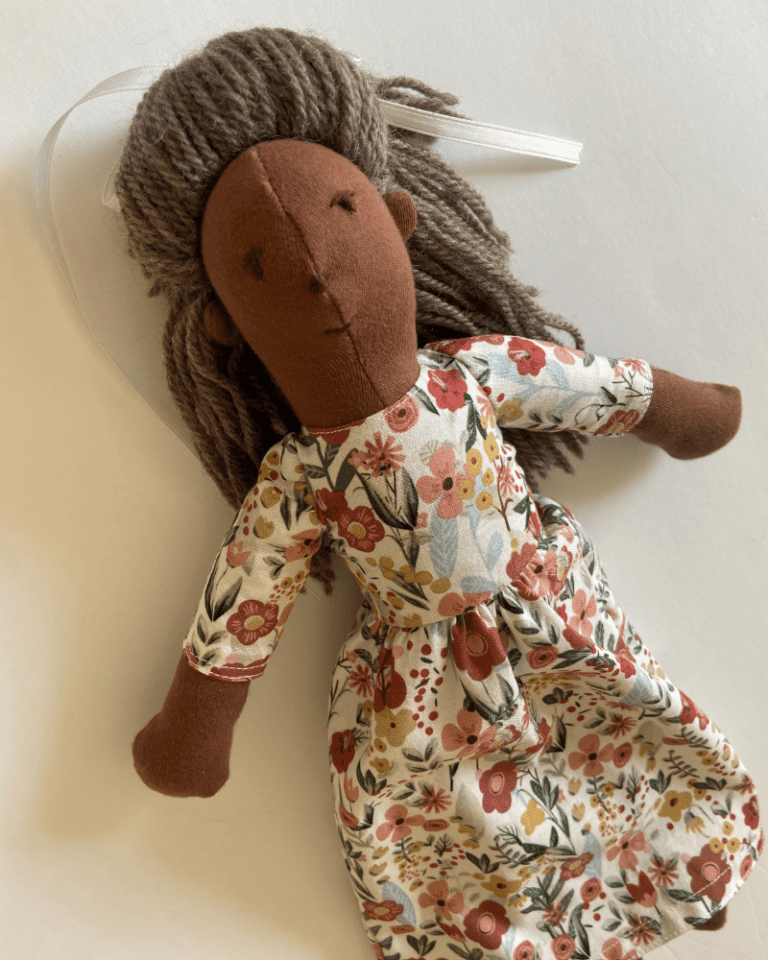
Here’s a free sewing pattern for a mermaid doll!
Print out the pattern pieces below.
You can follow along on my photographed tutorial on this blog post.
You can also watch my YouTube video of this project, if you’d prefer!
Supplies Needed:
- Tiny bit of cotton interlock fabric
- Fabric for the body/arms
- Yarn for hair (I used a sock weight yarn)
- 1/4″ width ribbons for hair (optional)
- Wool to fill your doll with
- Unwaxed Dental Floss
- 1 1/8″ cotton gauze tubing
- A crochet hook
- Sewing Machine
- Hand Needle/Thread
Free Pattern

To print out your free pattern, you may do so below!
The PDF will be emailed to you.
As a bonus, the PDF also includes a story about a creek mermaid, which can be illustrated by a child (or yourself!) to add some whimsy and to bring this sewing project to life! Just cut on the dotted line, staple, and then illustrate however you wish! (see picture below!)

Here’s the form to get your free pattern/book!
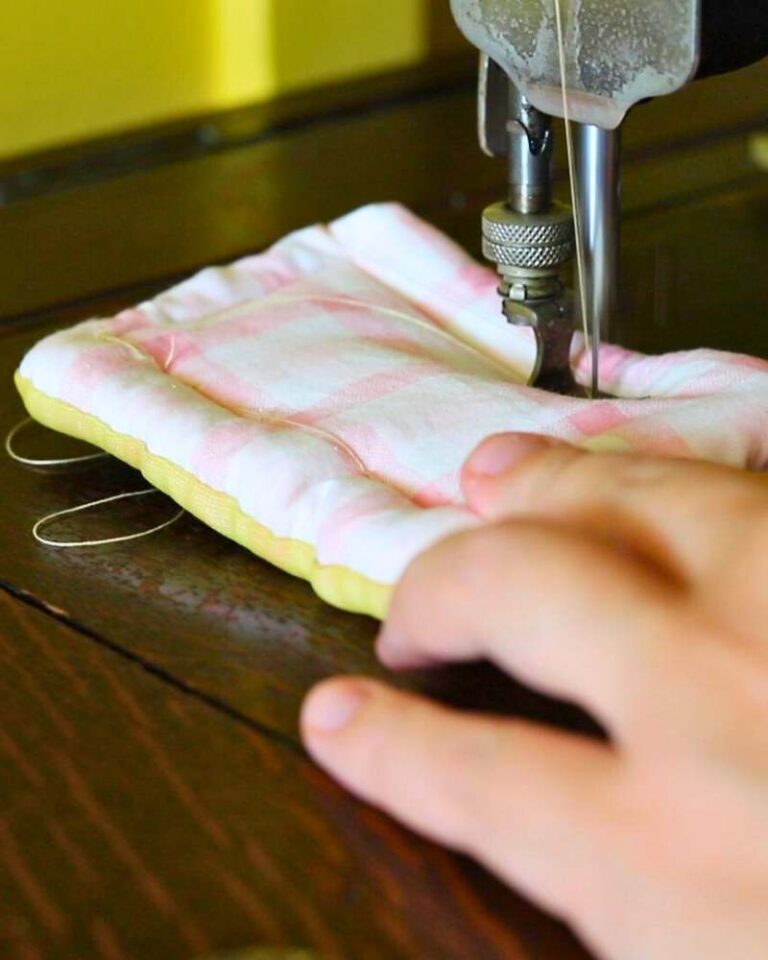
Sew Body and Arms
Print out your pattern.

The body of this pattern was too long to fit onto one piece of printer paper, so go ahead and tape it together.

Then, trace the pattern over two layers of fabric, laid right sides together.
Sew directly on your traced lines, leaving the dotted edge (the top of the neck) open.
Repeat this process for 2 arms — leaving the dotted edge open.

Cut out your body and arms, leaving a seam allowance around your stitches.
Don’t cut too closely to your seams, or they will come undone!
Turn your pieces right side out, and stuff with wool.

For the arms, tuck the raw edges to the inside of the arm, and use tiny stitches to sew them closed.
The Outer Head
This doll is Waldorf inspired, which means it will have an outer head, and an inner shaped head.
First, we’ll make the outer head.
Use your template to trace your head piece on the fold of your knit fabric.

Sew directly on your traced lines, leaving the dotted edge open, and cut out.


Turn right side out and set aside.
Making the Inner Head
Next, you’ll want to make the inner head for your doll.

To make the inner head, you’ll need some cotton gauze tubing, made specifically for doll making.
I use the outer head I made to measure my cotton gauze tubing about “3 head lengths long,” and cut it.
Then, I twist it in the middle and pull one end over the other to make one end closed. It almost resembles a little “sock.”
Next, I roll a tight ball of wool, about 4″ around, and tie it off with some unwaxed dental floss.

I add a small amount of wool to create a “neck,” and tie that off with unwaxed dental floss, too.

Then, I use that nice strong unwaxed dental floss to create an eyeline in the center of the head.
Use a hand sewing needle and thread to shape a nose on your doll, right under the eyeline.

Then, put the inner head inside the knit fabric outer head you sewed.
Sew the top of your head closed. It doesn’t matter how neat this is. It will be covered up by hair.

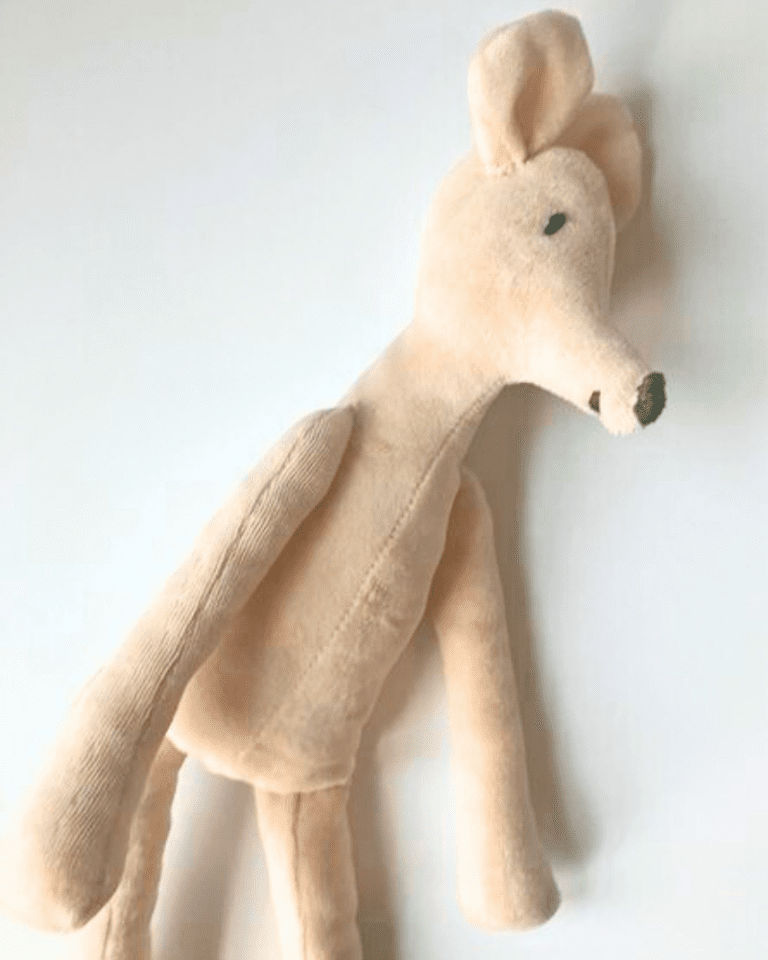
Finish Assembling Your Doll
Use a ladder stitch to sew the head onto your doll
The little neck should be fully inside the doll’s body to add stability to the head.

Sew the arms onto the body.
The Hair
To put hair on a doll, you’ll first want to make a long braid with the yarn you will want to use.
I used sock-weight yarn, but really DK or Worsted will work just fine, too.
It doesn’t matter how long the braid is. If you run out of your braid, you can just make another braid and start right where you left off!

Sew the braid in a spiral on top of the doll’s head, starting at the top center of the head.

Then, measure how long you want the hair to be.
Cut yarn TWICE the length of how long you want the hair.
Then, depending on the weight of the yarn, take 1-3 strands of yarn, fold them in half, and use a crochet hook to pull the ground of yarn in the center through bits of the braid.

“Chain 1” (wrap the yarn around the hook, and pull it all the way through your looped yarn already on the crochet hook) to secure each group of yarn strands.

Do this until you have as much hair as you’d like on the head of your doll.
I like to attach yarn around the face FIRST, then work my way inwards. (so, the opposite way you attached the braid to the head)

When you’re finished, use your finger to brush the hair, and trim the bottom of the hair to make it even.
Embroider Eyes
Use a pencil to lightly mark where you’d like to place the eyes. This way, if you change your mind, you can erase and start over!

Use a hand needle and some colored thread to embroider eyes onto your doll.
I just make stitches going in the same direction, working in a “square” shape.

Pull the ends of your thread out towards the back of the head and then trim them short.

You can do this with your “beginning” end of thread by rethreading the thread with your sewing needle and pulling it through to the back of your head the same way!
Happy sewing!