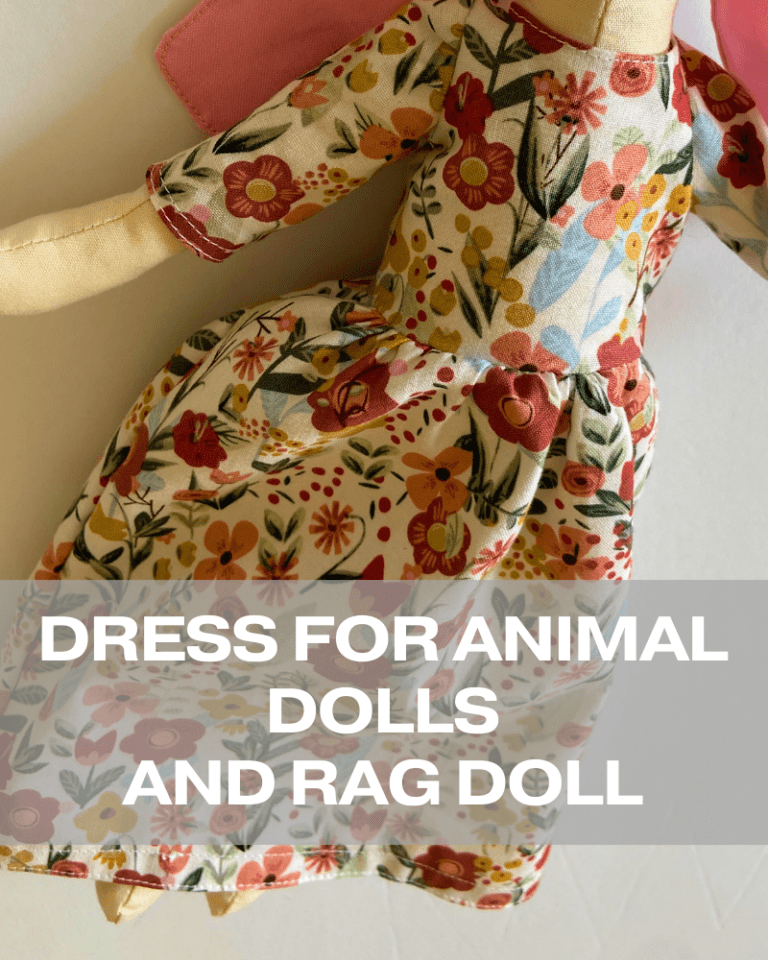
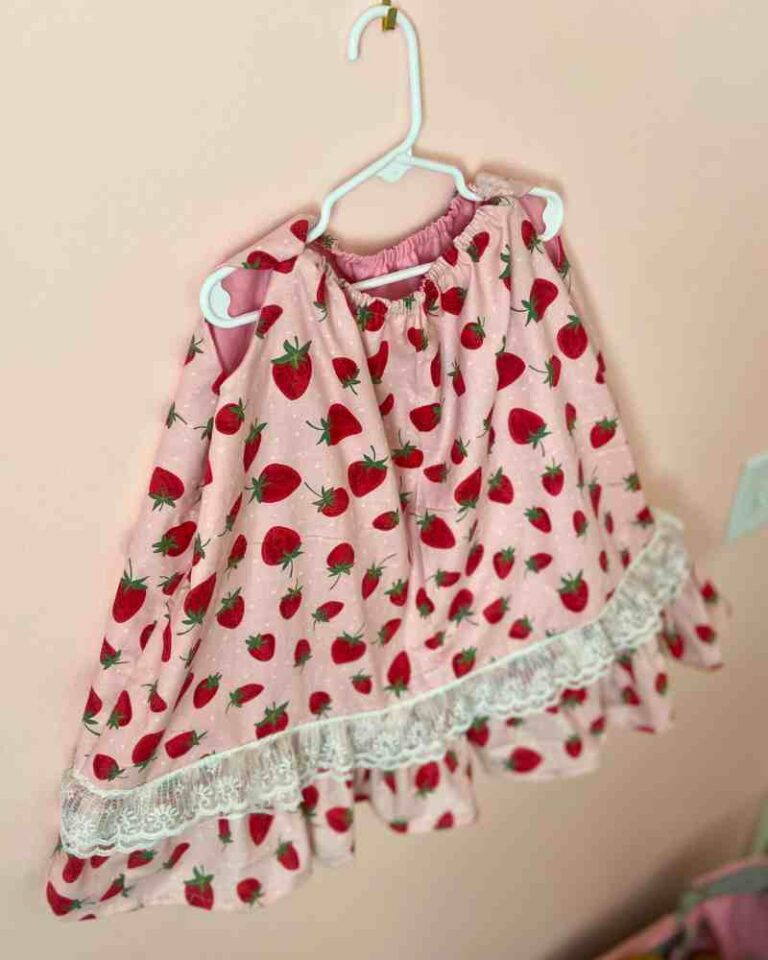
Free 18″ Doll Dress Sewing Pattern With Tutorial
Print it out for free! This long sleeved doll dress fits 18″ dolls perfectly!

Disclaimer: As an Amazon Associate, I earn from qualifying purchases
Here’s how to sew a doll dress that fits American Girl Dolls and other 18″ dolls!
You can print the pattern for free on my blog.
After printing out the pattern, come on back to the blog and I’ll show you how to sew it!
You can also watch me make this in my YouTube video!
Print Your Pattern
You can print your pattern below!
All the instructions are here on the blog, so pop on back over to the blog to see the full photographed instructions!
Cut Your Pattern

The first thing you’ll want to do is cut out your pattern
You’ll want to cut out:
- Front Bodice: 1 piece in your main fabric and 1 piece in your lining
- Back Bodice: 2 pieces (mirrored) of main fabric and 2 pieces (mirrored) of lining
- Sleeves: Cut 2 in main fabric
- Skirt: Cut 2 on fold in main fabric

Sew The Bodice
First, sew the bodice together.
Sew the front bodice to the lining for the front bodice, right sides together, just at the curved neckline.

(I used the main fabric for the lining, too — just so you can better understand what’s going on in my pictures!)
Then, sew the lining to the main fabric of both of your back bodice pieces — at the neckline, and at the inner straight edge. (the closure portion of your dress — NOT the part under the armholes!)

This gives the dress a more professional finish, and allows it to hold up better during play!
Turn right side out, and iron flat.

Then, sew the bodice together, right sides together at the shoulders.
Sew the Sleeves
Hem the flat edge of the sleeves.
You can hem the sleeves by folding them over twice.
You’ll do this best by ironing down your hem first, but it’s not going to make or break the dress if you skip this part.

Sew the hem down on the flat edges of the sleeves.
Then, sew the sleeves right sides together to the bodice at the arm holes.

You’ll start by lining up the tiny 1/2″ straight edge of the sleeve (the part right before the curve of the sleeve) with the 1/2″ straight edge at the base of the armholes on the bodice.
Then, guide the sleeves around the curved edge of the armholes until they’re attached.
Go slowly, adjusting along the way. The sleeves do NOT need to be gathered first and should line up perfectly.
Attach Velcro
Sew a little bit of velcro to the back of the bodice.
It’s easiest to do this now, while the bodice is still flat.
I like velcro for doll clothes because it’s the easiest for children to take on and off.
Gather the Skirts
Next, gather up the front piece and back piece of your skirt (they’re identical; it doesn’t matter which is which).
Adjust your gathering so that it’s the same width as the bottom of the front of the bodice, and the bottom of the back of the bodice. (you’ll slightly overlap the two back bodice pieces for this part)

With right sides together, sew a skirt panel to the front of the dress, and the second one to the back of the dress.

Sew the Side Seams
Next, you’ll sew the side seams of the doll dress.
Start at the sleeves, and sew all the way down to the bottom of the skirt.
Repeat for both sides.

To finish off the dress, hem the bottom raw edge of the skirt by folding it over twice.
Turn it right side out and dress your doll!
Happy sewing!

(PS — fun fact, for those of you who are familiar with my daughter’s Samantha doll that I sewed this dress for — my sewing machine I used for making this dress is from 1904 — the same year Samantha’s stories take place!)


Nice dress for 18″ dolls. I clicked on red box to get pattern, but nothing happened. I would like to get pattern but I am having difficulty finding pattern. Wondering if you could help me. Thank you.
Thank you for your kindness! The email form is under “print your pattern” — I’ve gone ahead and emailed it to you myself, though! Check your “promotions folder” if you don’t see it in your primary inbox!!