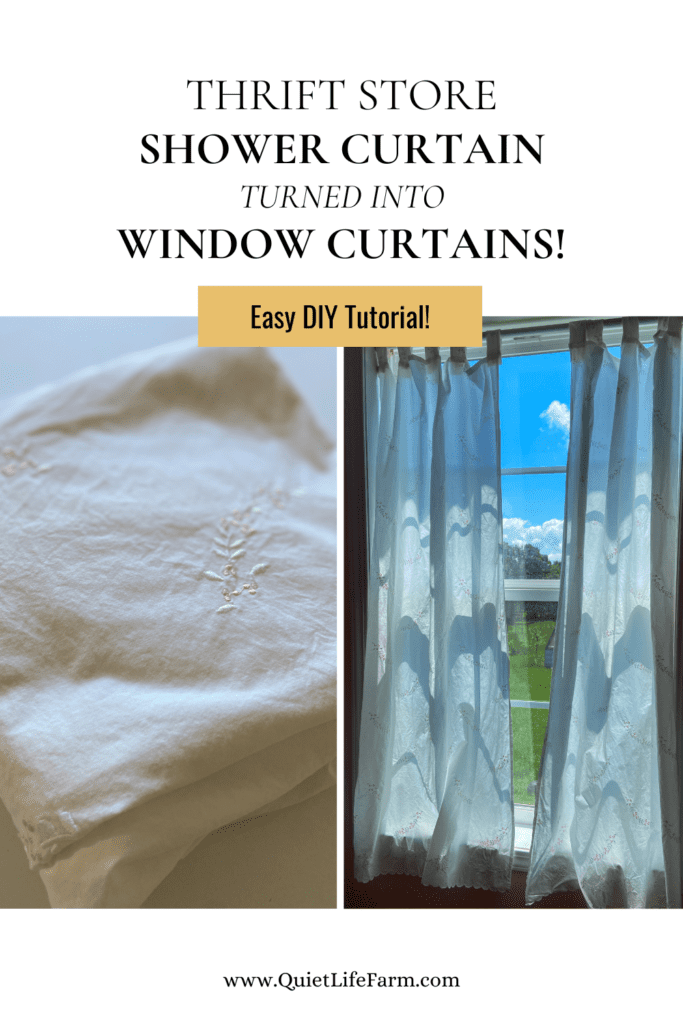
Best Budget Curtains: DIY Tutorial
Learn how to make curtains using repurposed thrift store linens!
Are you looking for some budget friendly curtains to decorate your home with?
Try looking in the linen section at your local thrift store! (you know, the towel and sheet section!)
Bed sheets, large table cloths, drop cloths, and shower curtains (like this one!) can all be transformed into beautiful hanging curtains for your home!
I created these two curtain panels for a total of $5. (and honestly — that’s more than what I normally spend on thrifted linens, but I fell in love with the pattern on this shower curtain!)
This was such an easy project. You really only need to know how to sew a straight line in order to make these!
While I used a shower curtain for this project, you can really use any large piece of “fabric” to make this style curtain.
The only other supplies you need for this project are a needle and thread, or a sewing machine! It really is that cheap and easy!
Repurposing objects in this way gives new life to an item that may have otherwise been thrown away!
Remember — not all fabric comes from the fabric store!
Let’s jump right in!
Happy sewing!
Disclaimer: As an Amazon Associate, I earn from qualifying purchases.
Step 1: Gather your supplies
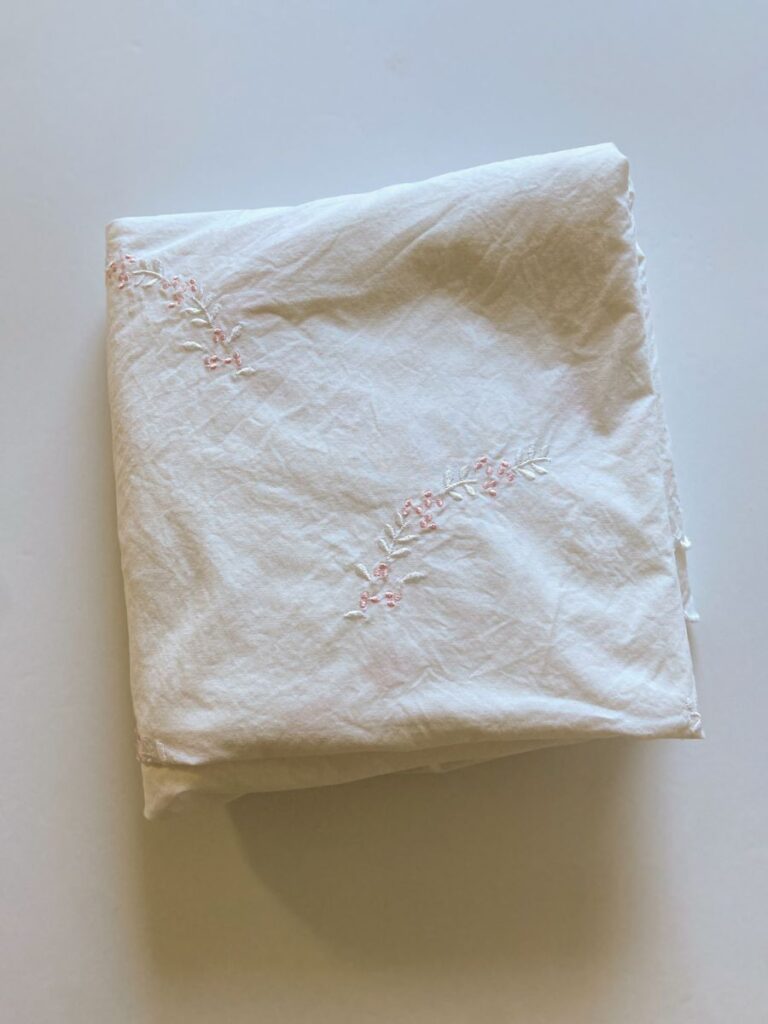
The first step is the most dreamy and the most fun — measure your window(s), then head to your local thrift store to pick your future curtains! (bring your measuring tape and window measurements with you!)
Find the linen section in your thrift store.
In some thrift stores, all the linens are grouped together in one spot.
In other thrift stores, the bedding may be in one section, while the tablecloths may be in another section (and so on).
Be sure you don’t miss any “hidden linen” spots! Take a quick look around the thrift store to make sure you don’t miss out on any good curtain material!
Once you find a print/material that speaks to you, go ahead and measure it.
You’ll want the material to be at least 10″ longer than the length of your window, and roughly twice as wide. (these are the measurements PER window!)
Think about how many windows you are hoping to have matching curtains for.
If you want to make matching curtains for multiple windows, it’s best to find a queen/king sized fitted and flat sheet set to be able to accomplish this! (yes, fitted sheets are just fine to use!)
Once you’ve purchased what you plan to repurpose into curtains, bring it home, and give it a good wash. Dry it thoroughly before you start working on your curtain transformation!
Step 2: Cut your fabric
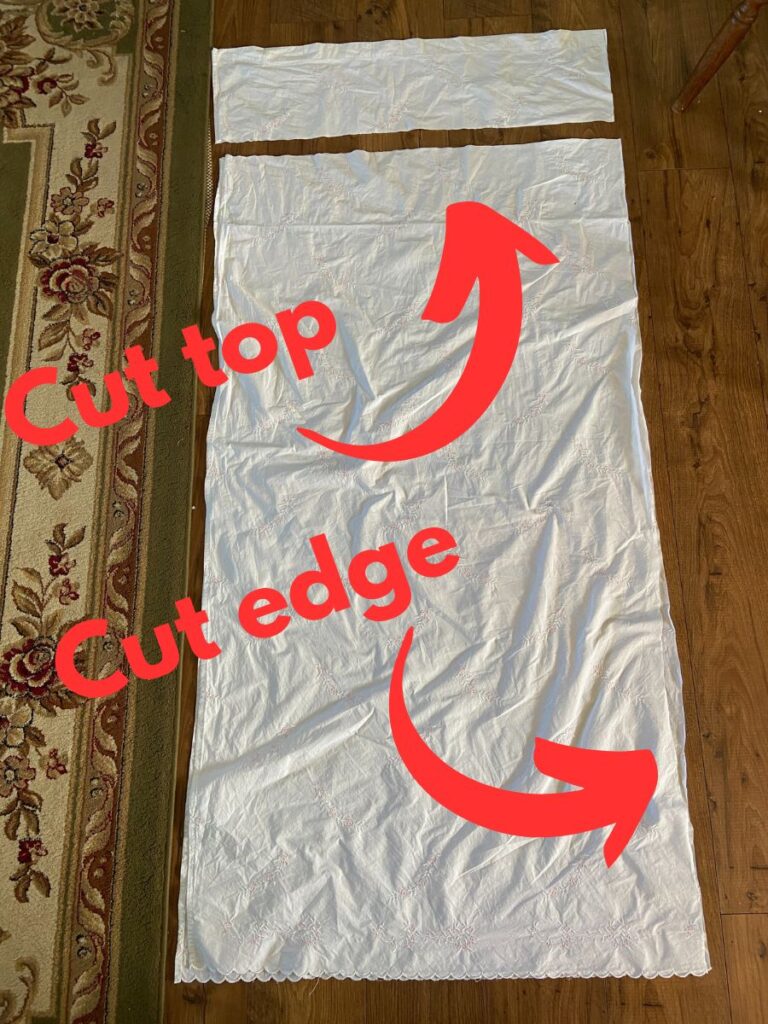
Next, you’ll want to cut your fabric.
First, two panels out as wide as you want them. You’ll want each (singular) panel to be however wide your window is.
So, if your window is 18″ wide, you’ll want each panel to be 18″ wide.
Then, it’s best to have a second person to hold up a “panel” in front of your window to figure out how long you want your curtains to be. Add 1-2″ length to your length measurement.
If your repurposed fabric already has a hem on the bottom, leave that hem in place and just add 1″ to the length measurement. If you will need to hem both the top and the bottom raw (cut) edges of your curtain panels, you will need to add 2″ to your length measurement.
For my shower curtain, I just needed to cut it in half lengthwise, and then cut off a bit off the top (see photo above).
Don’t throw out any leftover fabric yet! We’ll need it for step 4!
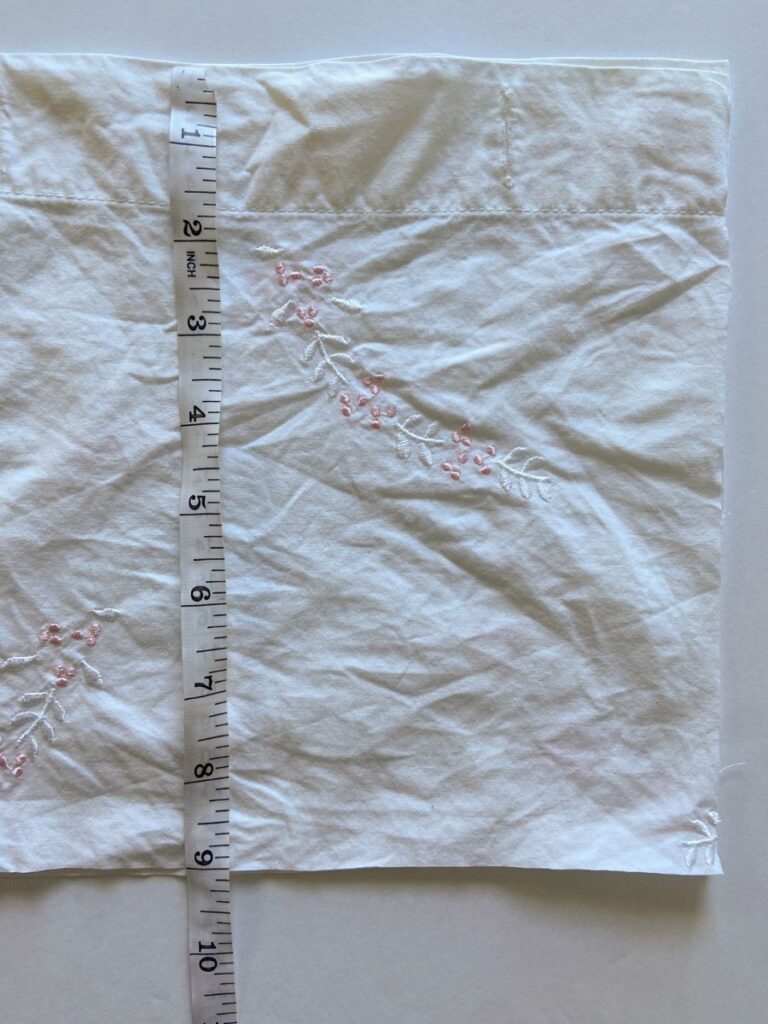
Step 3: Hem your curtain panels
Next, we’re just going to hem any raw edges of each curtain panel.
Any part of your repurposed fabric that you cut — that’s a raw edge. If we don’t hem our raw edges, they will look messy and fray.
Don’t worry. It’s super easy to sew a hem. Just fold over 1/2″ of the edge of your cut fabric TWICE, so that the raw edges are completely hidden. Then, sew a straight line.
Use a thread color that matches your curtain color so it blends in well!
Step 4: Create the Tab Tops
Next, you’ll want to sew the tab-tops for your curtains.
The tab tops are the fabric “loops” that will hold your curtain onto your curtain rod (while also keeping your curtain movable!).
This is what we’ll be using your leftover fabric for!
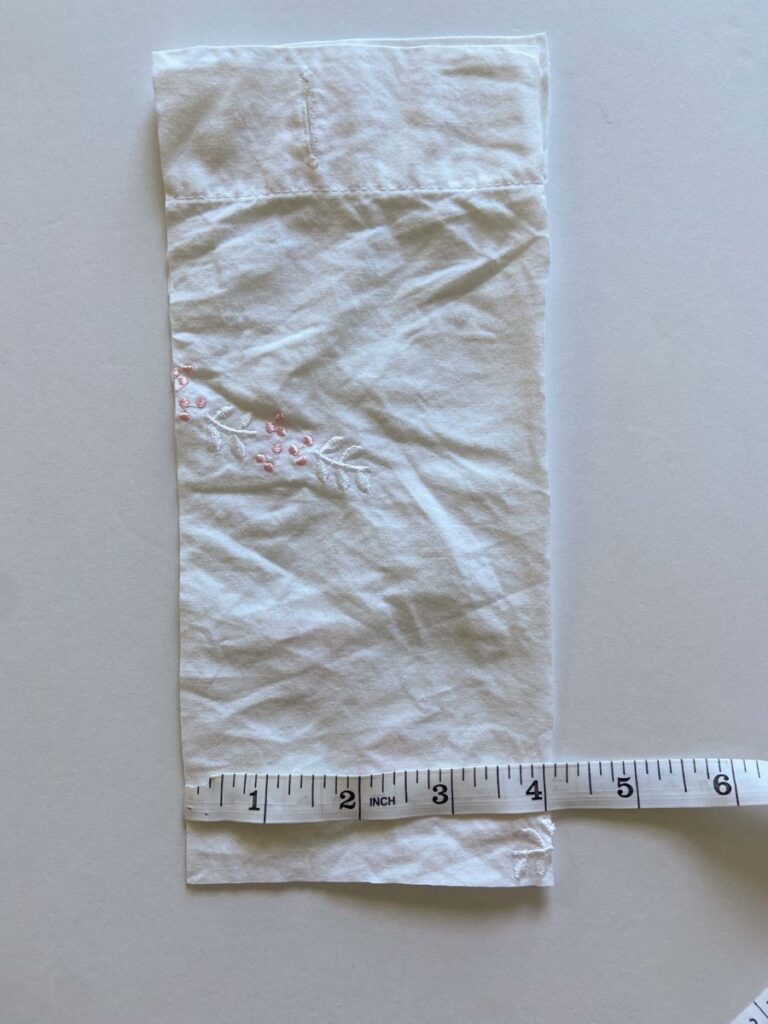
First, cut a strip of fabric that’s 9″ tall.
Then, measure the width of your leftover fabric, cutting at 4″ wide.
You’ll want 5 of these pieces for each curtain panel (10 for each window).
Hem any raw edges that are your 4″ wide edges. You do NOT need to hem your long 9″ edges.
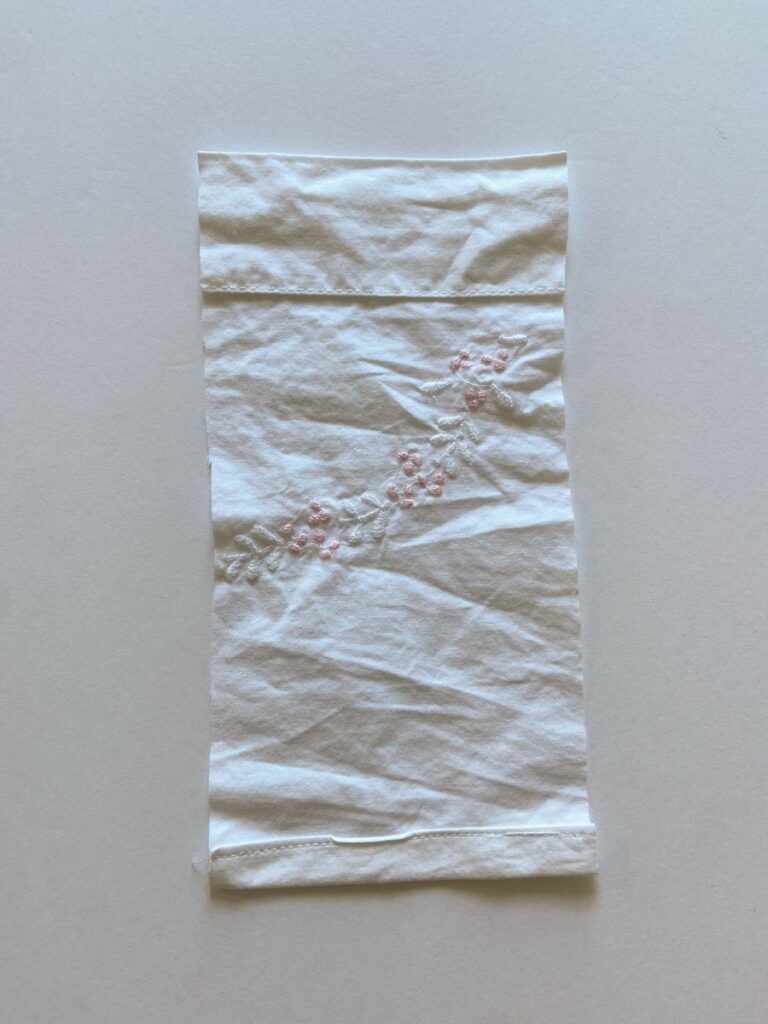
Again, for your hems, fold a 1/2″ fold over TWICE and sew in place. (this encases the raw edge inside the fabric where you’ll never ever see it)
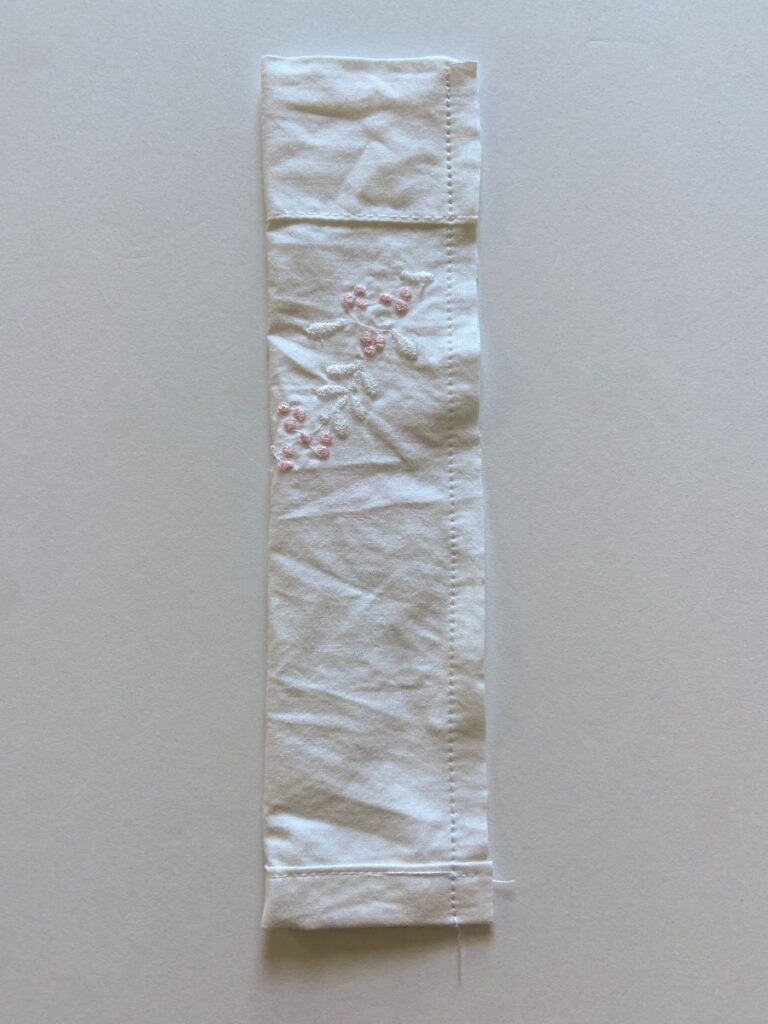
Next, fold your tab top in half, right sides together (so that the “ugly side” is showing, while the “pretty side” is on the inside of the fold), and sew longways, as seen in the photo below.
Use a 1/2″ seam allowance. On my sewing machine, this means lining up the edge of the fabric with the right edge of the presser foot.
Next, turn each tab top right side out. See how all the ugly raw edges are hidden in the inside of the tab now?
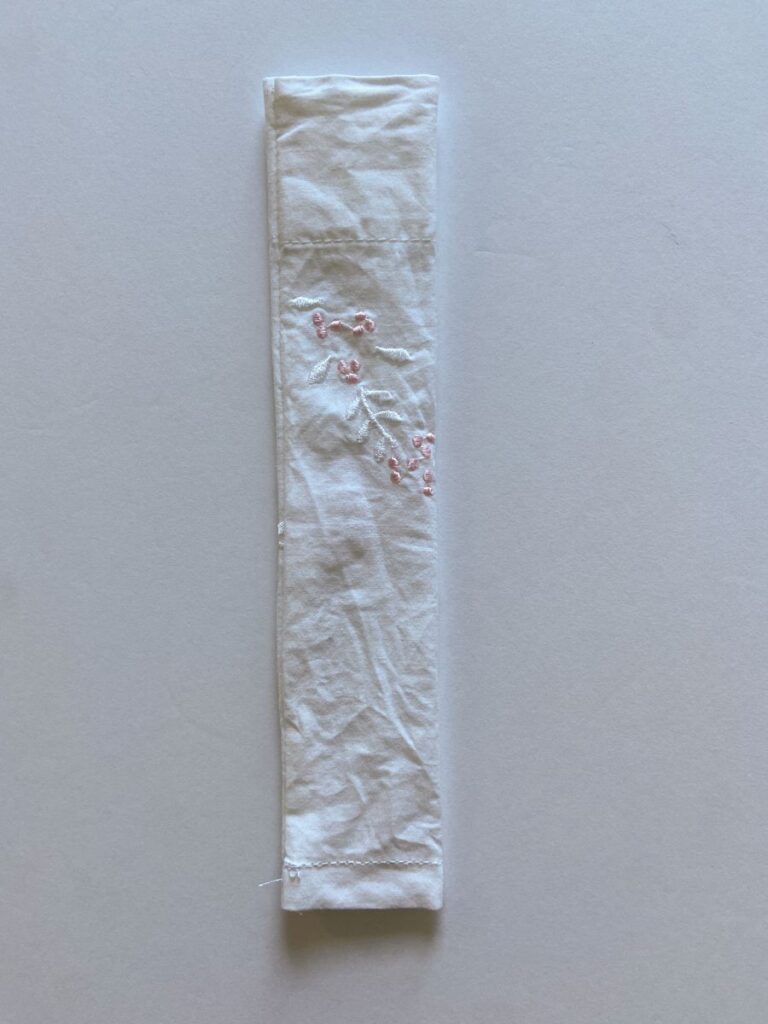
(And yeah. I should be ironing everything. But hey, this is a QUICK and EASY DIY project, right?? LOL)
Step 5: Attach the Tab Tops to your Curtain Panels
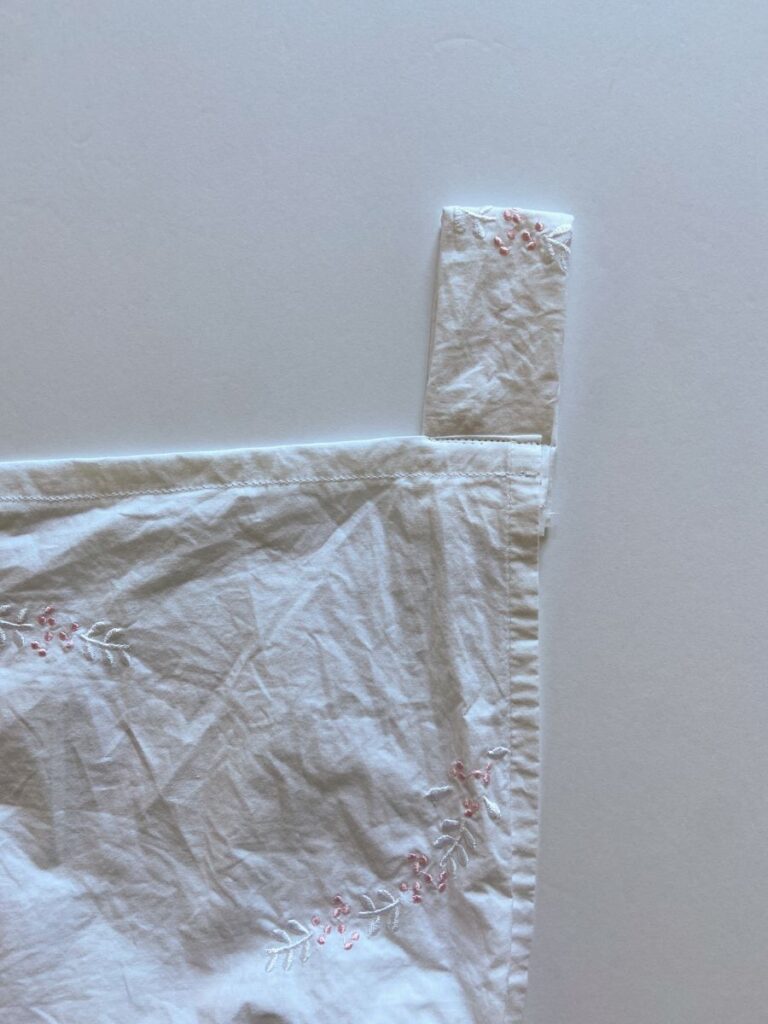
Next, we’ll fold each tab top down in half (think: more square, less rectangle in shape), and sew each “loop” to the top of each curtain panel.
You’ll want 5 tab-tops on each curtain panel (at least. Your window sizes and preferences will vary!).
Now. There is definitely an order you’re going to want to do this in to make sure your tab tops are evenly placed:
- First, put a tab top on each corner of your curtain panel.
- Next, fold your panel in half, mark the center, and put your 3rd tab top there.
- Lastly, fold the distance from the halfway tab top to each corner tab top, and place tabs #4 and #5 in between these spots.
Confused? No worries. I’ll number the order you should sew on your “loops” in the photo below. (Note: my curtain panel is a bit bunched up for this photo so that it would fit in the picture. Unlike how it appears in this photo, my tab tops ARE in fact spaced EVENLY!)
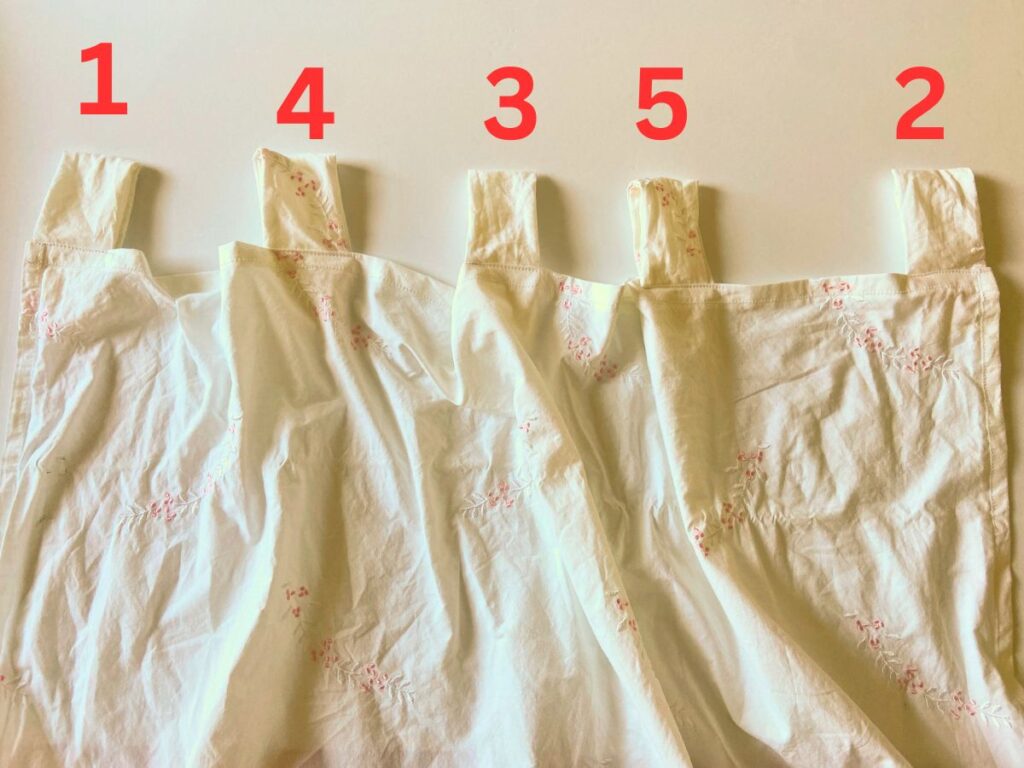
Oh! And make sure that your corner loops line up nice and straight with the edge of each panel! (see photo below!)
That’s it! Hang your curtains on a curtain rod!
I personally love this style rod because if for whatever reason it’s accidentally pulled off the wall, it won’t leave holes in your drywall! (speaking from experience. all moms will understand)
This is the exact curtain rod I own that’s seen in the picture!
Thanks for sticking around! Happy curtain making!
(Check out my blog for more sewing tutorials and patterns!)