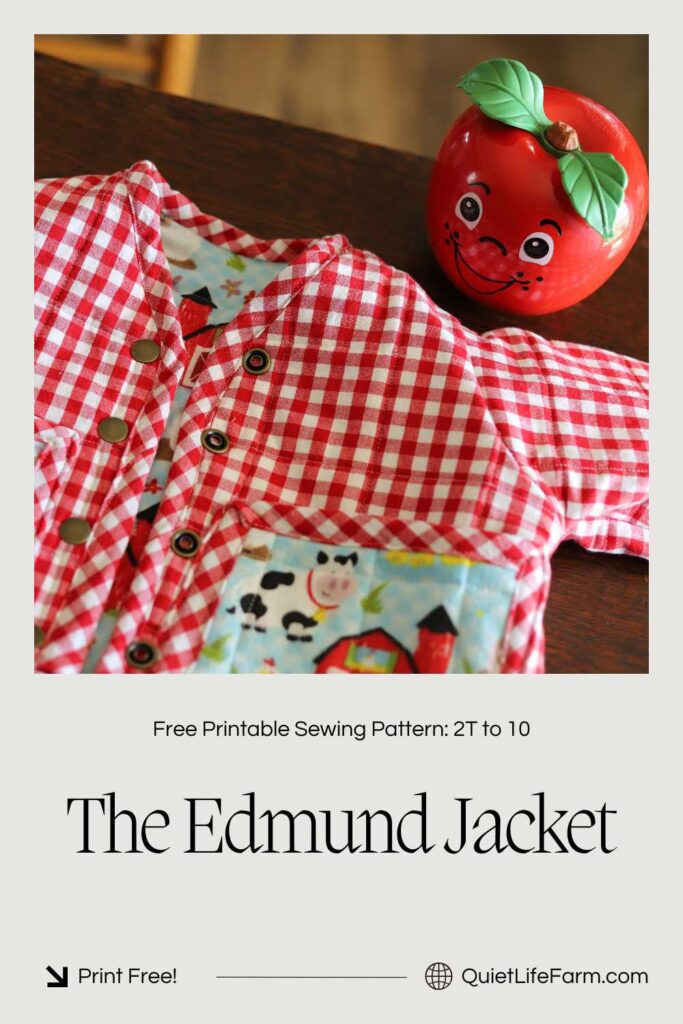
The Edmund Jacket: A Child’s Quilted Jacket (FREE pattern)
This free sewing pattern for a child’s quilted jacket comes in sizes 2T, 4T, 6, 8, and 10! I can be printed at home on standard A4 size paper! (plus — a video tutorial!)
As an Amazon Associate, I earn from qualifying purchases.
Today I am sharing with you The Edmund Jacket: my child’s quilted jacket sewing pattern.
This sewing pattern can be printed for free below and comes in sizes 2T up to a 10.
I have a written, photographed tutorial below, here on my blog.
I also have a complete YouTube tutorial, where you can make this jacket right along with me, step by step!
Also, here are the snaps I used for this jacket. I had zero frustration installing these snaps, so I had to share them right off the bat. (If you’ve ever used snaps before, you know what a big deal this is!) You can find them HERE!
Printing The Pattern
You can print the free pattern by using the form below. The tutorial for this jacket is found here on my blog, so don’t forget to come back to see how to make it!
This pattern prints on standard A4 size printer paper.
Make sure you print the pattern at 100% scale, not the “fit to page” setting.
You can test this out by measuring the 1″ square on the first page of your pattern to be sure it printed out at the right size.
Each page of the pattern has a large translucent grey number to help you keep track of what order you assemble your pages in.
There is also a guide on the instructional page that will help you make sure your pattern is assembled correctly.
Fold the margins, line up each page, and tape your pattern together.
Then, cut each pattern piece out in the size you need to make.

Cutting The Fabric
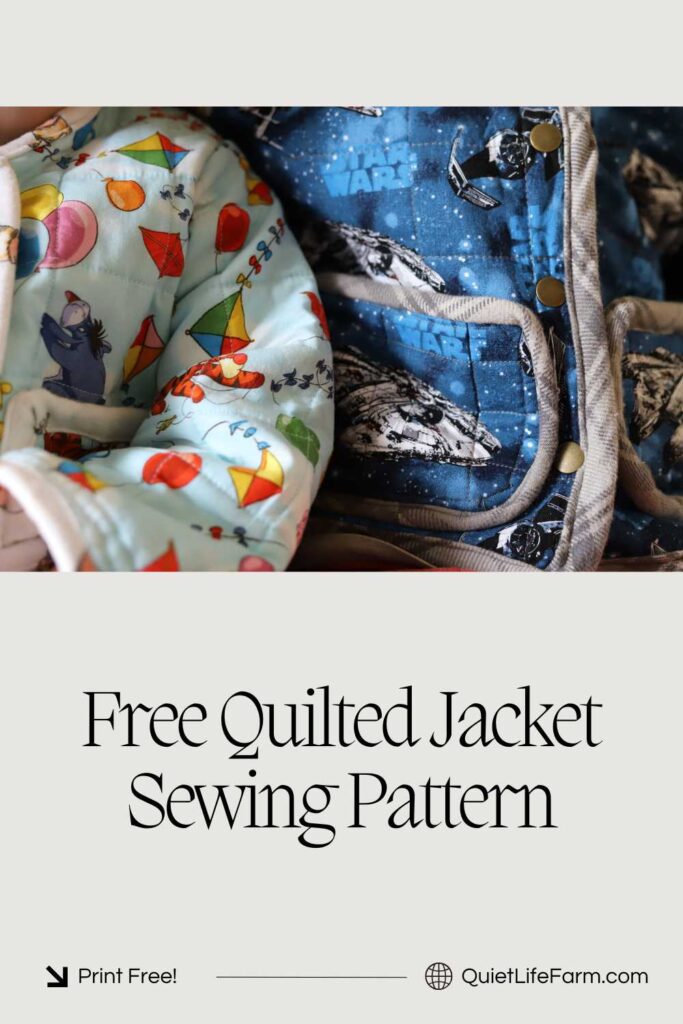
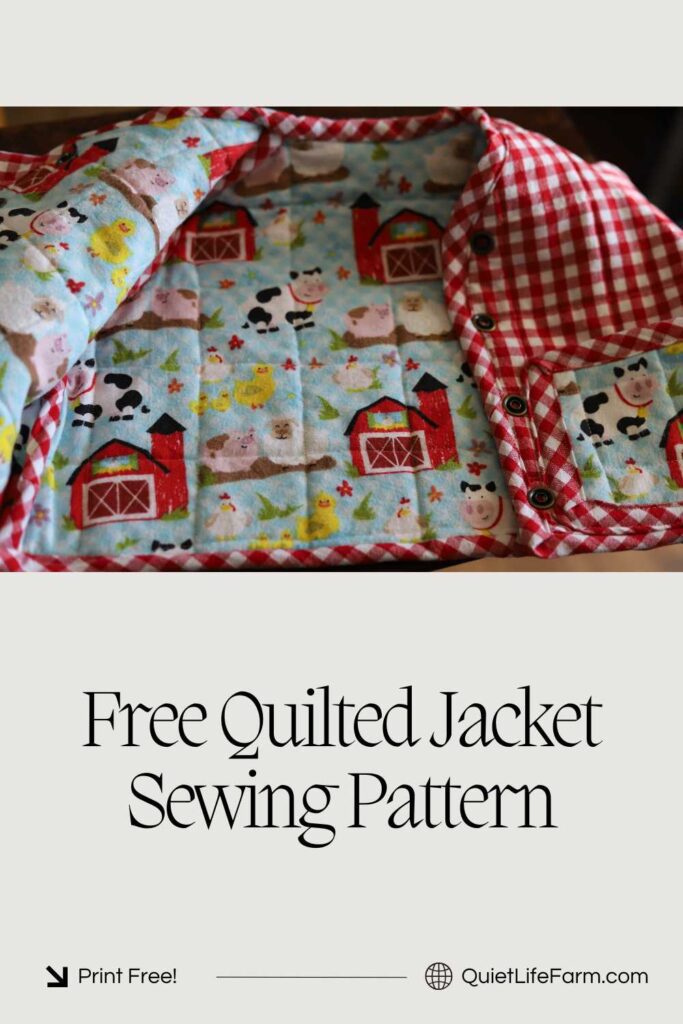
This quilted jacket is designed to be make with an outer layer of fabric, a nice warm layer of batting in the center, and a cotton flannel lining on the inside.
While this tutorial will be showing you how to make a quilted jacket from scratch, it would be very easy to skip the first part of this tutorial, and just cut into an old quilt to use instead.
Use your paper templates to cut out your outer fabric.
You’ll want “mirrored” pieces of fabric for your front bodice pieces, so flip over your template before cutting out your second front bodice piece. OR, fold your fabric in half before cutting out the front pieces of your jacket.
I did draft a different pocket size for each size in the pattern to keep them proportionate, but I personally prefer to just use the largest pocket size for all the sizes, from 2T up to the 10, just to give extra “pocket room” so that they’re still functional instead of just a cute detail on the smallest sizes.
You can also square off the curved bottom of each pocket if you don’t like using bias tape around curves. I enjoyed using both squared and curved pockets while testing out all the sizes of this pattern.
Cutting The Batting and Lining
When cutting out the batting and the lining, you’ll want to cut them out at least 1″ larger than the pattern piece, all the way around.

This will help make sure that your jacket doesn’t have any unnecessary shrinkage due to your fabric shifting around during the quilting process.
You will also want to make sure to flip that front bodice piece over while cutting out the second half of your front bodice.
These oversized pattern pieces do not need to be cut perfectly neat — you just want them to be large enough to overlap your outer fabric pieces. The batting and lining will be trimmed away later.
Iron!

Be sure that all of your fabric is very well ironed. You want all of your pieces to be flat as possible. I iron my batting, too.
Then, make a quilt sandwich with each set of your pattern pieces: the lining on the bottom, the batting in the middle, and the main outer fabric on the top.
Be sure that the wrong sides of the fabric are facing the batting, and that the pretty sides of your fabric are both facing outwards where they can be seen.
The Quilting Process
Next, use safety pins to hold your quilt sandwich into place, and use a quilting ruler and tailors chalk to mark where you want your quilting lines to go. I made very simple horizontal and vertical lines on my jackets, all 2″ apart.

Then, start sewing through all 3 layers of your quilt sandwich, starting with the lines in the middle and working your way out.

Keep your fabric as flat and tight as you can, and remove your safety pins as needed.
Work on your vertical lines first, then switch to your horizontal lines, also starting in the center and working your way out.
After sewing all of your pieces together, trim your batting and lining so that it lines up perfectly with your main fabric.

You’ll also notice during this step that it’s not necessary to snip your threads after quilting each line, because now you will be naturally cutting all your thread tails as you cut your batting and lining.
The Shoulders

Sew the shoulders right sides together using a 1/2″ seam allowance.
Then, use bias tape to conceal your raw edges at the shoulders.
I cut strips of fabric 2 1/2″ wide before ironing it for bias tape and used my leftover lining fabric so it would match the jacket perfectly.
Using Bias Tape
First sew the bias tape with the folds of the bias tape facing UP against the fabric.
Unfold one of the folds in your bias tape, keeping the edges of the jacket and that raw edge of your bias tape lining up perfectly.
Sew right in the fold of your opened bias tape.
Then, flip the jacket overt, fold the bias tape over to the other side, and sew it into place.
The Sleeves
Next, sew the curved end of each sleeve to each armhole, right side together.
Sew very slowly, stopping after each handful of stitches to shift your pieces so that the edge of the sleeve is always perfectly lined up with the edge of the armhole.
Then, sew on some bias tape.

Under The Arms, Down The Sides
Fold your jacket in half so that it resembles the shape of a jacket, and sew the arms all the way down the sides of the jacket.
Repeat for both sides.

You’ll want to trim off any of the bias tape you’ve already added that might be sticking out even farther than your seam allowance.
Sew on your bias tape just as you have for your other seams.

The Outside Edges
Now that you’ve finished adding bias tape to the inside seams of your jacket, you’ll want to add some to the outside raw edges of your jacket.
Start at the center bottom of the back bodice on your jacket.
Leave about a 6″ tail of bias tape. You’ll need this to neatly join the ends of your bias tape together.
First sew the bias tape to the lining side of your jacket, lining up the edge of your bias tape to the edges of your jacket, and the folded edges of your bias tape facing up.
Sew right in the fold of your bias tape.
Sew up the inner edges of your front bodice, around the neck, and all the way back down until you reach about 6″ away from the tail of bias tape where you started attaching the bias tape.
Corners

When you get to a corner, fold the bias tape away from the direction you want to sew, then fold it back down IN the direction you want to sew, leaving a tiny fold at the corner.
Sew right to that folded corner, as close as possible while being careful not to sew INTO the corner.
Then, continue sewing right at the other side of the corner, being careful not sew into it.

Joining Beginning And End Of Bias Tape
Now, you’ll want to cut your bias tape, leaving a second 6″ tail of bias tape, and then line these pieces of bias tape up neatly against the edges of your jacket until they meet each other.
Then, turn each tail of bias tape, one going up, and the other going down, so that the two tails of bias tape meet each other at a 45 degree angle.

Make a note of where this line is, and sew together right sides together to join together your bias tape.
Trim off the excess, then continue sewing the bias tape to your lining until you’re back to the beginning of where you first started applying your bias tape.
Turn your jacket to the outer fabric, and fold your bias tape over. Sew it into place all the way around.
Bias Tape At Wrists
Next. attach bias tape to your sleeves. (at the wrists)

Turn your jacket inside out and sew your bias tape to the lining side first, leaving a tail of bias tape at the beginning and the end.
Join your two tails of bias tape at a 45 degree angle, and continue sewing the rest of your bias tape to the lining side.
Turn your jacket right side out, and finish sewing the bias tape to each sleeve.
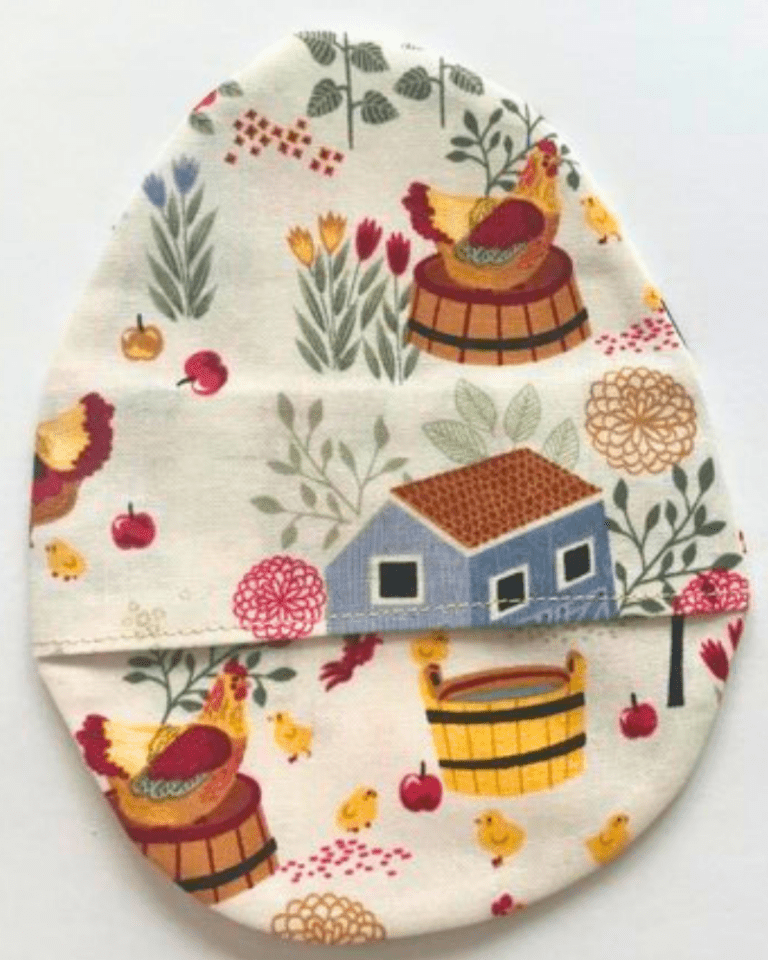
The Pockets

Next, we’ll attach the pockets to your jacket.
You can use the main fabric for the outside of the pockets, or the lining for a contrasting “pop.” For this jacket, I used the lining fabric for the outside of the pockets.
Sew bias tape to the pockets before pinning the pockets into place on your jacket and sewing them on.

Oh, Snap!
Here are the snaps I used. They went on without any issue, which is a big deal since I have had so many “snap woes” in the past with poor quality snaps.
I used snaps on the front of this jacket, but you can use buttons or toggles or whatever you’d prefer for the front of this jacket.

To install the snaps, you’ll have a little round metal piece to place under each snap, and a longer piece to help hammer each snap into place.
Hammer the half of your snap that has teeth through the fabric, using an eraser to allow the teeth of the snap to poke through your fabric without being flattened.
Then, attach the other half of your snap to it.
For the socket on your snaps, there is a very slight difference between the two sides.
If you’re unsure which side should be facing the stud, you can carefully attach it to the stud first, as only one side of it should successfully “snap” together.
Please be sure to check out all my other free printable patterns on my blog!


Happy sewing!

Thanks for sharing all your hard work!
If I am understanding correctly, the sizing guide is measurements of the finished garment in each size? I am real confused how to determine the size for my child. Do I use the measurement given to see if it would fit on my kid while using the tape measure? Or are the listed measurements in your chart meant to be the child’s measurements to determine the size like a typical pattern sewing guide?
Yes, they are for the finished garment! I have found that so many patterns give a size that isn’t what I feel is accurate to what a “store bought” size might be, so I thought it might be more helpful to see how the FINISHED garment lays on the body… I hope this helps! Happy sewing!
How do I cut the pattern if I want to me this is in 3T? I see there are lines for 2 and 4, so should I try to cut in-between? Thanks!
If you’re hoping to make it in a 3T, I would make it in a 4T and enjoy your little one having it for an extra year! I wouldn’t suggest cutting it in between as the sleeves might not line up correctly in the armholes etc.