Thrift Flip: How to Upcycle a Men’s Shirt into a Baby Romper
Here’s how to transform a button up shirt into a baby romper — no pattern needed!
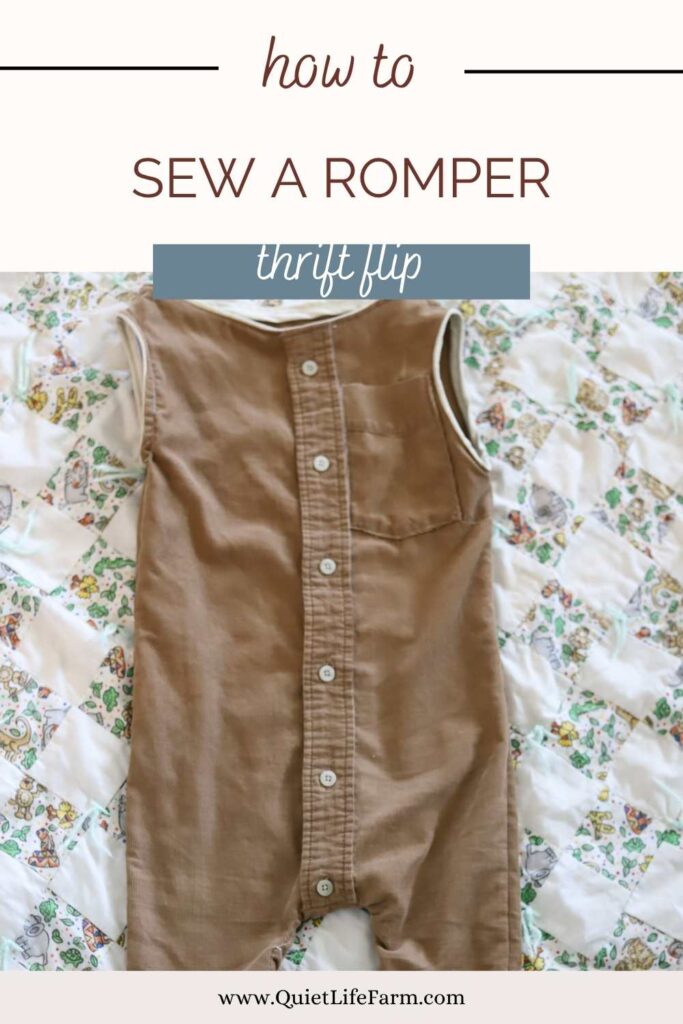
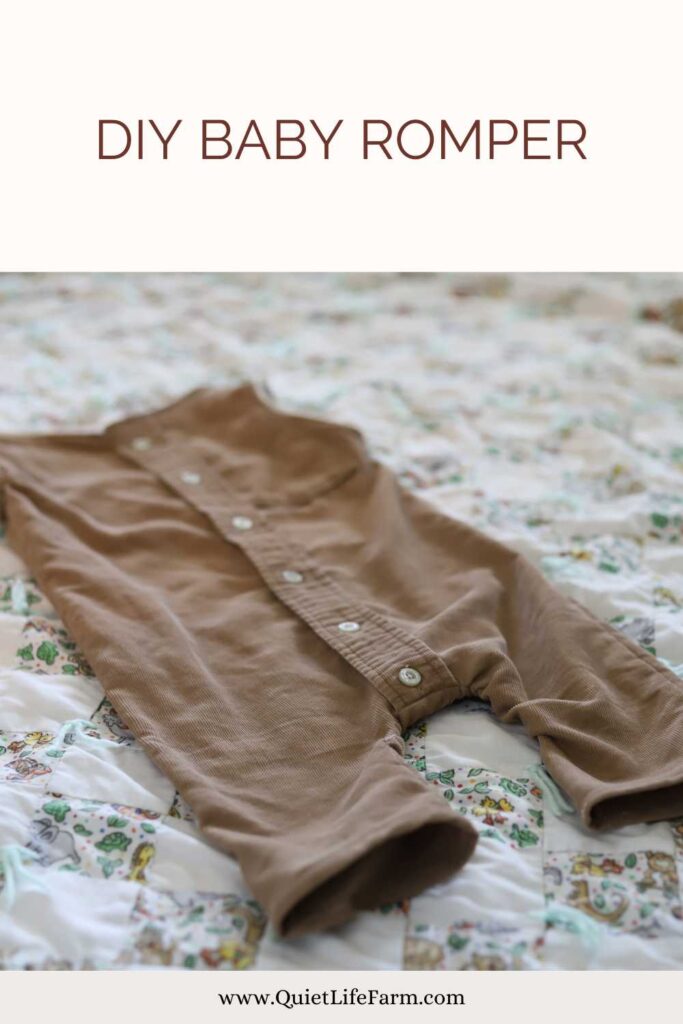
I recently picked up this men’s shirt from the thrift store.
It’s a nice and soft corduroy, and today I’m going to make a baby romper out of it.
You can watch me make this baby romper in a YouTube video, if you’d like!
This baby romper is simple to make.
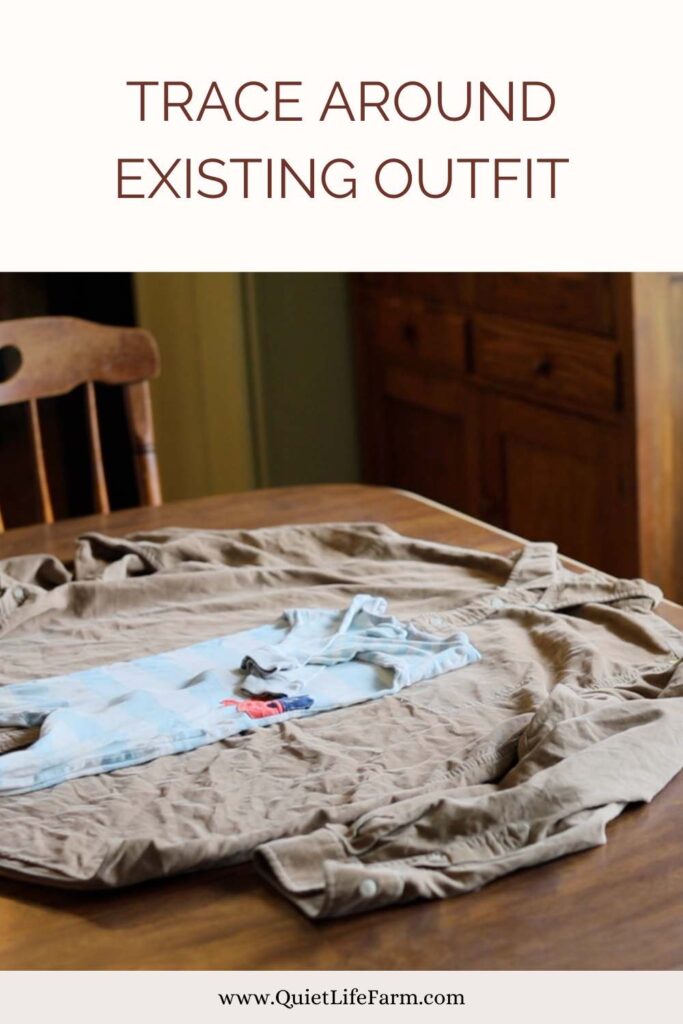
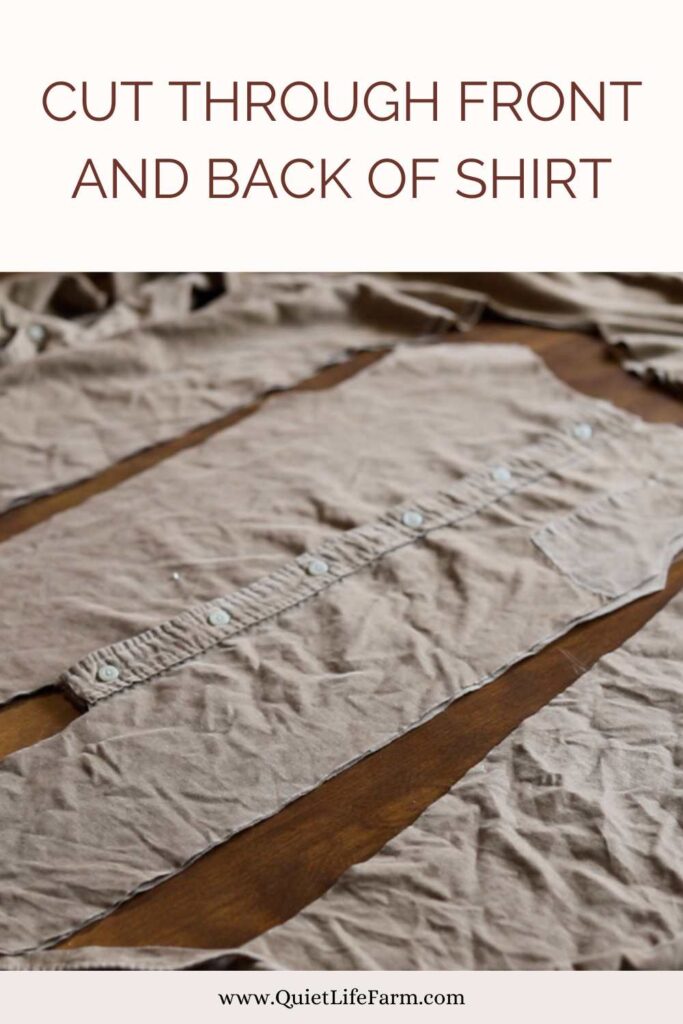
Button up your shirt and smooth it out on the table.
If your shirt has a pocket on the front, use your seam ripper to remove the pocket from the front of the shirt before doing anything else. Set the pocket off to the side — you can reattach it to the baby romper at the end!
Lay an existing baby romper in the center of the buttons, and trace around the romper, leaving an extra 2″ of space between the romper and your line.
Leaving the extra space gives you room to have a seam allowance, and also gives you a little room for error so that you can even it all out after cutting it out.
You’re going to want to trace a nice flat edge at the top of the shoulders, and a nice curved line for the armholes if you’re making a sleeveless version like I am.
I’ve also seen people draft these little rompers by using a baby shirt and pants to get the sizing needed instead of a pair of pajamas like I’m using.
If you use a shirt and pants, just be sure to line them both up in a way that will get the size you need, and be sure to still leave yourself that extra 2″ of space around the clothes.
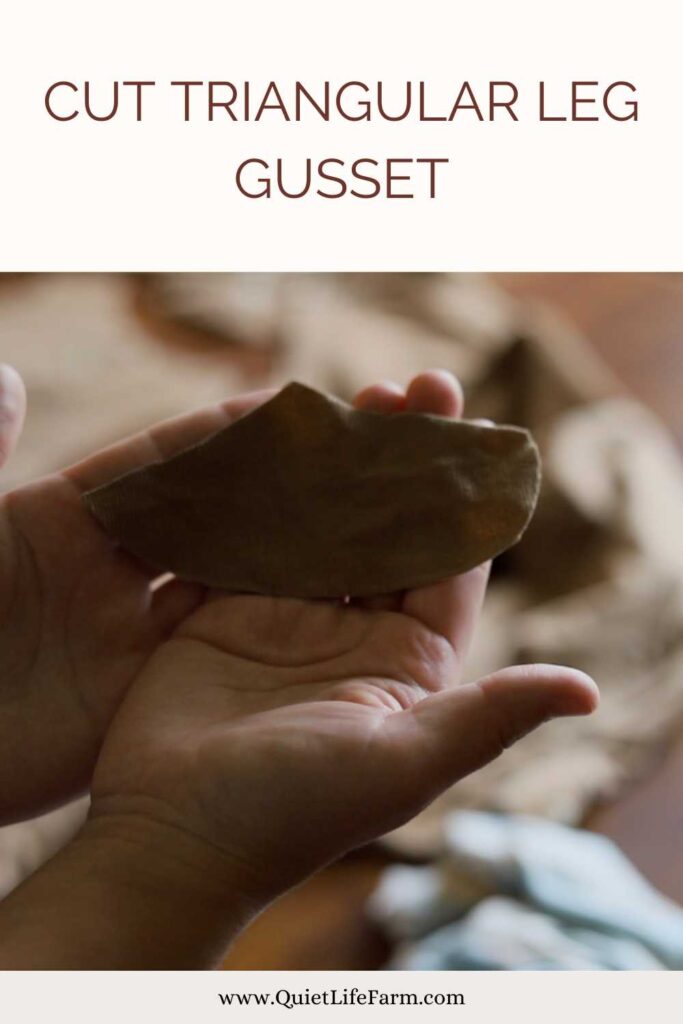
You’ll notice a little gusset between the legs the gives rompers a little extra movement.
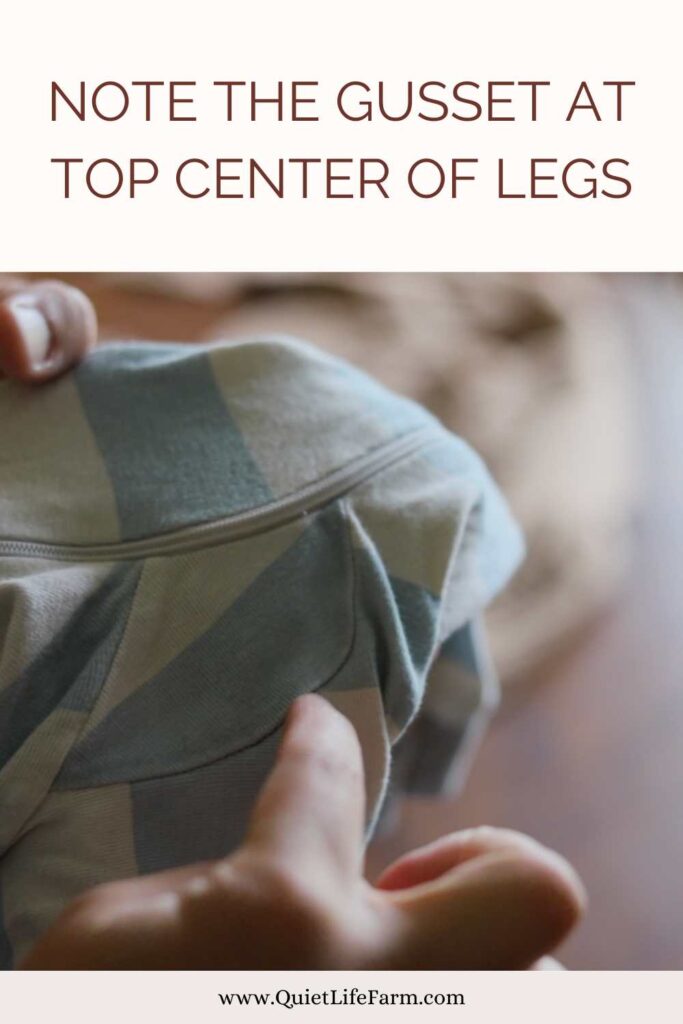
Replicate a gusset that looks similar to this.
Lay your romper pieces right sides together.
Sew the shoulders together, then the sides, and lastly the insides of the legs — attaching your “crotch gusset” in the center of the legs.
You can also use a French seam while sewing this romper together — that’s what I chose to do.
Turn the romper right side out and attach some bias tape to the arm holes and neck.
Fold the bottoms of the legs over twice to hem them.
I folded the sides of the pocket in a little to make it small enough to be reattached to the front of the romper.
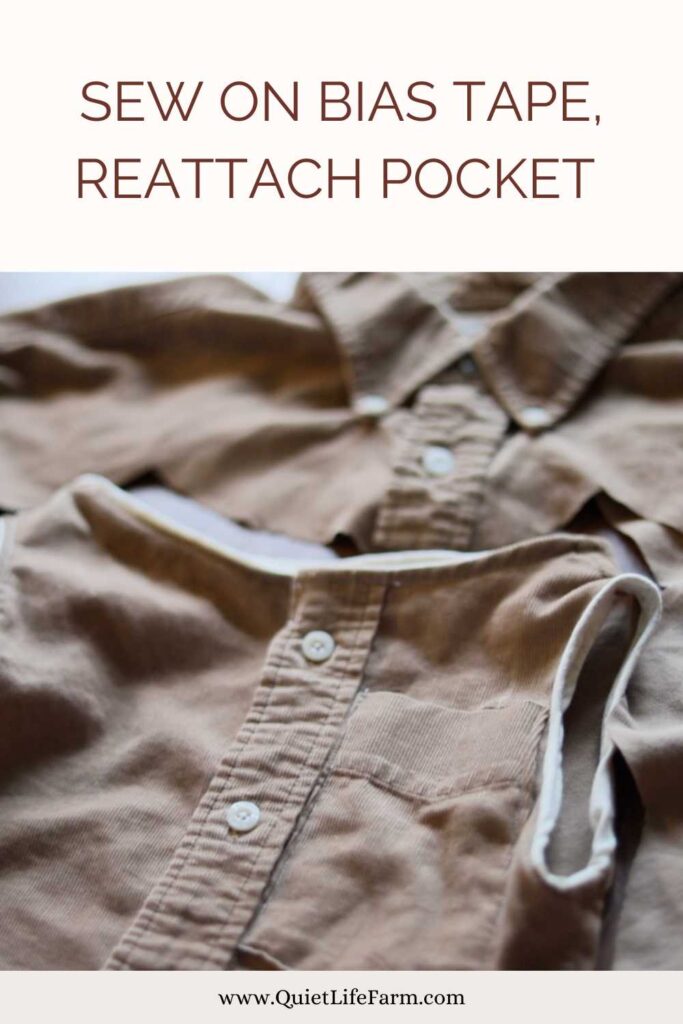
Reattaching the pocket to the romper added a cute touch, and helped hide the little stitching holes that were left behind when I initially removed the pocket from the shirt.
Happy sewing!