The Easiest Doll Sewing Pattern
The easiest Doll sewing pattern ever! This PDF pattern can be printed for free!
Disclaimer: As an Amazon Associate, I earn from qualifying purchases.
Today I’ll show you how to make the Easiest cloth rag doll ever!
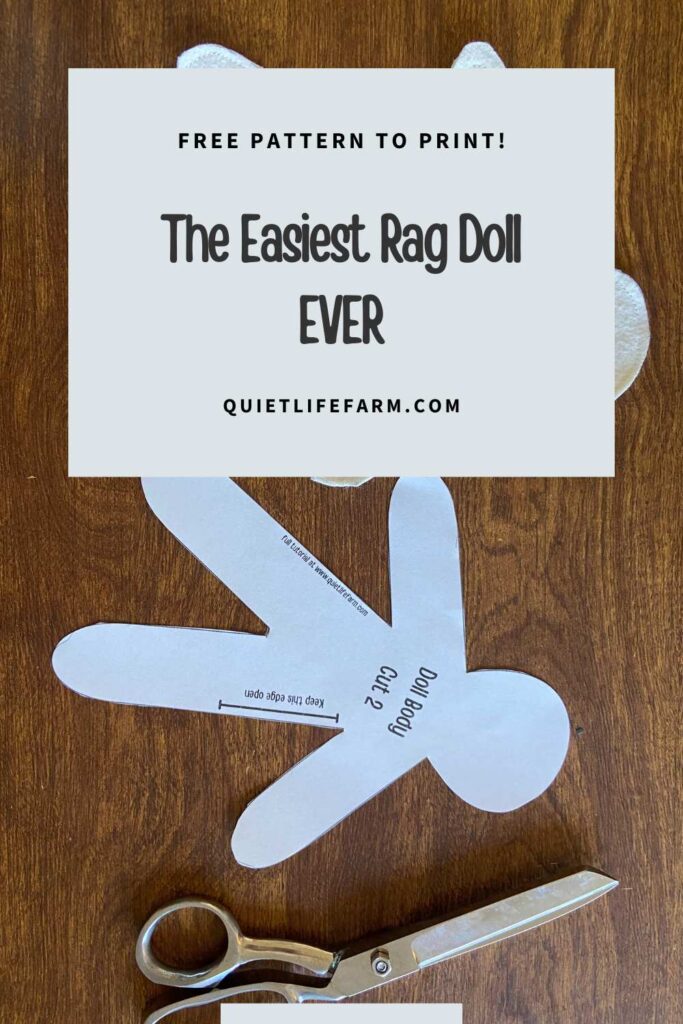
Print out your free PDF template below to make this doll!
The doll is just two easy pieces.
Sew the 2 pieces together, and your doll is practically finished!
Customize your doll any way you’d like.
This doll is so easy to make — it’s easy to make a bunch at a time for gifts, birthday party favors…anything!
I’ll also walk you through how to make yarn hair and a very easy outfit for this doll!
Let’s get right to it!
Supply List
To make this doll, you will need:
- Small amount of fabric for the body
- Wool to stuff your doll with
- A hand sewing needle and thread for the face and attaching the hair
- Yarn for the hair
- Sewing matching (optional)
- Scissors
- FREE pattern (print below!)
Print your pattern!
Pint your pattern below.
This is a FREE pattern!
The PDF will be sent directly to your email inbox — print it from there!
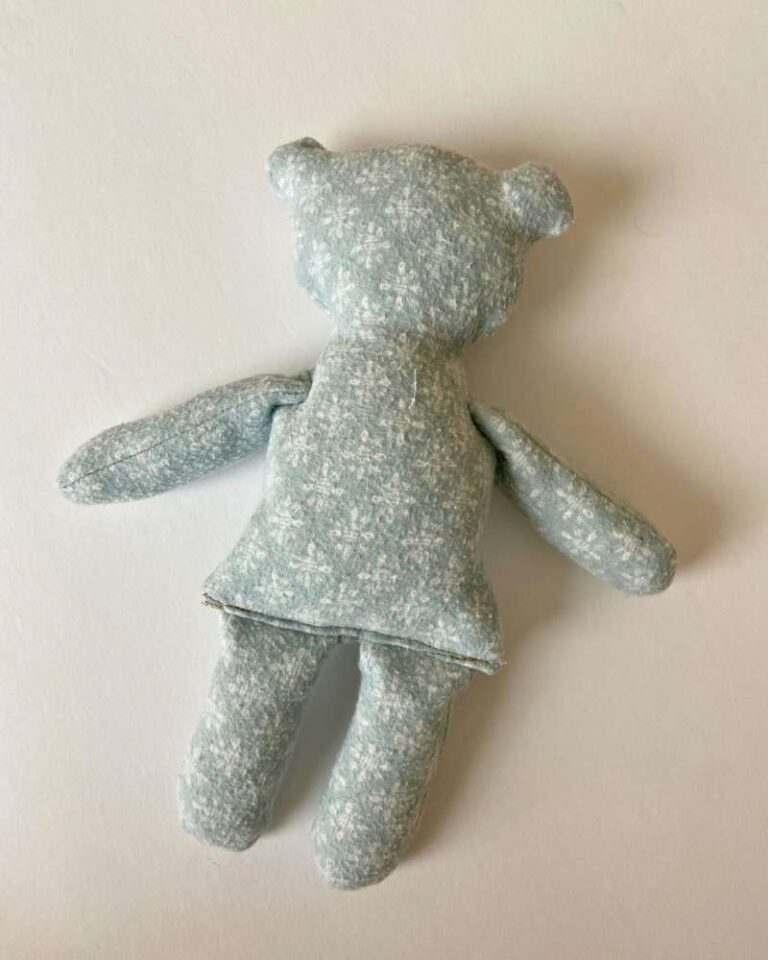
The Body
First, we’ll make the body.
Cut out two pieces of fabric.

Lay the two pieces of fabric right sides together.
Sew all the way around, using a 1/4″ seam allowance.

Leave the marked portion open.

Use the open portion of your doll to turn your doll right side out.
Stuff your doll firmly with wool.
A chopstick, pencil, knitting needle, etc. can help stuff your doll!
Use a hand sewing needle and thread to sew the open side of your doll closed.

I used a whip stitch to sew my doll closed.
Use your hand sewing needle to pull the ends of your thread inside the body.
Pull the needle out the other side of the doll’s body before cutting the thread short.
This will help keep your stitches strong!

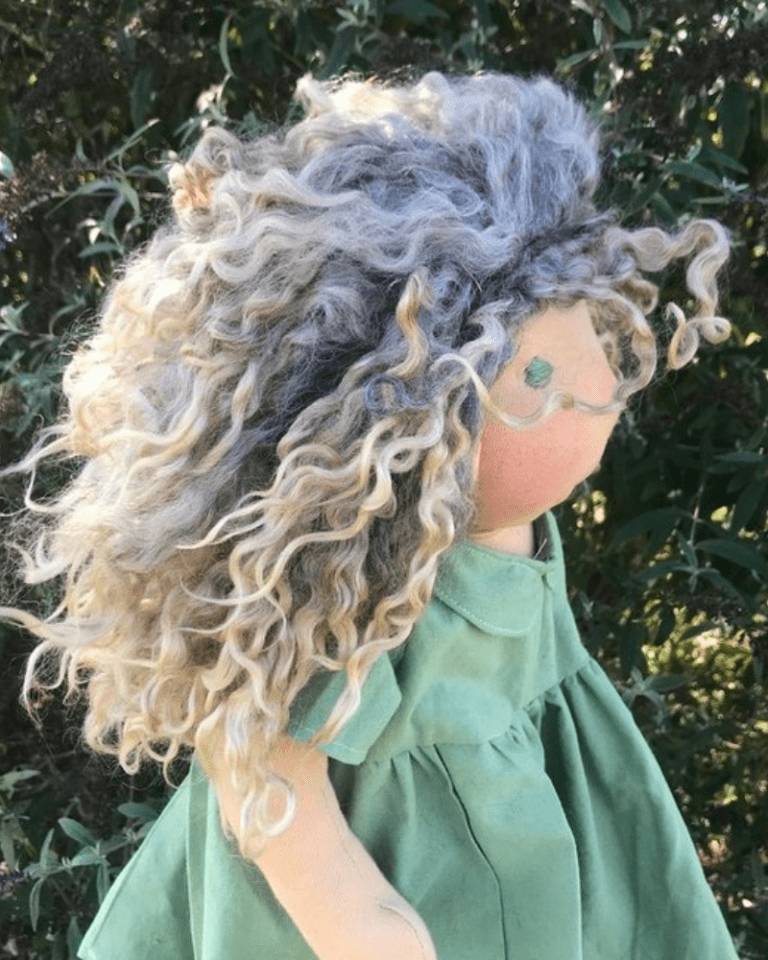
The Hair and Face
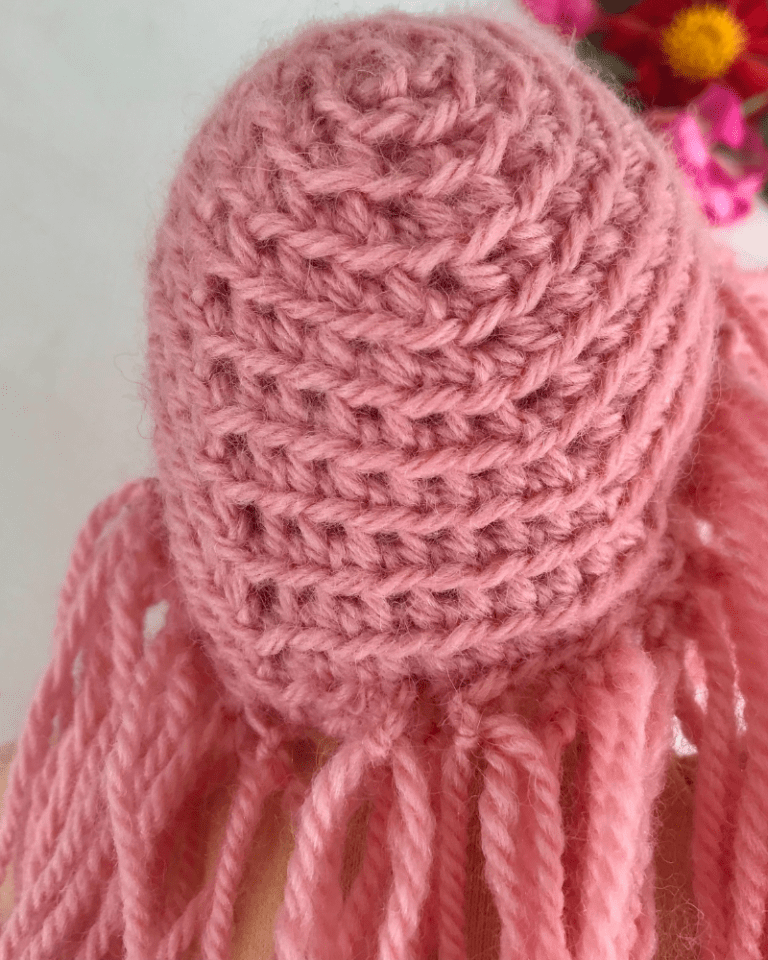
To make the hair for your doll, take equal pieces of yarn and line them up.
Make sure the hair is enough to cover BOTH SIDES of your doll’s head! (so — each strand of yarn should be DOUBLE the length of your doll’s hair!)
Mark the center of the length of your yarn hair.
Sew the yarn through your sewing machine to create a “part” in the center of the hair.

You can also lay the yarn on top of a piece of paper before sewing with it through your sewing machine. Some people find it easier to sew the hair this way. Just tear the paper off of the yarn when you’ve finished sewing it!
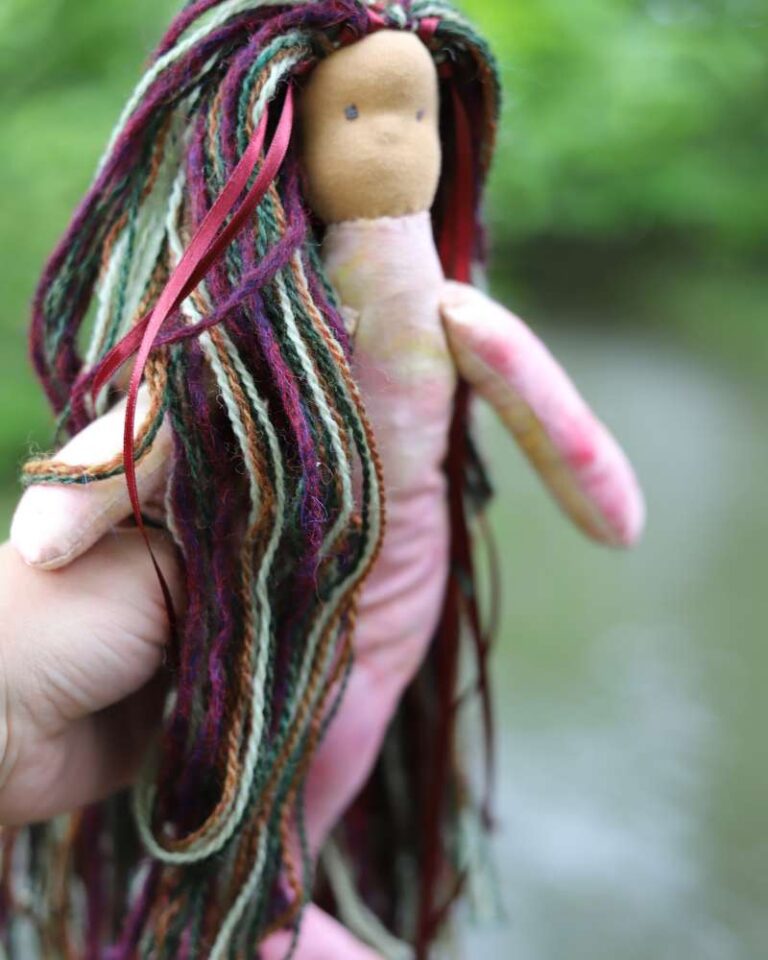
Use a hand sewing needle and thread to embroider a face onto your doll. You may first lightly mark your facial features with a pencil to be sure that you like how the face looks before drawing it on!

The Easiest Clothing Tutorial!
To make a dress for this doll, lay your doll on top of 2 layers of fabric.
Trace a dress shape around your doll, leaving about 1″ of space around each side — including the length of the dress and sleeves!

Cut out your dress.
Cut off the sharp corners from the bottom of the dress. (see photo!)

Use a 1/4″ seam allowance to sew your 2 dress pieces right side together, leaving spaces open for the head, arms, and legs.

Turn the doll’s dress right side out, and fold and hem all the raw edges on your doll.

Simple shirts and pants can be made in a similar way for this doll!


So cute! I want to make a couple of these as gifts!
Thank you, DJ! I’m so glad you like it!
Thank you. Will make a couple for little gael’s gifts.
That is so sweet, I know they will love their dolls! Happy sewing!
so how did you finish the sleeves? the doll looks small from where I am. how big is the doll?
thanks
looks great btw
Good morning! I just hem the ends of the sleeves so there are no raw edges. The doll is 8″ tall! Happy sewing!
Love it
💕💕💕
Love it. Quick easy fun
Thank you for your kindness, Dianne!
Thank you, I plan to use this pattern to make dolls to give away when I donate to homeless shelters in town or food bank in town. At Church on Christmas time, a tree filled with tags of children’s age for gifts is another thought.
What a blessing!!
I’m looking forward to receiving the free easiest doll pattern. God Willing, I’m planning on making it and donating some to homeless shelters & Christmas tree children’s name tags for gifts.
That is such a beautiful purpose for these dolls! Thank you for sharing this with me!
hi emeline
Hello! 💞😁
This looks nice and easy especially for me. Please could you email me the pattern.
Kind regards
Delyce
Absolutely! I just sent it to your email for you! Have a wonderful day!
Looking for pattern for little rag doll.
Good morning, Bonnie! There is a form on the page for the rag doll pattern, but I went ahead and emailed it right to you for you! Happy sewing!
Oi eu queria muito um molde de boneca de pano antigo, com traços de feito por vó então encontrei vc e seu molde. quero trazer de volta as brincadeiras (para tirar as crianças das telas) vou fazer algumas pra feira ” nos trilhos da arte em canela RGS” obrigada por dividir teus conhecimentos.
Thank you for your sweet comment and for sharing your heart with me! I hope you have a wonderful time making this doll — and yes, I agree that time away from screens is time well spent! Happy sewing!
thank you so much for this free pattern and your directions for creating it. I look forward to making her and some clothes as well.
Thank you for your kindness! I am sure she will turn out beautifully, especially with the wardrobe you have planned for her!
How do I print the doll pattern? I can’t find anything to print.
Hello, Ruth! There is a form titled “Get your free doll sewing pattern!”
I’ve gone ahead and sent it to you myself!
Happy sewing!
I would love to receive this pattern. I have been looking for small doll pattern to make Christmas carolers for what I call my Nativity table. I have my Nativity set sat out, with diy homemade lamp posts, and I want carolers to stand by them as if singing praises to our King. Since I believe that this is what Christmas is all about, the birth of Jesus, then I want to emphasize it in my home decor. These dolls are the perfect size. Thank you.
What a beautiful and meaningful way to celebrate the birth of the Savior! The pattern is right under “print your pattern!” but I have gone ahead and emailed it to you myself. Check your “promotions inbox” — they usually end up there! Happy sewing!
Very cute! You can also use paint pens to add the features if you’re a lazy hand sewer like me. 😁
I love the idea of paint pens!! We recently made a huge batch of these for a party and I laid out thin paintbrushes and paint, plus markers for the littlest ones! Parents and kids alike really enjoyed making them! It was a lot of fun!
Thank you for the free pattern. I’m working on changing up the pattern to have some clothes on before the doll is sewn. then it will also be easy to add a skirt or dress.
That sounds delightful! I’m so glad you’re enjoying the free pattern!
Hi
I would love this doll pattern please? It hasn’t arrived in my inbox yet.
Thank you
Hello! Check your “promotions folder” (sometimes called “greymail”) sometimes my freebies end up there!
Thank you for this cute idea for my granddaughter
Thank you so much for your kindness! Your granddaughter will be so blessed to have a dolly made by her grandma!
Love this pattern. Thank you so much
Thank you, Elizabeth! That is so kind of you to say! Happy sewing!
Gracias por compartir el patrón detesta bonita muñeca Unicef
[email protected]
Thank you, Blanca! Happy sewing!
Thank you. My dolls will be made for charity. God Bless
What a blessing to make them for charity! Thank you for sharing your plans with me, Barbara!
Can’t seem to get your free doll pattern
The PDF pattern comes by email after filling out the form — if you don’t see it, check your Promotions Inbox (sometimes my patterns land there!) or feel free to message me and I can help 💛
This is the cutest little doll and the dress is adorable. I can’t wait to make some for my great granddaughter. Thank you for the pattern.
Thank you, Katie! How wonderful to have a great granddaughter! She surely will treasure the dolls you made her forever, how precious to give her something made by YOU!
thanks
the doll pattern is perfect for my grandchildren 2 girls.
o
How precious for you to make them for your granddaughters, what a blessing!
I love the simplicity of your patterns. The are just like my mama use to make us. We were very poor, but she always made us pretty dresses and toys we loved. I have no little grandchildren, but I like to give them away to children of friends.
Thank you so much for sharing with me! What wonderful memories of your mother. I started making toys for my own children wanting to give them something special but not having the budget to do so…which is why I’m so happy to now share my patterns for free! The children you are sharing your handmade toys with will treasure them forever, thank you for your heart for little ones!
Thank you for the free patterns. They are so sweet.
Thank you for your kindness! I love being able to share my patterns for free with others, it is always so encouraging to hear from each of you!
Good evening,
I just found your site and love this simple doll.
Our ladies ministry started sewing last Christmas the pillowcase dresses for Samaritan boxes and I would like to add a little doll for each dress. We were told not only do these little girls never get a dress they don’t get dolls either.
That is so sad.
Maybe in a small way we can change their lives❤️
Thank you for sharing.
Richmond, VA
Hello, Susan! Thank you for your beautiful comment. That warms my heart! Thank you for the kindness and love you are pouring into these little girls. You are a blessing!
I would love the pattern. I make book pillows and have been adding a pocket for a “book bunny.” Now I can make book buddies (either boy or girl). I’m so excited for this. Thank you for sharing.
How very precious!! You sound like you have such a fun project planned!! I have sent you the free pattern — please check any “promotional inbox” your email provider might have.. sometimes my freebies end up there!
I just received and printed out the pattern. Thank you so much. I’ll send you a photo after I’ve made a few. Have a blessed day!