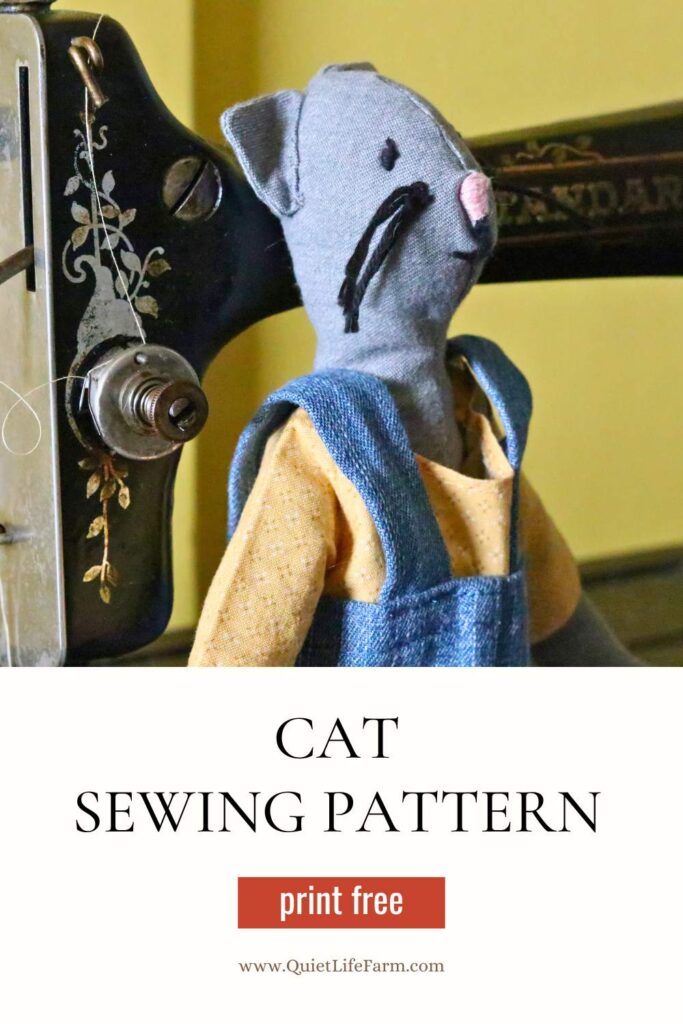
FREE Plush Cat Sewing Pattern adorable DIY stuffed animal
Keep scrolling to print your FREE stuffed cat sewing pattern, plus I walk you through the entire process of how to make it!

I have always been quite the cat lover.
Somehow, I have acquired five of them currently living on my farm.
Oops!
But I’m truly not upset. Who couldn’t love a cat? (or five…)
Anyway, I’m happy to share with you my free sewing pattern for this sweet kitty cat! It’s available as a digital download sent instantly to your email.
You don’t need to be an expert to make this kitty — someone with a basic sewing skill level can accomplish this project.
The low-difficulty level of the pattern makes this a great project to do right along with your child! It’s a great opportunity to help them learn how to sew!
So, print out your pattern below (it’s in PDF format), then come back to the blog for detailed instructions on how to make it!
Enjoy your cat plushie sewing pattern! Keep scrolling for your step-by-step instructions!
List of Materials:
- Cotton Fabric
- Hand Sewing Needle and thread
- Sewing machine (optional)
- Wool/Fiberfill
- Embroidery thread for the face
Print your pattern
Print your pattern below. It’s a digital sewing pattern!
The pattern comes as a PDF file.
This way, you can easily and safely print out your plush sewing pattern!
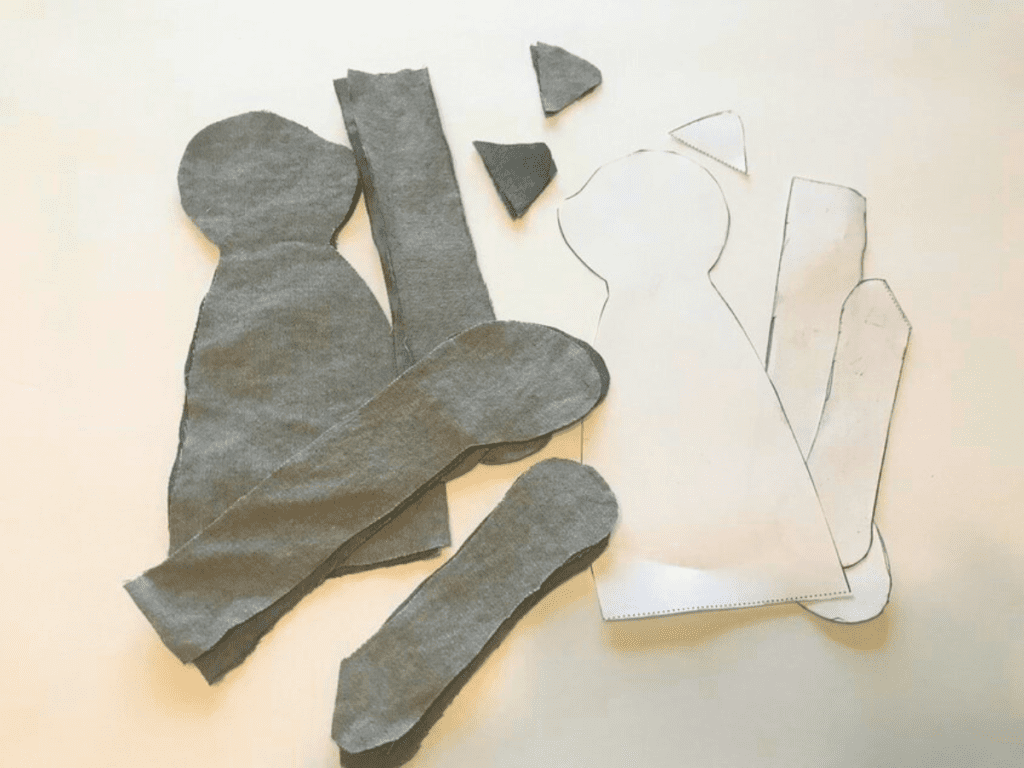
Cut and sew your plush pattern!
Cut out your pattern, then fold your fabric in half before cutting out your fabric pieces.
By folding your fabric in half, you will create a “right side” and a “wrong side” to each body piece.
You should have 2 total body pieces, and 4 total arm/leg/ear pieces. Each “set” should have a “right side” and a “wrong side.”
Again, that’s:
- 2 Body Pieces
- 4 Arm Pieces
- 4 Leg Pieces
- 4 Ear Pieces
Make sure each “set” of 2 pieces has a pair that’s a mirror image of the other!
Next we’ll start sewing our happy cats together!
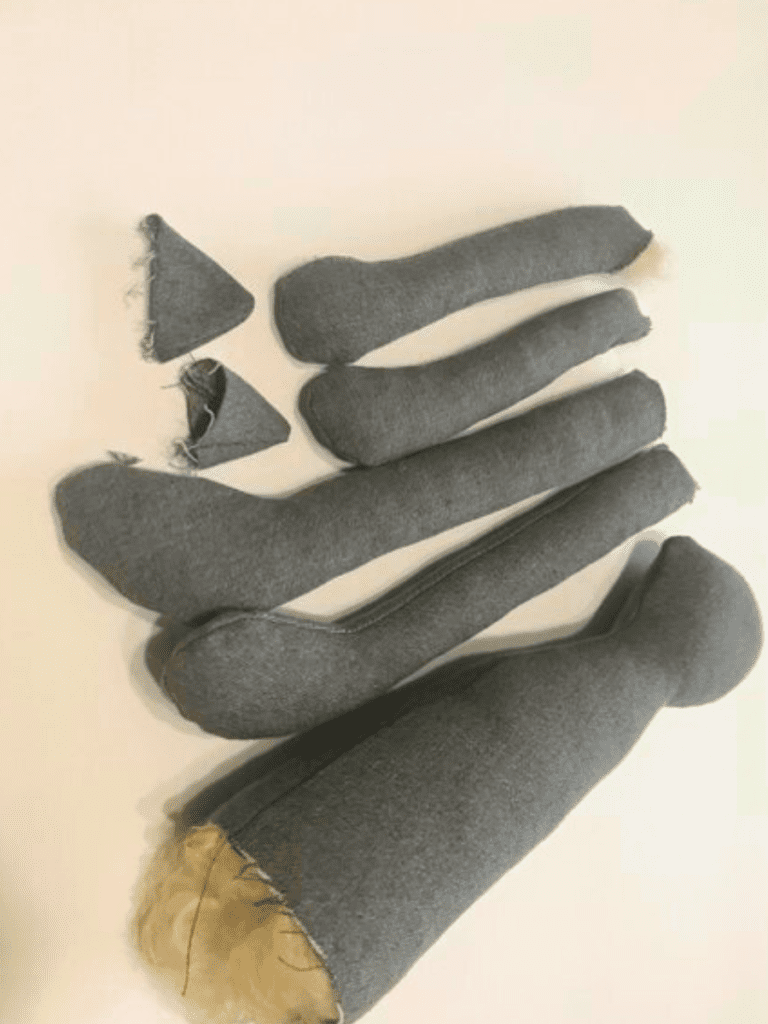
Note: Use a 1/8″ seam allowance when sewing this pattern.
With right sides together, sew your pattern pieces on a sewing machine, leaving the edges with the dotted lines OPEN.
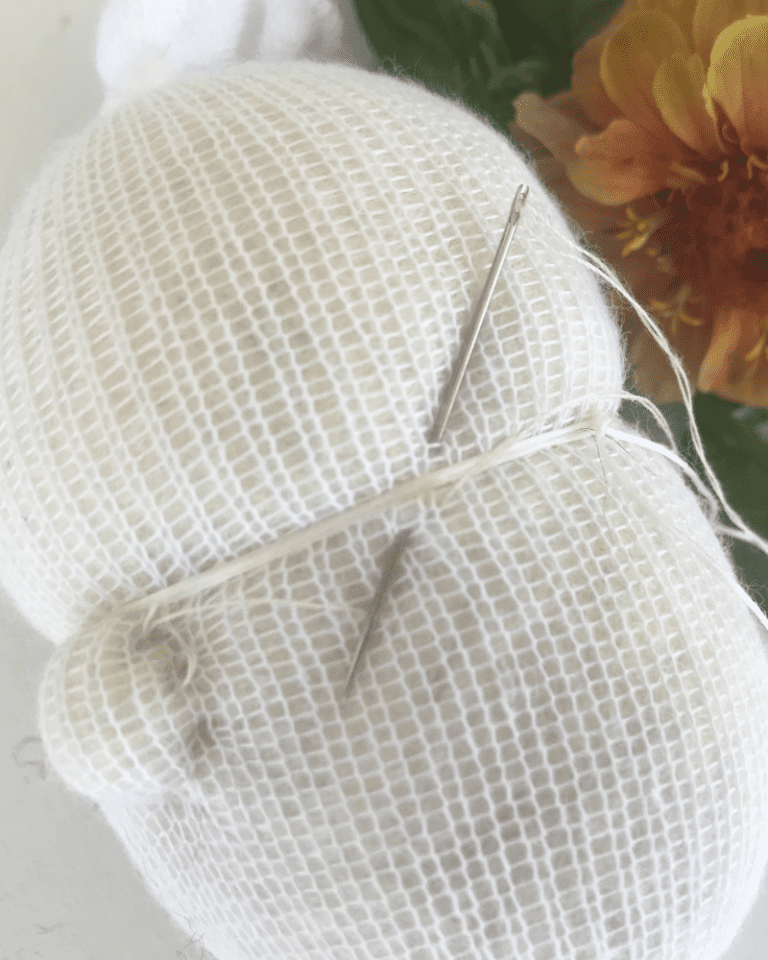
Stuff your pieces with wool/fiberfill.
Note: I love using wool for toys! Wool is an excellent natural alternative to plastic fillers in toys. It adds a great natural weight and warmth to the toy, and it also holds its shape extremely well over years of play and love!
Do NOT stuff the ears (unless you want some fluffy cat ears, which is fine, too!)
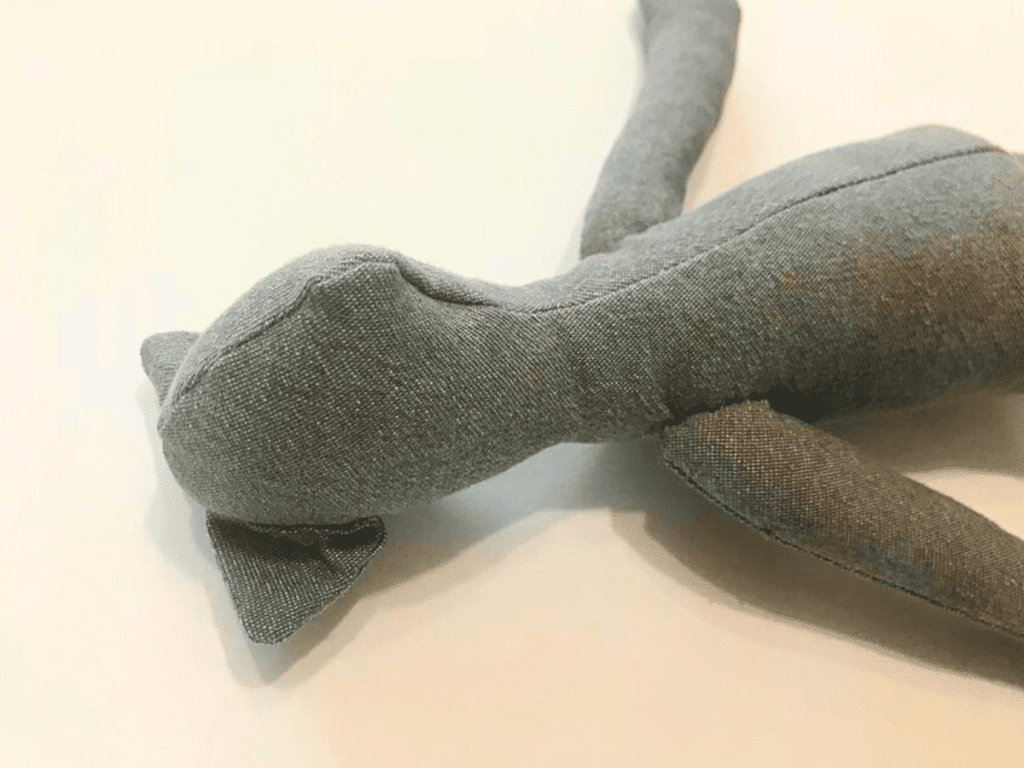
It’s best to hand sew the next part.
Sew the arms closed. It’s not necessary to sew anything else closed at this point.
Attach the arms and ears to the cat. Use a hand sewing needle and thread. The thread should be a close match to the color of fabric you chose so it doesn’t show too much!
Tip: Use a ladder stitch when hand sewing plush toys. It makes everything look much more professional!
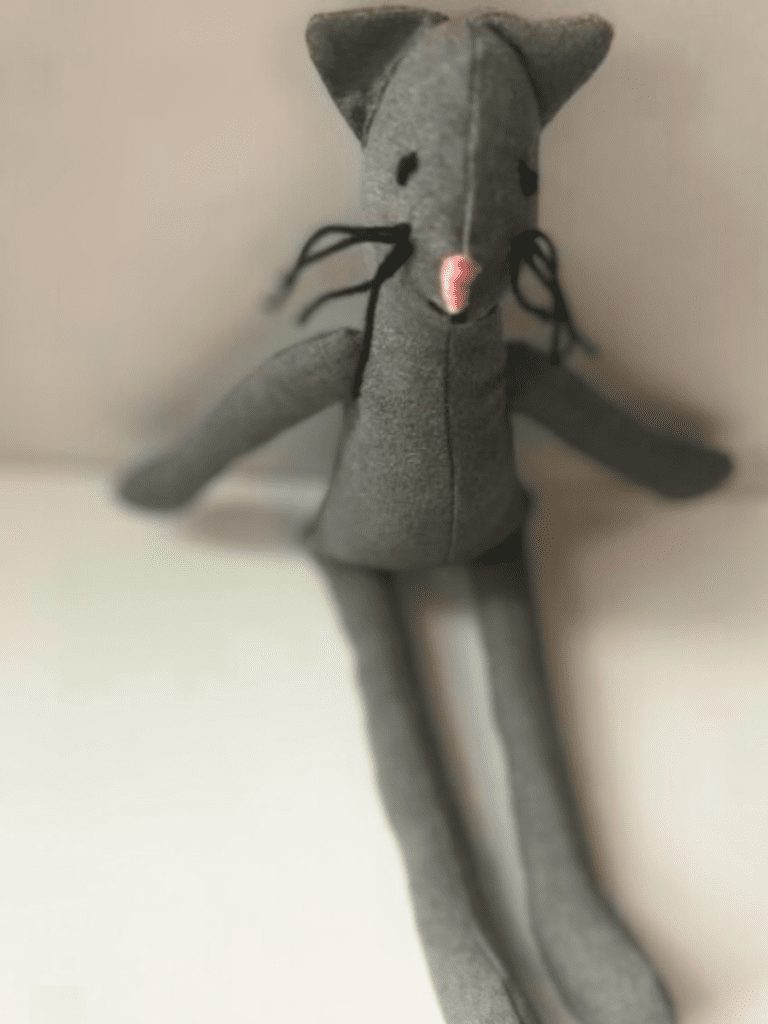
To attach the legs, line them up inside the body.
Make sure all the seams are neatly centered — in both the legs and in the body!
I placed the legs right at the edge/right at the hips of the cat.
Fold the raw edges of the bottom body to create a hem. This will hide the “ugly bits” inside the cat and prevent the bottom of the body from fraying.
Sew the legs closed. Again, they should be nicely tucked inside the cat’s body.
You might want to sew the legs on your sewing machine to create stronger stitching.
If you do decide to sew the legs on your sewing machine — be sure to use a basting stitch or place some pins in place first.
Otherwise, it can be tricky to keep everything in place!
Final details
Your DIY cat plushie is nearly finished!
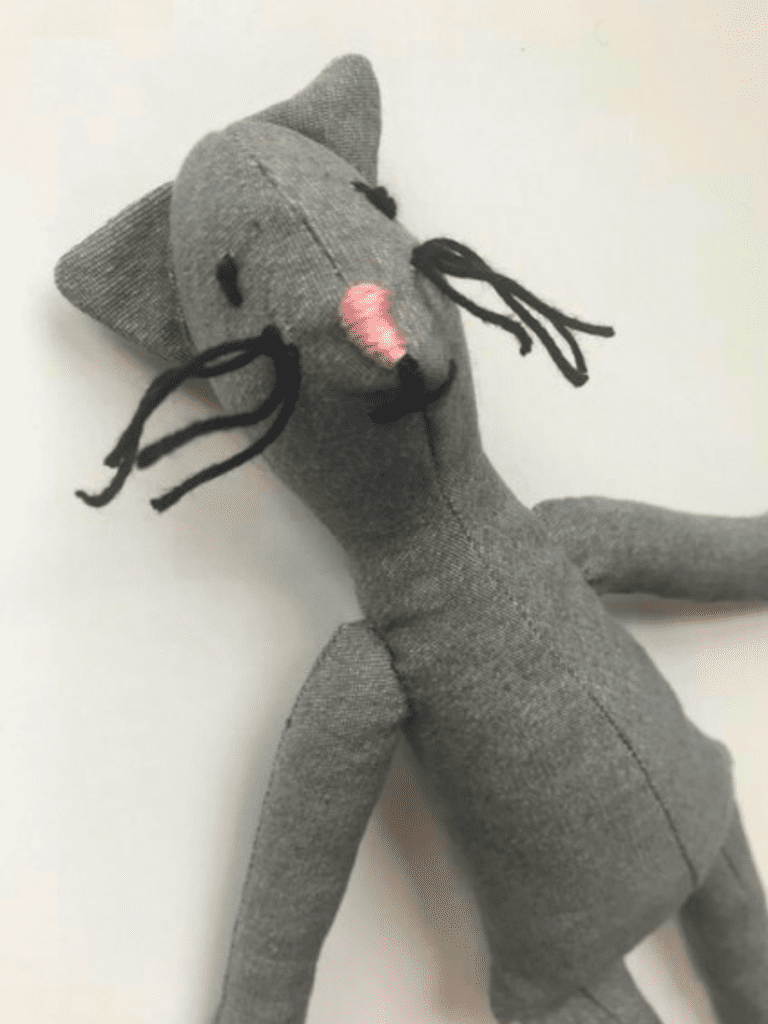
Next, we’ll sew some eyes with embroidery thread.
Tip: I used a french knot for the eyes!
You may also want to add a nose and mouth to this cat with embroidery thread.
I even added whiskers!
It’s a great way to add character to your cat!
To make whiskers, thread your needle with some embroidery floss.
Pull the floss halfway through the cat’s cheek.
Even out both ends of the thread, then make a double knot right in the middle to attach it to your cat.
Repeat this a second time — this will create four whiskers on each cheek.
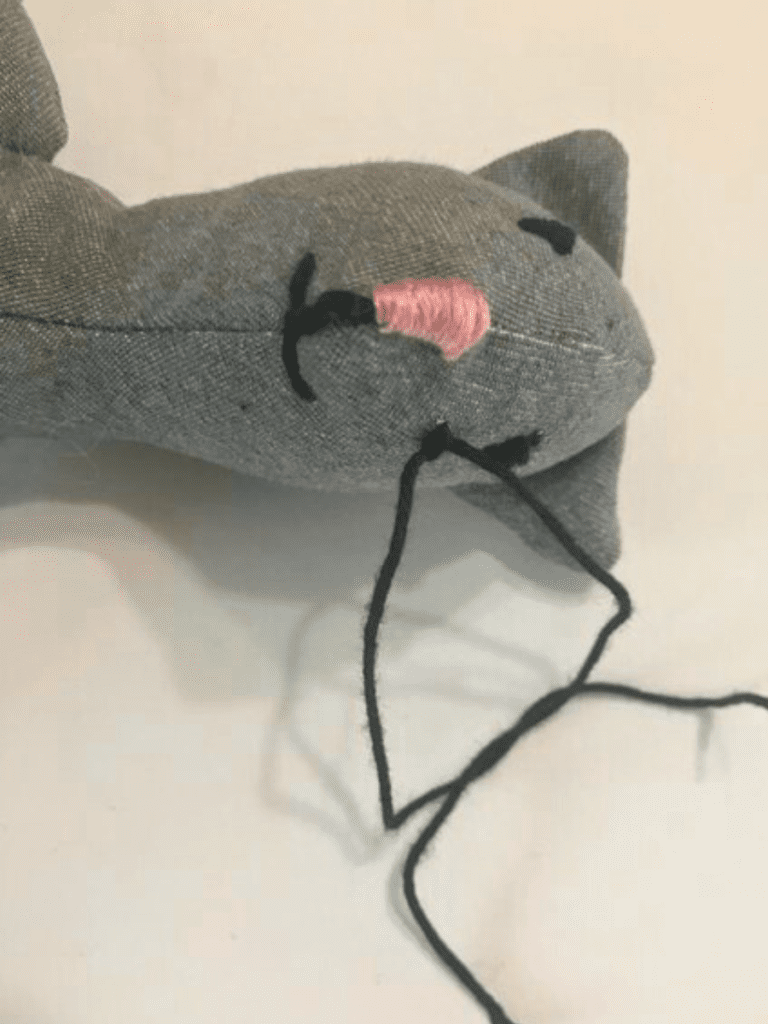
Then, trim the cat’s whiskers to the desired length.
Tip: Start by trimming the cat’s whiskers to be LONGER than what you know you’ll want them at. Then, slowly trim them shorter from there until you get to the desired length. It’s best to go slowly so that you don’t suddenly have whiskers that are too short!
There’s nothing quite like a sweet cat with long whiskers!
Leave a comment
Please be sure to leave a comment and let me know who you made this cat for!
And — if you like free patterns — be sure to check out the rest of my blog! I have plenty of free patterns on my blog all ready for your own personal use!
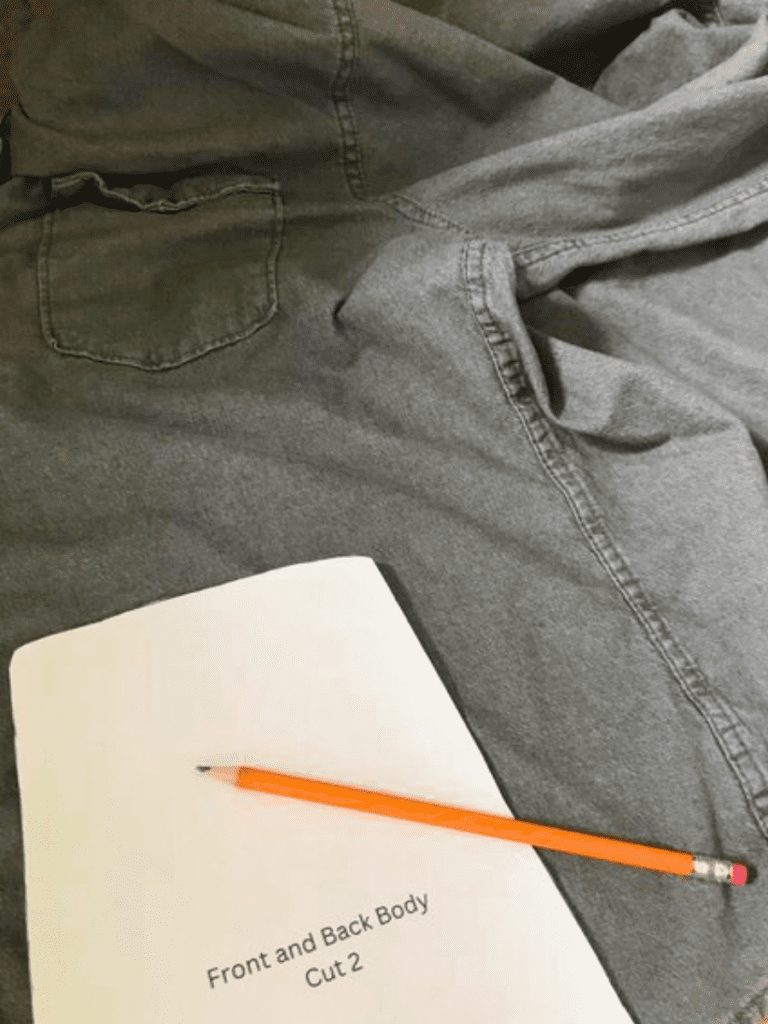
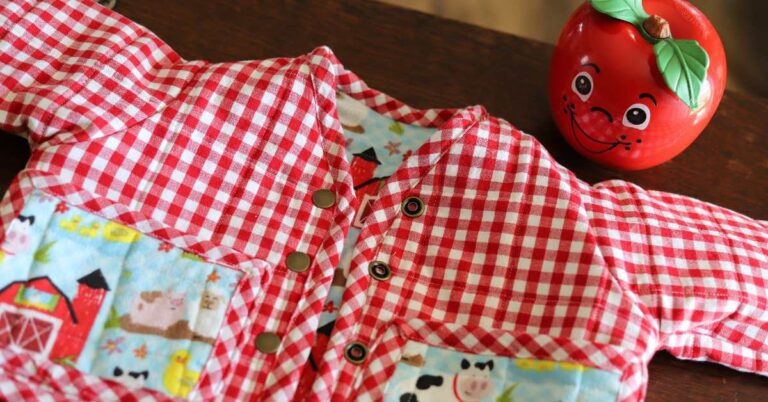
For instance… did you know that I used a thrifted men’s shirt to make this cat?
It’s true! Check out the image below!
In fact, I also used the same shirt to make an elephant, also available as a free pattern and tutorial!
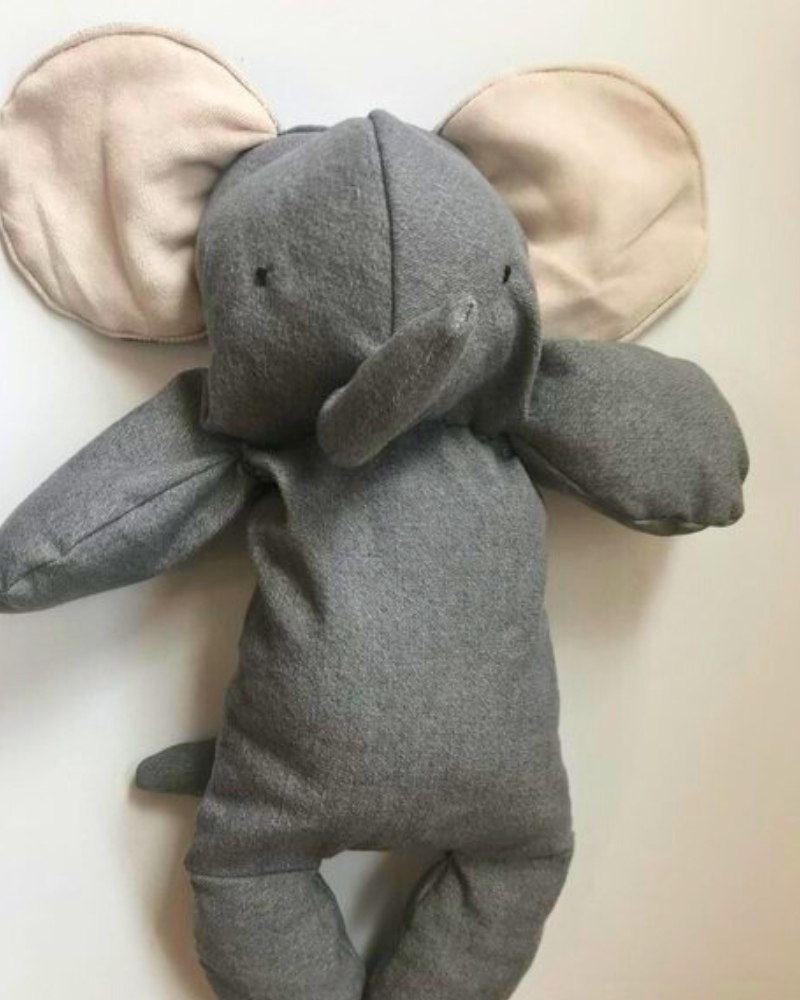
Get your elephant plushie sewing pattern HERE!
Want to know something special about this cat?
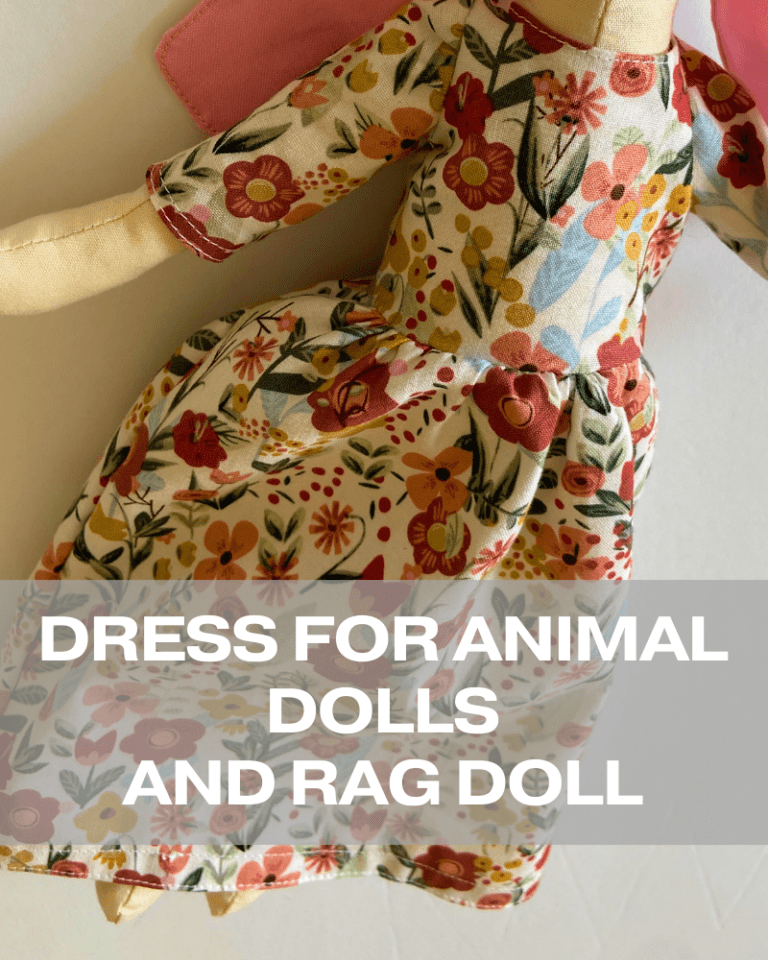
This cat is part of a series of dress up animal friends!
I’ve released a complete wardrobe for this cat and all of his animal friends! Click here to see!
If you want to stay updated on new free patterns, be sure to sign up for my email list!
We have so much fun in our handmade community, and I always love hearing about who you are making your handmade items for!
Happy sewing! I had so much fun making this free cat, and hope you did, too!


Thank you and God bless I will start my project as soon as I can go to print my patters I don’t have a computer or a printer but I have a lot of willingness and desires to making them for my grandchildren
Thank you for your kind words, Uma! Your grandchildren are so blessed to have a grandmother who loves them so well!