Waldorf Doll Head Tutorial: How to Make a Waldorf Doll Head in 10 Easy Steps
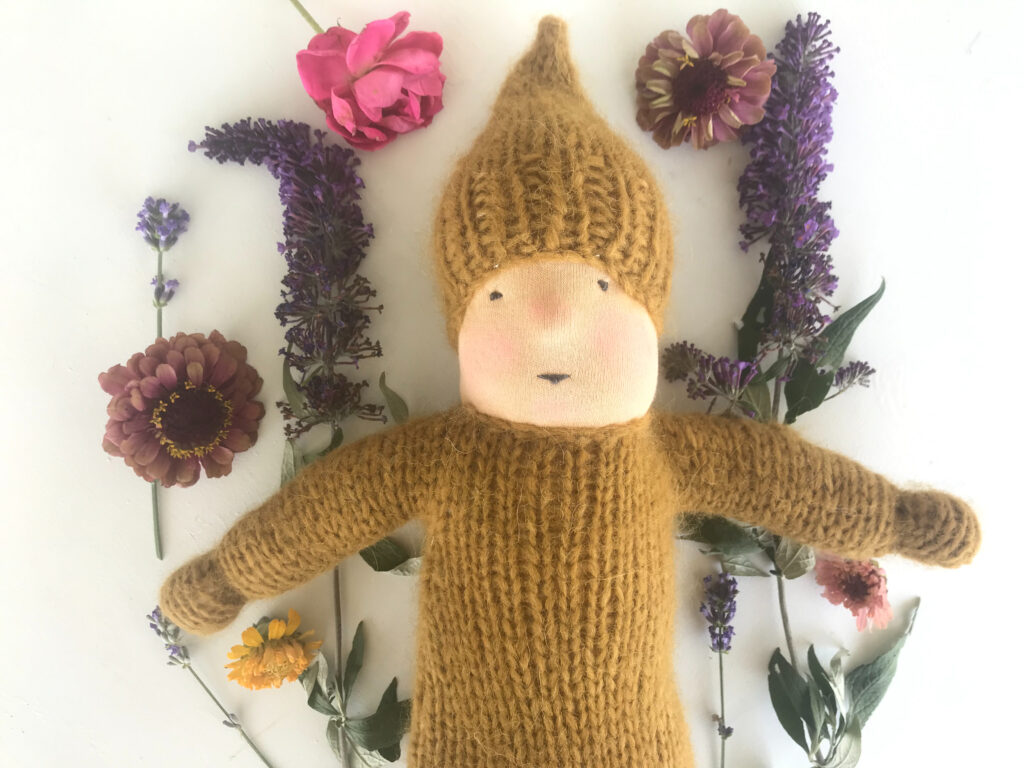
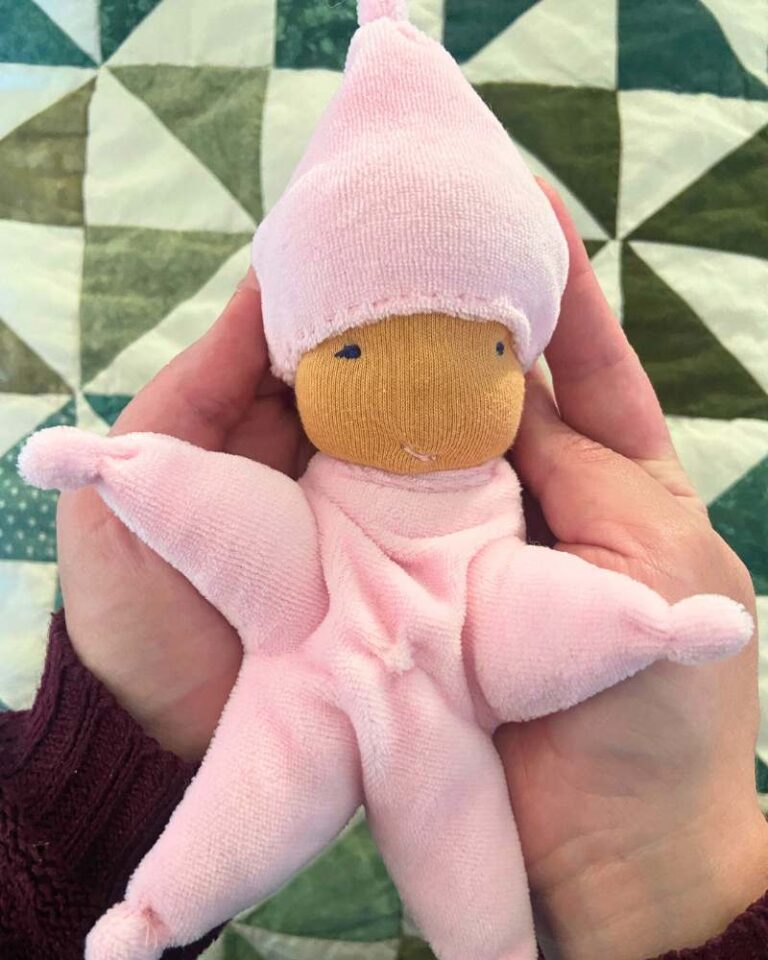
Come along with me as I walk you through a detailed tutorial for how to make a waldorf doll head in 10 easy steps. This waldorf doll head tutorial is suitable for a medium sized waldorf doll, such as my pattern for a knitted waldorf bunting doll.
Making the head on a waldorf doll always seems to be the most intimidating part of the doll for new doll makers because of how time consuming it is, and a lack of information on how to do so.
This waldorf doll head tutorial will show you just how simple creating a waldorf doll head can be!
While it can take a little bit of time, I can assure you it’s not as difficult as you have been led to believe.
Making the head requires very minimal sewing skills. You’ll be surprised how easy it is!
Follow along with step by step pictures, and I will help you EASILY make a medium sized waldorf doll head.
Disclaimer: As an Amazon Associate, I earn from qualifying purchases.
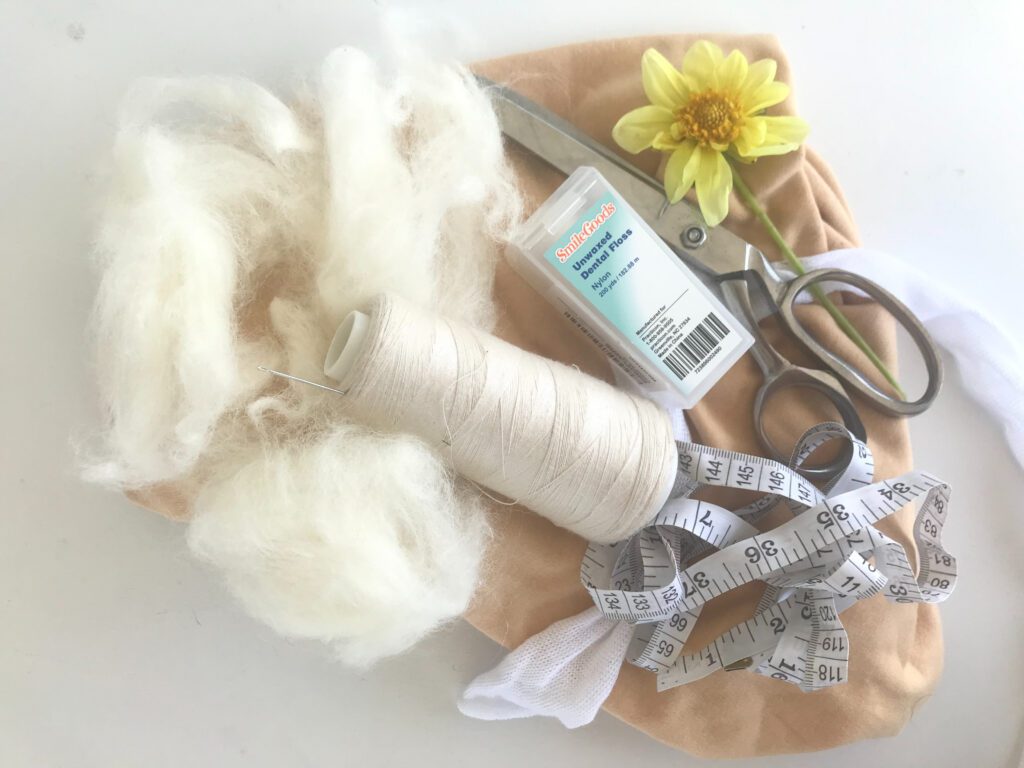
To make a waldorf doll head, you will need:
- Wool
- Cotton interlock knit fabric in skin color of your choice
- Unwaxed dental floss
- Scissors
- Thread that at least relatively matches the skin color fabric
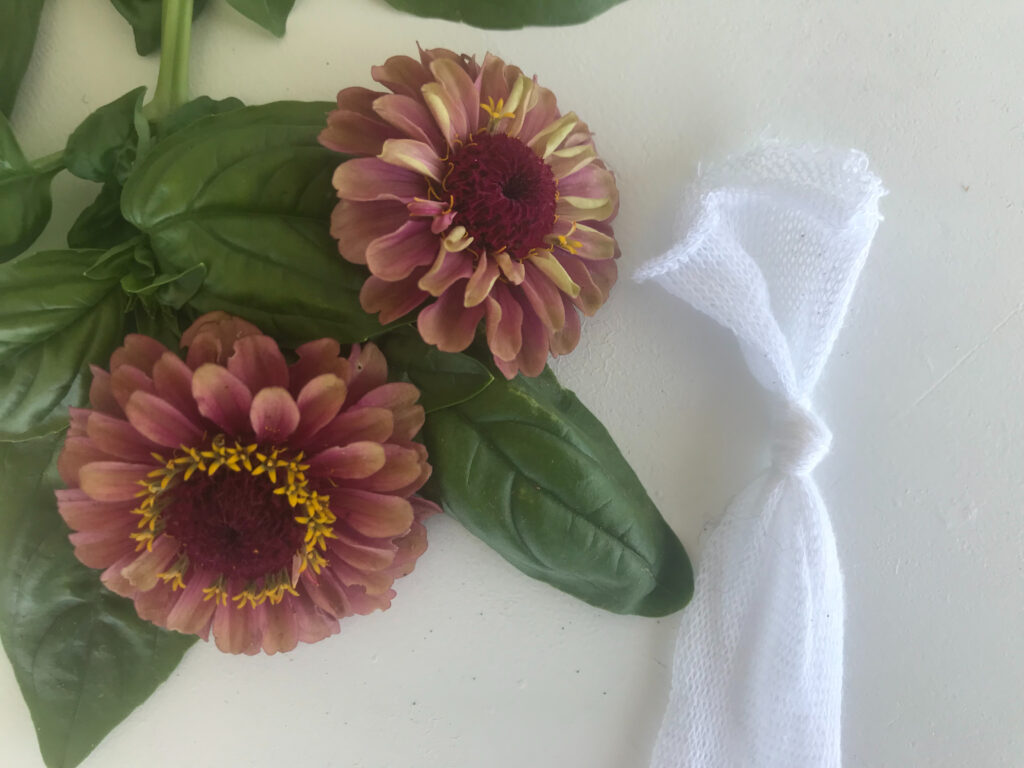
- 1 1/8″ Wide Cotton Gauze Inner Head Tubing
- Sharp Sewing Needles
- Measuring Tape
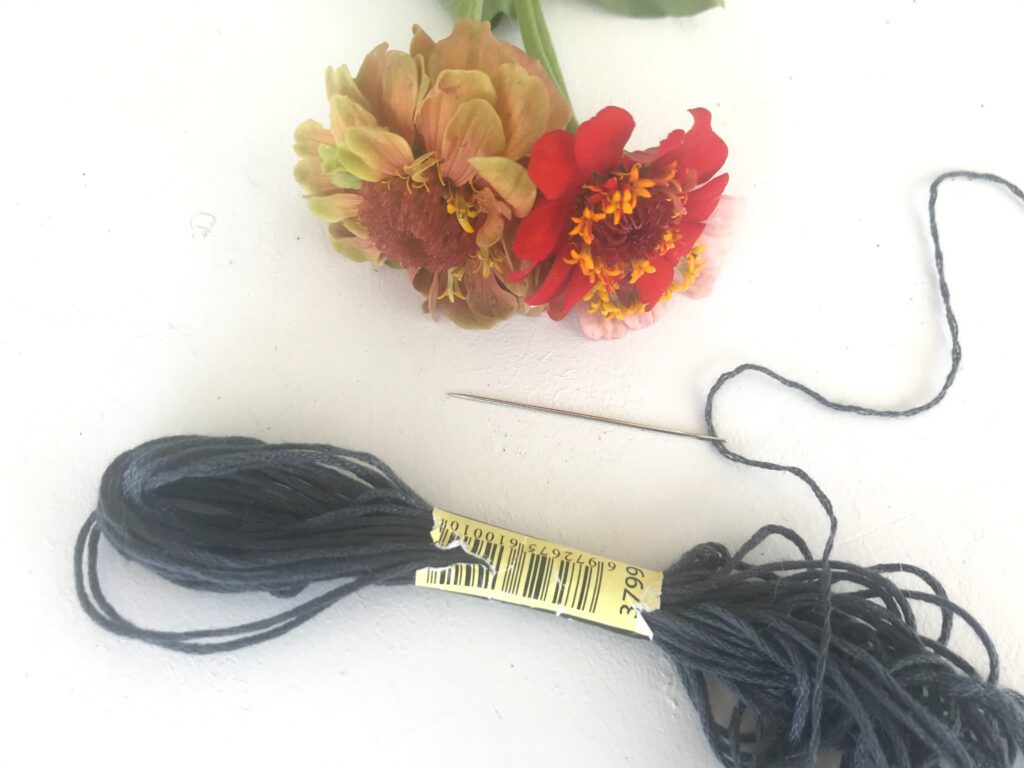
- OPTIONAL: Cotton Embroidery Floss for making the eyes and mouth
- OPTIONAL: Beeswax Crayons for blush
Step One: Prepare Wool for Waldorf Doll Head
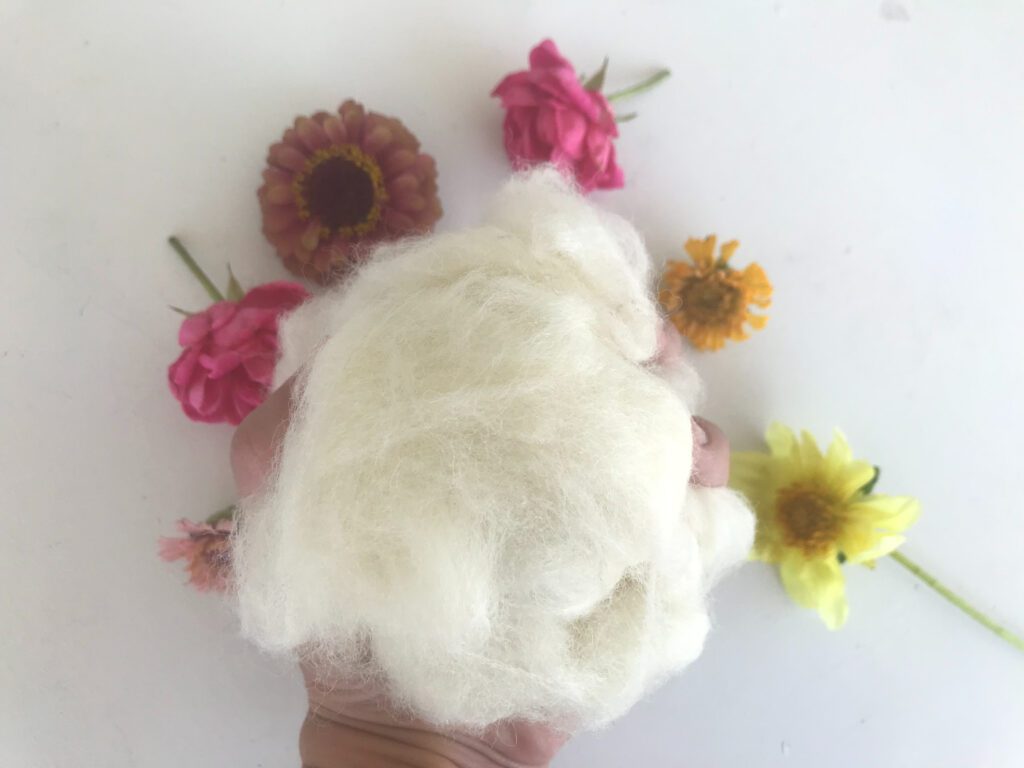
The first thing you will need to do to make your waldorf doll head is to bunch some wool together for the inside of the head.
You will want to pack the wool together as tightly as possible, because this is the “foundation” of the head. Wrap the wool around itself the best you can, and make a tight, round shape.
The size of the ball should be significantly larger than you want the final size of the head to be — the gauze head tubing will help further pack the wool together, decompressing it into a proper head size.

Step Two: Measure and Cut the Tubing for Waldorf Head
Next, get out your cotton gauze head tubing.
You will want to measure about 12 inches of head tubing. Remember, you want the tubing for this size doll head to be 1 1/8″ wide, because if it’s small your head wont be big enough, and if it’s too large your head won’t be tight enough!
It’s okay to cut the tubing a little longer than 12 inches — it’s better to have a little extra than not enough!
Step Three: Tie the Waldorf Doll Head Tubing
Tie a knot at one end of the head tubing. This will be the top of the head. The knot will prevent the wool from falling out.
Alternatively, you could sew this end tightly shut. However, in my opinion this just adds extra time to the project. The stitches might not be able to hold up as well as a tight knot, either. You really want a tight hold because the entire head needs to be held together tightly. Waldorf heads must be tight!
Make sure you place the knot close enough to the end so that you still have plenty of tubing leftover to fill the tubing with wool and make another knot at the bottom.
While you want the knot to be close to the end of the tubing, you also don’t want the knot to be too close to the end of the tubing, lest the knot come undone!
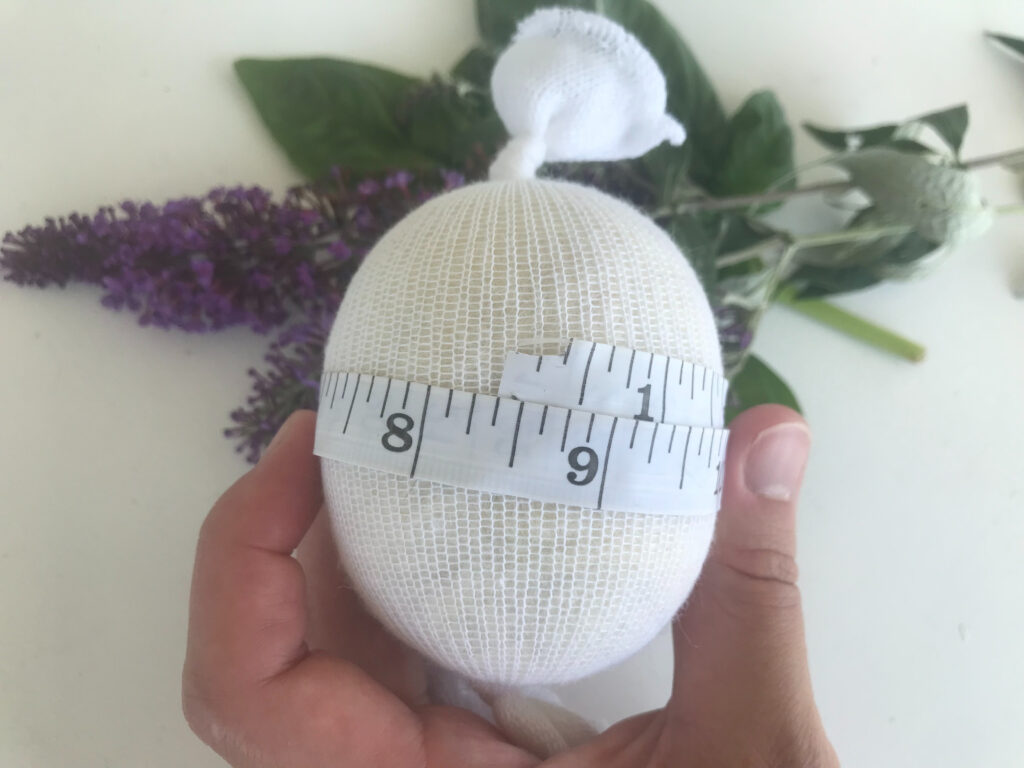
Step Four: Tie the Bottom, Measure the Waldorf Doll Head
Stuff your bunched ball of wool into the head tubing as tightly as you can.
If you want a beefier head, you can continue to add in more wool from the open bottom end.
Measure as you add in more wool. Once your head measures about 8 1/2″ around, tie the bottom of the gauze TIGHTLY and as close to the head as possible.
The head should be a tight round shape. It should have a little bit of “squish” to it, but not so much squish that it can be molded into any shape other than ROUND.
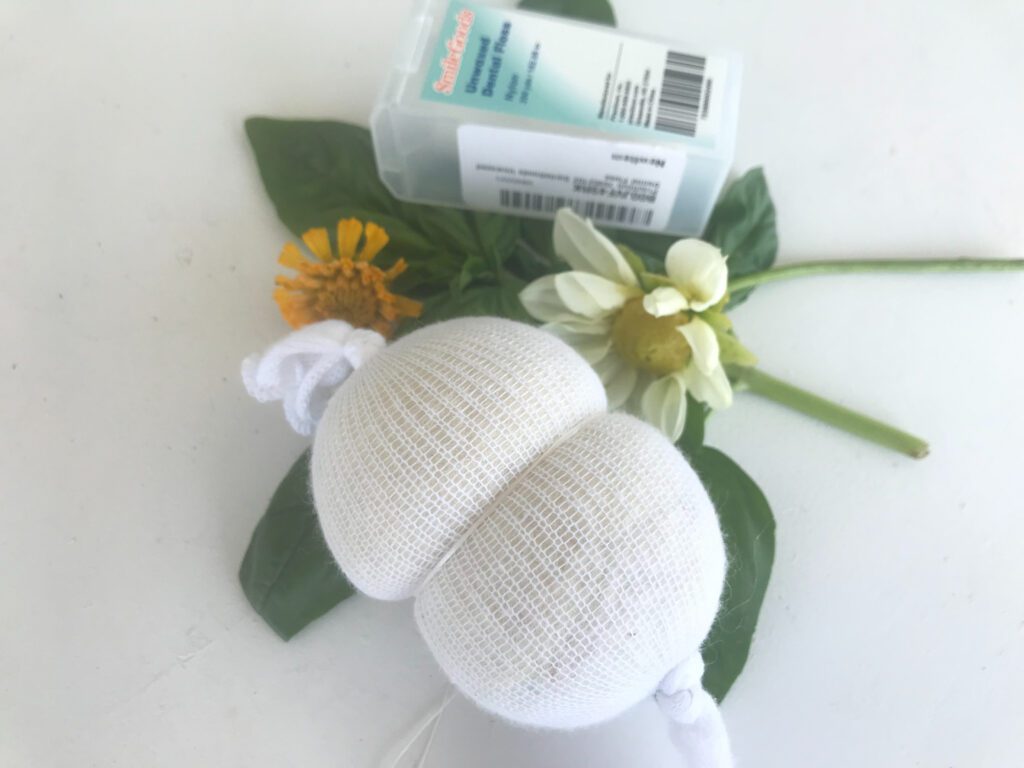
Step Five: Shape your Waldorf Doll Head!
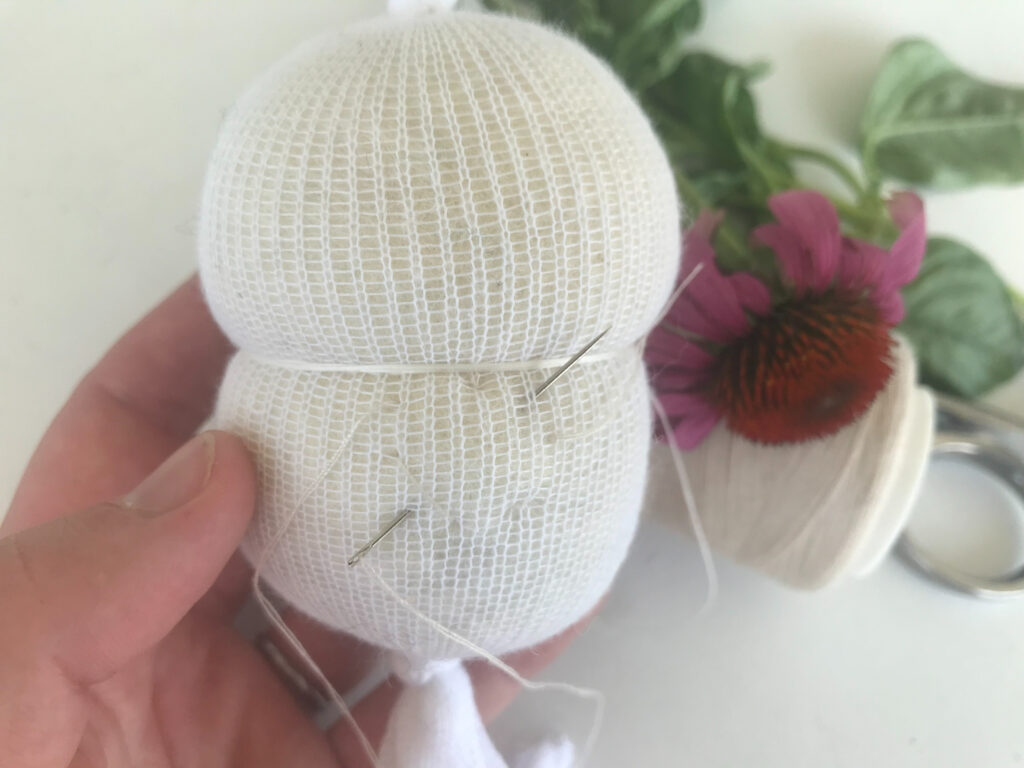
Now we will be using the unwaxed dental floss to create that nice waldorf doll head shape. It’s important to use unwaxed, because it allows for a firm knot to be created.
Cut a LONG piece of dental floss — because it needs to be long enough to be able to wrap it all the way around the head several times.
Choose where you want your cheek line to be located. I like to make mine slightly higher than the very middle of the head.
Make your first wrap around the head. Tie it once (DON’T knot it!), and then wrap the floss around the head a second time and tie it once again (again, DON’T knot it!). Wrapping the floss this way gives you enough grip to keep everything tight. To sum it up, waldorf doll heads need to be TIGHT, TIGHT, TIGHT!
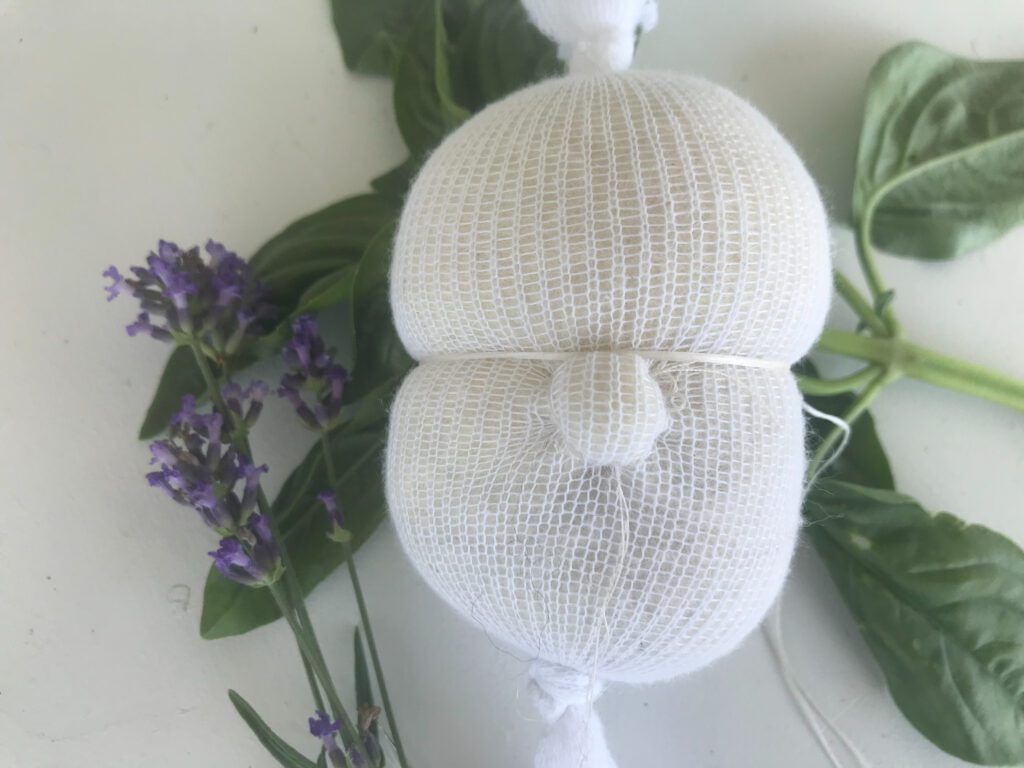
Use this wrap-tie method as many times as you need to until you have a proper indentation around the head.
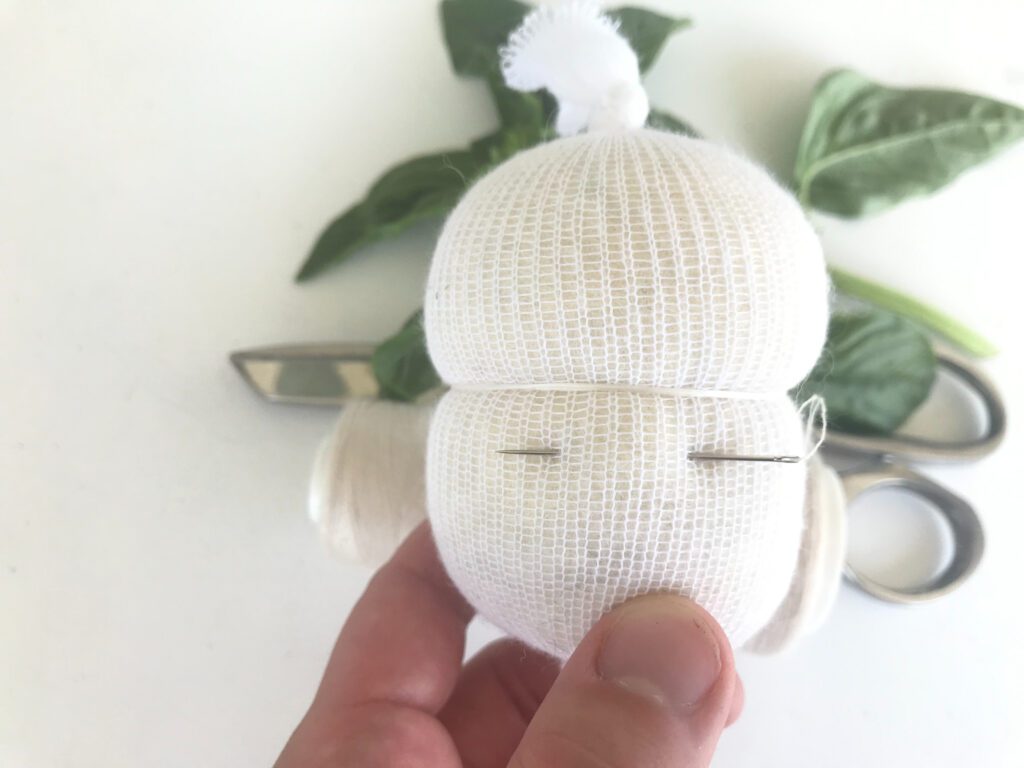
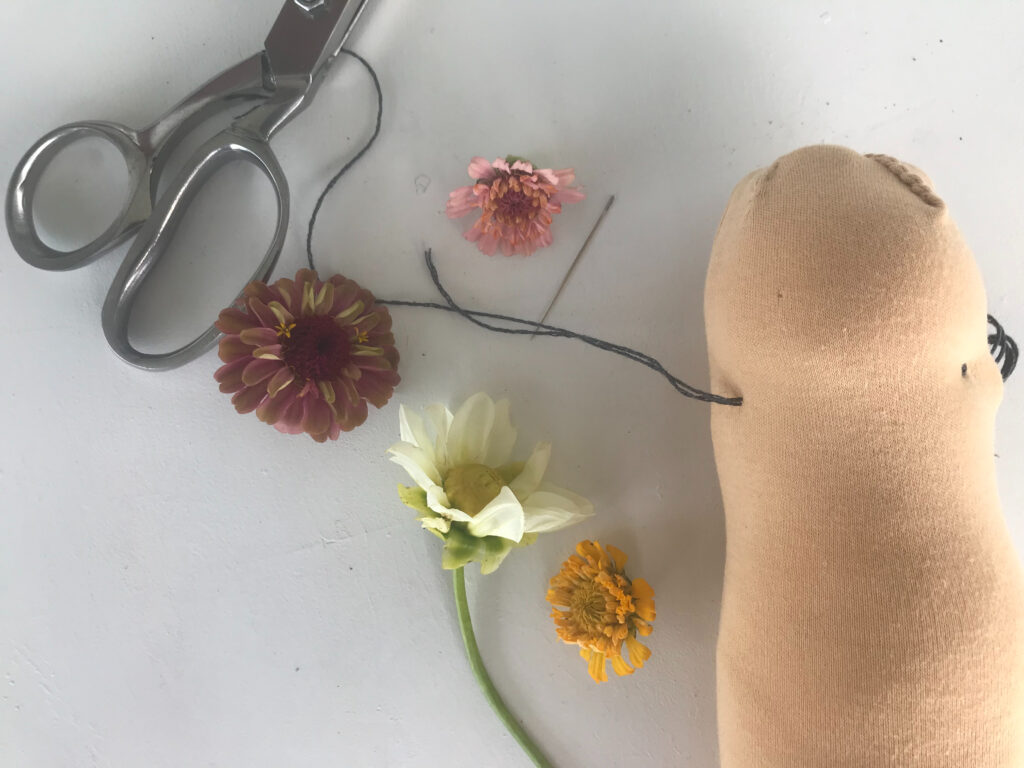
Step Six: THE NOSE
Thread your needle with some thread that remotely matches your doll’s skin tone so it doesn’t show through the fabric. Basically, you don’t want to use crimson red or lime green thread for this project. The cotton interlock fabric should be thick enough to hide a thread color that is similar to your fabric. Don’t stress if it isn’t an exact match — mine isn’t!
First, have a nice long string of thread attached to the needle. Next, decide how wide you want your nose to be. Then, pick up plenty of wool behind the nose with the needle as you stitch through to the other side. You want to pull that wool up to the surface to create that 3-dimensional effect!
Now, you want to go from the top to bottom of the nose, right in the middle. Visualize a circle (or whatever nose shape you want) as you go. Pull the thread TIGHTLY to start shaping the nose! Again, keep going deep (ish) into the head with your needle, because this will help to bring that wool to the surface!
The next direction you’ll want to go with your needle is a good diagonal direction. You want to keep stitching in a circle, pulling the thread TIGHTLY with each stitch to help pull that wool UP and FOWARD!
There. Look at that cute button nose. Doesn’t it make you want to go *boop* ??
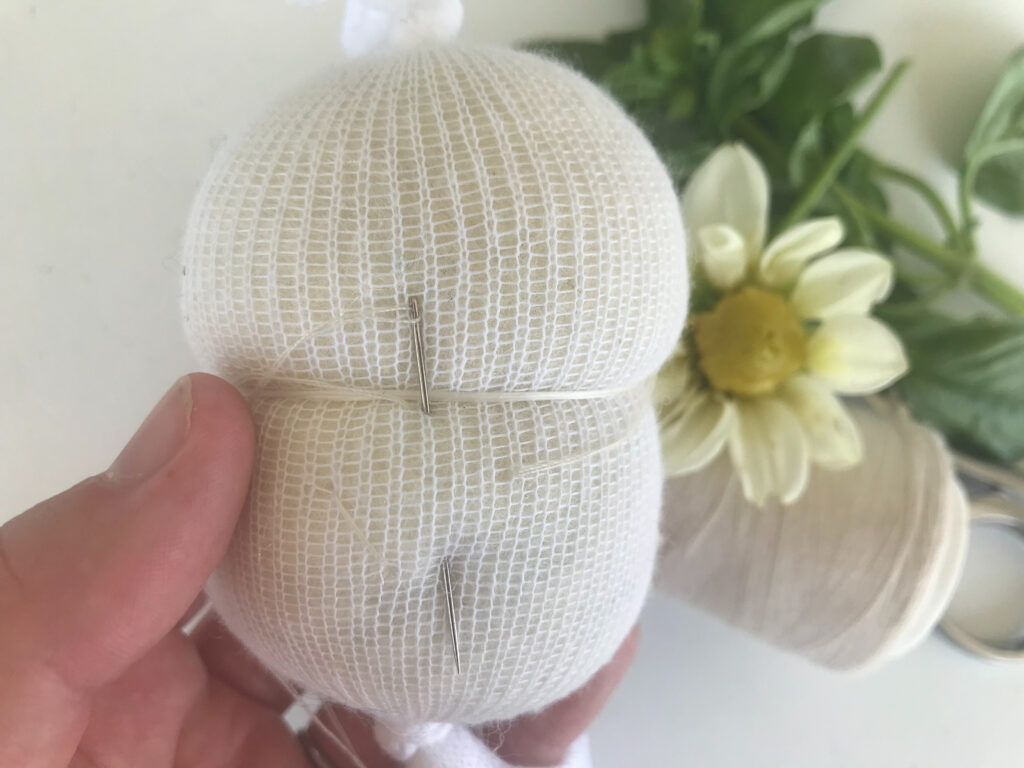
Step Seven: Secure your Waldorf doll’s inner head!
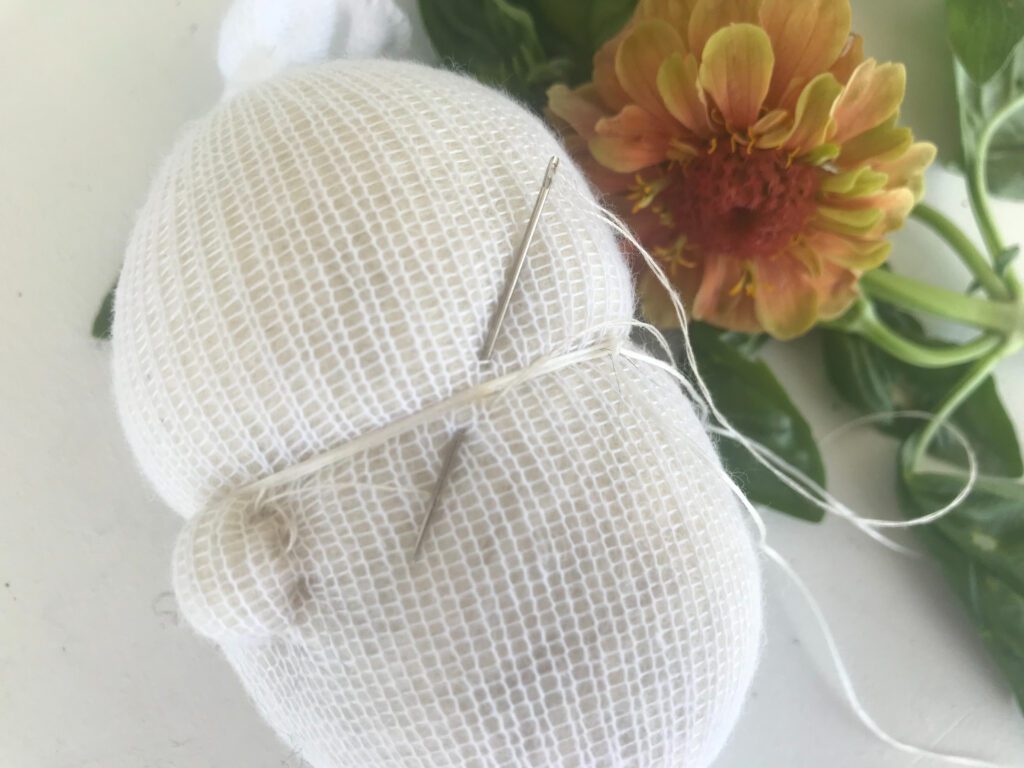
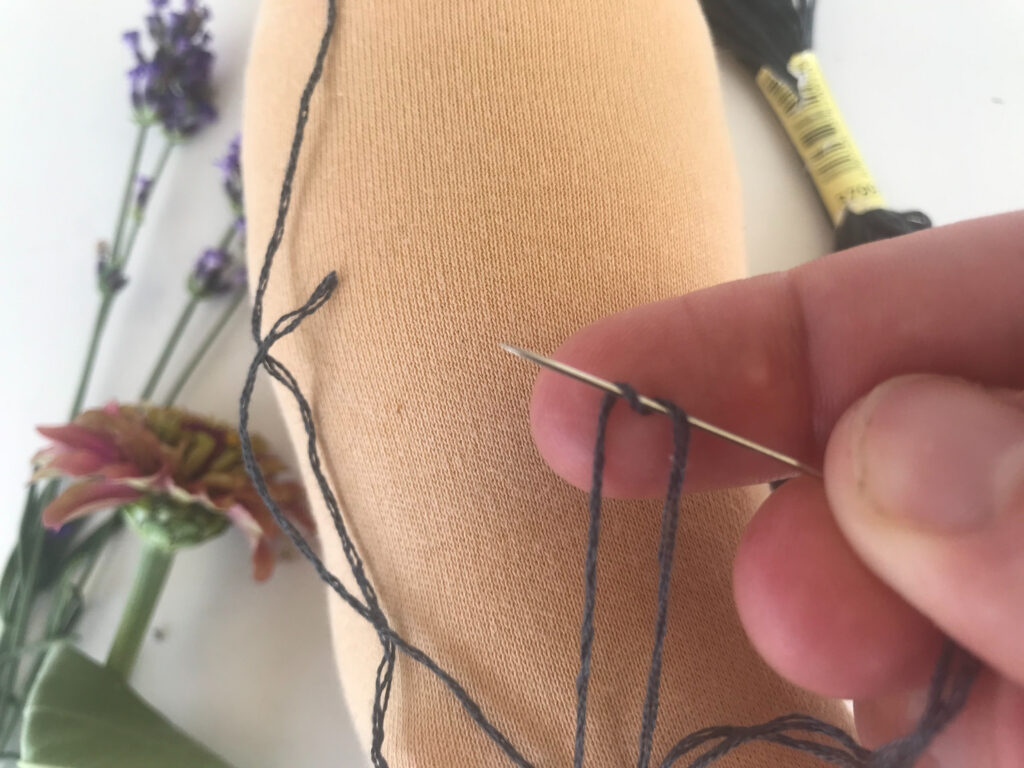
While you’re here with that nice long piece of thread you initially threaded your needle with for the nose, go ahead and secure the dental floss to the head in a couple of places.

Lastly, go ahead and make a knot so all of your beautiful work doesn’t come apart.
Weave your needle in and out of the gauze, but before you pull the thread all the way through, stick your needle back into the loop you just made, wrapping the thread around the needle several times.
THEN, pull the needle all the way through those lovely little loops as depicted in the photo above.
This will give you a nice tight knot.
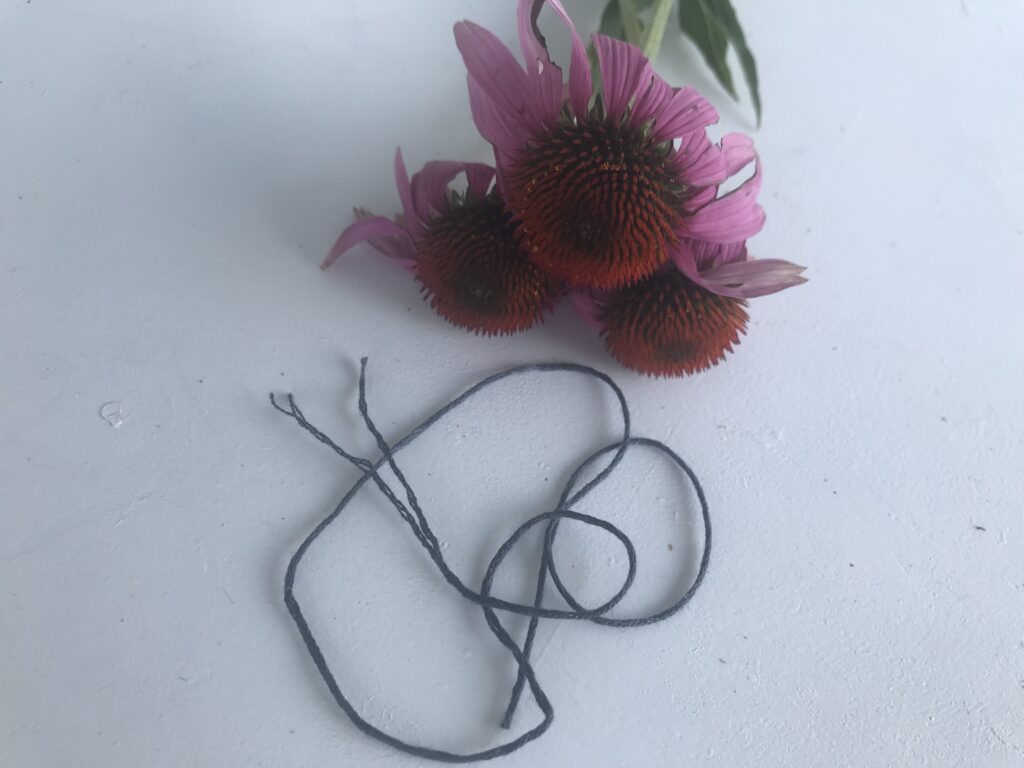
Cut the thread, leaving a long tail attached to your work. The long tail will make it much less likely for it to ever come undone.
Step Eight: Waldorf Doll Head Skin
Congratulations! You’ve completed the inner head of your doll! Now it’s time to work on the part of the head you’ll actually see!
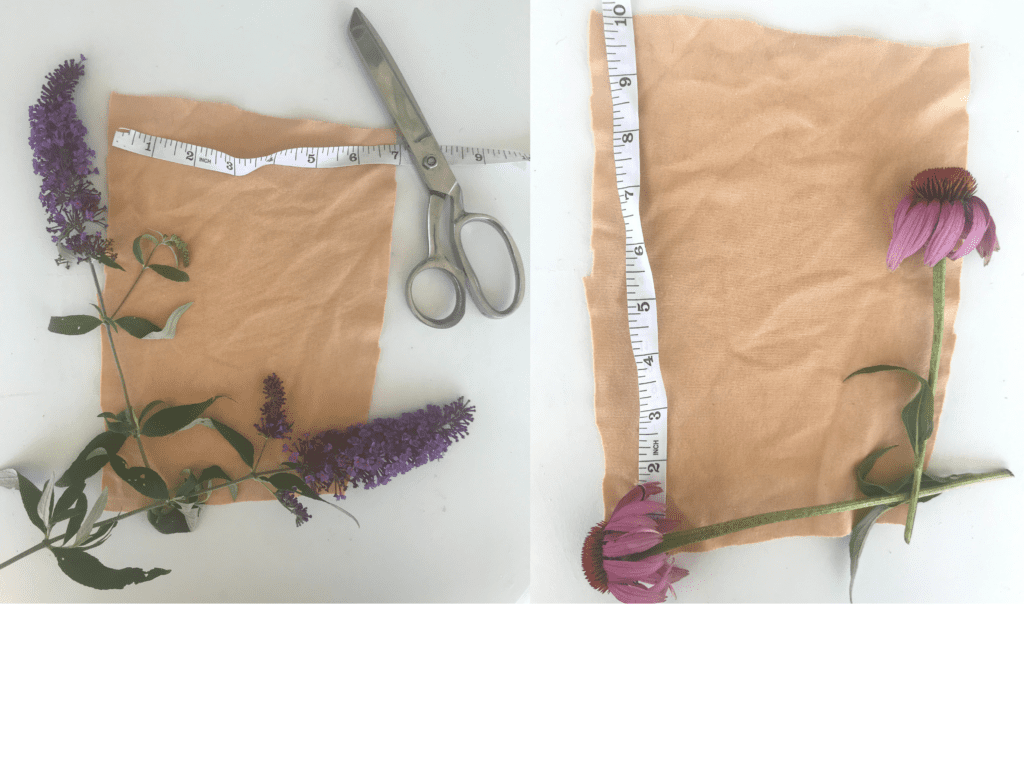
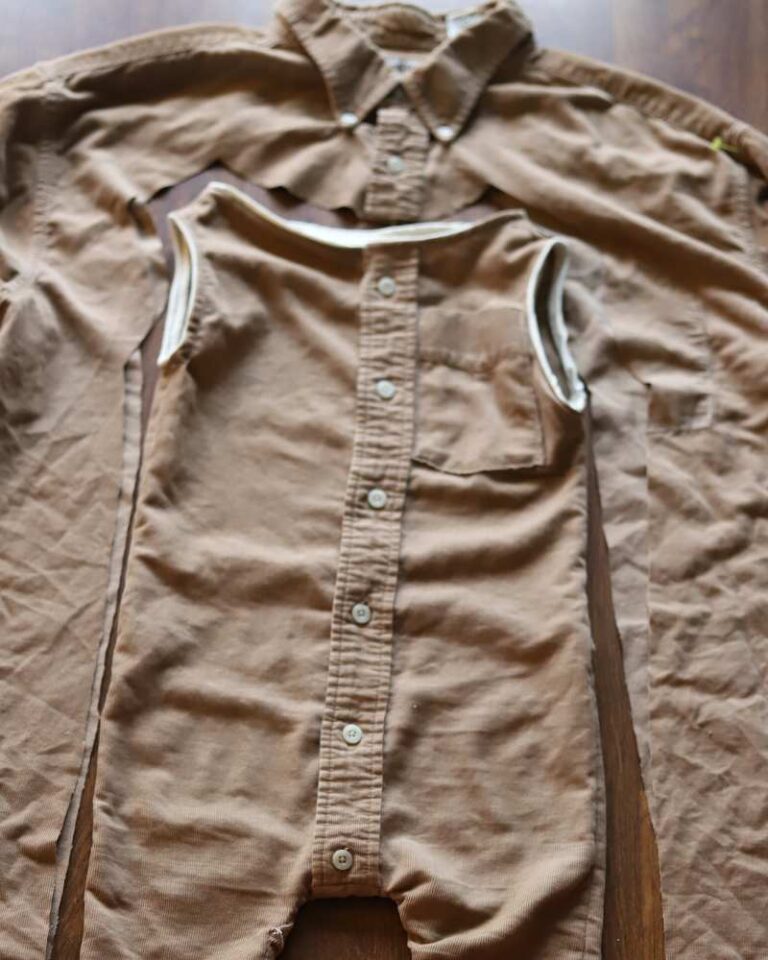
Cut a rectangular piece of cotton interlock fabric. It should measure 7″ x 10″. You want the stretch to stretch in the direction of the 7″ width.
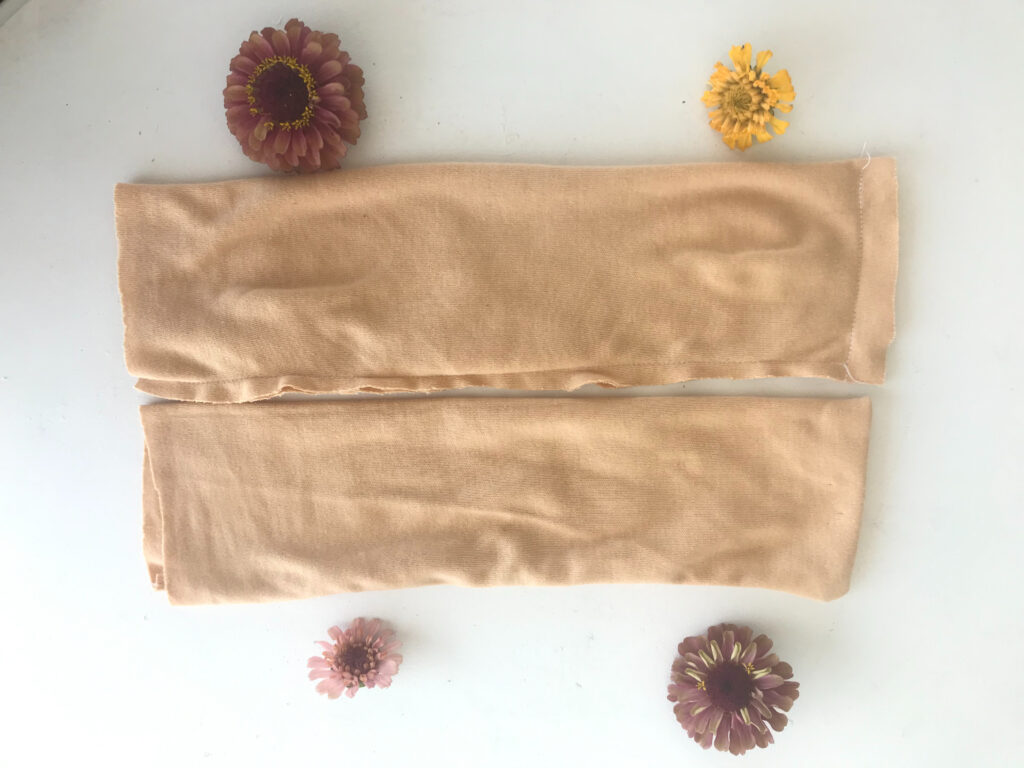
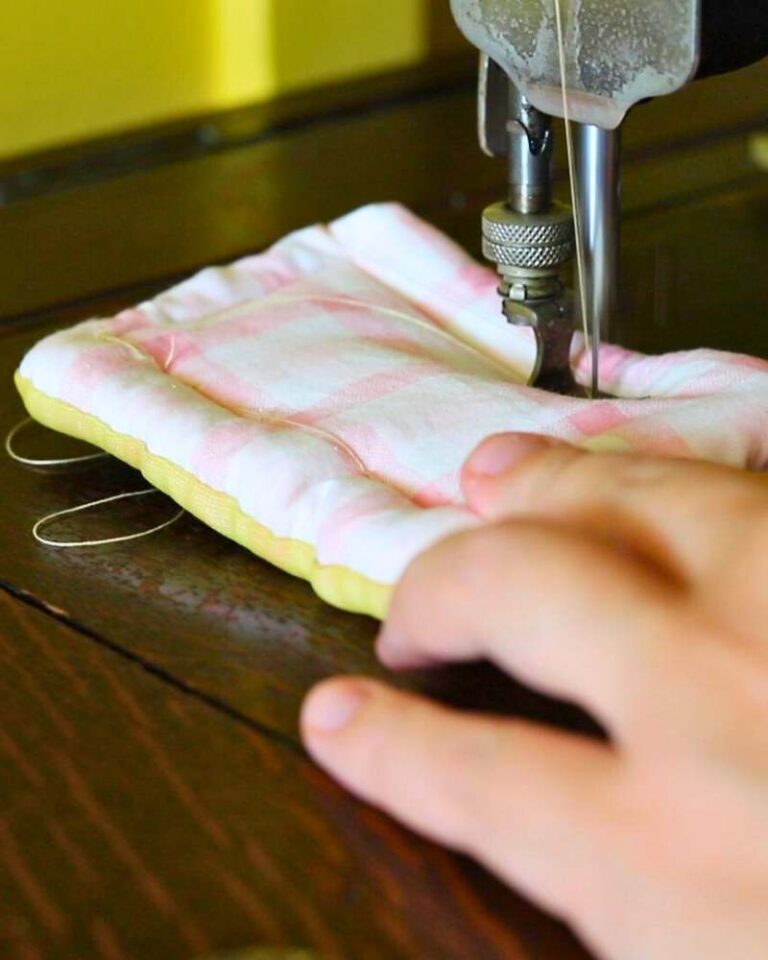
With the right sides of the fabric together (the part of the fabric you want to see should be folded together), sew two out of the 3 sides of the rectangle together, so that there’s just one small opening at the bottom.
Using a sewing machine with a 3/8″ seam allowance will achieve the best results. However, if you have minimal sewing skills, sew tiny stitches using the photo above as a guide for how far from the edge of the fabric your stitches should be.
A Quick Note on Waldorf Doll Skin Fabric…
The “right side” of cotton interlock fabric can sometimes be difficult to tell from the “wrong side” of the fabric, so don’t worry if you can’t figure it out.
If you can’t tell which is the right side, nobody else will be able to tell which is the right side, either.
Keep moving forward! It will work out great!
Back to our tutorial…
Once you’re done sewing, turn your work out so all the raw edges are hidden on the inside of the head skin pocket.
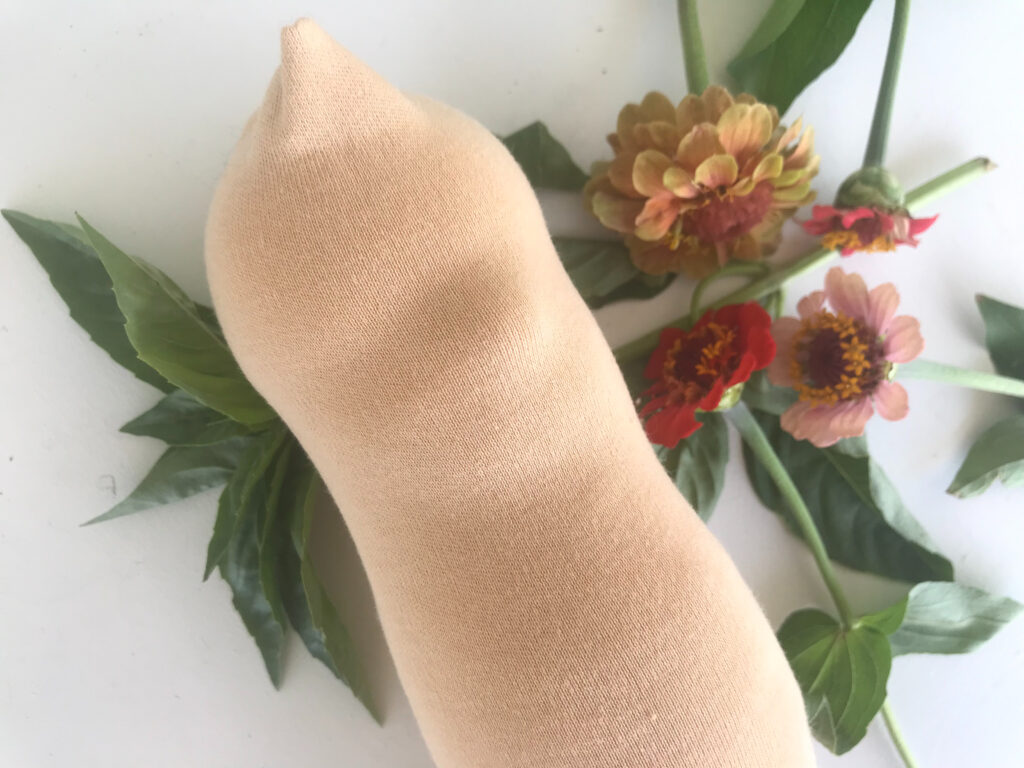
Put the inner head into the head skin pocket, and be sure to line the seam along the center back. Then, be sure the nose is poking out of the front. Everything should be a nice, tight fit. (Did I mention tight??)
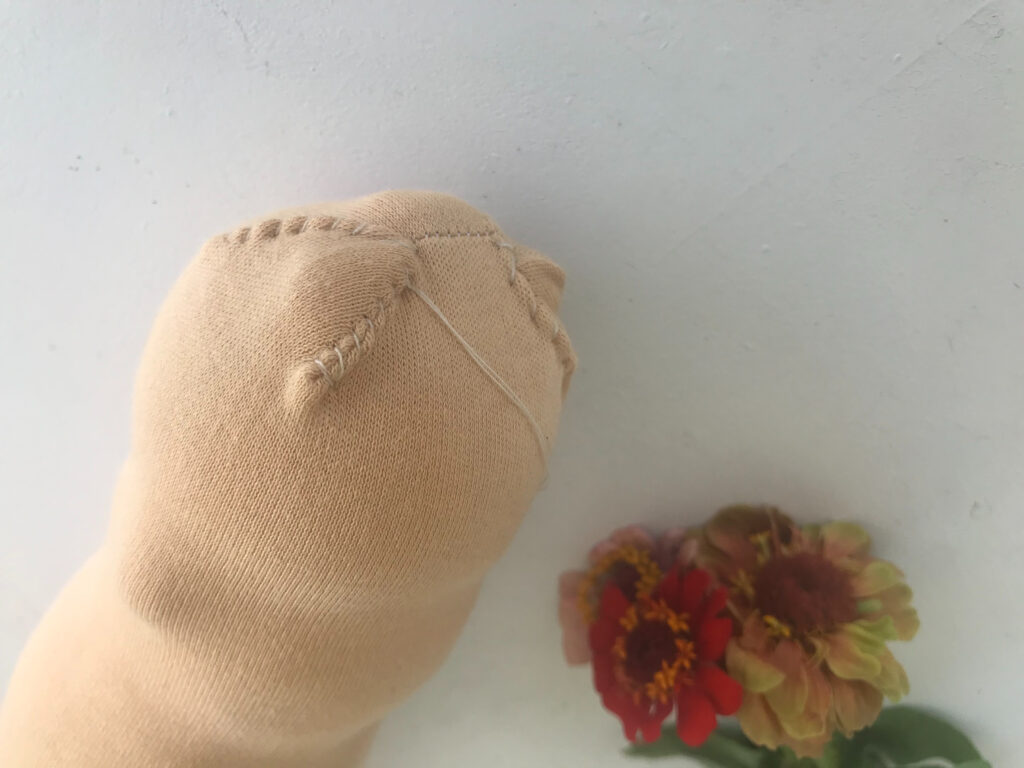
Stitch the corners of the skin fabric on the top of the head down so it clings properly to the shape of the head.
Secure a knot, using the same wrap-the-thread-around-the-needle method mentioned in step six.
If you prefer the traditional style of a faceless waldorf doll, then you can stop here! You’re finished! If you prefer your waldorf doll to have eyes and/or a mouth, then continue below…
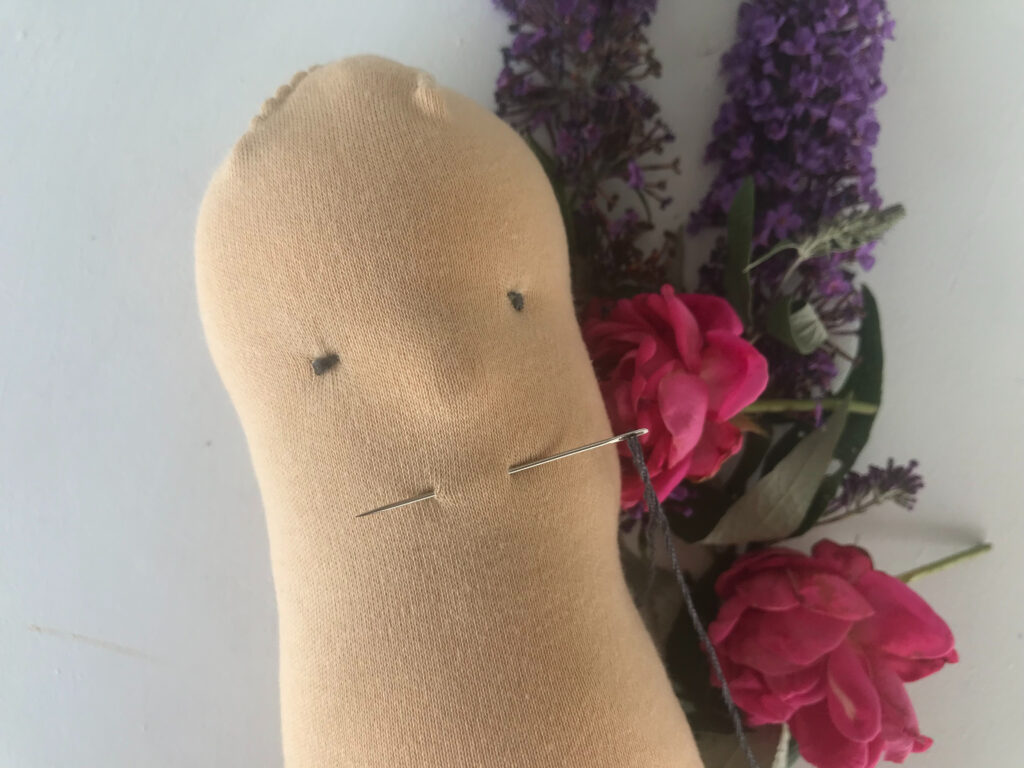
Step Nine: Embroider the Eyes
Take your embroidery thread and then split it in half.
Most embroidery thread will have 6 total pieces of thread woven together — so you will want to use just 3 pieces of thread.
Thread your needle with the 3 strands of thread.
Give yourself a longer tail than you think you’ll need so you don’t get stuck!

Let’s embroider the eyes.
Think about how you want your eyes to be positioned, because —
A face can make or break a doll — too close together, and you have one angry looking waldorf.
Too far apart, and suddenly you’ve created Sloth from The Goonies.
I try to place my eyes right in the divot we made with the dental floss — this helps emphasize that feature we worked so hard on together.
Let’s get to it — first, draw your needle and thread through where you want your eye.

Place your needle in the same spots as before,
but this time, do not pull the needle all the way through.
Similar to how we created a knot in steps 6 and 7, now we are going to create a French knot for the eyes.
Wrap the thread around your needle twice, and then pull it through tightly.

Optional: If you’d like a more pronounced eye, you can tie a knot with your working thread and the tail of your thread.
Once your eye is how you would like it, pull the ends of your thread all the way through towards the back of the head.
Lastly, Snip the remaining thread.
Repeat process for second eye.
Step Ten: Embroider the Mouth
If your waldorf doll would like a mouth, embroider it with the same method as we used for the eyes.
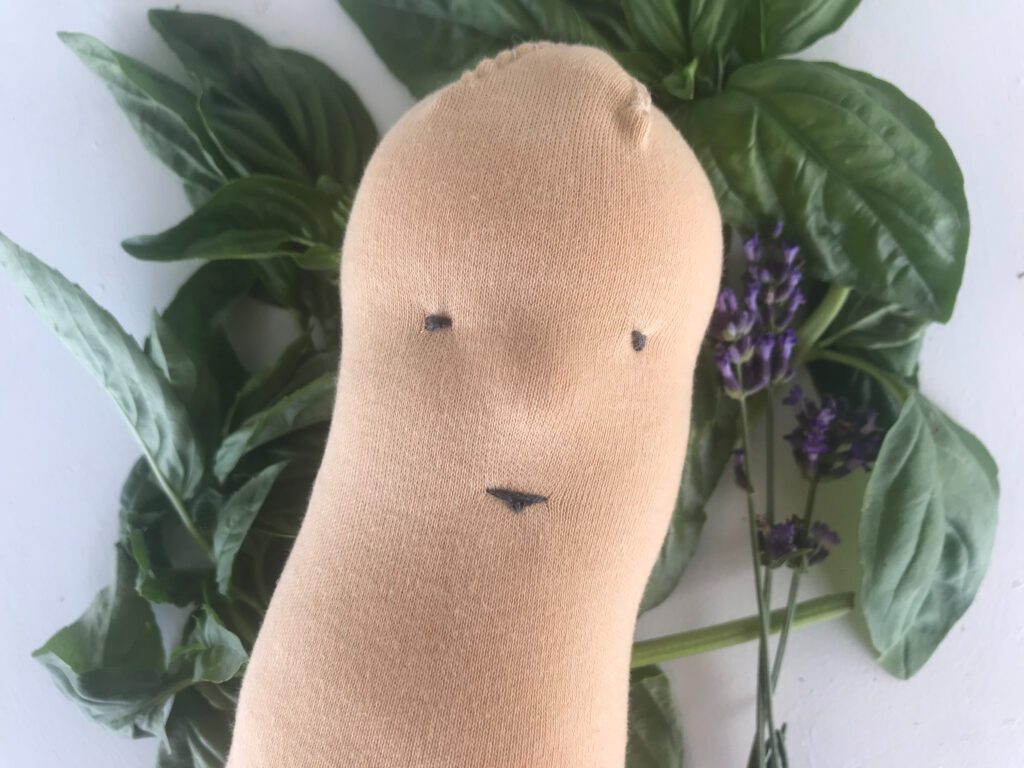
Congratulations! You’ve completed your waldorf head! See, this waldorf doll head tutorial wasn’t as tricky as you thought. (Or maybe it was — leave your questions for me below!)
Feel free to add some beeswax blush to your new babe. Tip: Rub it in with a scrap piece of wool.
And — your head would really appreciate you making a body of some kind for it, because it’s slightly unnerving to not have a body. Why don’t you try knitting my free waldorf bunting doll pattern for it?
Comment down below any questions you have about this waldorf doll head tutorial! I would be happy to answer them!
Hello there Emeline. How are you doing today?
I have just recently made a material doll but am having trouble trying to make the face. I’ve gone into Pinterest and found your most interesting tutorial on Waldorf Dolls. There seems to be quite a bit of work that goes into making one of these. You are very talented. If I ever got to make one of your dolls, I would love to download a PDF of your pattern.
Do you make the other type of material dolls as well?
Hello, Diana! I’m so glad you are getting into dollmaking! I hope it brings you so much joy! You might enjoy another one of my posts — a free pattern and tutorial for making a Waldorf doll head using a sock and wool dryer ball! It’s such a fun little “cheat” to making an easy Waldorf doll Head! Happy sewing!
I am new to making dolls. These instructions are clear and quite helpful. Thanks!
Thank you, Cheryl! I’m so glad you found it helpful! Happy sewing!