DIY Doll Wings: FREE Waldorf fairy butterfly PDF pattern
Today I’ll be teaching you how to sew these beautiful quilted butterfly (or fairy!) wings for your doll.
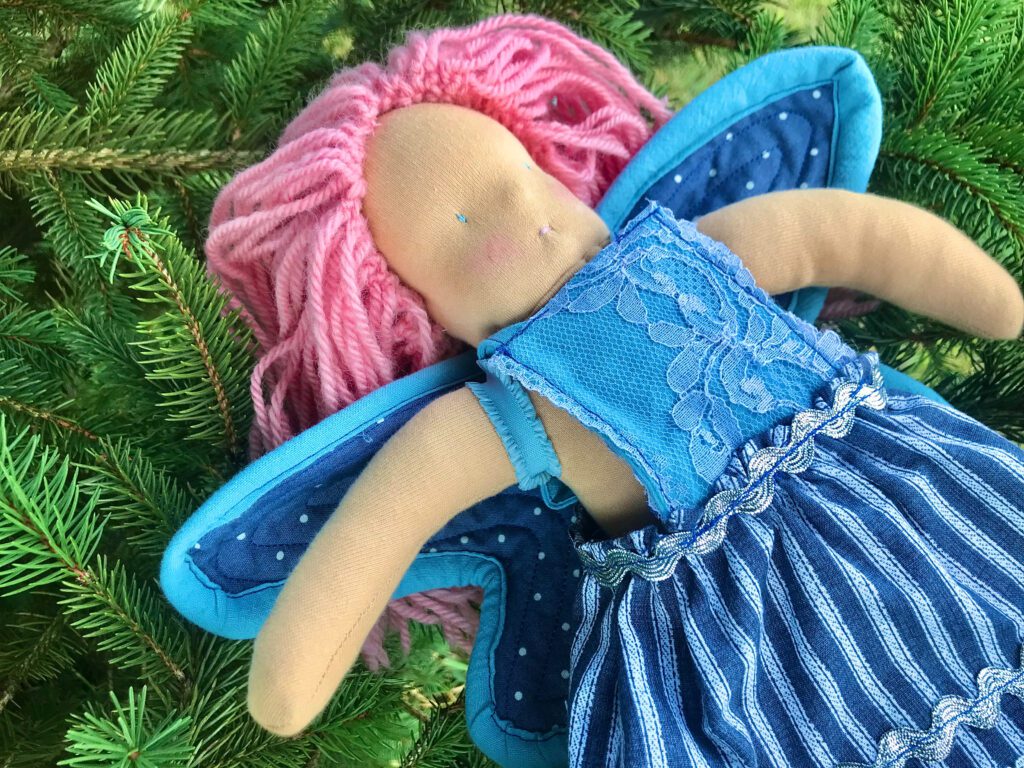
Follow along as I make these DIY doll wings for your Waldorf Doll fairy (or butterfly!).
Get your free Printable pattern below!
These wings would also fit any doll around 12″ tall.
Disclaimer: As an Amazon Associate, I earn from qualifying purchases.
Supplies Needed
- Fabric of your choice, 1/2 yard
- Cotton quilt batting (you can use polyester, but I prefer cotton), 1/4 yard
- Sewing Needle and Thread,
- OR, Sewing machine
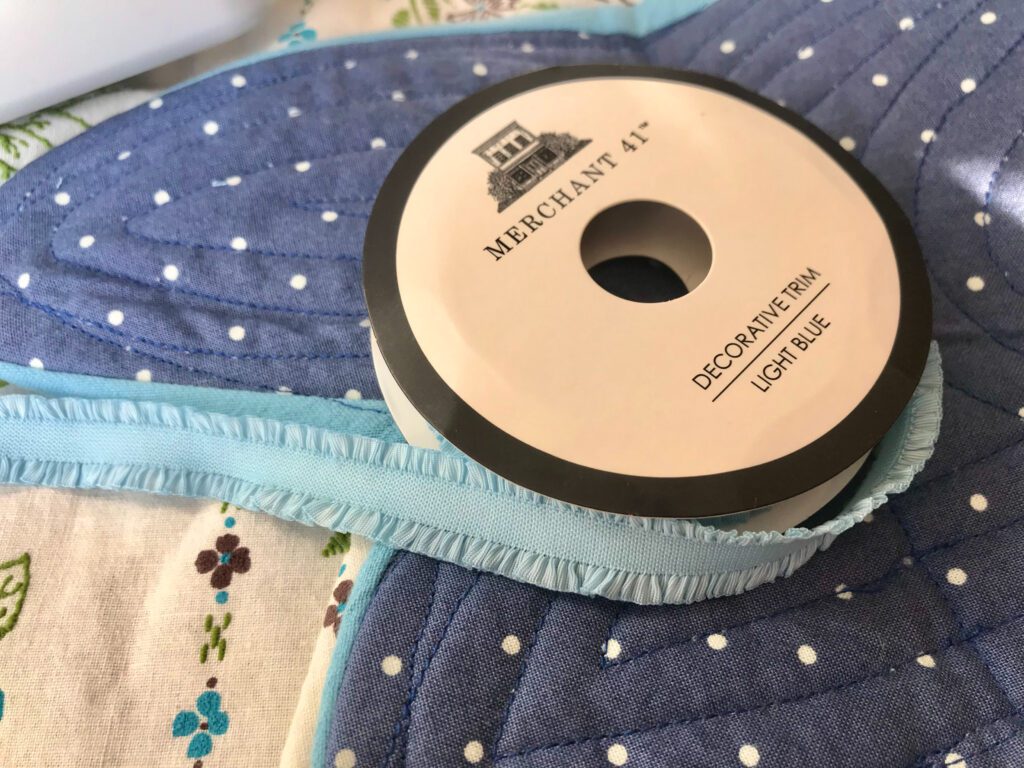
- Decorative elastic (I cannot find a link for the one I used, but this is beautiful, too!)
Let’s jump right to the project!
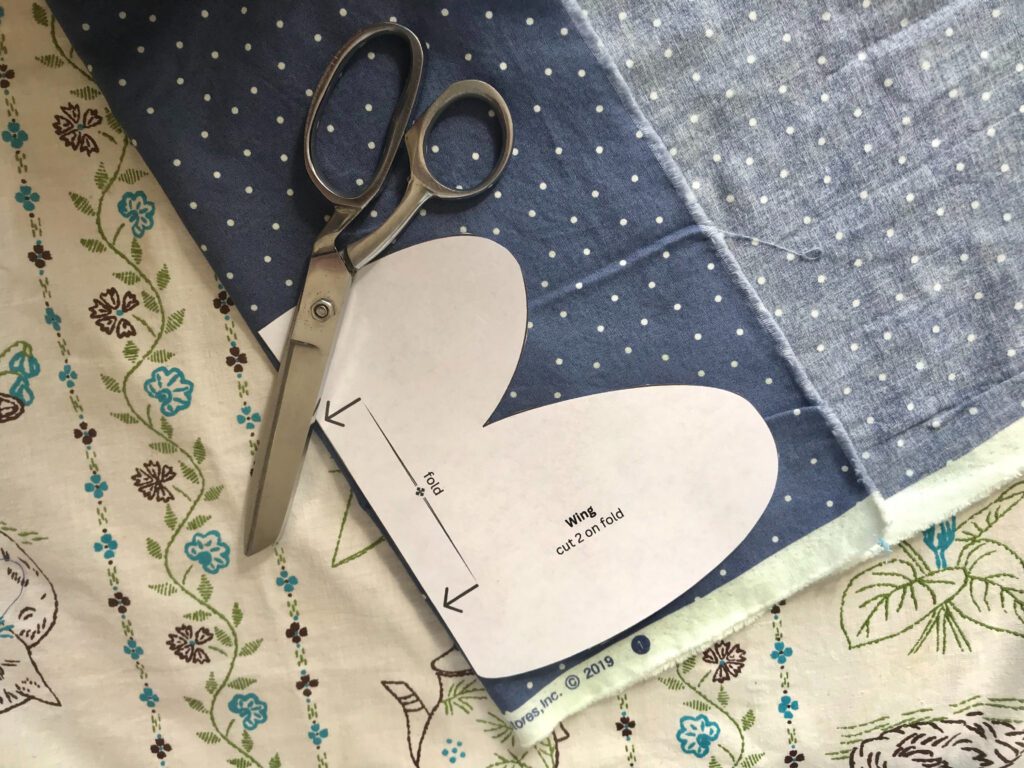
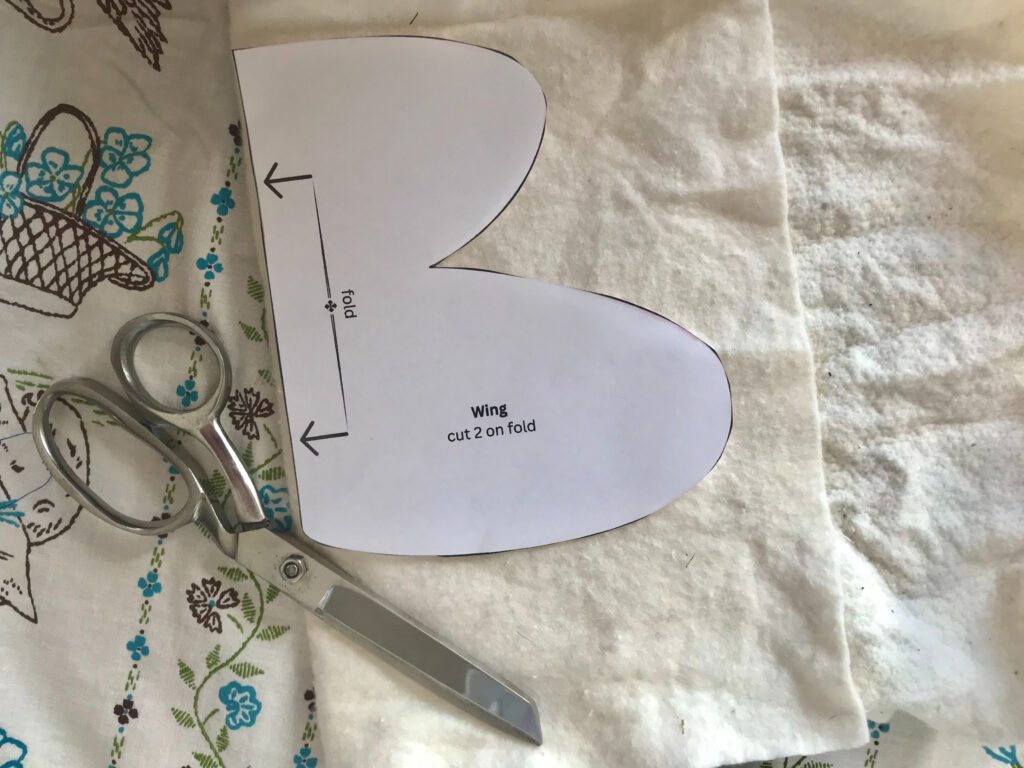
Step 1: Print DIY doll wings pattern, and cut fabric
First, print your free PDF pattern below!
Next, cut your fabric and your batting on the fold.
You’ll want to cut 2 pieces of fabric, and one piece of the cotton batting.
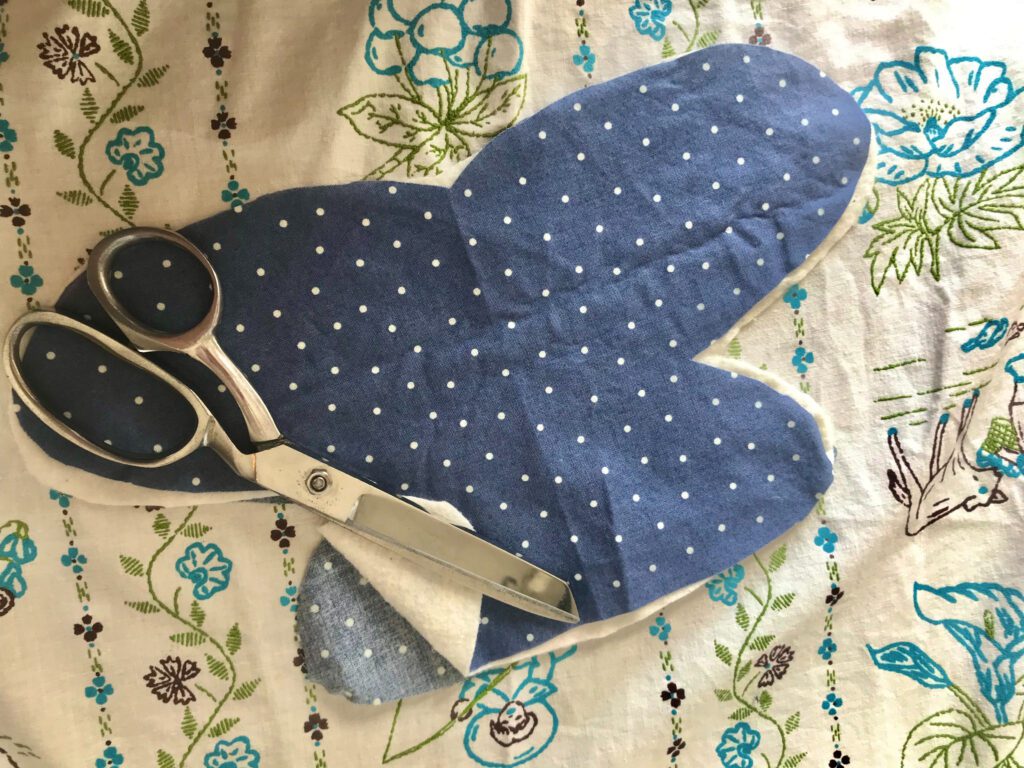
Cut out all your pieces, then layer them like in the photo below.
Keep both RIGHT sides of the fabric facing OUT.
The cotton batting layer will be sandwiched in the MIDDLE.
This creates the layers of the quilted wings!
Bonus points if you properly iron all your fabric first, but I like to keep things interesting.
Step 2: Quilt your DIY doll wings!
Here comes the fun part!
It’s time to quilt your wings!
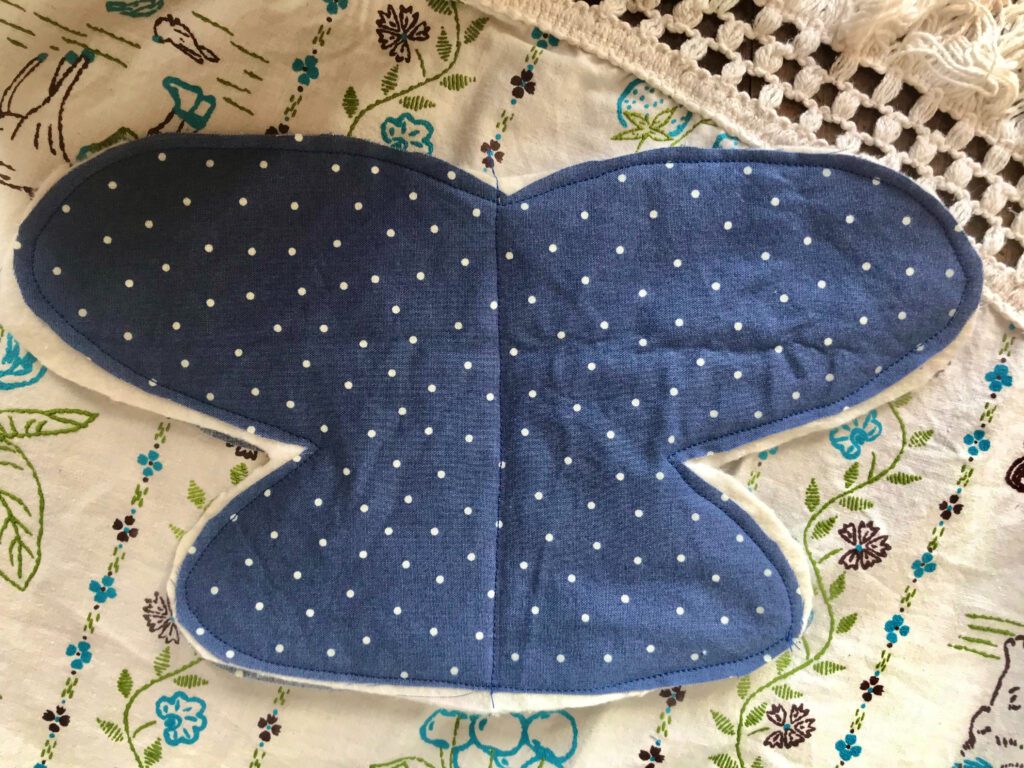
The first step we will do is sew through all 3 layers of the wings.
First, sew all along the edges.
Then sew a line right down the middle — top to bottom!
Your wings will look like this:
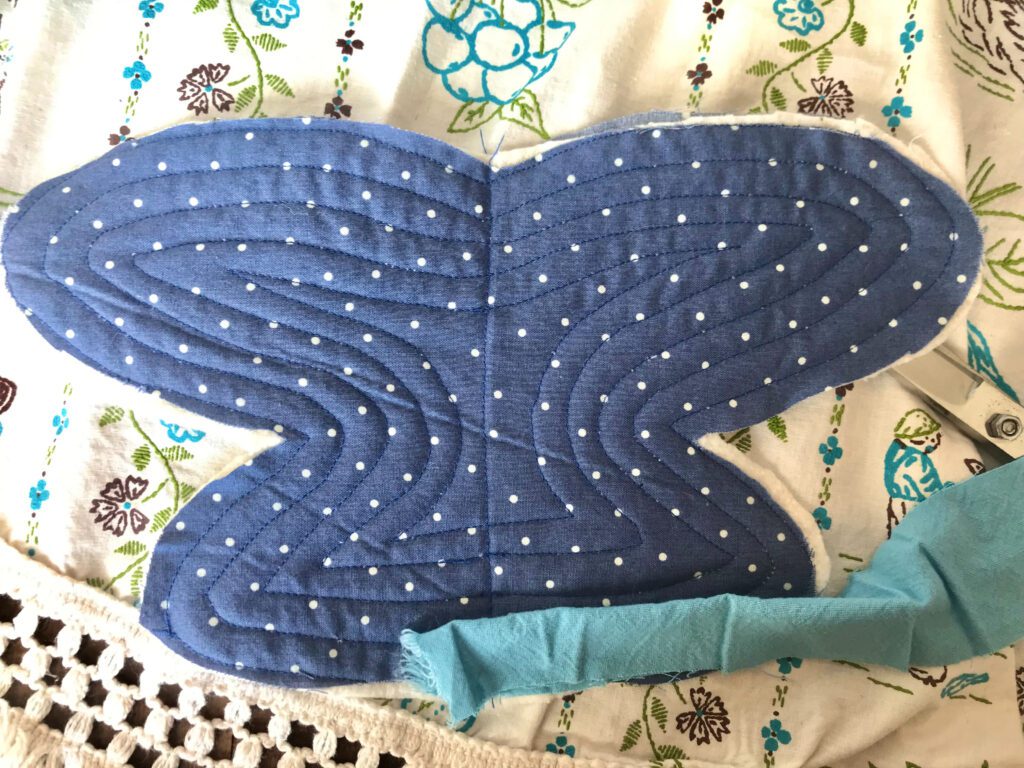
Now, using the presser foot on the sewing machine as a guide (or your good old fashioned eyeballs if you’re hand sewing), quilt your next butterfly-shaped “circle”.
Repeat this process of sewing around the wings until you’re satisfied with your doll’s wings.
They will look something like this:
Step 3: Make and sew on binding
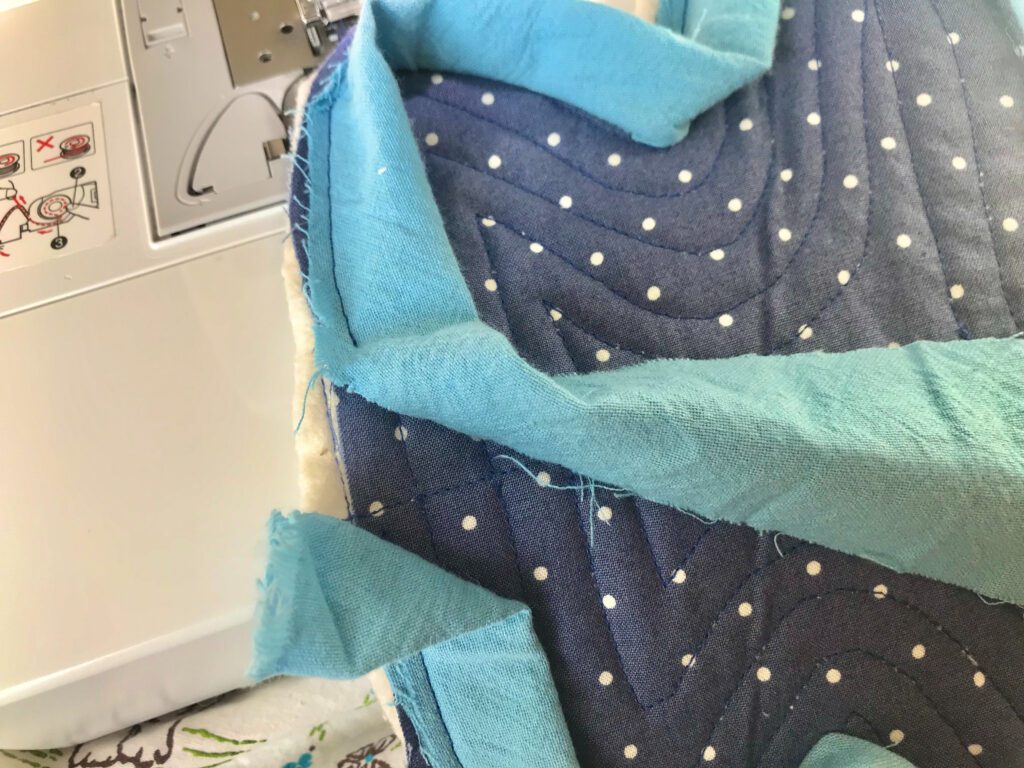
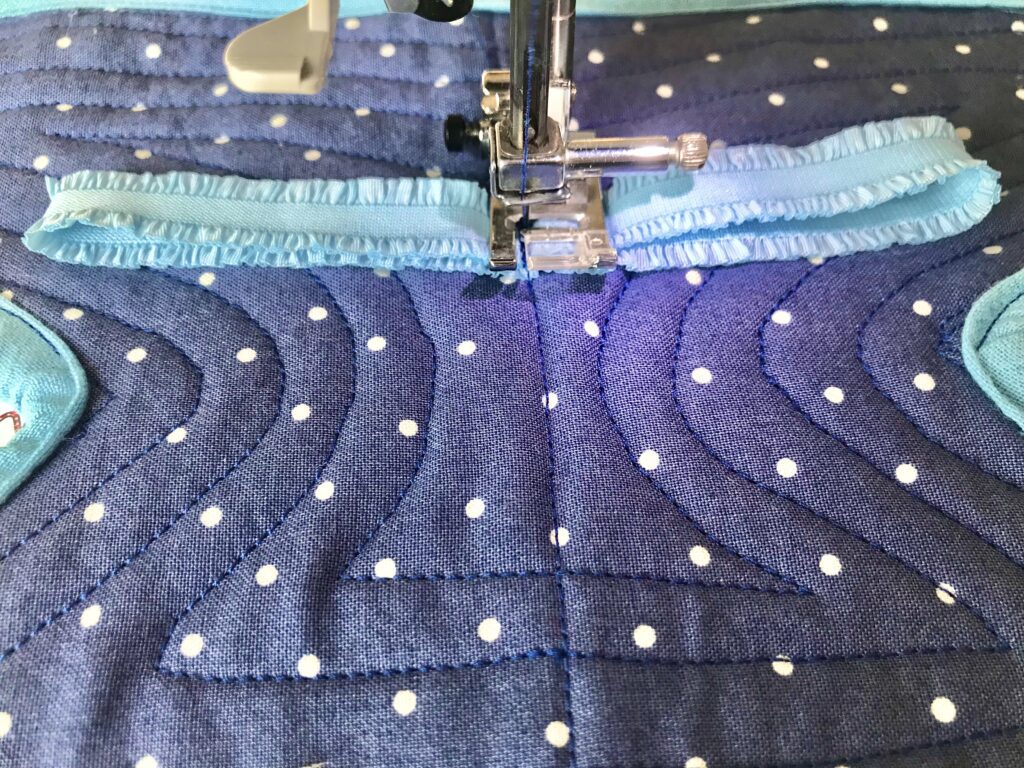
Next, we will bind our mini winged quilt.
The binding is the “edge” that goes around a quilt.
To make our binding, cut a nice long strip of fabric. 2″ wide by at least 30″ long.
You may have to sew multiple strips of fabric together to achieve this length depending on what your fabric stash is looking like. This is okay.
Next, fold the binding in half, and lay the raw edges of the wings and the binding side by side.
Sew the binding all the way around the wings.
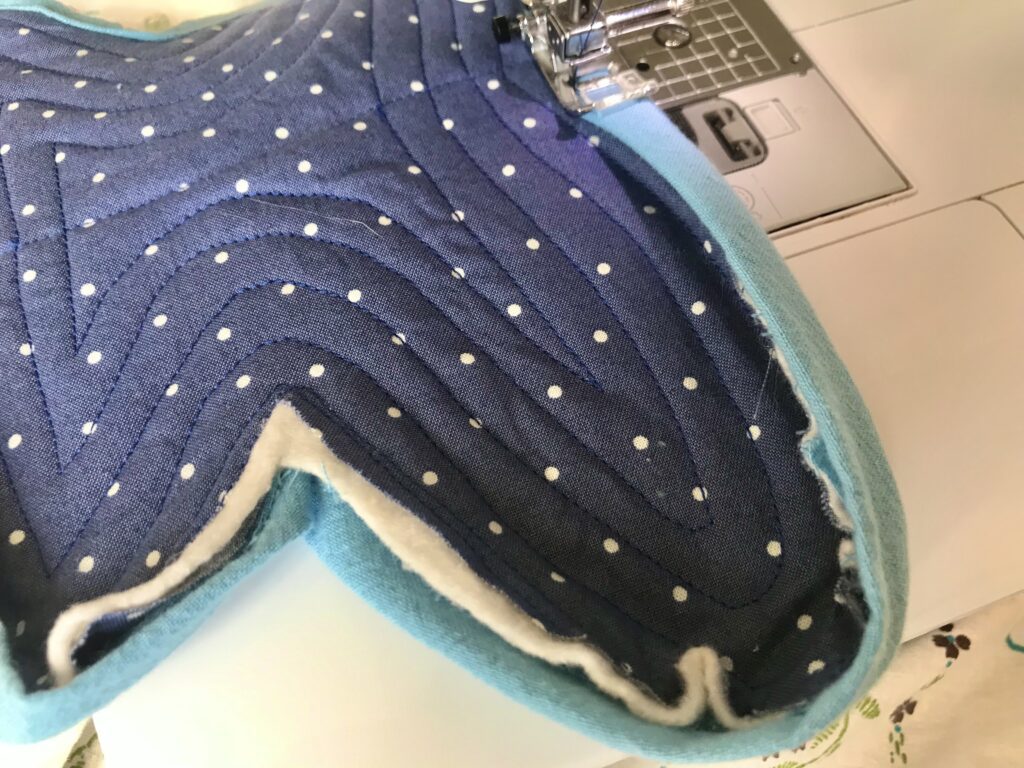
When you reach the end, fold the raw edges on the binding, overlap the beginning and the end of the binding, and sew.
Now, flip the wings over, fold the binding on the other side of the wings so it “cups” the raw edge, and sew again!
Step 4: DIY Doll Wings Arm Straps
Lastly, we need to make some arm straps for the wings.
The wings will be worn “backpack-style.”
Cut a piece of decorative elastic 12″ long.
Sew the ends together into a circle.
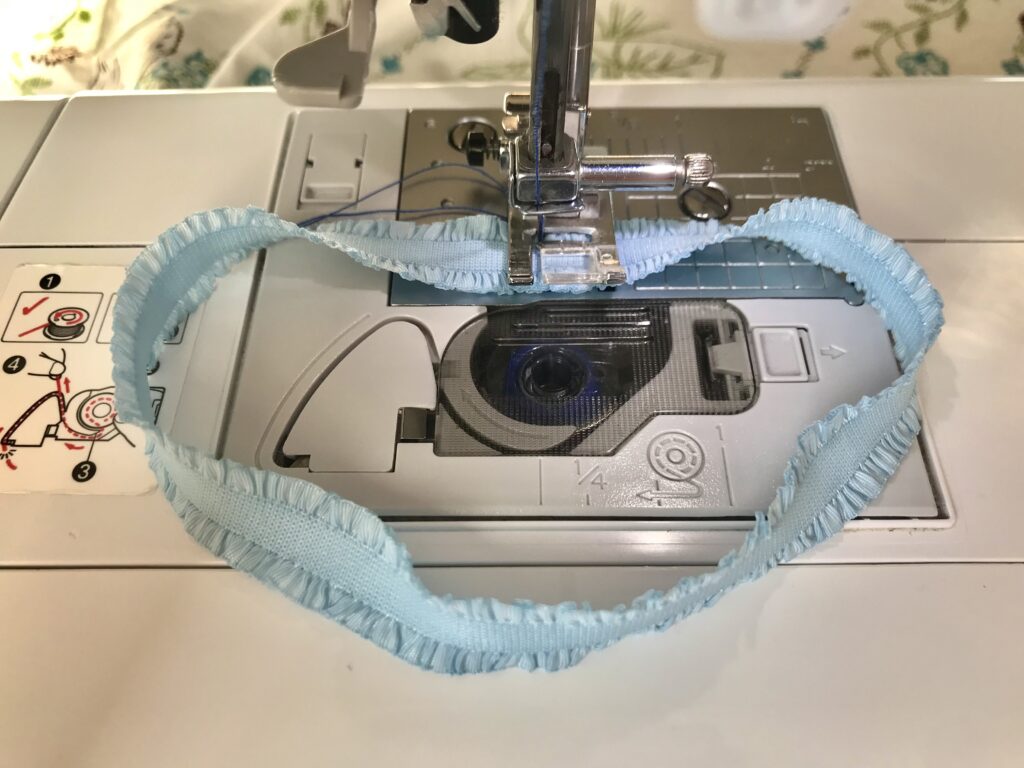
Lastly, sew the circle in the center (plus slightly higher) of the wings.
Sew through two layers of the circle — right in the middle.
This will create a “figure 8” for the arms.
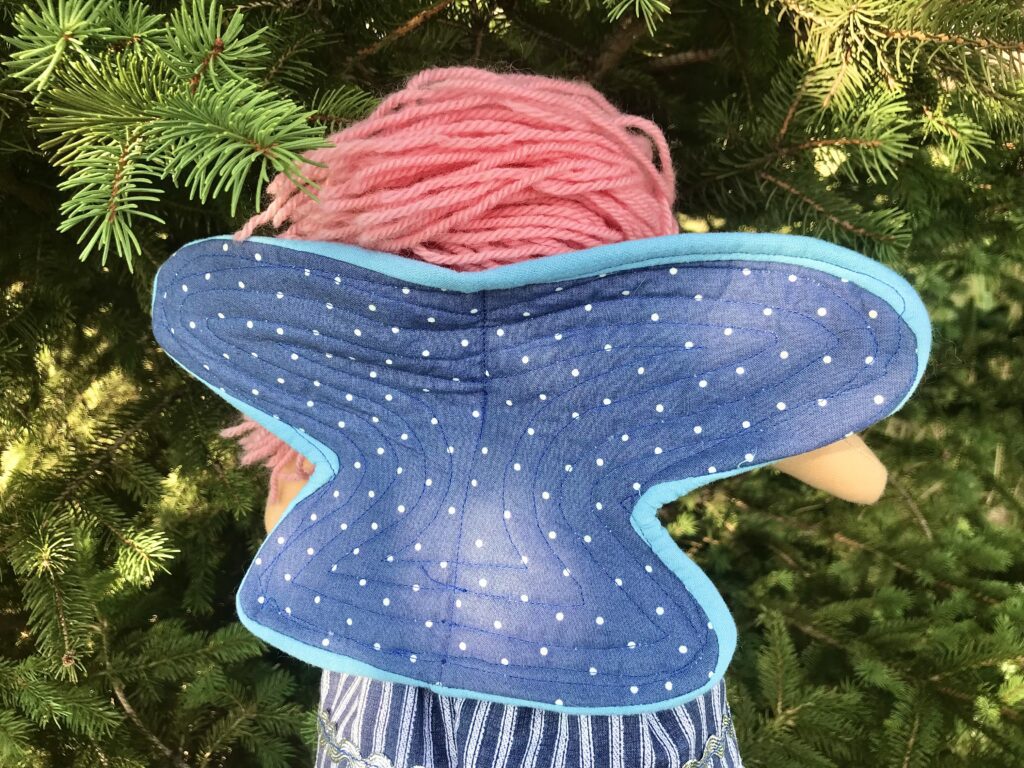
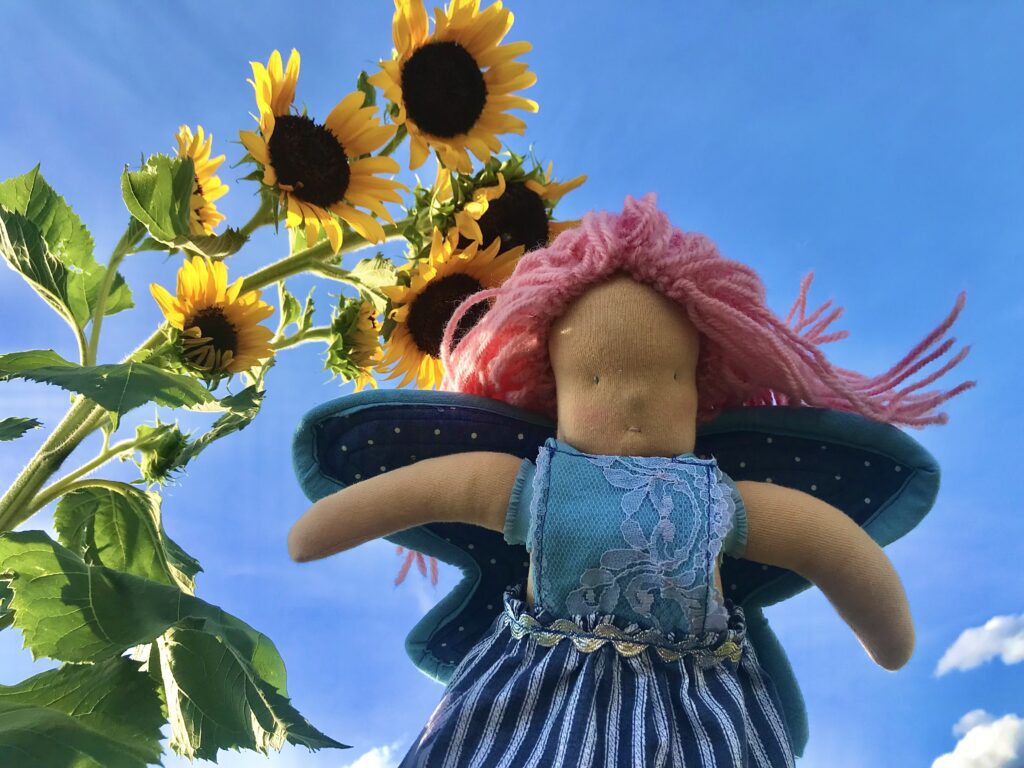
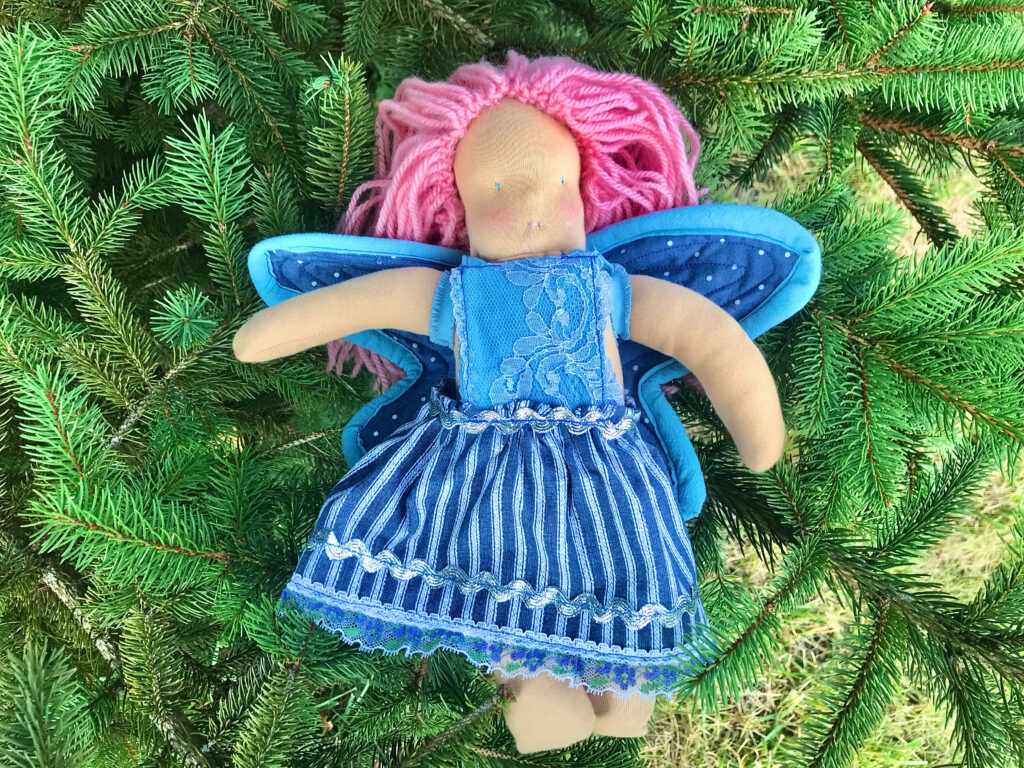
There! You did it!
Your quilted wings are complete!
Now, go put them onto your real neat waldorf doll that you effortlessly made using my other free waldorf doll tutorials and patterns!
But seriously — want to make the rest of this doll?
And I mean, why wouldn’t you?
You can get all the patterns and tutorials FOR FREE!
Free is the cat’s meow. (or….the butterfly’s…meow?)
Because, EVERYONE should have a waldorf doll.
Lastly, leave a comment if you have a suggestion for a tutorial you’d like to see!
Find the rest of the patterns below!
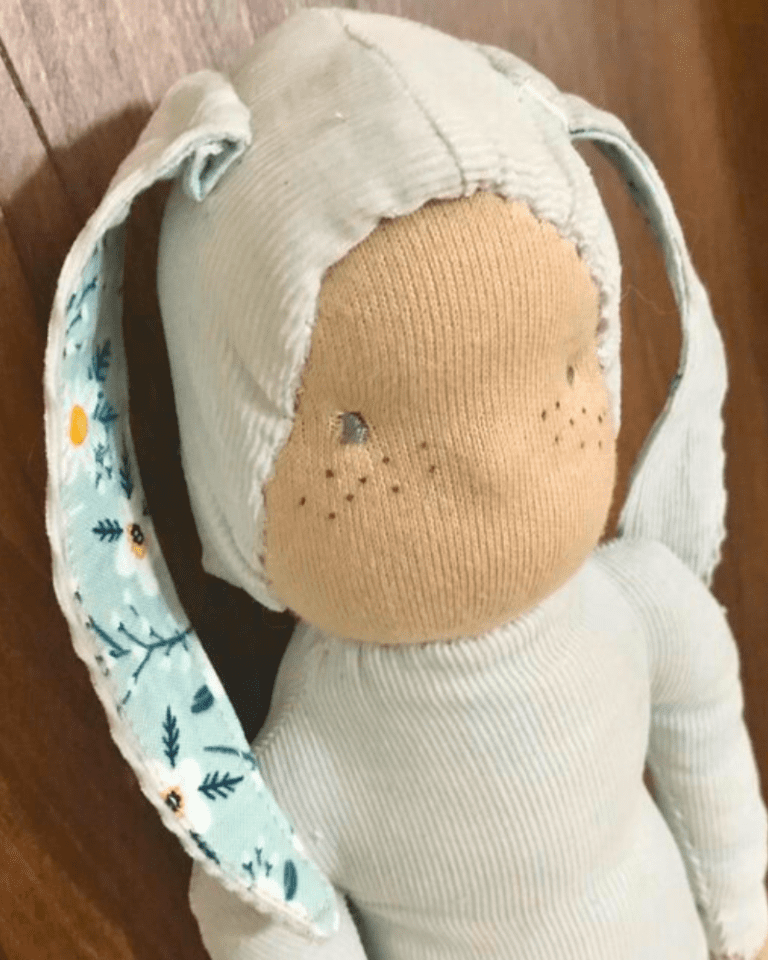
Waldorf Doll Head can be found HERE
Waldorf Doll Body can be found HERE
Fairy Doll DRESS