FREE Princess Dress Sewing Pattern: Step-by-Step Tutorial
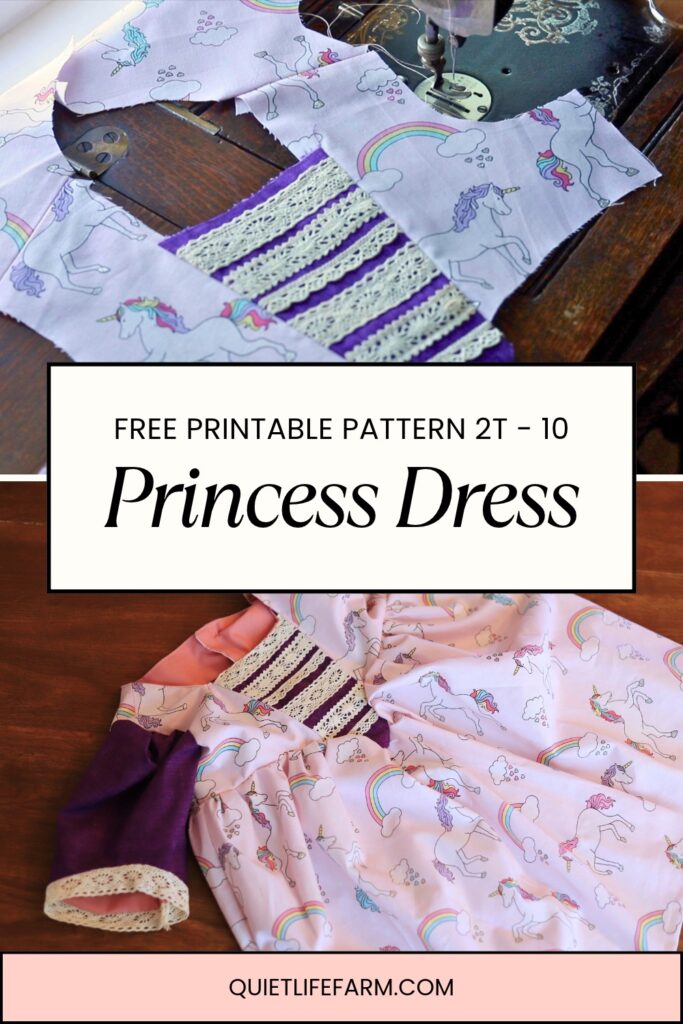
Here’s a FREE to PRINT sewing pattern for a child’s princess dress! Pattern comes in sizes 2T – 10
Disclaimer: As an Amazon Associate, I earn from qualifying purchases.
Learn how to sew a beautiful princess dress with this step-by-step sewing tutorial and FREE princess dress sewing pattern!
This classic princess dress features a pointed stomacher-style bodice, pretty lace details, puff sleeves, and a gathered skirt for a timeless, traditional look.
In this tutorial, I’ll walk you through assembling the lined bodice, adding lace to the stomacher and sleeves, sewing the puff sleeves, and gathering the skirt.
I’ll also show you an easier alternative to traditional buttonholes using small elastic loops, which can be helpful if you’re new to sewing buttonholes!
Whether you’re making a special occasion dress or a sweet dress-up outfit, follow along with the instructions below to sew your own princess dress!
Print out the princess dress sewing pattern here:
Watch the Princess Dress Sewing Tutorial
Prefer to watch as you sew?
I’ve also made a video tutorial showing how to put this princess dress together, from assembling the bodice to attaching the sleeves and skirt.
You can follow along with the written instructions below or watch the video for a closer look at each step.
Watch the video tutorial here: **video tutorial coming soon**
1. Supplies and Cutting the Fabric Pieces
After you print out your pattern, cut out your fabric pieces.
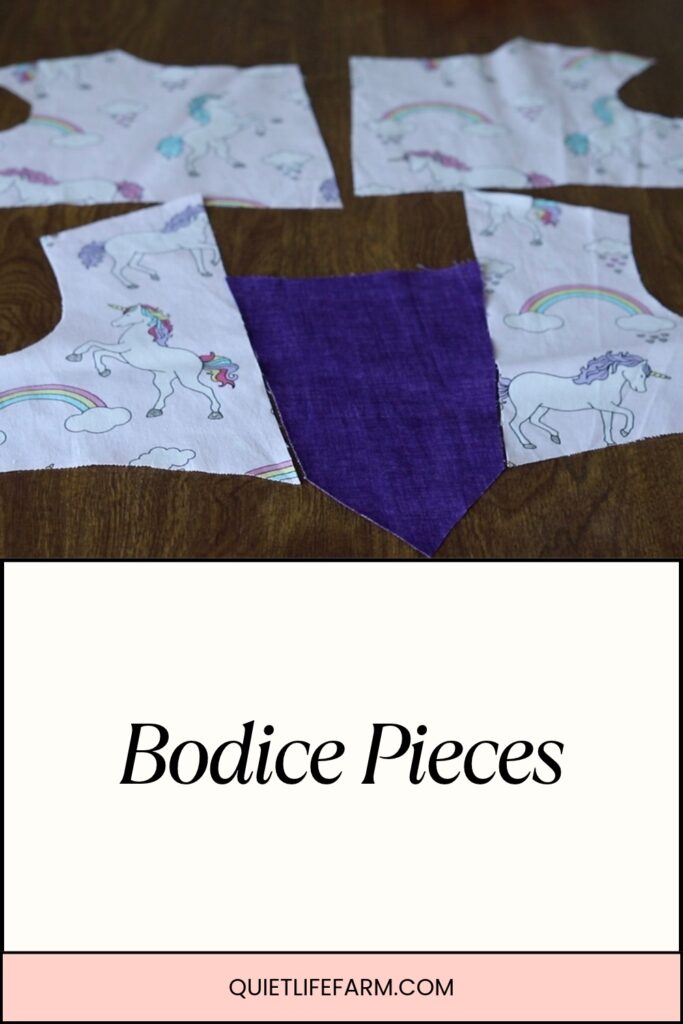
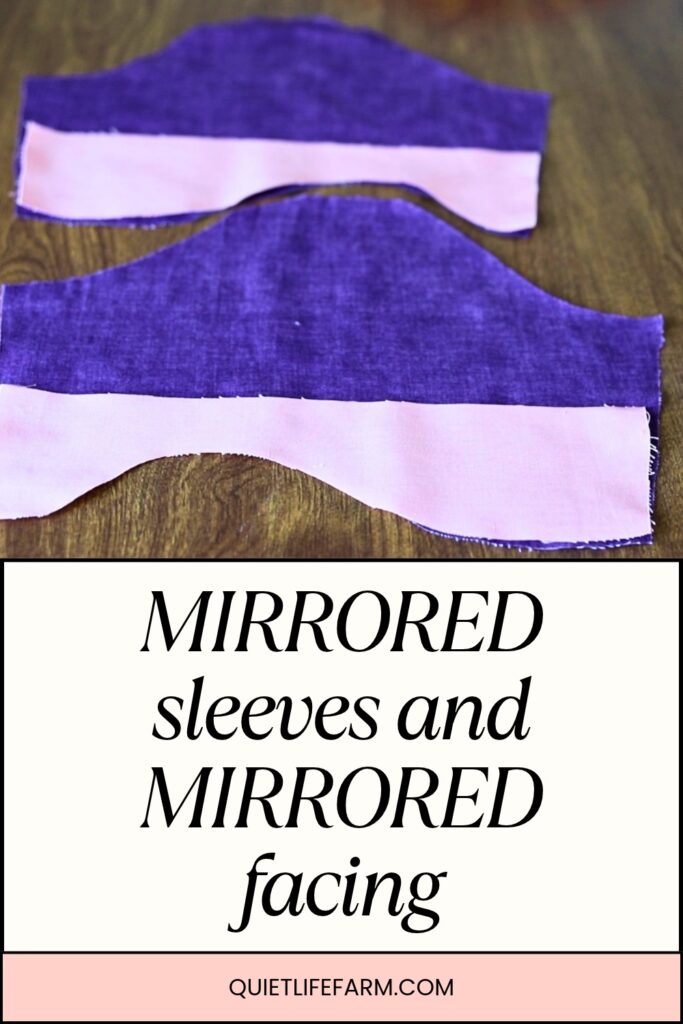
You’ll also want to cut out the lining for the bodice and a facing for the sleeves.
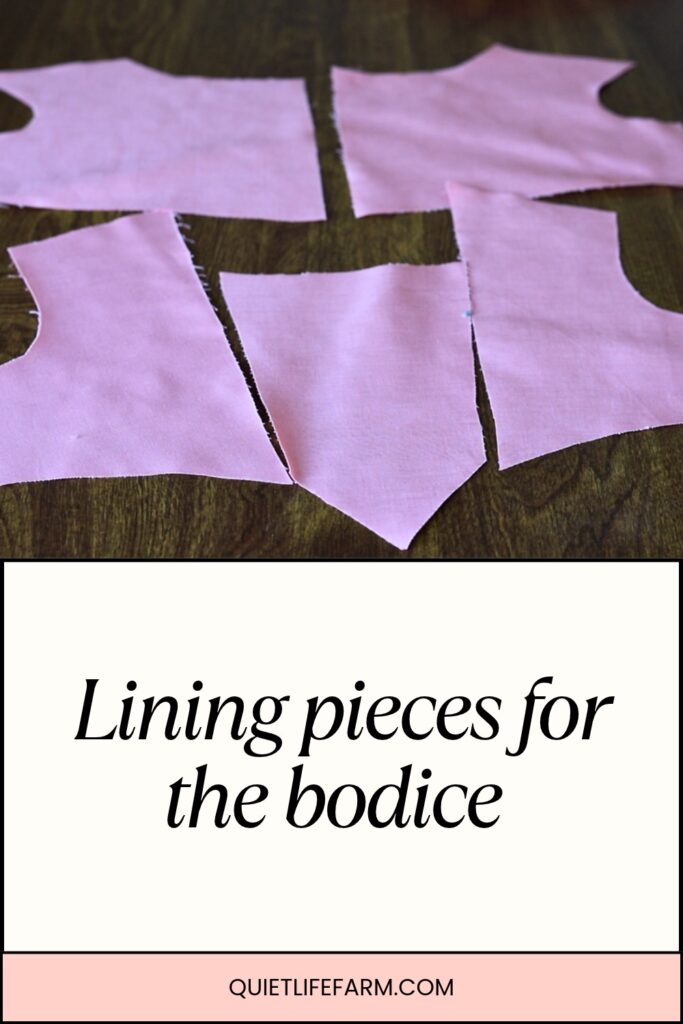
The front skirt piece will be cut on the fold (the cut out front skirt panel will have a triangular dip in the center), and there are two back skirt pieces for the back of the dress. (the back skirt pieces need to be MIRRORED images of each other!)
You’ll also need some lace and buttons.
(I’ll also show you an easy alternative to traditional buttonholes using 1/4-inch-wide elastic.)
2. Dress Fit and Seam Allowance
This dress is designed to have a comfortable, slightly roomy fit, making it a lovely play dress.
For this reason, I do NOT suggest sizing up with this pattern. There’s plenty of room for comfy play!
The front of the skirt is slightly shorter than the back of the skirt, giving it a nice “princess swoop!”
A 1/2-inch seam allowance is used throughout!
3. How to Sew Lace onto the Stomacher
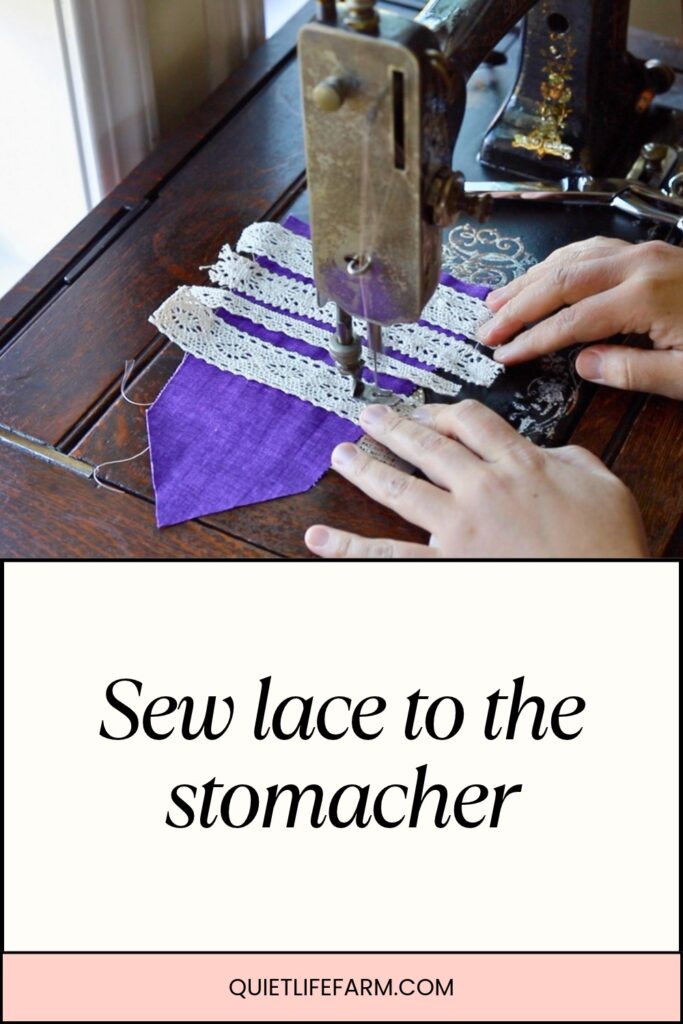
The first thing you’ll want to do is sew lace onto the stomacher of the dress.
I like to use a variety of lace widths and styles on the stomacher.
Sew the lace into place on the stomacher.
Here is the all cotton lace I used!
Honestly, this lace is the only lace I buy anymore. I love that it is 100% cotton and comes in a variety of sizes, patterns, and both white AND off white! I can genuinely recommend it to you!
4. Sew the Front Bodice Side Pieces to the Stomacher
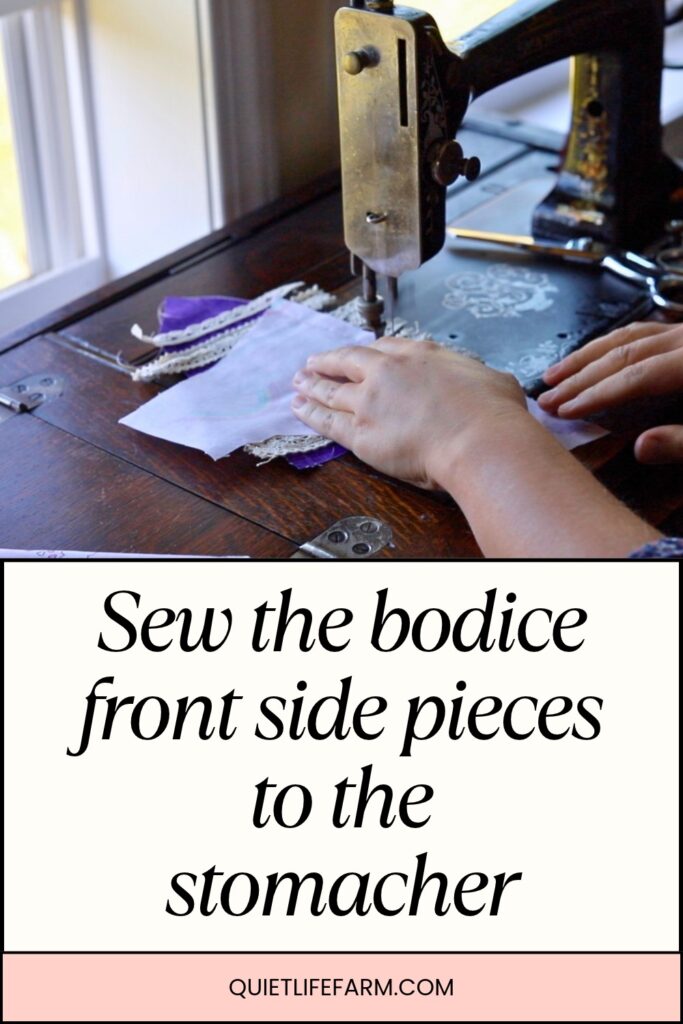
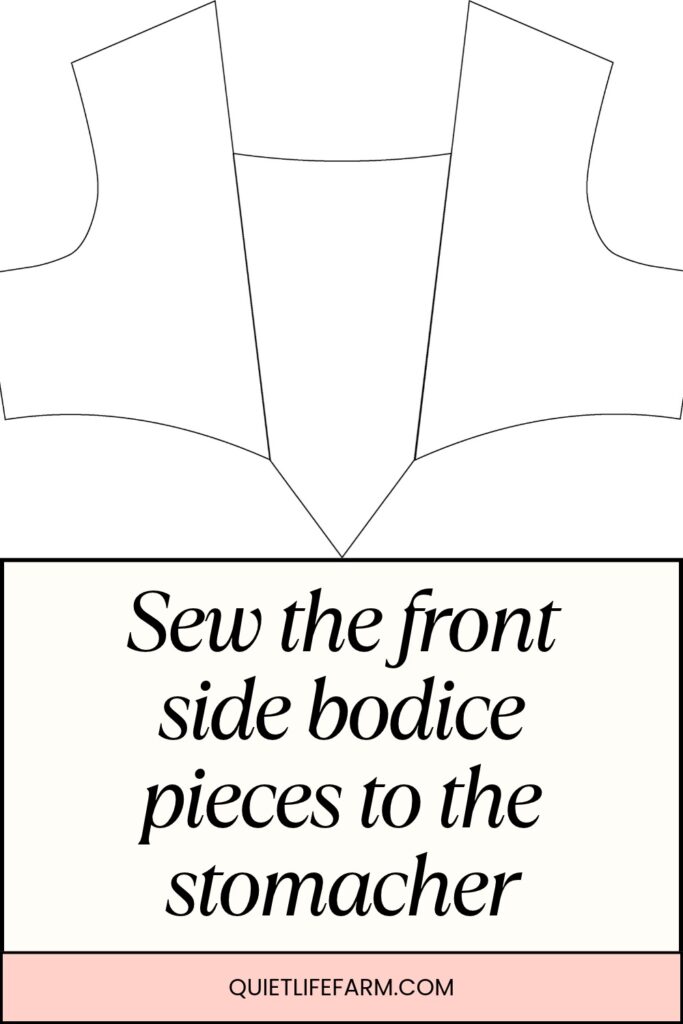
Next, sew the front side bodice pieces to the stomacher.
Line up the bottom side points of the stomacher with the bottom side points of the front side bodice pieces.
Need a better visual? It’ll look like THIS:
5. Sew the Bodice Shoulder Seams
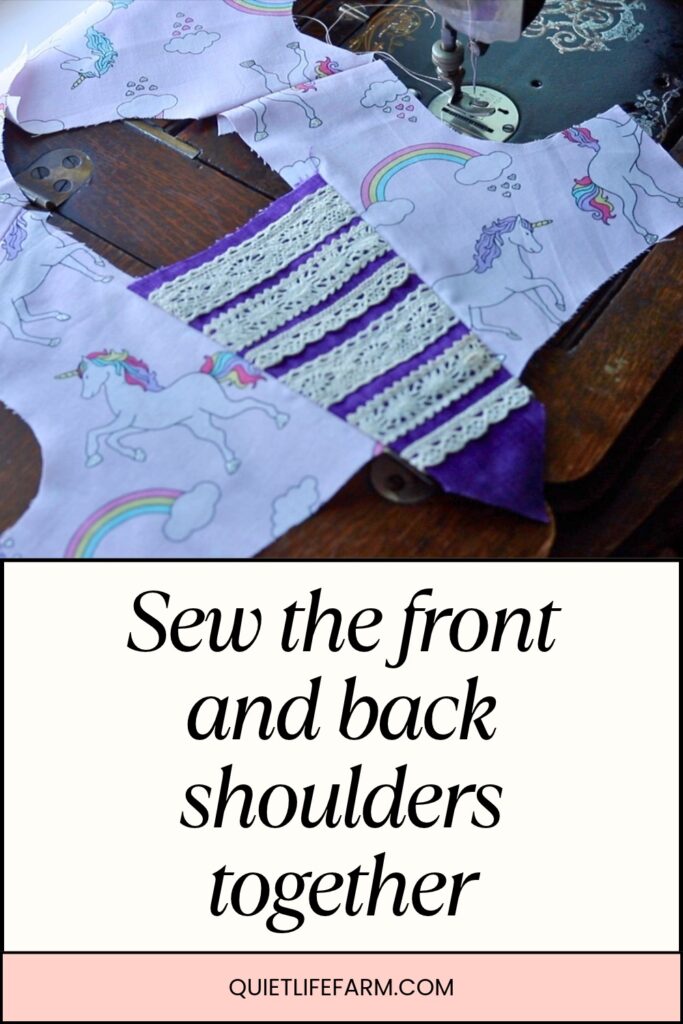
Sew the front bodice to the back bodice pieces at the shoulders.
Sew right sides together.
6. Assemble the Bodice Lining
Repeat the bodice assembly with your lining pieces.
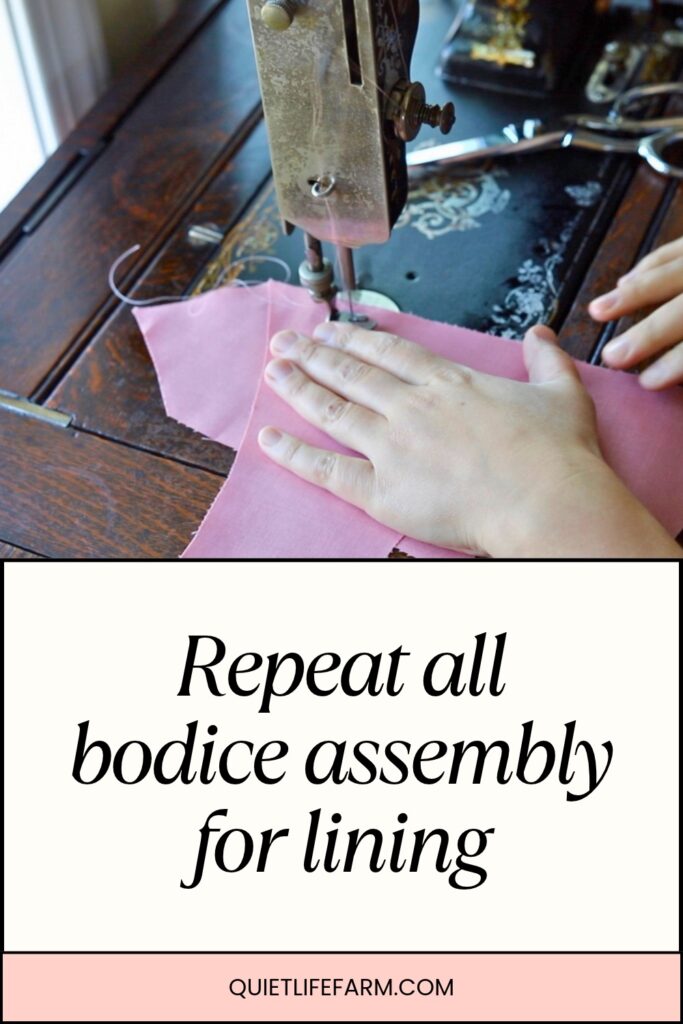
Sew the front side bodice pieces to the stomacher, then sew the front shoulders to the back shoulders.
7. Press the Bodice Seams
Iron your bodice flat.
>>> Important: Press the seams at the stomacher toward the center of the bodice. This will make it easier/possible to sew the lining to the bodice neatly. <<<
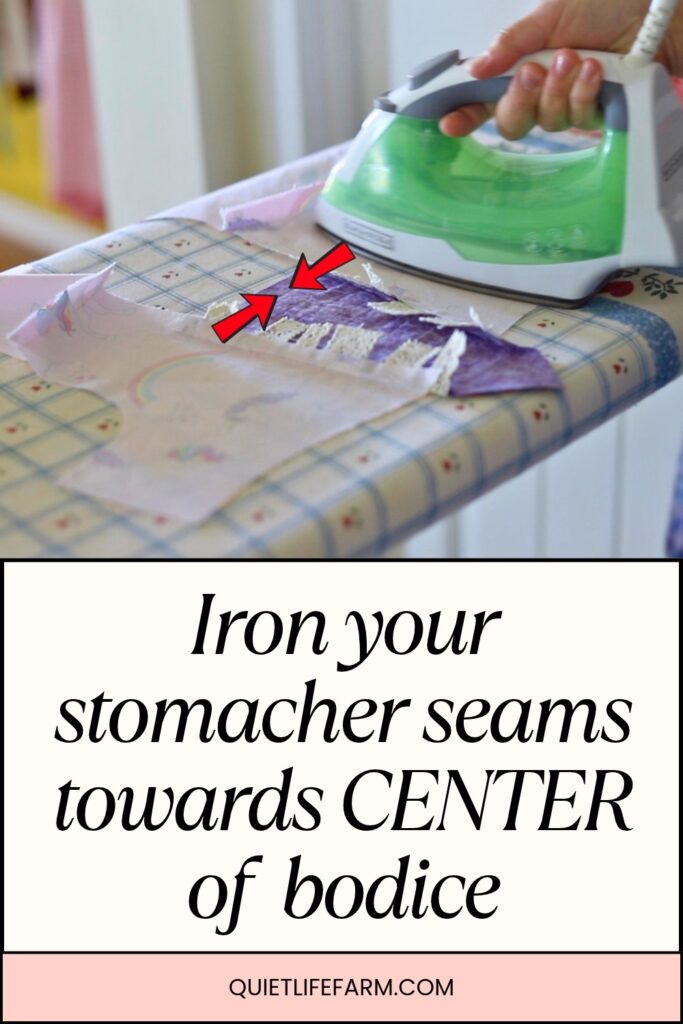
Open up the shoulder seams of your bodice and iron them flat.
Iron the lining for your bodice in this same way, too!
8. Sew the Bodice and Lining Together
Line up the lining and the main bodice.
Optional: An Easier Alternative to Buttonholes: This dress is designed with a 1-inch overlap for traditional buttons and buttonholes. However, that being said, a comment on my last dress sewing tutorial asked for an easier way to make buttonholes, so I decided to demonstrate an alternative for this dress. Buttonholes can be a little intimidating when you’re learning to sew! For an easier option, you can snip small pieces of elastic to make loops that fit over the buttons. Although I recommend traditional buttonholes for this dress, if you decide to use elastic loops instead, now is the time to cut and position them, before you sew the bodice and lining together.
Sew around the back of the bodice, the neckline, and the front.
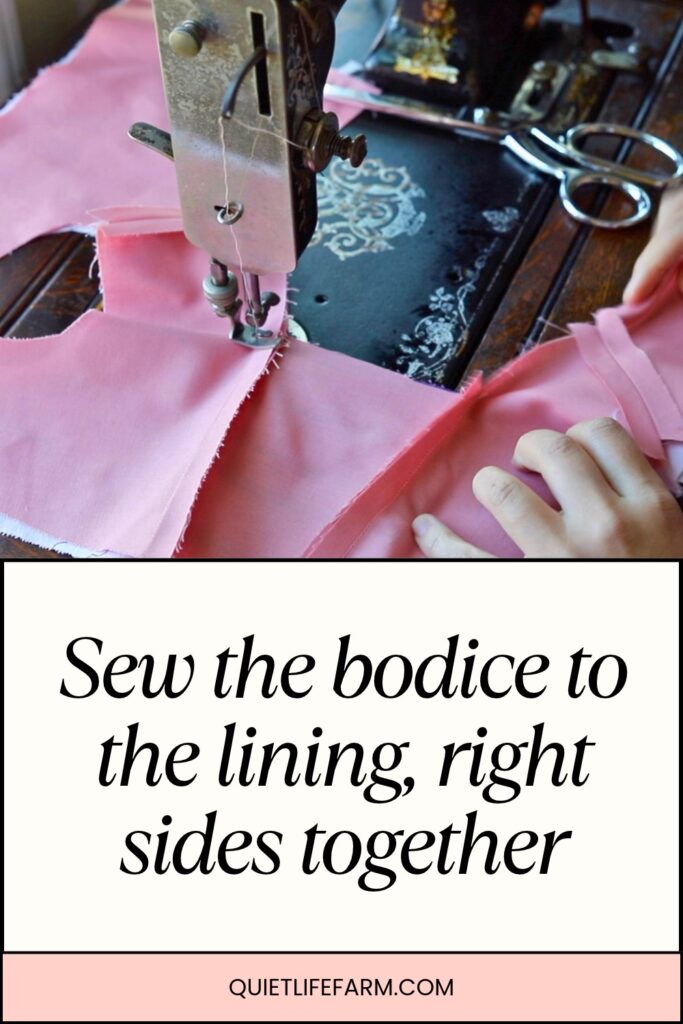
Clip the corners and seam allowances, then turn the bodice right side out.
You’ll especially want to clip into the right angles at the top of the stomacher. The more you clip this area, the less it will bunch when you turn it out, so be sure to complete this step!
9. Press and Topstitch the Bodice
Iron the bodice flat, then topstitch all the way around.
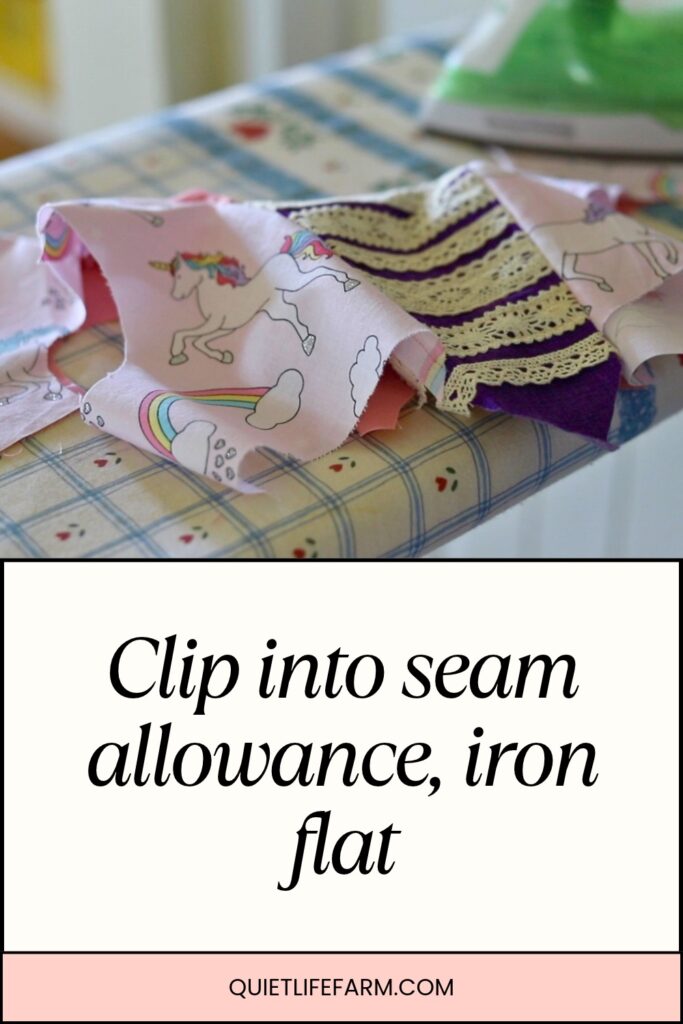
You will also want to topstitch the bottom raw edges to hold the bodice and lining together in place!

10. Sew the Bodice Side Seams
Sew the side seams of the bodice together.
You can sew these seams right sides together, or use a French seam, as I’m doing here.
To make a French seam, start by sewing the fabric wrong sides together, right along the edge.
Then, turn the fabric and sew right sides together.
I do recommend French seams for the majority of this dress, as it will hold up much better over time! However, I don’t think finishing seams aren’t completely necessary for dress up clothes!
11. Finish the Back Bodice Opening
If you plan to have an opening only on the back of the bodice and not on the skirt, overlap the back opening of the bodice by 1 inch.
Sew together at the bottom raw edge of the bodice, just to hold it into place.
Overlap the right side of the bodice onto the left side of the bodice, so that the buttons will later go on the left side of the dress.
12. Hem the Sleeve Facings
Hem the long, flat edge of each sleeve facing.
13. Baste the Lace onto the Sleeves
Baste the lace into place a little less than 1/2 inch away from the edge of the sleeve.
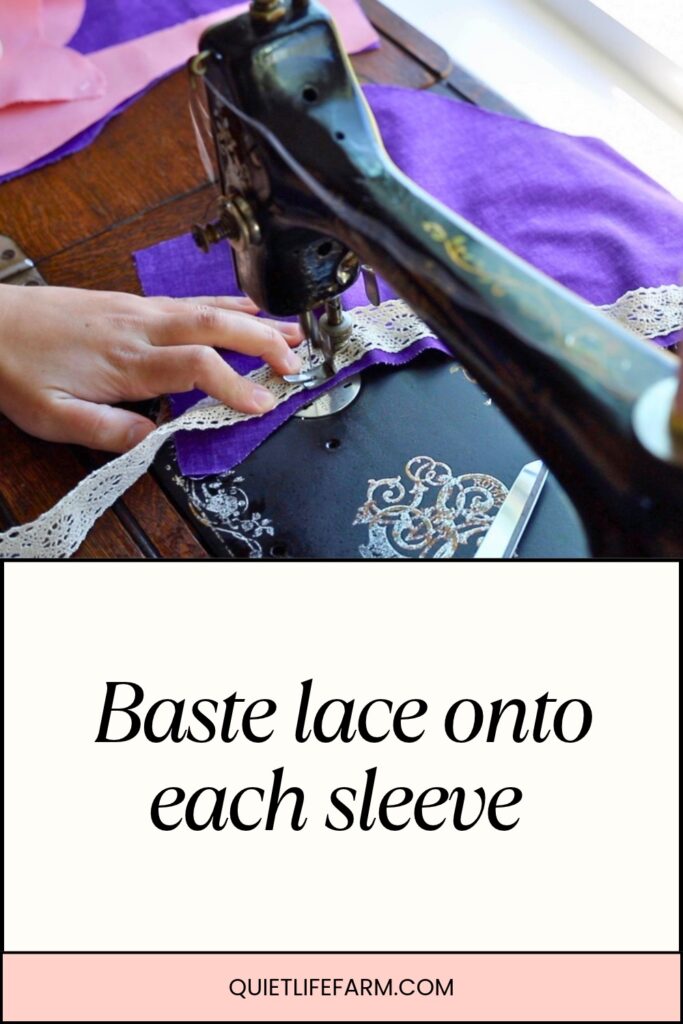
Making it slightly closer to the edge than your 1/2″ seam allowance will make sure that the lace isn’t pinned down later by your 1/2″ seam allowance! Otherwise, you’ll lose a lot lace visibility!
14. Sew the Sleeve Facing in Place
Sew the facing to the sleeve, then clip the curves.
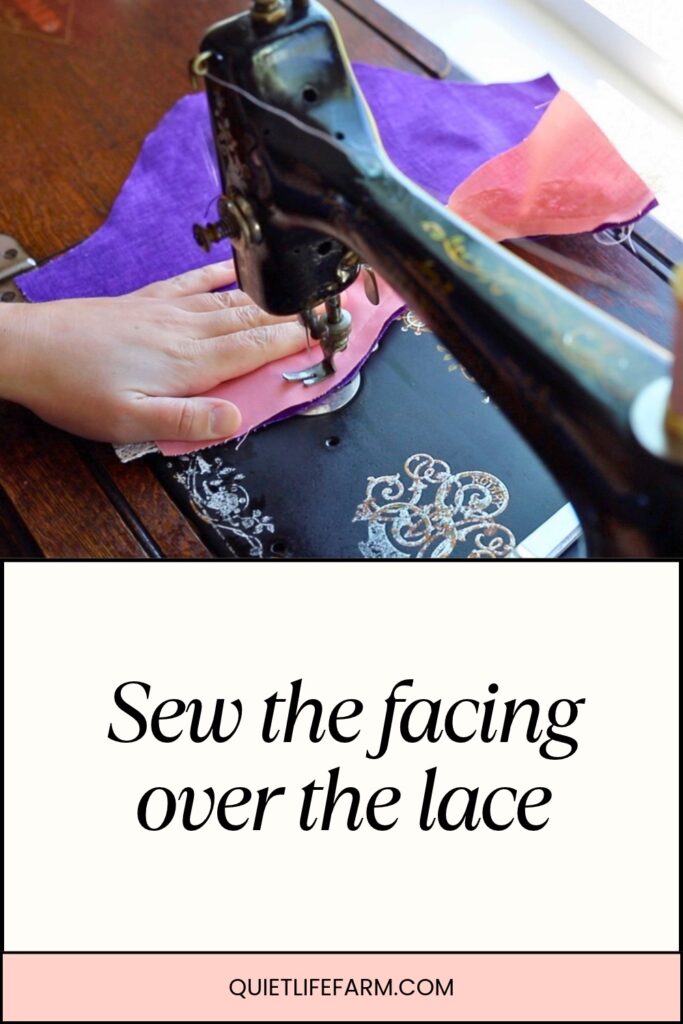
15. Turn and Topstitch the Sleeve Edge
Turn out the lacy edge of the sleeve and iron it flat.
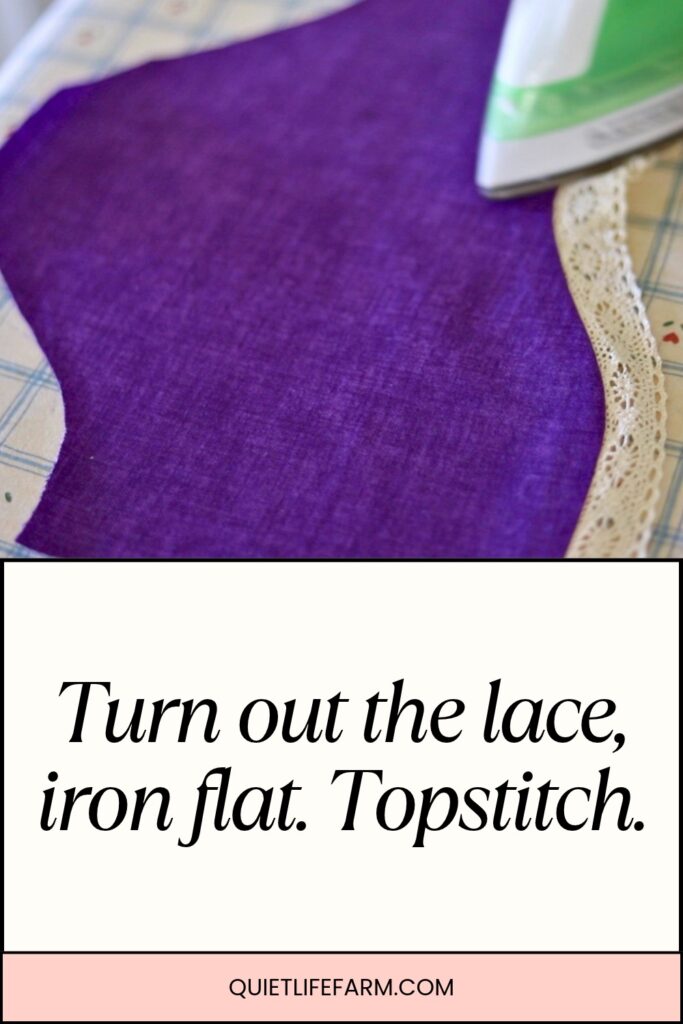
Topstitch it into place.
16. Sew the Sleeve Seams
Sew each sleeve together.
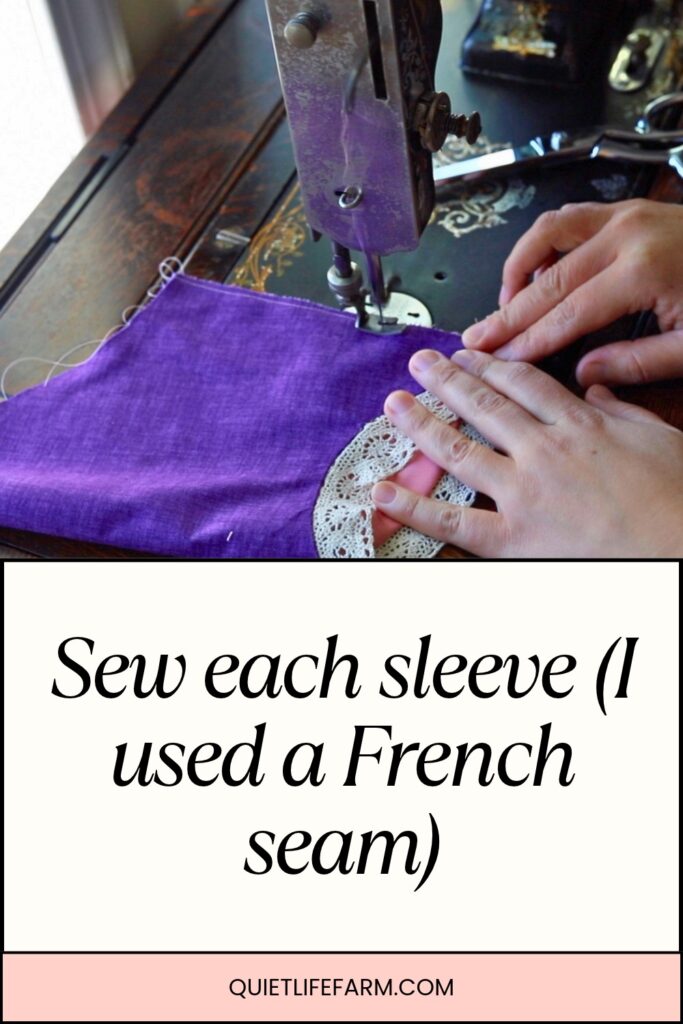
You can simply sew the sleeves right sides together, as this dress will probably be used as a dress-up dress.
However, you can also use French seams if you want the dress to last a very long time.
To make a French seam, sew the fabric wrong sides together right at the edge of the sleeve.
Trim away any extra threads or seam allowance, then turn the sleeve and sew right sides together.
17. Gather the Puff Sleeves
Next, gather the top of each sleeve.
Use a basting stitch to gather the top half of each sleeve. (or a little more than just the top half if you want a lot of room for adjustments! It will be quite the “tight” gathering when gathering just the top half of the sleeve)
This will give your sleeves a lovely princess puff.
18. Check the Sleeve Orientation
Make sure the sleeves are positioned so that the shorter, curved side of each sleeve faces the front of the bodice, not the back.
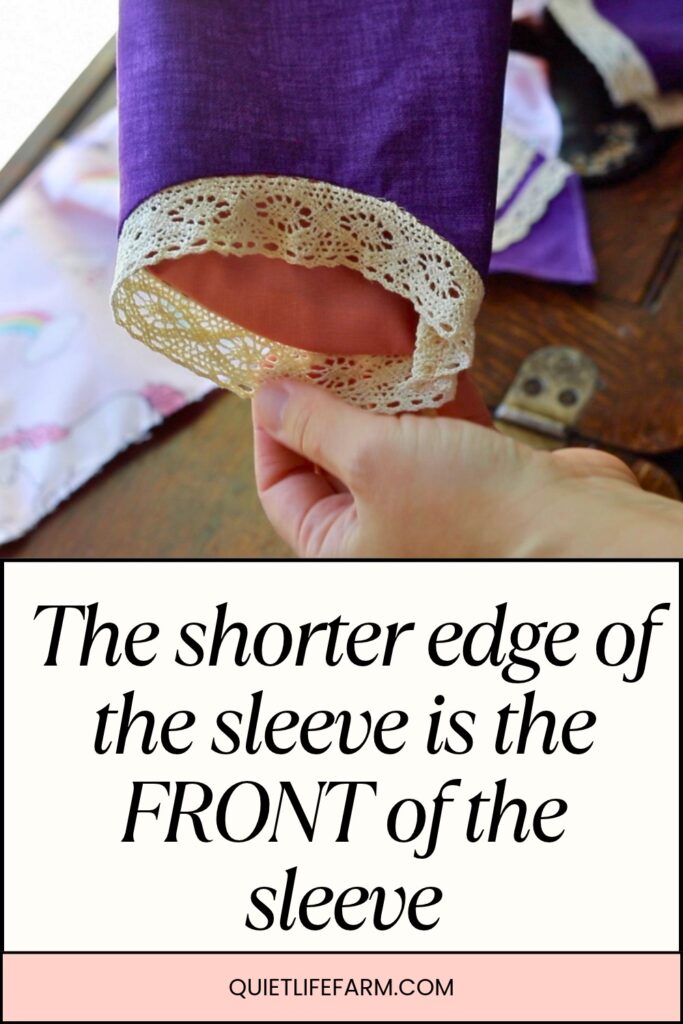
Remember, your sleeves should have been cut as MIRRORED pieces!
In other words, there is a left sleeve and a right sleeve!
(again, this is the lace I used in case you’re interested!)
19. Sew the Sleeves to the Bodice
Keep the sleeves right side out, but turn the bodice inside out.
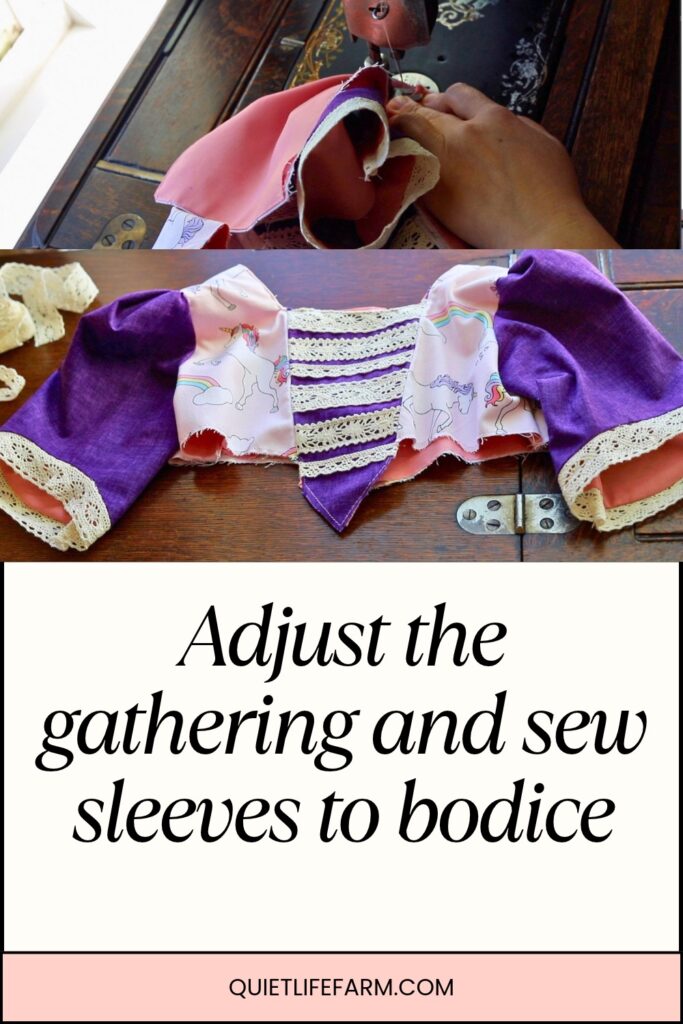
Adjust the gathered edge of each sleeve so that it is the same size as the armhole, then sew the sleeves to the bodice.
20. Prepare the Skirt Pieces

For the skirt, there are two mirrored back pieces and one front piece that has been cut on the fold.
The front of the skirt has a nice dip in the front that lines up with the bottom point of the stomacher.
21. Sew the Skirt Seams
Use French seams to sew the skirt together.
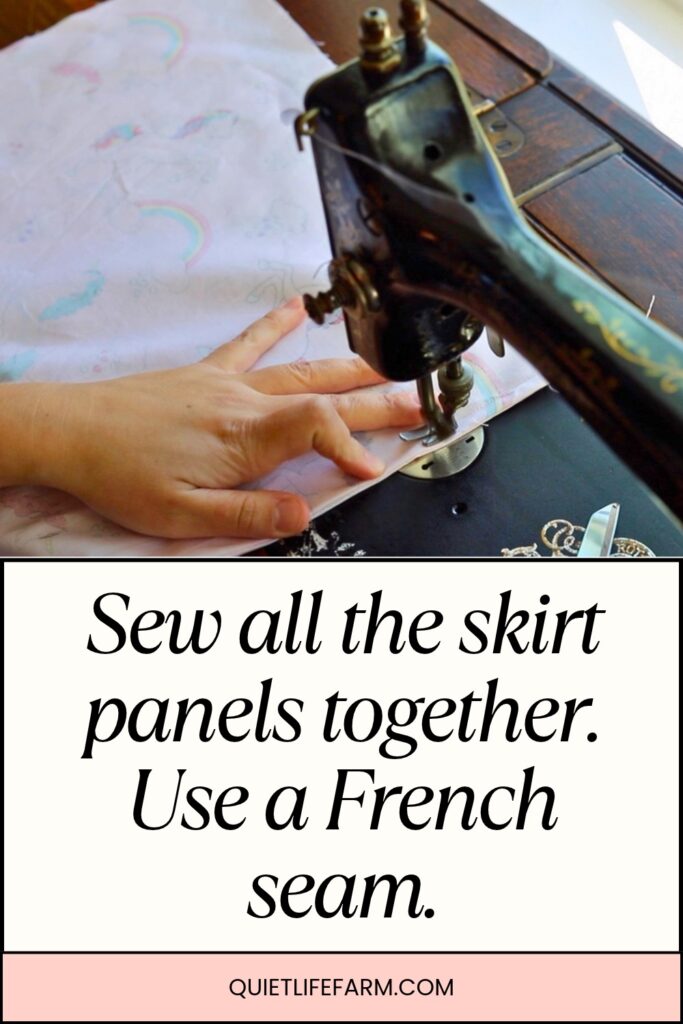
Even if you’re using this dress as a play dress, I do suggest using a French seam for sewing the skirt together, otherwise you will have a lot of fraying on the dress!
If you want a long opening at the back of the dress, hem the back inside edges of the skirt to prepare for the opening.
Otherwise, just sew the skirt into one large circle.
22. Gather the Skirt and Match the Bodice Points
Gather the top of the skirt.
Line up the key points: the side seams, the center-back seam, and the point of the stomacher. The point of the stomacher will line up with the pointed dip in the front center of the front skirt panel.
23. Sew the Skirt to the Bodice
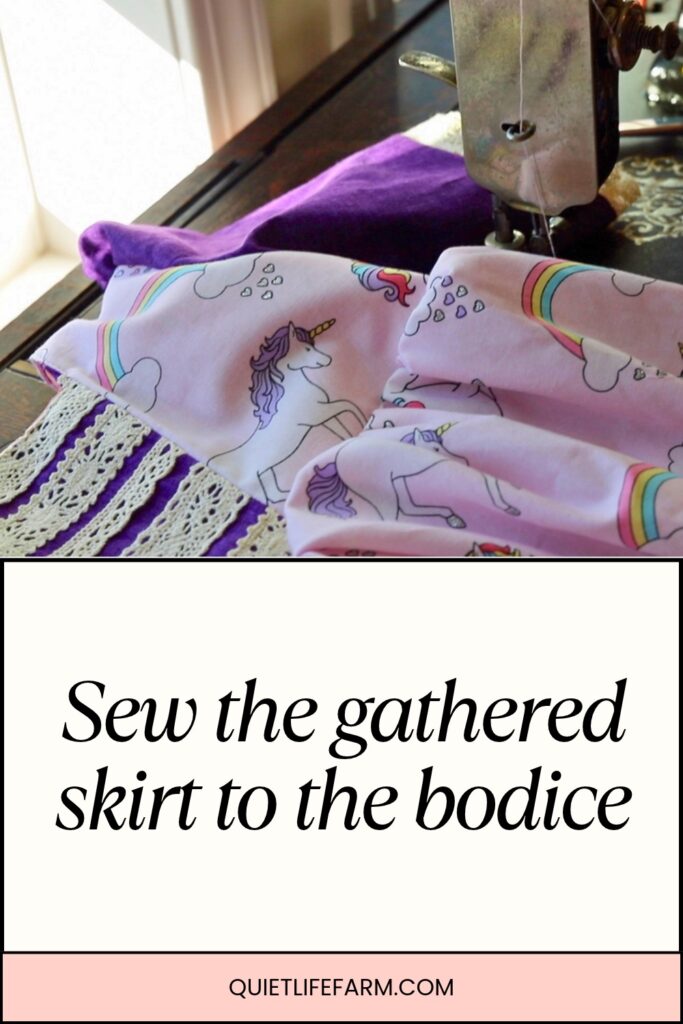
Sew the skirt to the bodice.
You can sew the skirt and bodice right sides together, or use a French seam.
24. Add the Buttons and Finish the Back Opening
Sew the buttons onto the back of the dress, along with buttonholes if you didn’t use elastic loops.
I do recommend traditional buttonholes for this dress, but again, I really wanted to demonstrate an easier method using buttons and elastic loops as an alternative!
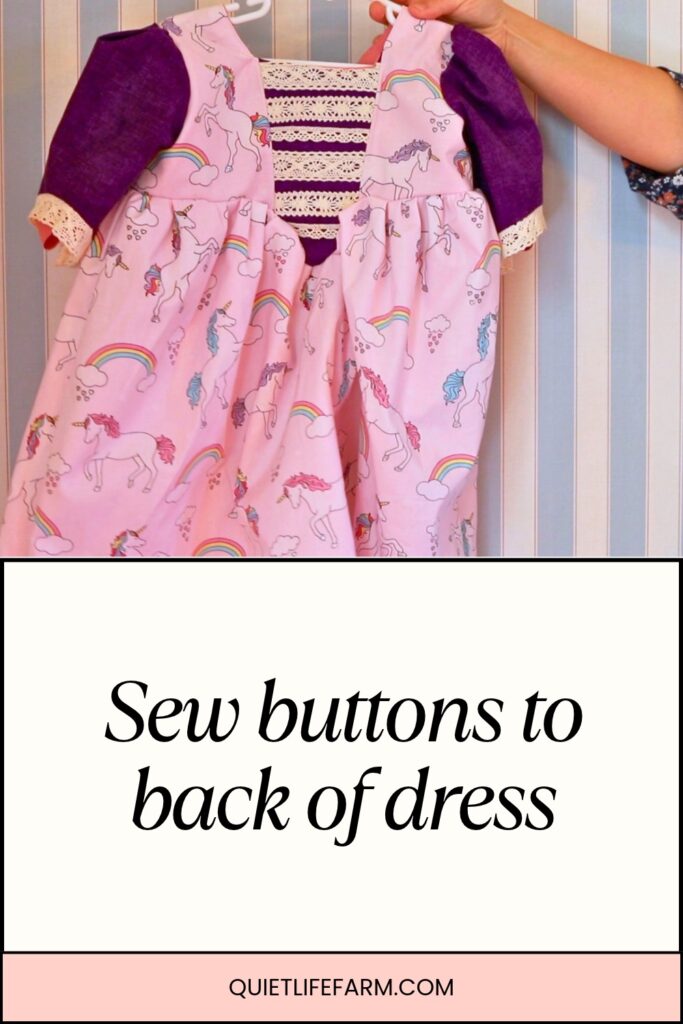
Your Princess Dress Is Finished!
You’ve now sewn a classic princess dress with a stomacher bodice, lace details, puff sleeves, and a gathered skirt!
I hope you enjoy making this dress and that the step-by-step instructions help you feel confident sewing each piece together!
Don’t forget to print out the princess dress sewing pattern if you haven’t already, and watch the video tutorial if you’d like to see the sewing process in action!