How To Sew Elastic Pants: Free Printable Sewing Pattern EASY
Disclaimer: As an Amazon Associate, I earn from qualifying purchases.
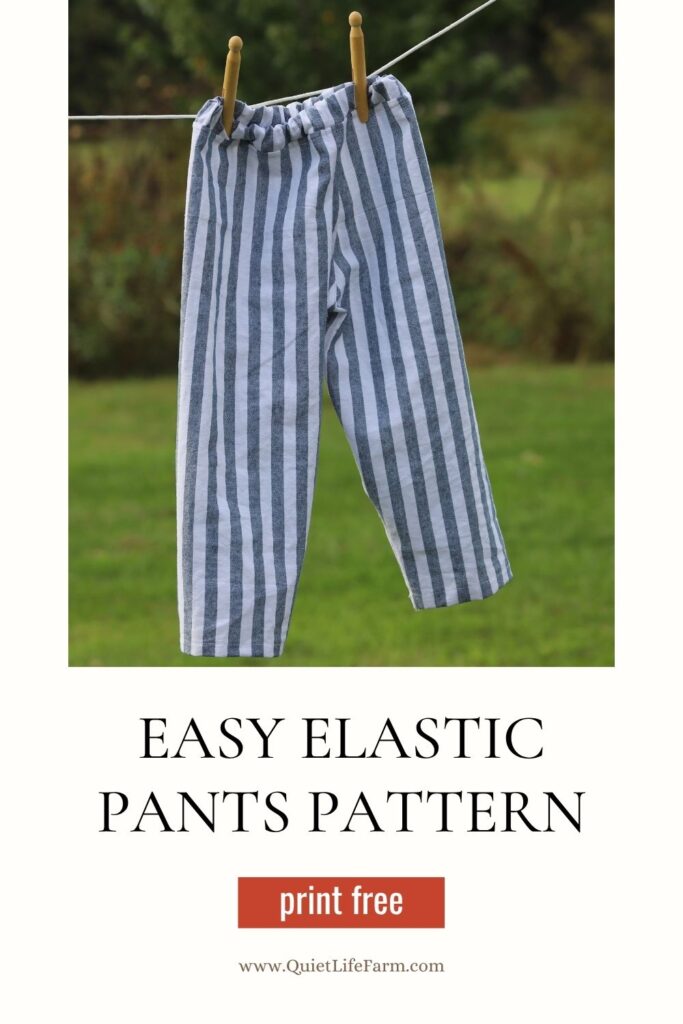
Below, you’ll be able to print out my FREE sewing pattern for a pair of elastic pants!
These elastic pants are super comfy, and have just enough wiggle room in them to be lounge pants for around the house, OR they can be made for comfortable outings!
This pattern comes in child sizes 8 – 12.
If you’d like to make these pants in a smaller size, you can follow THIS LINK to print out the pattern in sizes 2T to 7.
I’ve named this sewing pattern Criss Cross Applesauce. Maybe moms around my age will remember this leg-crossing rhyme from childhood… anyway, the name seemed fitting for a pair of pants!
I hope that you’ll find that this pattern is easy AND quick to make!
I find that a pair of these pants takes me about 20 minutes to make.
Print out your free pattern below, and follow along my tutorial! (there is a video tutorial, too!)
Fabric/Supplies
You’ll want to use a woven fabric for these pants.
A light weight cotton fabric or a medium weight cotton fabric are both acceptable choices.
A flannel fabric would work great, too!
A NOTE FOR KNIT FABRIC: If you decide to use a stretchy knit fabric, please know that I did not test this pattern with that kind of fabric, so use at your own risk. For best results, I’d suggest using a zig zag stitch, and instead of using a flat felled seam, serging the raw edges or using pinking shears, and then just sewing everything right sides together. But again, I have NOT made these pants with knit fabric before!
You’ll also want a 1″ width of elastic for these pants.
Quick note on elastic — it’s easy to find cheap “off brand” elastics, but my sister in law (who sews the most beautiful clothes you’ve ever seen) and I have both found that you risk the elastic shrinking in the wash. So bear that in mind when purchasing elastic!
This is a great brand for elastic (and it is the 1″ width you need!).
Oh, and if you want a cheap tool that you’ll use over and over again that makes pulling elastic through things a BREEZE, get yourself whatever this thingy-ma-jig is.
Print Your Pattern HERE
You can print out your pattern by using the email form below!
Be sure to print your free pattern at 100% scale (do not “fit to page”).
You just need regular old printer paper to print out the pattern.
Double check that you printed out your pattern correctly by measuring the 1″ square on the first page of your pattern.
Then, you’ll assemble the pattern at the margin guides (these are the “boxes” around each of the pages of your pattern. it’ll help make sure everything is straight!).
How Much Yardage?
I’d allow for 2 yards of fabric for this project.
Video Tutorial
If you’d prefer to watch a video tutorial, you may watch the one I have for these pants on my Youtube channel!
Otherwise, keep reading on for the written tutorial!
Flat Felled Seam
For these pants, you’ll need to know how to do a flat felled seam.
To make a flat felled seam, first sew your fabric WRONG sides together using a 1/2″ seam allowance. (fyi — you’ll use a 1/2″ seam allowance for this entire project!)
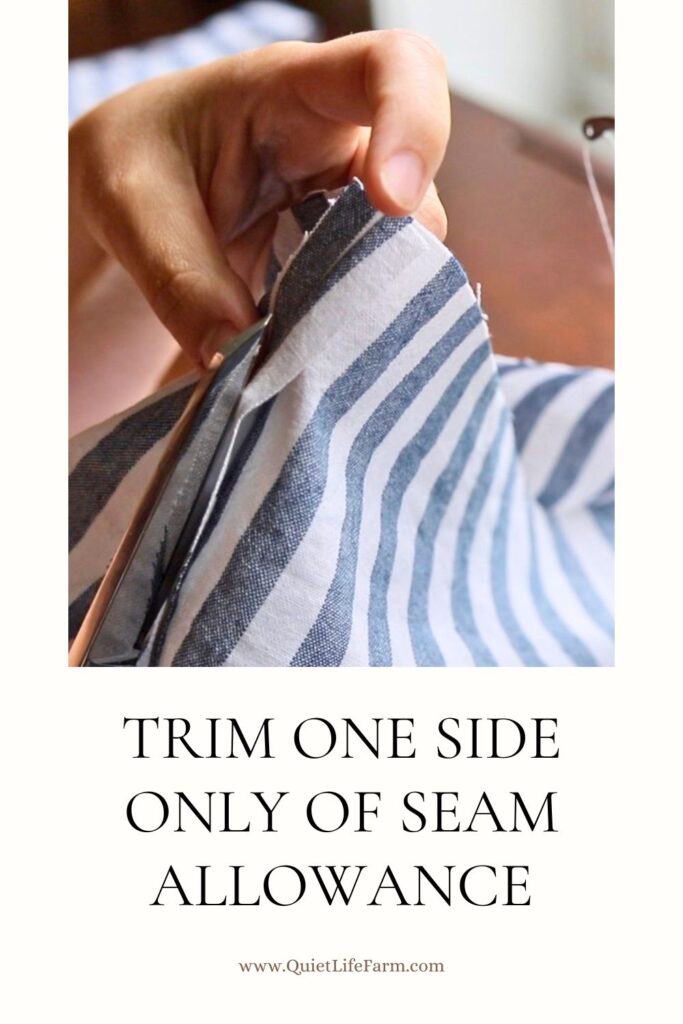
Trim off half of the seam allowance on ONE side only.
So, you’ll have a full 1/2″ seam allowance on one half of your seam, and a 1/4″ seam allowance on the other side of your seam.
Fold that long side of the seam allowance over and around the short side of your seam allowance, and iron it flat into place. (you can also pin it down, but ironing will give a neater result)
Sew a second time, sewing right along the edge of the fold.
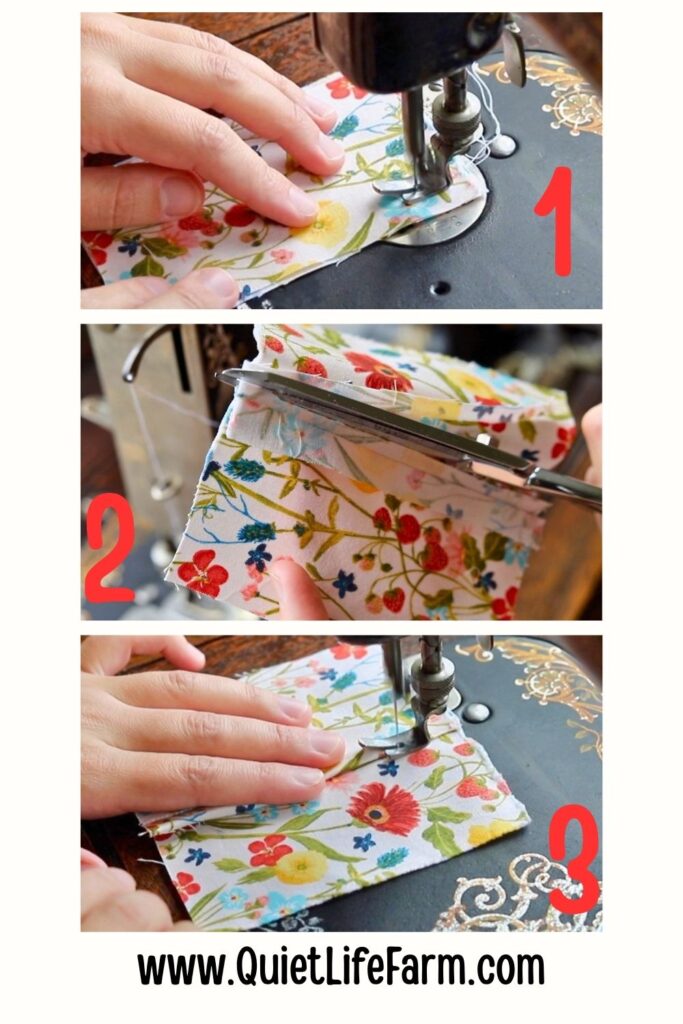
There you have it! A flat felled seam!
Step 1
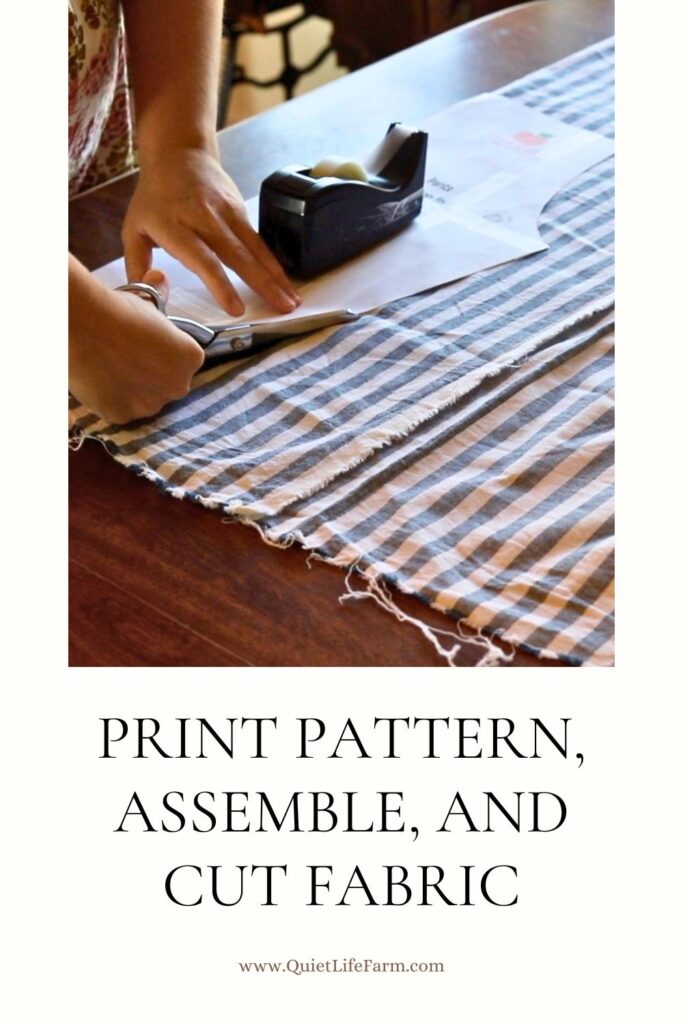
Cut out all the pattern pieces you need.
You’ll need to cut out two leg pieces on the FOLD of your fabric.
So, fold your fabric, and line up your pants leg pattern piece right at the edge of the fold in your fabric before cutting it out.
Do this twice so you have TWO pants legs!
You’ll also need to cut out just one waistband piece.
You can also cut out your elastic now if you’d like. There’s a sizing guide included in your free pattern.
And again. This thing? Game changer for getting elastic through a waistband. (you’ll see me use it in most of my YouTube sewing tutorials, lol)
Step 2
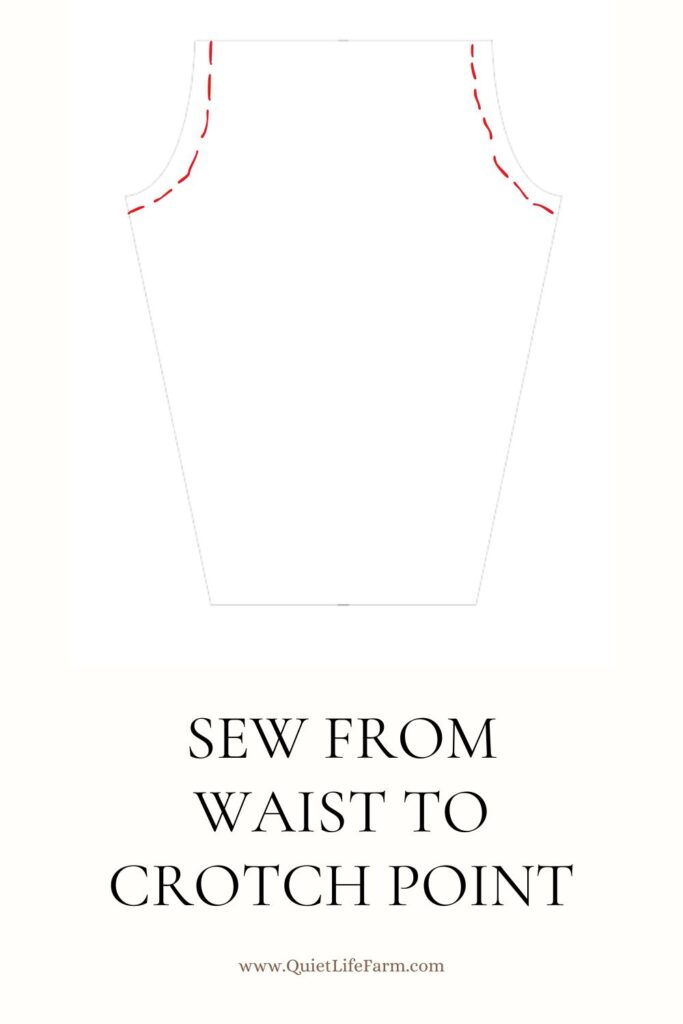
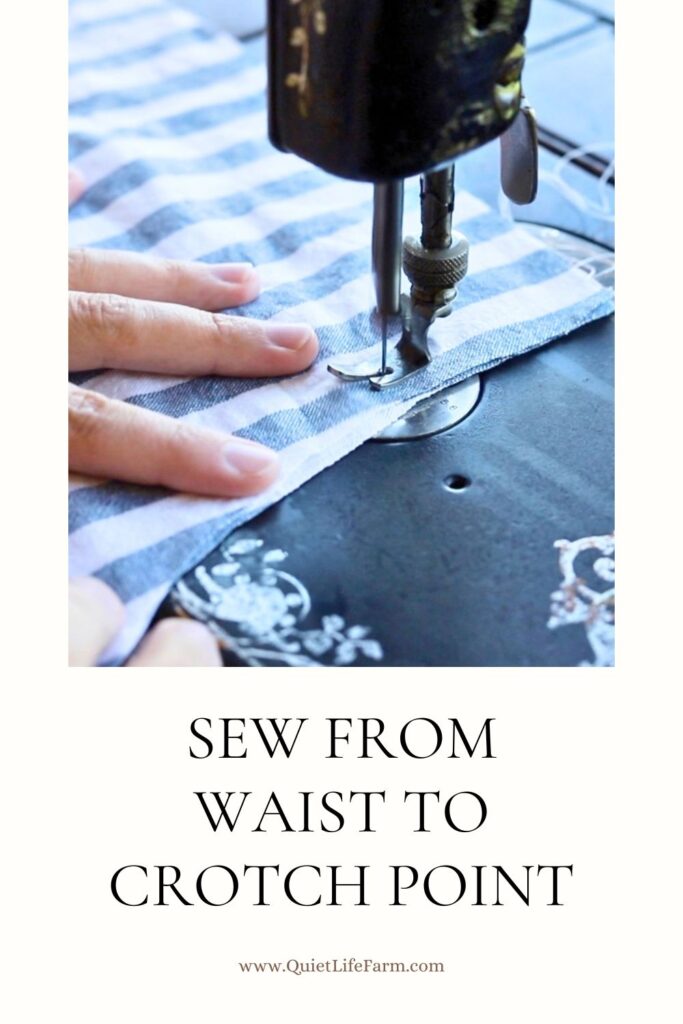
Use a flat felled seam to sew down both sides of your pants, from the waist to the crotch point.
Do this by laying both of your pants legs WRONG sides together, so that they’re “the same” / laid down exactly on top of each other.
Sew from the waist the crotch point (the swoopy part of the pants that points out), and do this on BOTH sides.
Trim off half the seam allowance on just ONE side of the seam allowance. (but do this on both sides of the pants, does that make sense?)
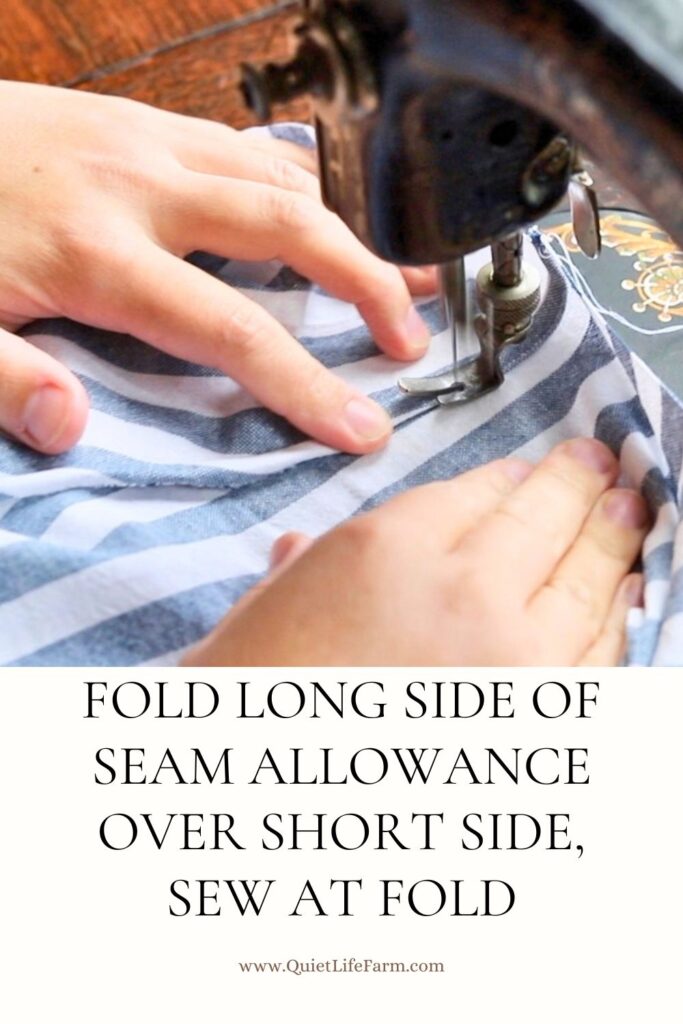
Then, fold the LONG side of the seam allowance over and around the short side of the seam allowance.
Iron it flat. The ironing helps hold it into place and make it super neat and even.
Then, sew right at the edge of the fold.
Step 3
While you can absolutely hem these pants as the very last step of sewing them, I find it’s actually easier (especially for the smaller sizes) to go ahead and hem them now.
So, if you wish, fold over the ankle part of the pants leg twice over, iron it flat, and sew it into place.
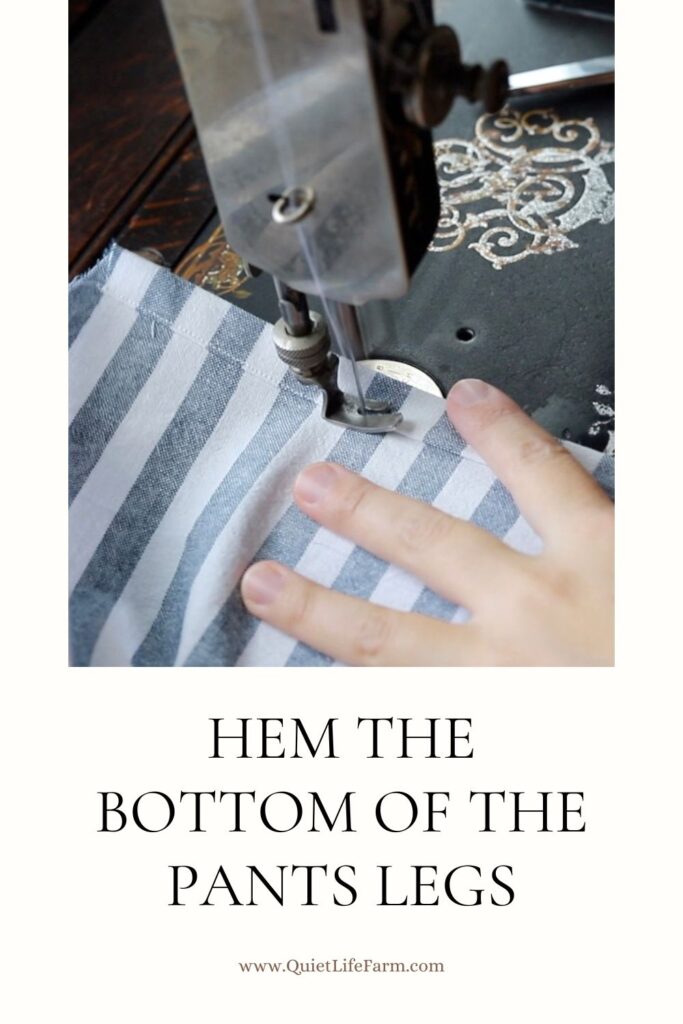
Again, not really necessary to do this now if you’re sewing a size 10 or 12, but if you’re sewing a size 8, it can be helpful.
Step 4
Next, fold your pants so that the seams you just folded are no longer on the sides, but the front/back. This should make your pants resemble a pair of pants.
You now want to sew the inseam of the pants — starting at one leg, going up towards the crotch, then going down the other pant leg.
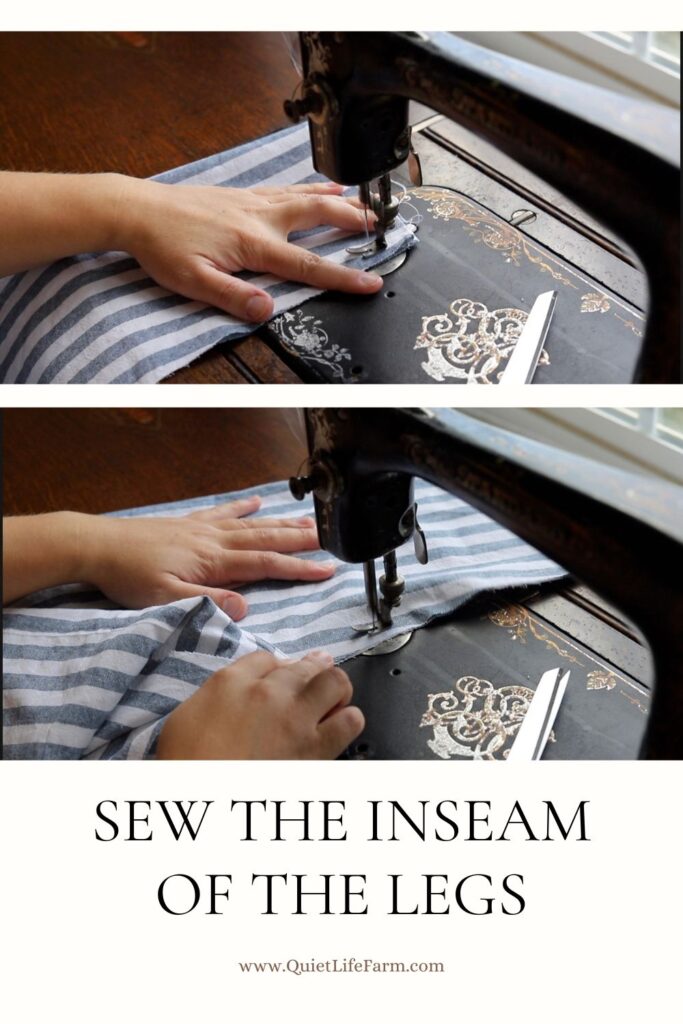
Sew WRONG sides together — we’re going to do another flat felled seam here.
Trim off half of the seam allowance on one side only.
Then, fold the longer side of your seam allowance over and around the shorter seam allowance, iron it flat, and sew right along the edge of the fold.
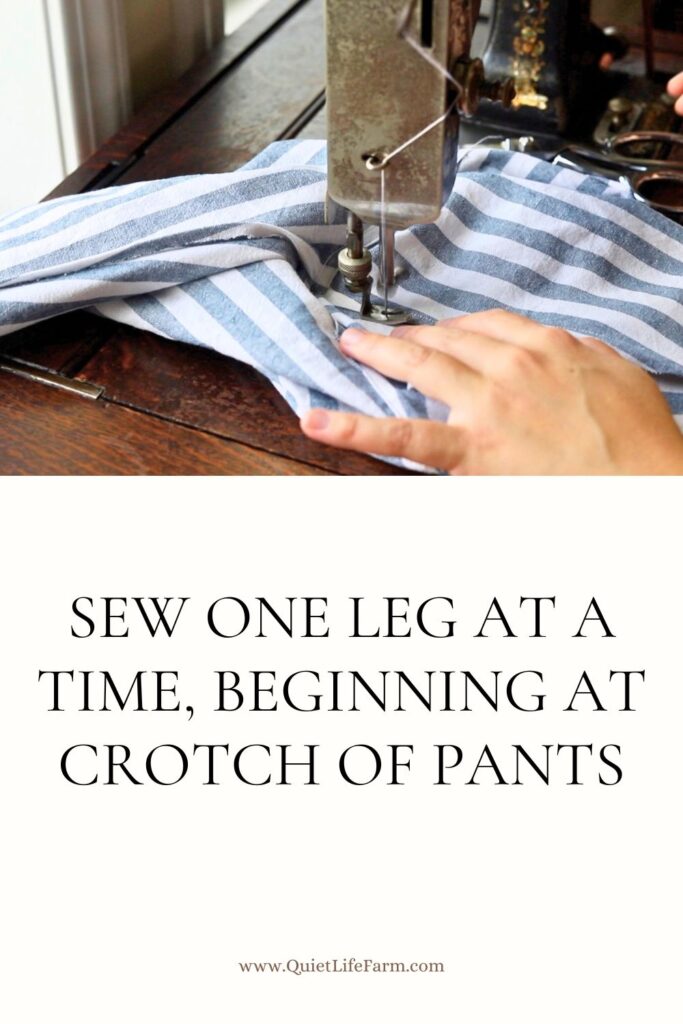
It’s easiest to do this second line of stitches by starting at the crotch of the pants and sewing down one leg at a time.
Step 5
Now it’s time to work on the waistband of the pants! Nearly at the end now!
Take the waistband, and this time sew RIGHT sides together, just at the short ends of the waistband. This makes one big circle.
Fold the waistband in half lengthwise, with the raw edges of the end of the waistband on the INSIDE of the fold (so that the raw edges are visibly hidden).
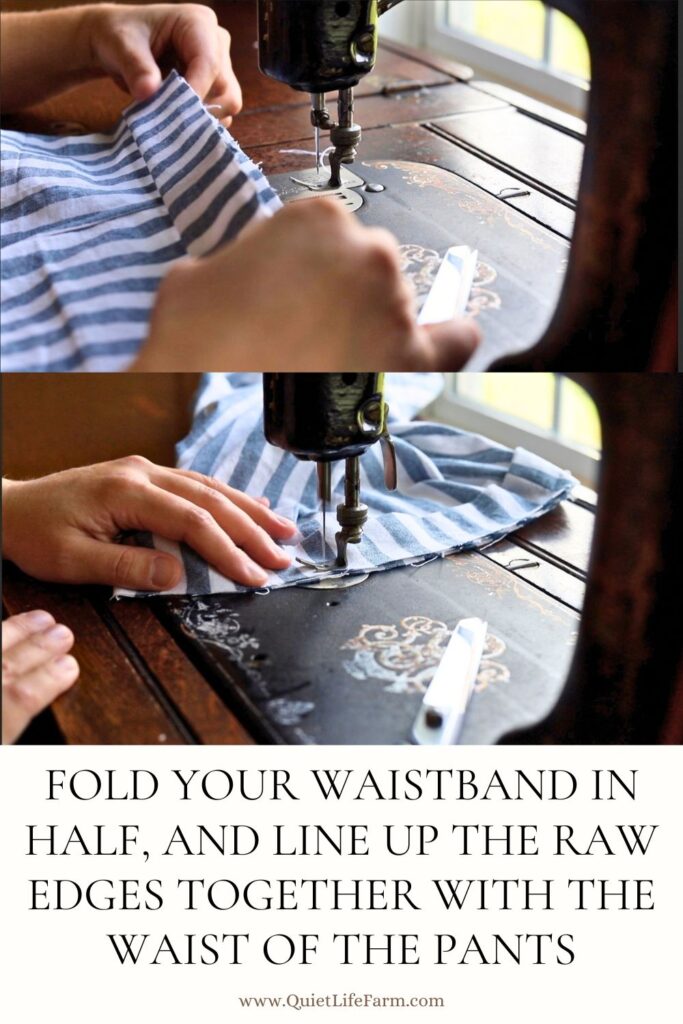
Next, you’ll want to line the raw edges of the folded waistband up against the raw edges of the waist of the pants.
Sew with a 1/2″ seam allowance all the way around your waistband, leaving a little opening for the elastic to be pulled through.
Before you pull through your elastic, you’ll first want to go ahead and finish making a flat felled seam here, too (and leave a little opening for the elastic!).
To make a flat felled seam here, you’ll notice that you have three layers of seam allowance to contend with.
Cut the bottom two layers of the seam allowance in half, and use the top layer of your seam allowance to fold over those other two layers of your seam allowance.
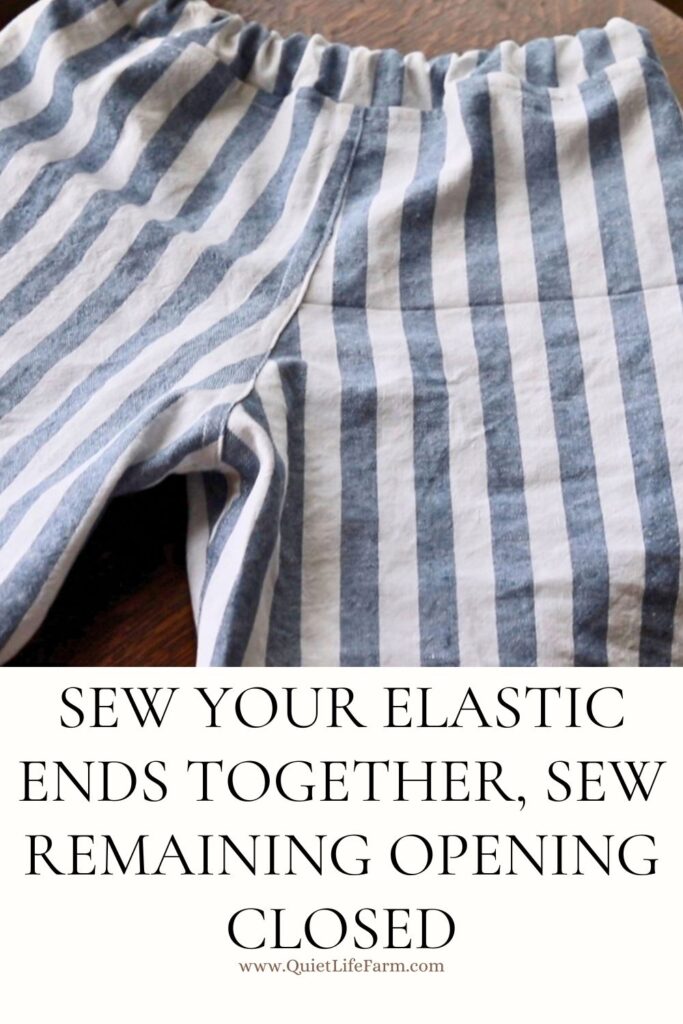
Iron flat, sew against the folded edge, and still leave a little opening for your elastic.
Weave your elastic through the waistband, being careful not to twist it.
Sew the ends of your elastic together.
Then, use a flat felled seam to sew the remaining opening closed. (first continue sewing the waistband to the waist of the pants right sides together, trim off the bottom two layers of seam allowance, and fold over the longer side of your seam allowance over the shorter sides and sew into place)
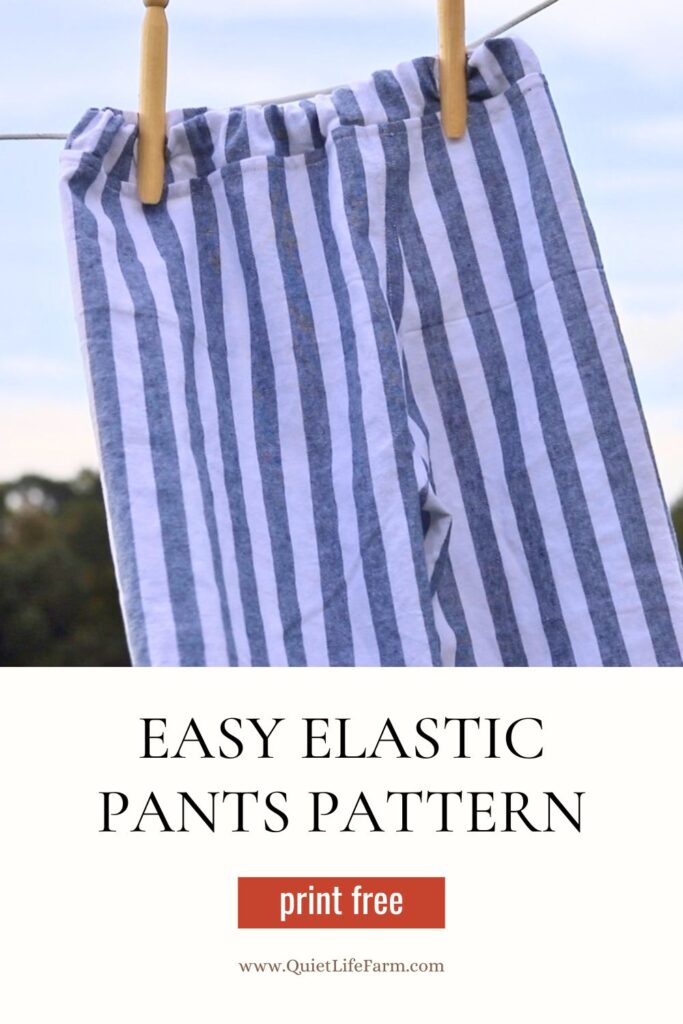
There you have it! A pair of elastic pants!
If you enjoyed this free printable pattern, please leave a comment down below, and don’t forget to pin this post to Pinterest!
If you’d like more free printable patterns, please be sure to explore my other ones right here on my blog!
Happy sewing!