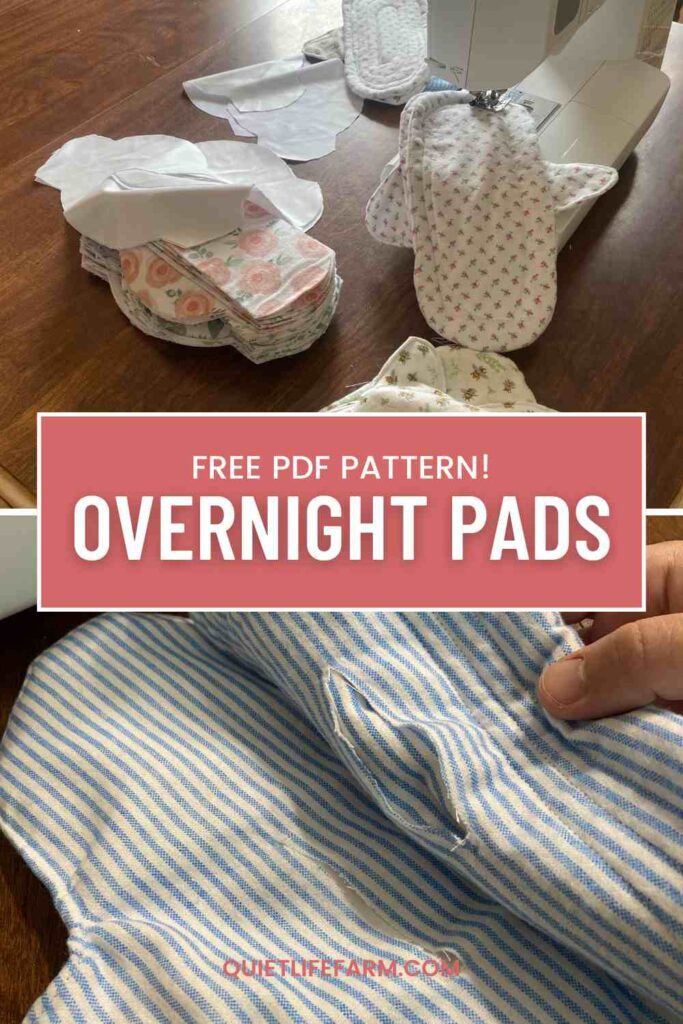
Overnight/Postpartum Cloth Pad Pattern
Free PDF pattern for a bulky, oversized overnight/postpartum reusable cloth pad!
I had such an overwhelming amount of loving feedback for my regular and light reusable cloth pad pattern, I had to go ahead and make an overnight/postpartum sized one, too!
In case you missed it — you can get the FREE PDF pattern for the regular/light cloth pad HERE!
Like I said earlier, these pads are very bulky!
They’re perfect for overnight, and perfect for postpartum!
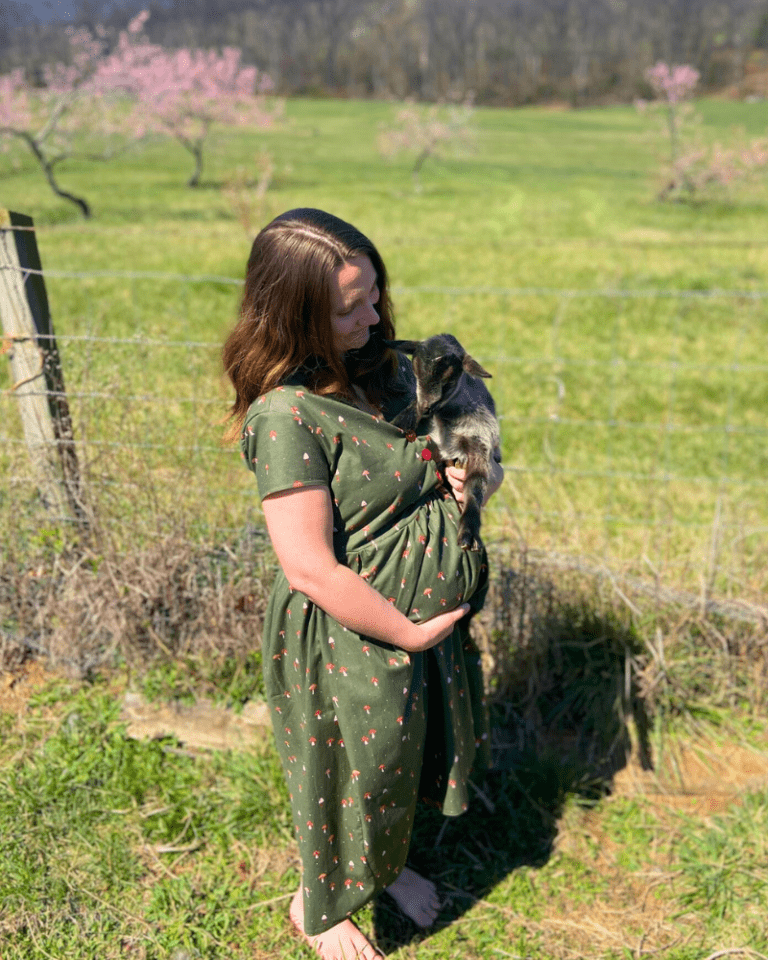
I made these due to popular request, but also because I wanted them for my own postpartum time. Nobody should have to suffer through wearing icky disposable pads!
Cloth pads are so much more pleasurable to wear — for comfort, for health, and for a reduced waste lifestyle!
Disclaimer: As an Amazon Associate, I earn from qualifying purchases at no additional cost to you! Today I’m recommending the set of snaps I used for these pads. I found them to be extremely budget friendly and thought they worked very well!
Supply List:
- Flannel Fabric — you’ll get a couple pads per yard of fabric.
- PUL fabric — one yard is more than enough!
- Snaps (I chose metal — plastic is also an option)
- Needle and thread or a sewing machine
- Scissors
- My FREE cloth pad pattern, get yours below!
Print Your Extra Heavy Cloth Pad Pattern
Get your PDF pattern sent straight to your email inbox below!
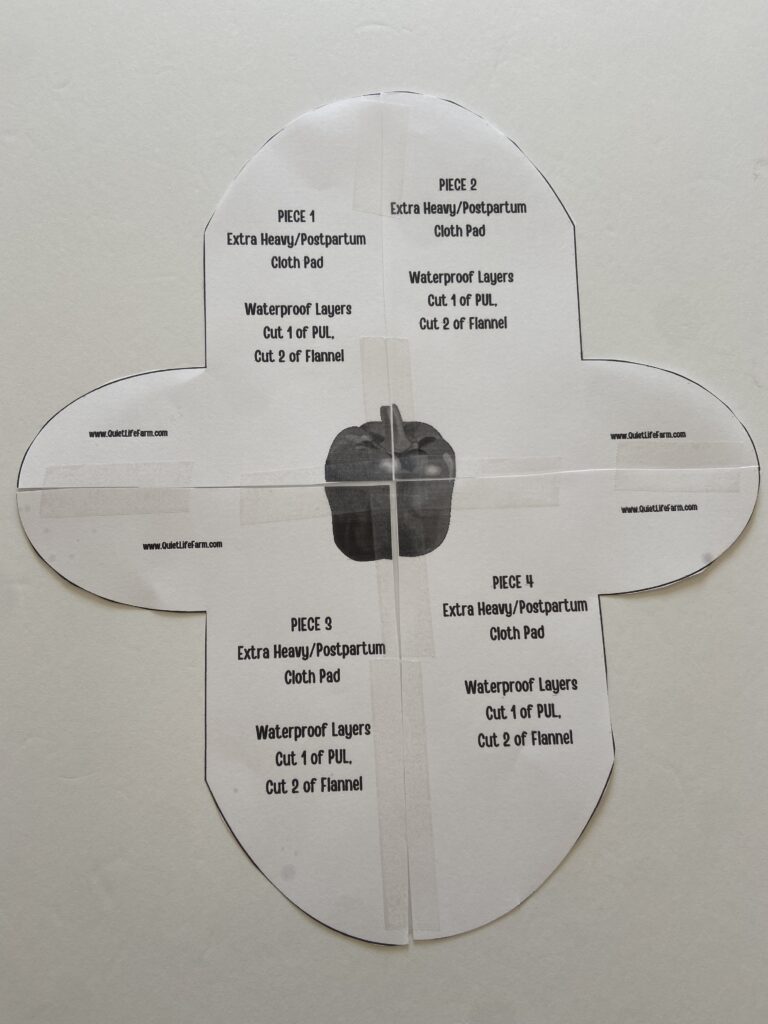
Since this is a nice and bulky pattern, your will be printed in multiple pieces so that it can be printed on a standard home printer.
Use the bell peppers as a guide for how to connect your pattern together. Fit the pieces together like a puzzle!
Your pattern piece that is for your waterproof portion of the pad will come as 4 separate pieces that need to be taped together.
Your pattern pieces for your absorbent layers will come as 2 pieces that need to be assembled.
Tape your pattern together, using the peppers as a guide!
Here’s an example of what your waterproof portion of the pad will look like:
Cut your fabric
Once your pattern pieces are assembled, begin cutting out your fabric pieces.
You’ll want to cut 2 pieces of flannel and 1 piece of PUL for the waterproof portion of the pad (the part with the wings).
For your absorbent layers (no wings), you’ll want at LEAST 6-8 layers of flannel — more depending on just how absorbent you need your pad to be.
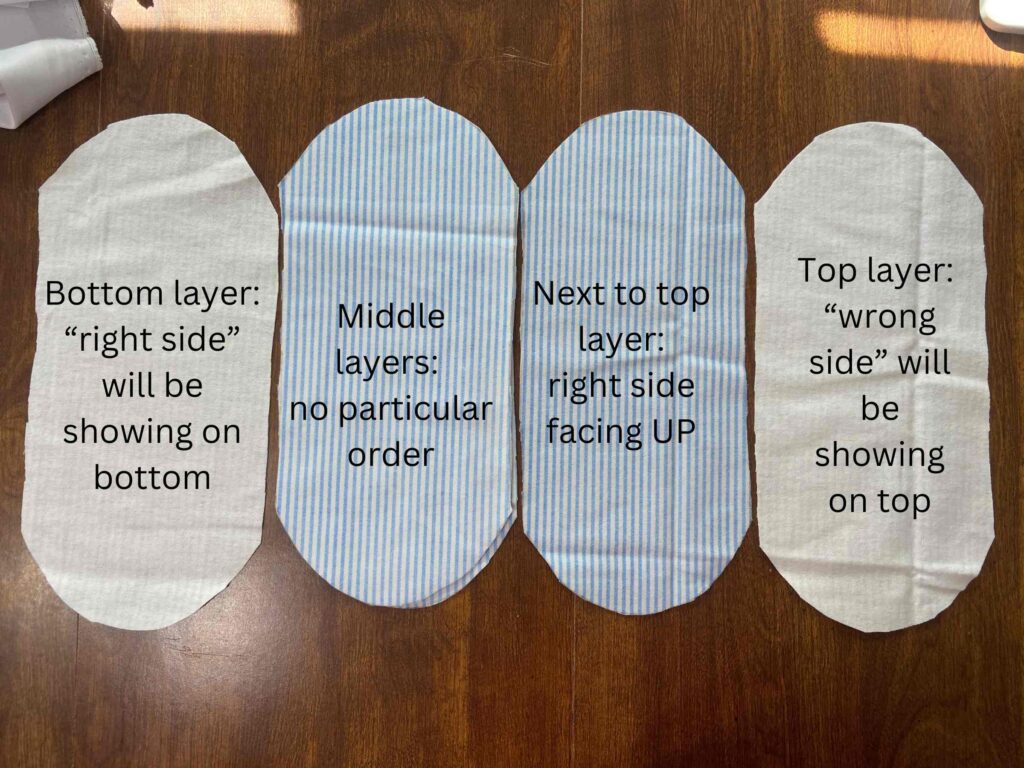
Stack your layers for the waterproof portion and the absorbent portion as depicted in the photos below:

Sew the Layers together
Stack your winged layers as shown in the photo above.
I’ve allowed for a hefty 1/2″ seam allowance for this project. This way, if there’s any shifting of fabric while you’re sewing, it’s just not a big deal. The larger seam allowance will keep your pad stronger, too!
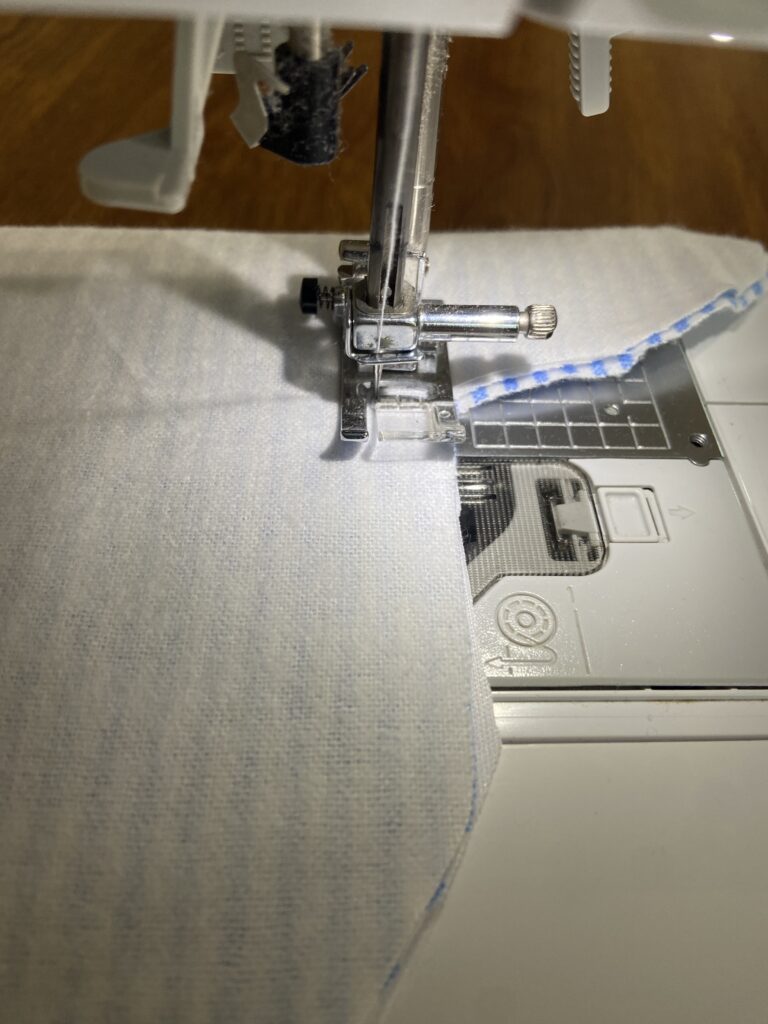
Sew all the way around your winged layers.
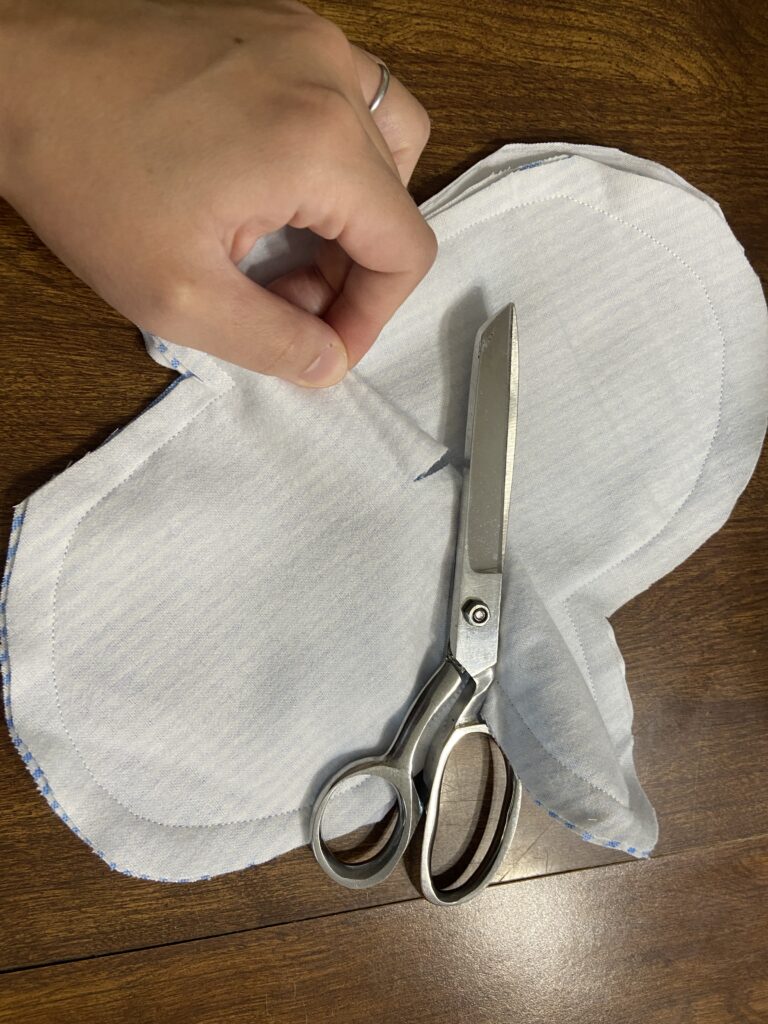
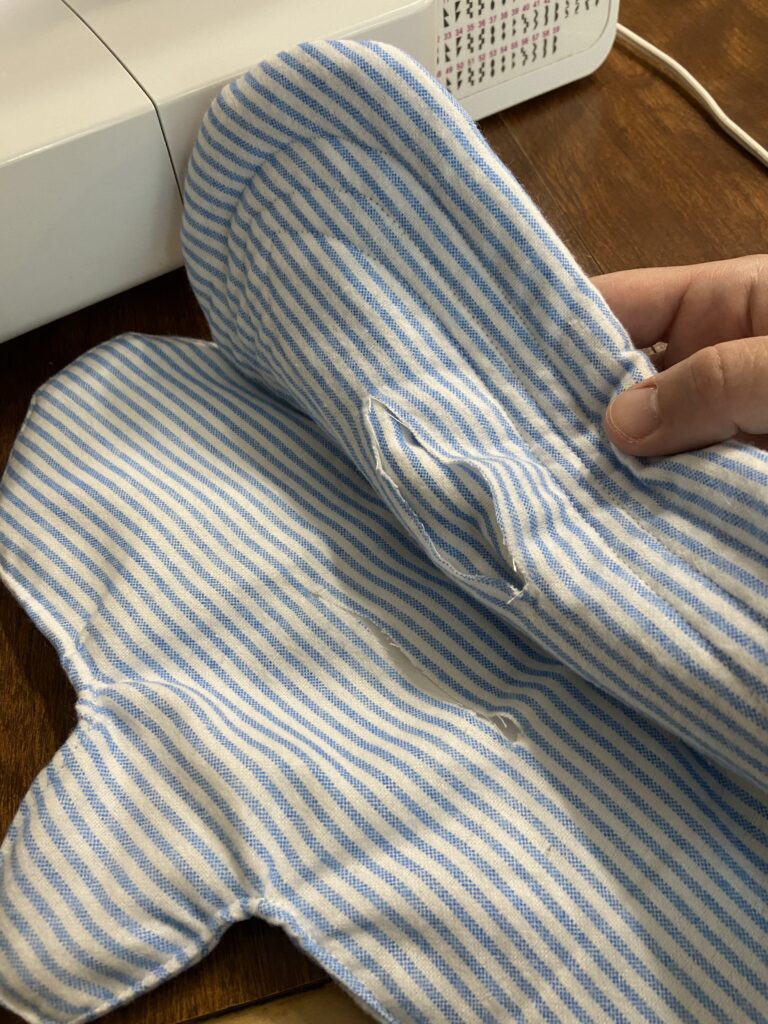
Then, pinch just the top layer of the fabric (NOT THE PUL) and cut it, creating just a large enough hole to pull everything right side out.
Repeat this same process (still keeping that nice and comfortable 1/2″ seam allowance!) for your absorbent layers. You’ll want to pinch the TOP layer to cut, which is the layer of fabric that’s showing the wrong side.
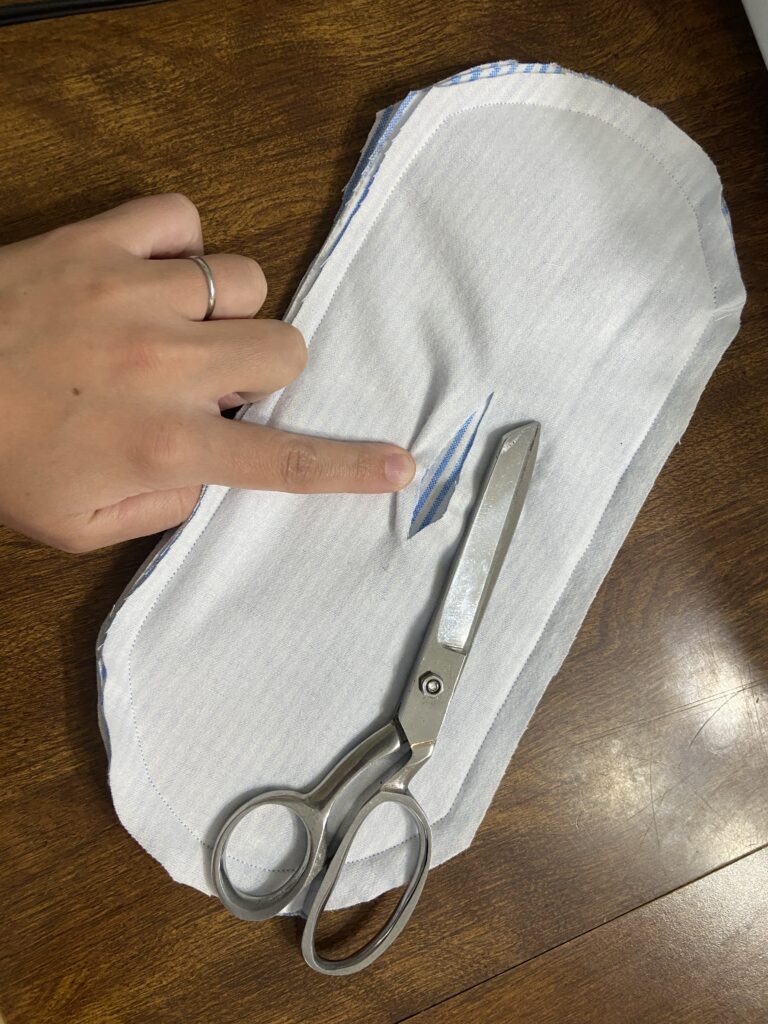
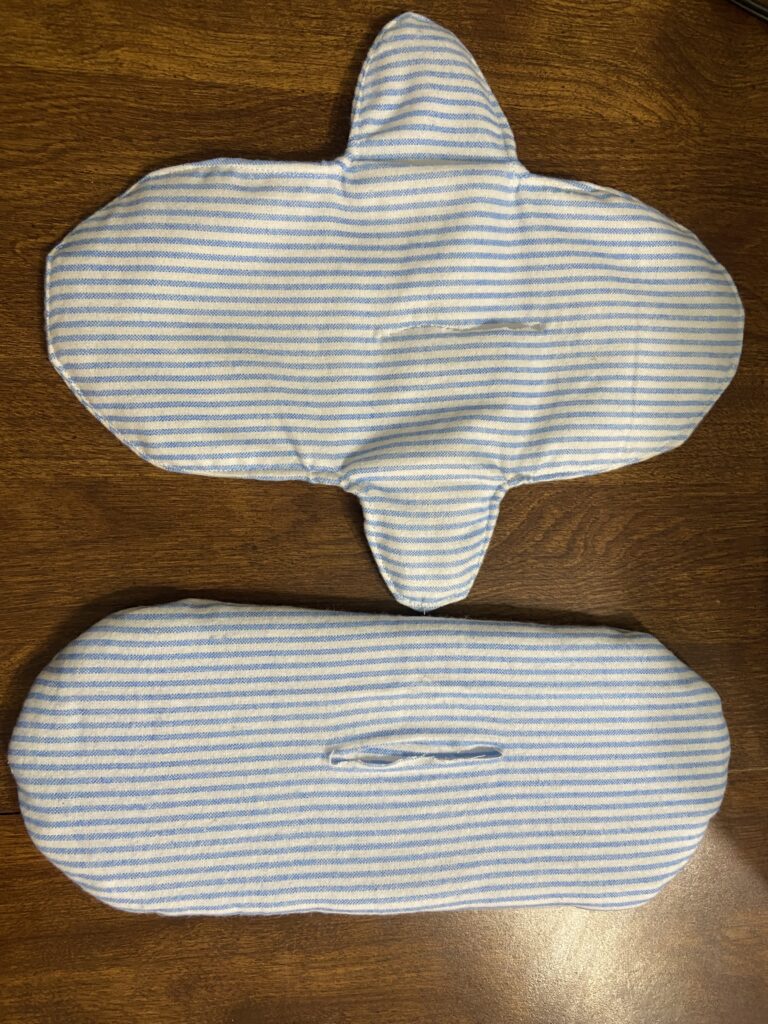
Pull everything right side out.
Sew around the edge of each portion of the pad, just a scant edge. This will help keep everything flat. (It’s best to iron the pad flat before doing this step, but to be honest I skipped this part and everything was just fine! If you do iron — make sure you use a low heat on your PUL winged portion of the pad)
Assemble your pads
Next, we’ll sew the pads together!
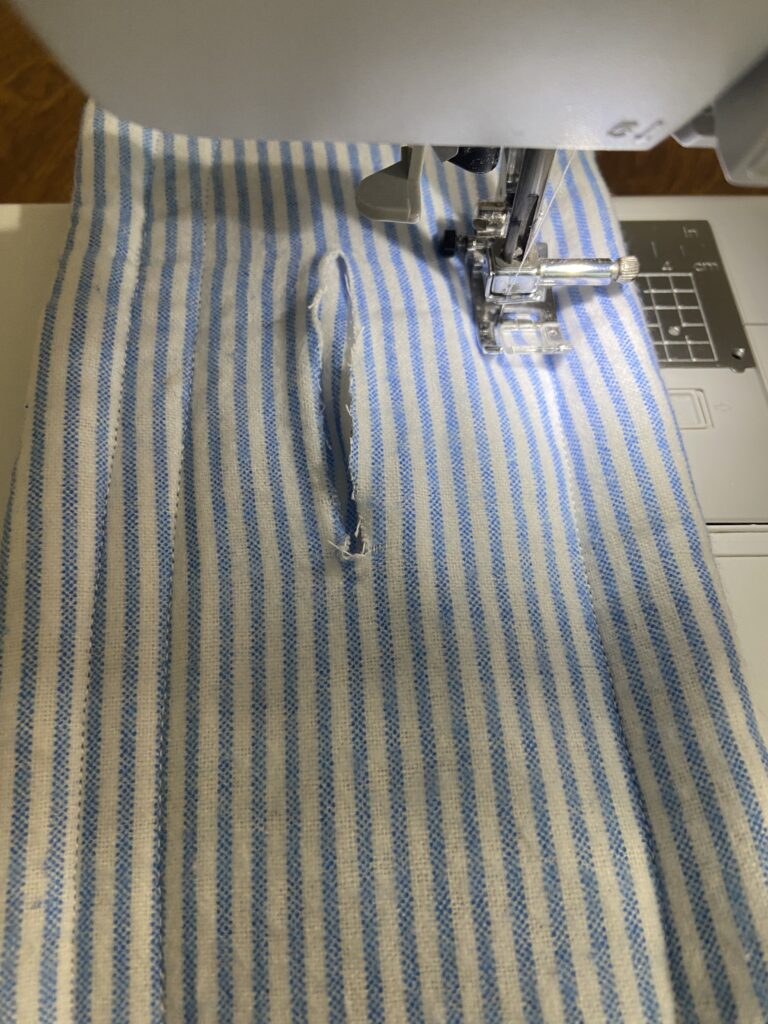
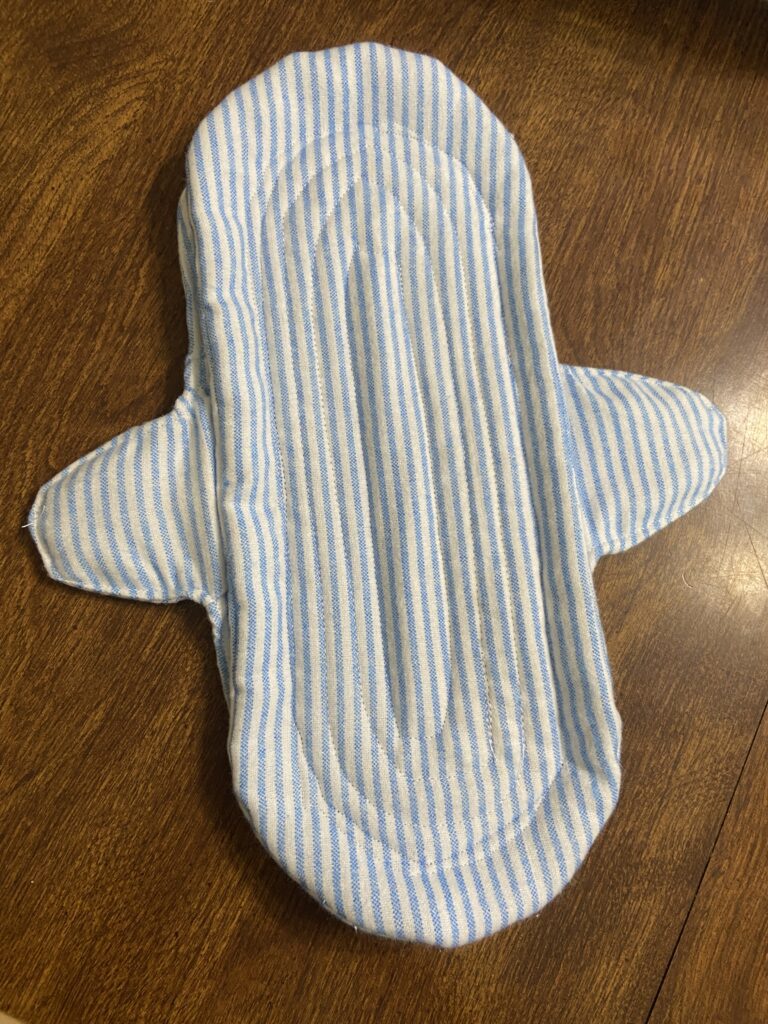
First, sew a few ovals around your absorbent layers. This creates a quilted effect that will hold all your layers of fabric in place long term.
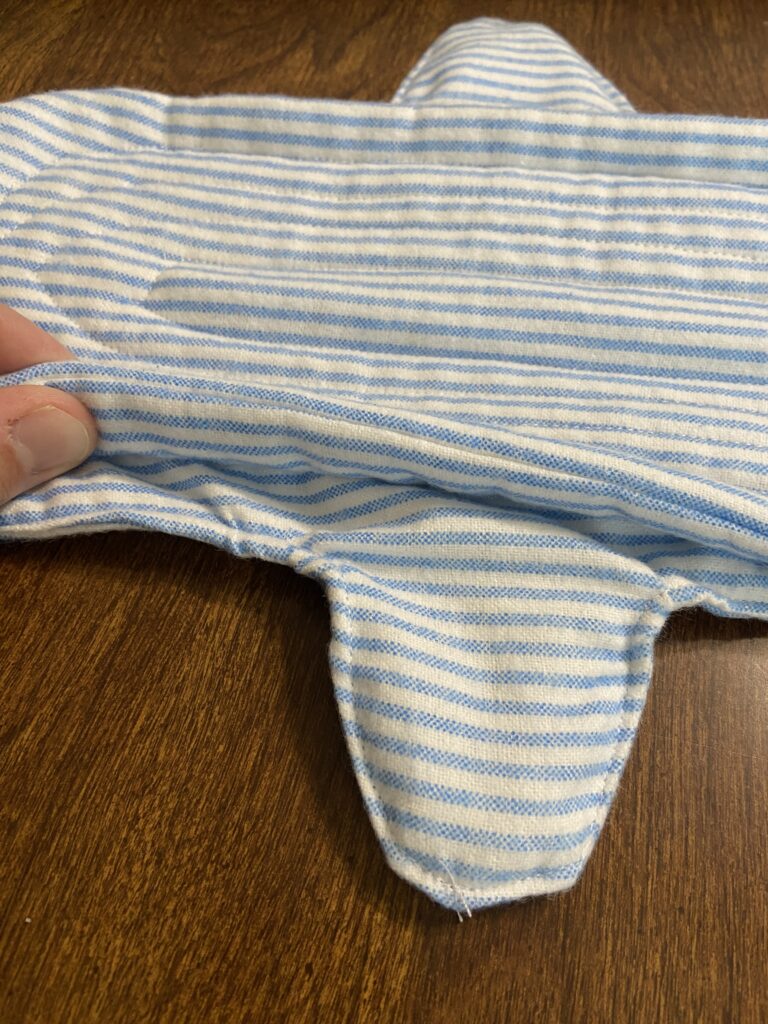
Next, place your absorbent layers on top of your winged layers. The holes on both layers should be facing each other, concealed on the inside of your pad.
Sew the absorbent layers of the pad to the wings of the pad, about 1/2″ into the pad.
Sewing about 1/2″ into the pad gives a bit of a gap/lip to the pad, which will help it shape to your body better, and will help the wings fasten together more easily as well.
Lastly, attach snaps to the wings of your pads. You can read a more detailed tutorial on how to attach snaps to the wings in this post!

Hello,
I appreciate you making these patterns available.
However, I don’t understand, aren’t you stitching through your waterproof layer, when you attach the absorbent layers? What prevents the blood from just soaking through and into your underwear?
Thank you!