Mouse sweater: free pattern! — Knitted Mouse With Clothes
Mouse Sweater can be made here! Below you will find a free knitting pattern for a sweater to dress your mouse up with! Scroll to the bottom of the page if you’re interested in sewing the mouse that goes with it, or if you’re interested in more outfits for your mouse!
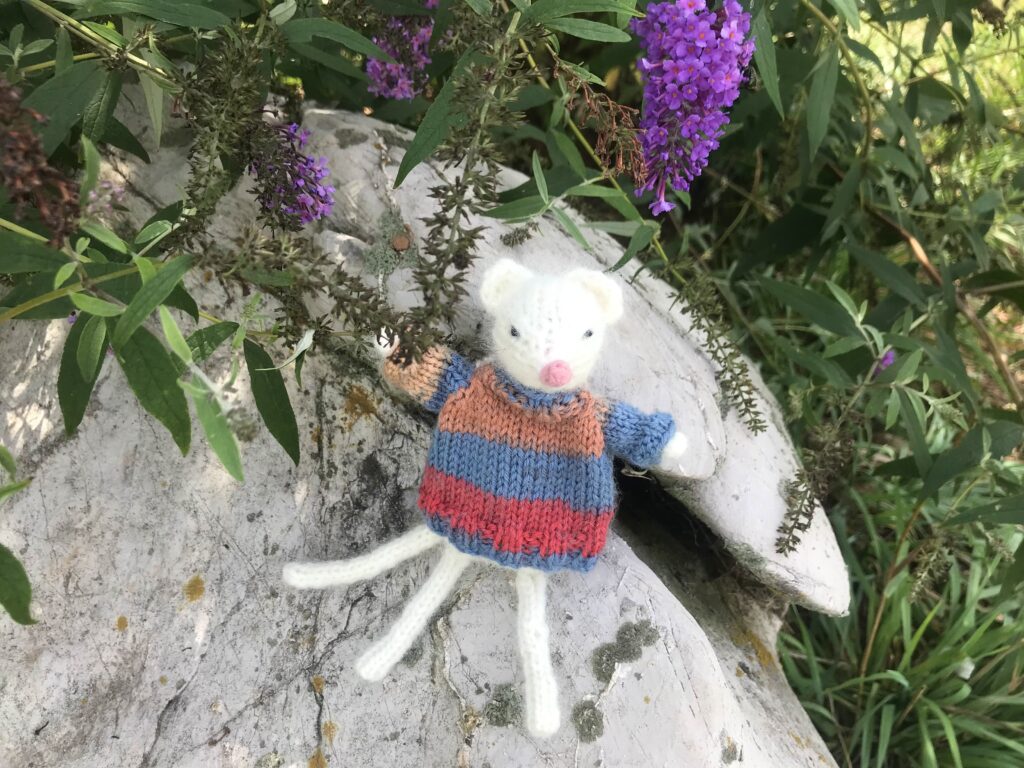
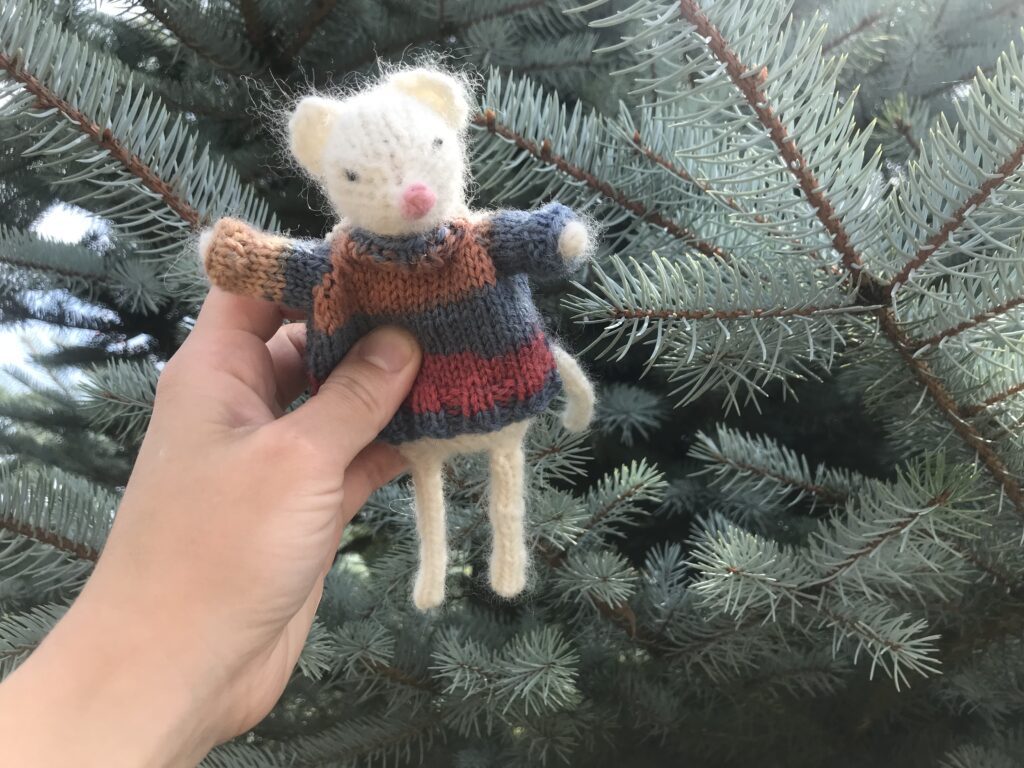
Knit a mouse sweater to keep your little mouse warm this season!
This sweater is EASY to make and suitable for beginners!
After all, you wouldn’t want such a little mouseling to catch cold.
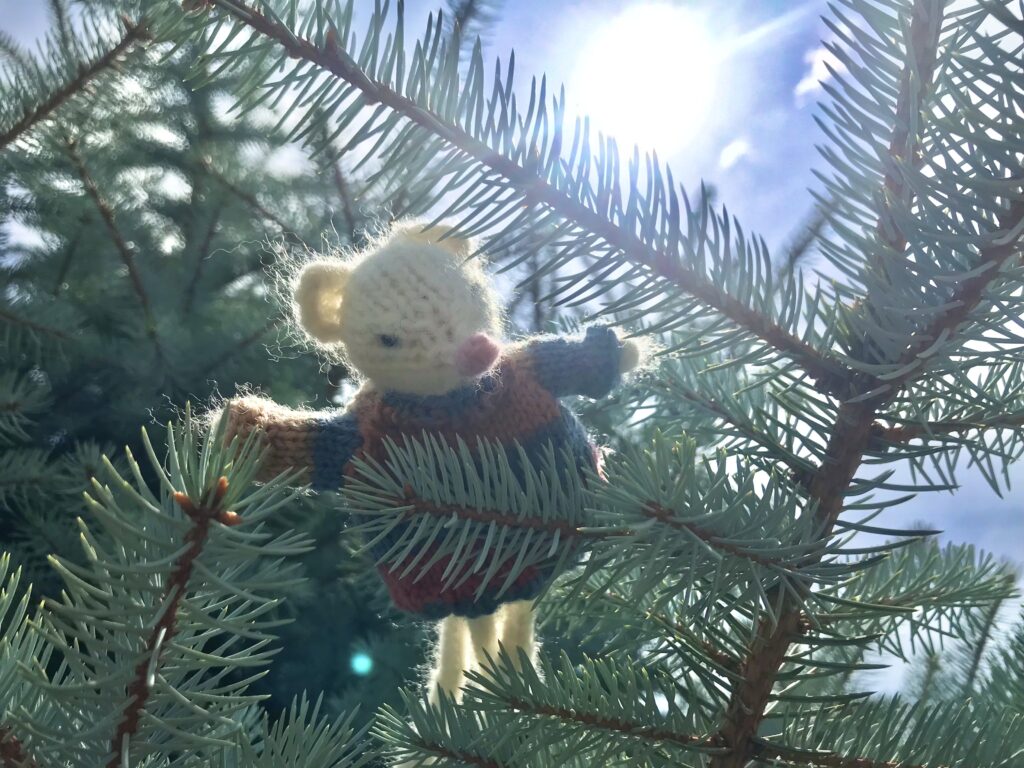
Alternatively, if you don’t have a mouse to dress, this sweater would make a darling Christmas ornament!
Disclaimer: As an Amazon Associate, I earn from qualifying purchases.
Supplies Needed
- Sock yarn (weight 1), I used a fun multicolored yarn for easy stripes!
- Tapestry Needle
- 2.75mm knitting needles, both circular and straight
- Scissors
- Stitch markers
Stitches Used
- Knit
- Purl
- SSK (slip slip knit)
- K2TOG (knit two together)
Let’s get started! Your mouse is getting cold!
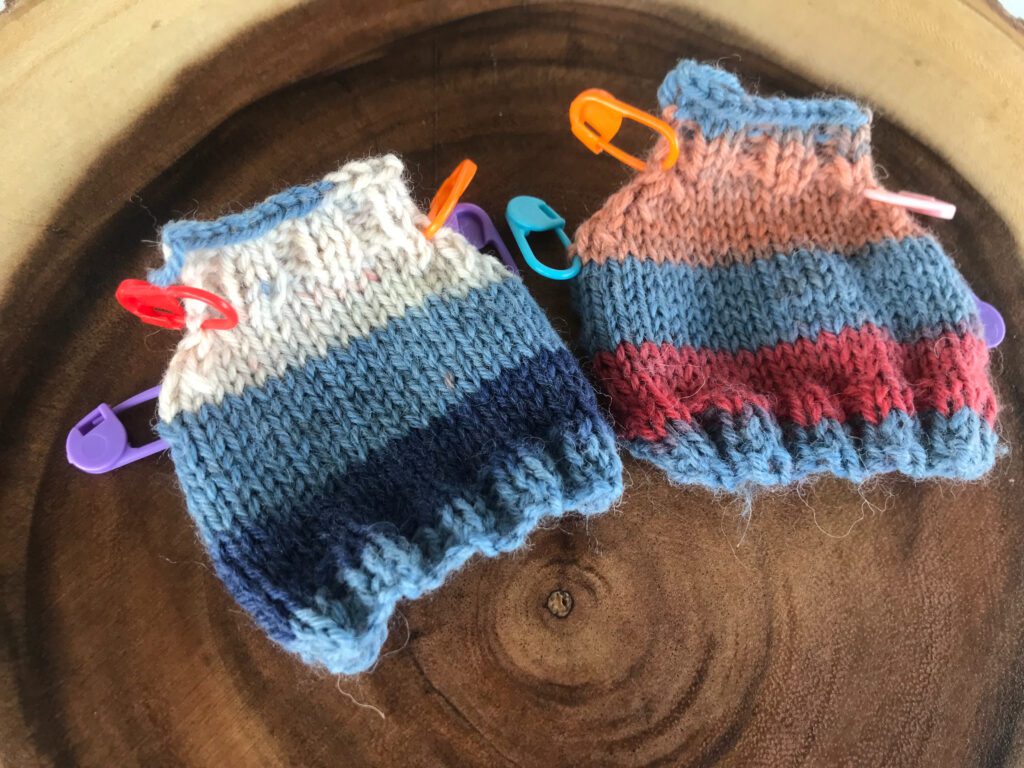
Step 1: Knit FRONT and BACK of Mouse Sweater
Firstly, we need to knit the front and back of the mouse sweater.
Knit TWO of the following pattern.
The stitch markers placed will mark the armholes. Do not sew together the front and back pieces where the armholes are marked! Your little mouse needs to fit his little mouse arms through those sleeve holes!
Again, make TWO of this piece!
The front and back will be worked from bottom up, and will have a stretchy K2 P2 rib stitch on the top and bottom.
With 2.75mm straight needles (US 2) and sock yarn (weight 1), cast on 24 stitches.
Row 1: (K2 P2) to end
Row 2: (K2 P2) to end
Row 3: (K2 P2) to end
Row 4: (K2 P2) to end
Row 5: Knit
Row 6: Purl
Row 7: Knit
Row 8: Purl
Row 9: Knit
Row 10: Purl
Row 11: Knit
Row 12: Purl
Row 13: Knit
Row 14: Purl
Row 15: Knit
Row 16: Purl. Place a second marker.
Row 17: SSK, K2TOG, Knit to last 4 stitches, SSK, K2TOG (20 stitches left on needle)
Row 18: Purl
Row 19: SSK, K2TOG, Knit to last 4 stitches, SSK, K2TOG (16 stitches left on needle)
Row 20: Purl
Row 21: SSK, K2TOG, Knit to last 4 stitches, SSK, K2TOG (12 stitches left on needle)
Row 22: Purl. Place a second marker.
Row 23: (K2 P2) to end
Row 24: (K2 P2) to end
Row 25: (K2 P2) to end
Row 26: (K2 P2) to end
Cast off, weave in ends. Make a second one.
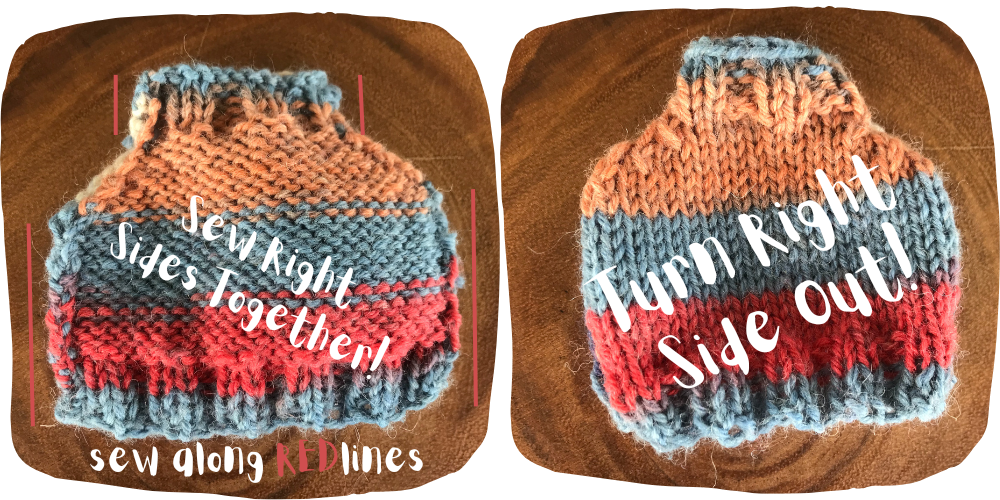
Assembly:
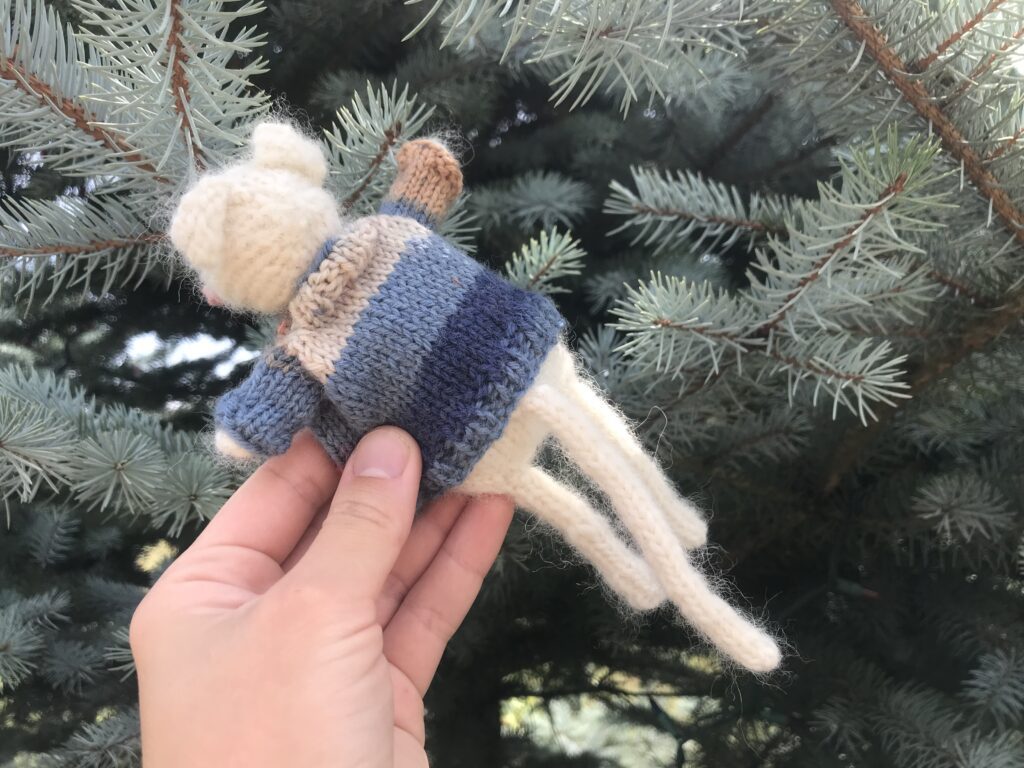
Sew sides of sweater, right sides together.
DO NOT SEW BETWEEN THE TWO STITCH MARKERS YOU PLACED.
These need to be left open for the sleeves!
Turn the sweater right side out.
Weave in all those ends so they’re secure and invisible!
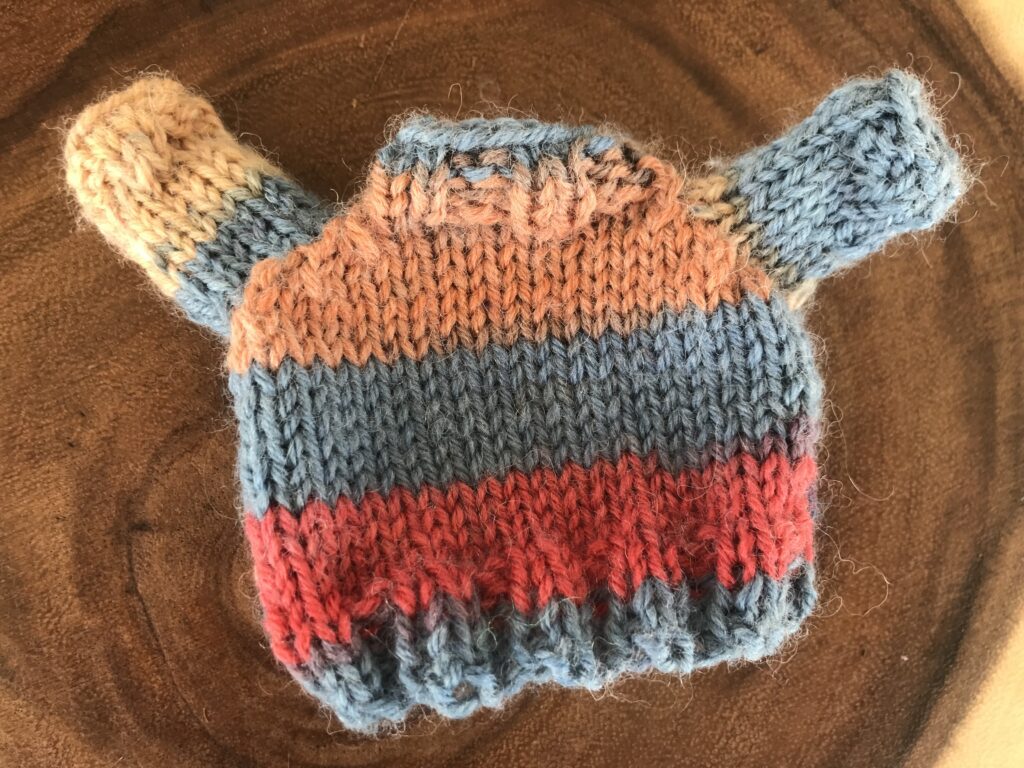
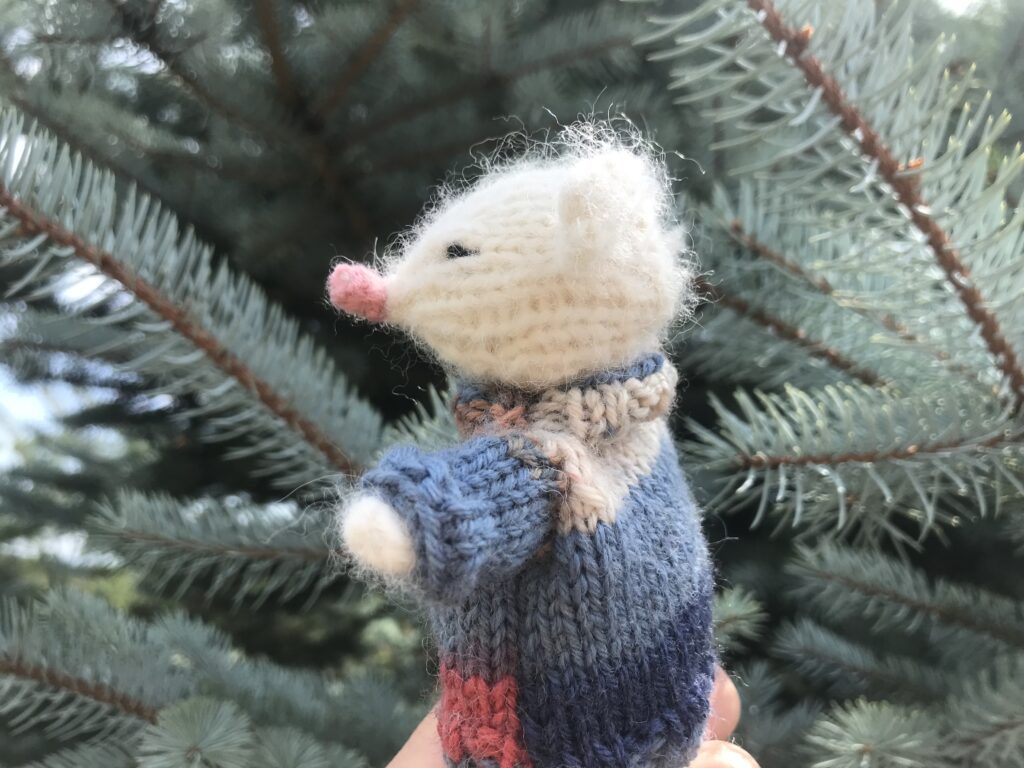
Step 2: Knit the ARMS for your mouse sweater!
Now we will switch to 2.75mm ciruclar needles to make up the sleeves.
Your sleeves are located where you placed your stitch markers when making up the back and front of the sweater body.
Starting at the armpit of the sweater, pick up 13 stitches all around the sleeve, evenly spaced. Slip your #13 stitch to join (basically a ssk stitch to make an evenly round seamless work!). You will have 12 stitches left on your needles.
Split those 12 stitches on your needles evenly onto each needle — 6 stitches on each needle.
Place marker at the beginning of your round.
Round 1 – 10: Knit
Round 11: (K2 P2) to end
Round 12: (K2 P2) to end
Cast off stitches. Secure and weave in your ends.
Repeat process for second sleeve!
Thank goodness your mouse has a sweater now to keep him warm during the colder months!
Fill his little mouse closet with a whole wardrobe of sweet little sweaters!
After all, what if he gets one dirty while on a little mouse adventure?
Other Mouse Knitting Patterns found HERE
Looking for more knitting patterns regarding this mouse?
Presently, they can be found HERE.
Marvelous Mr. Mouse HIMSELF
More Knitted Toys can be found for free here!
Looking to make some more knitted toys?
Here are some of my favorite designs!
Get in touch, leave a comment!
I love staying connected through the comment section!
If you have a moment and would like to connect, please leave a comment below.
I do look forward to hearing from you, and happy knitting!
You are an amazing generous and talented person. Thank you for the mouse pattern, Have a great day.
That is so sweet of you to say! I’m really glad to hear you enjoyed the mouse pattern! Warm wishes, and happy Knitting!