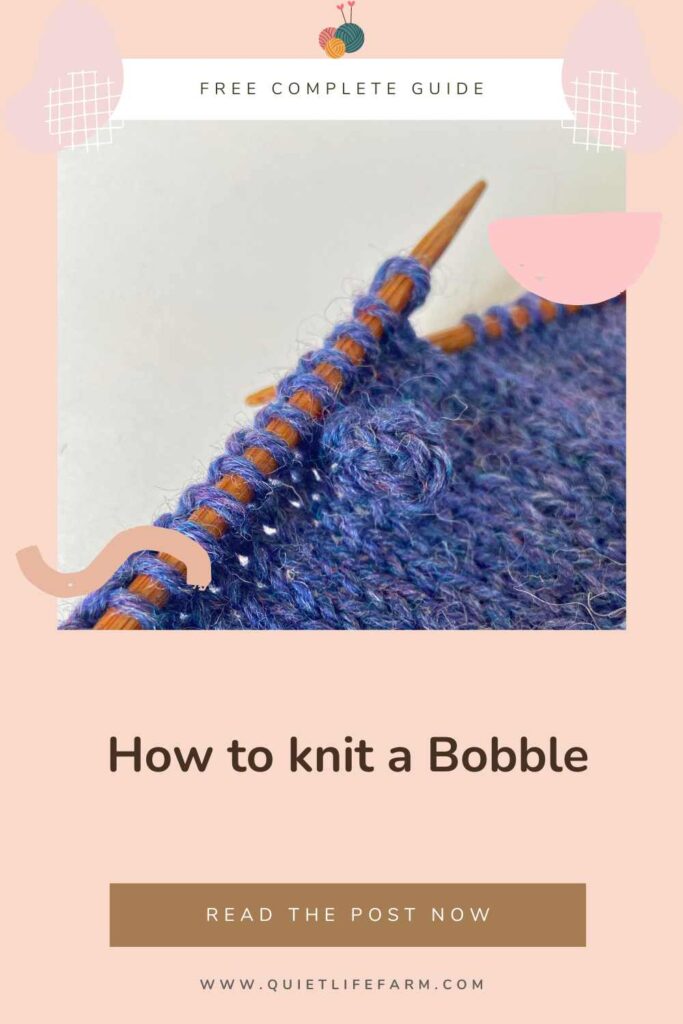
How to knit a bobble: Knitting Bobbles Tutorial
Need to “make a bobble” in your knitting? Look no further — here’s a photographed tutorial with several ways you can do so!
Did you come across the phrase, “Make Bobble” in your knitting project with no further instructions?
No worries — we’ll go over ways to make a bobble here!
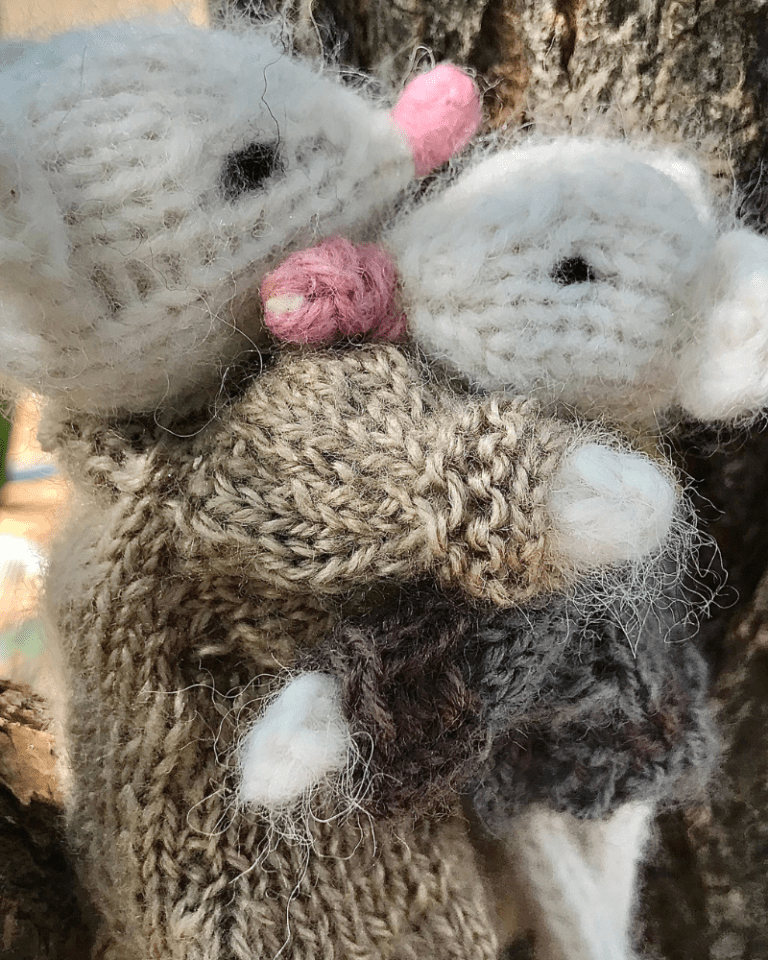
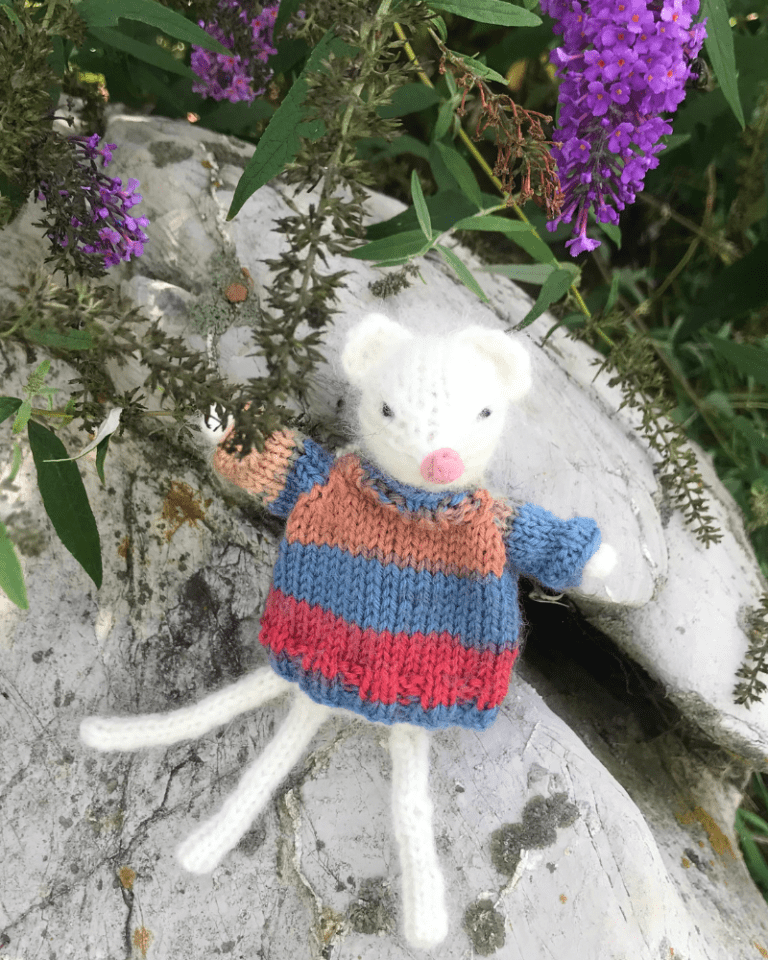
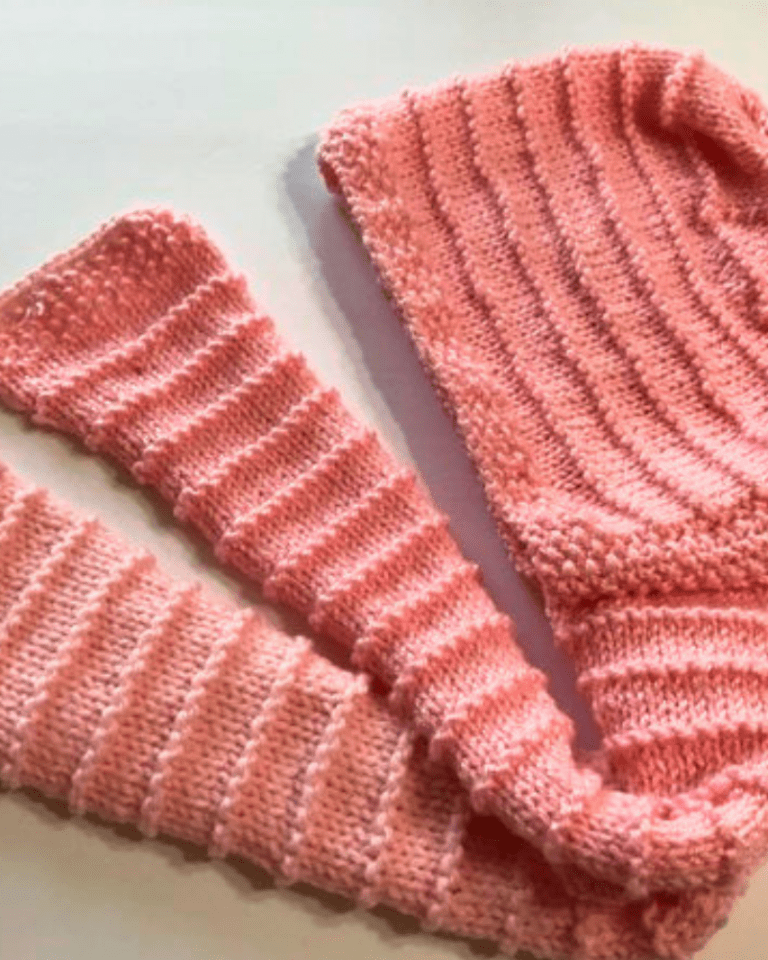
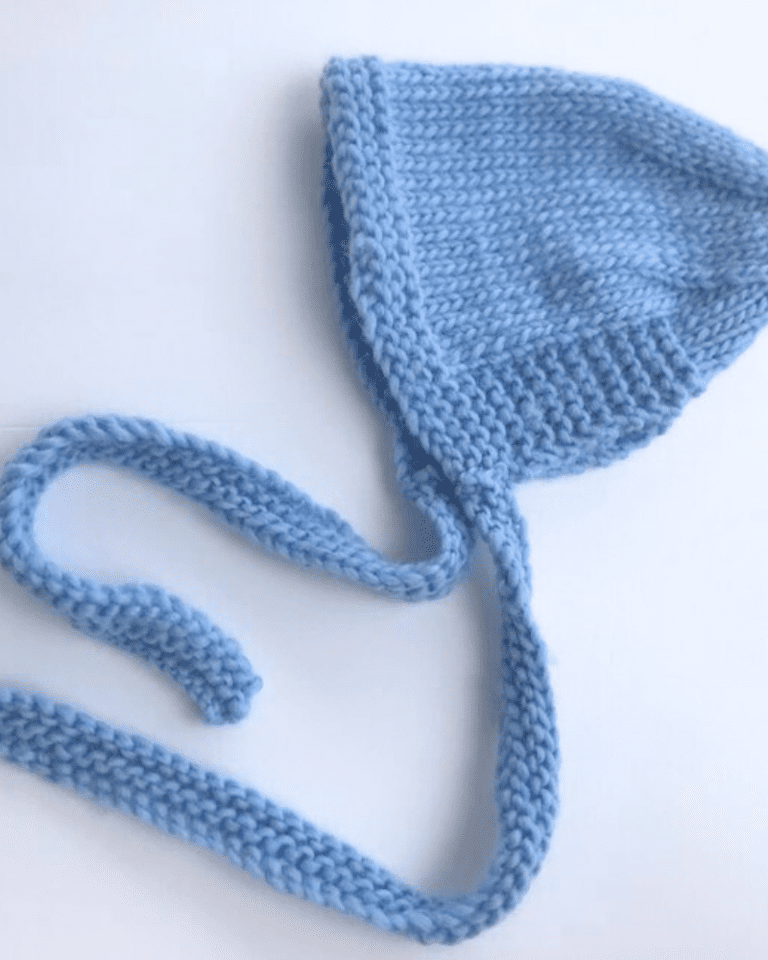
Bobble stitches can add such charm to your knitting project!
There are different ways to make a bobble stitch. Learn a few ways to add some cute little bobbles to your knitting patterns!
In these bobble methods, we will cover how to make bobble stitches from one row, and how to make a bobble over a couple of rows!
1. Small – Medium Bobble worked over One Row
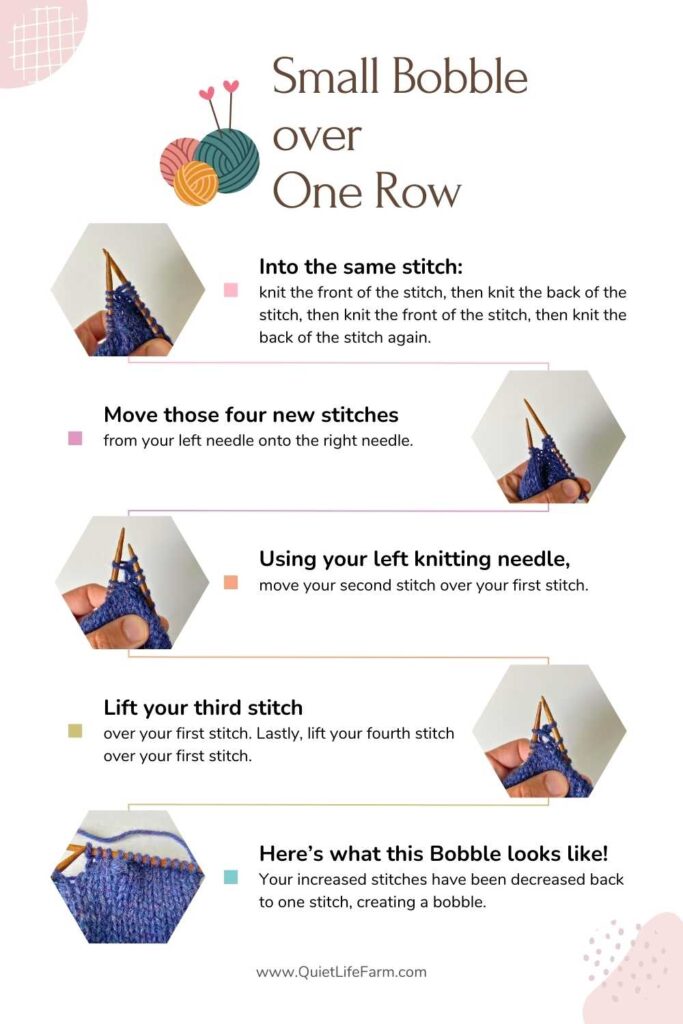
Bobble stitches worked over a single row in your knitting are basically made by repeating a KFB (Knit Front Back) stitch into one stitch multiple times, then joining it together to become one stitch instead of many stitches.
- Into the same stitch: knit the front of the stitch, then knit the back of the stitch, then knit the front of the stitch, then knit the back of the stitch again. (In other words — KFB twice into the same stitch.) You will have created four stitches.
- Move those four new stitches from your left needle onto the right needle.
- Using your left knitting needle, move your second stitch over your first stitch.
- Lift your third stitch over your first stitch.
- Lastly, lift your fourth stitch over your first stitch. This reduces your increased stitches back to one stitch, creating your bobble.
2. Large Bobble worked over One Row
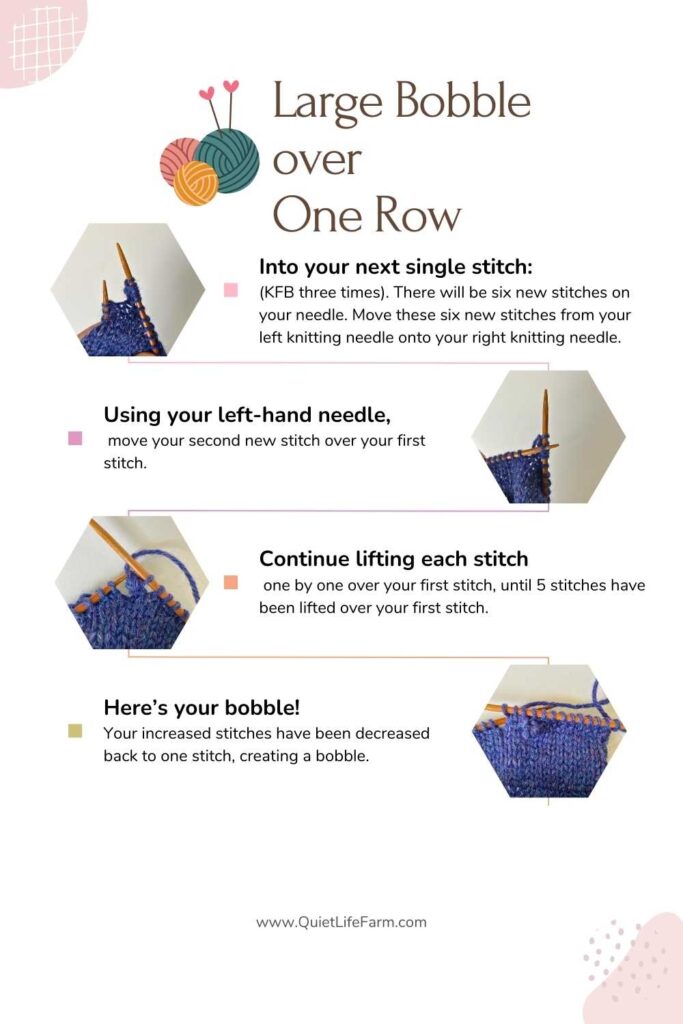
Here’s a bobble stitch pattern that creates a larger bobble. Be sure your tension is not too tight — you need to hold a reasonably loose tension when making a bobble.
- Into your next single stitch: knit into the front loop, then into the back loop, into the front loop, into the back loop, into the front loop, then into the back loop one last time. (KFB three times). There will be six new stitches on your needle.
- Move these six new stitches from your left knitting needle onto your right knitting needle.
- Using your left-hand needle, move your second new stitch over your first stitch.
- Using your left-hand needle, lift your next stitch over your first stitch.
- Continue lifting each stitch one by one over your first stitch, until 5 stitches have been lifted over your first stitch.
3. Medium Bobble worked over Multiple Rows in stockinette stitch

When knitting a project in stockinette stitch, a bobble can be created over multiple rows of knitting.
- If you are on a knit row, knit into the front of your next stitch, then into the back of the same stitch, then into the front of the same stitch, and lastly into the back of the same stitch. (KFB twice into the same stitch). You will have created 4 new stitches.
- Turn your knit work around to the purl side of your work. Purl these 4 new stitches.
- Turn your work again, back to your knit side. Knit these 4 new stitches.
- Turn your work around a third time, to the purl side. Purl these 4 stitches.
- Turn your work around one last time to the knit side, and knit these 4 stitches.
- With your knit side facing, use your left hand knitting needle to lift your second stitch over your first stitch.
- Lift your third stitch over your first stitch.
- Lift your fourth stitch over your first stitch.
4. Medium Bobble worked over Multiple Rows in reverse stockinette stitch
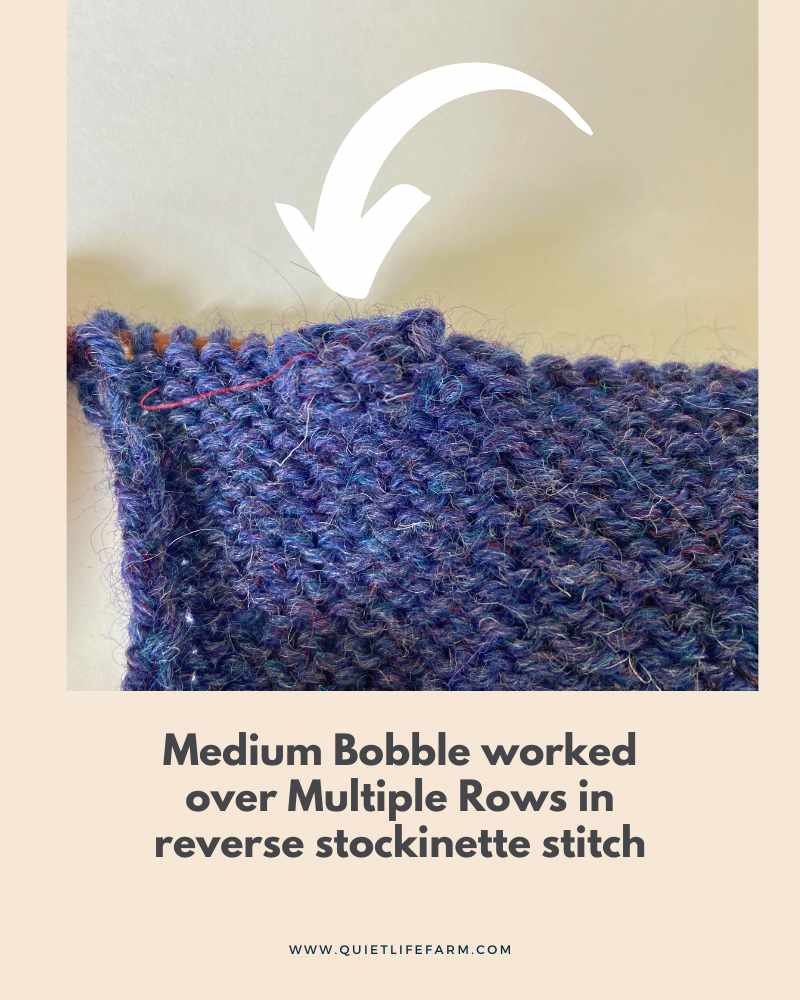
When you are knitting a project in reverse stockinette stitch (when the “purl side” of stockinette stitch is considered the “right side”), a bobble can still be created over multiple rows of knitting — just a little differently than if you’re working in regular stockinette stitch.
- When starting your bobble on a purl row, purl into the front of the stitch, then knit into the back of the same stitch, then purl into the front of the same stitch, and lastly knit into the back of that same stitch. You will have 4 new stitches.
- Turn around your knitting — to the knit side of your stockinette stitch. Knit these 4 new stitches.
- Turn your work back around to the purl side, and purl these 4 stitches.
- Turn your work back around the to knit side, and knit your 4 bobble stitches.
- Turn your work back around to the purl side, and purl these 4 stitches one last time.
- Staying on the purl side, lift your second stitch over your first stitch.
- Lift your third stitch over your first stitch.
- Lift your fourth stitch over your first stitch.
Tips when making bobbles:
- Be careful that your tension is not too tight. This will make your bobble very difficult to make!
- If you’re having a difficult time lifting your increased stitches over your first stitch while making a bobble, use a crochet hook to help lift each stitch over on your knitting needle.
- Always check the number of stitches on your knitting needles after creating a row of bobbles. Your bobbles should not decrease or increase stitches in your knitting project.