VERY EASY Easter Bunny Sewing Pattern
The EASIEST Easter Bunny Sewing pattern! Make your bunny in 3 easy steps!
Disclaimer: As an Amazon Associate, I earn from qualifying purchases.
This is the EASIEST bunny sewing pattern EVER!
Just two pieces to sew together — you can make a bunch of bunnies in no time!
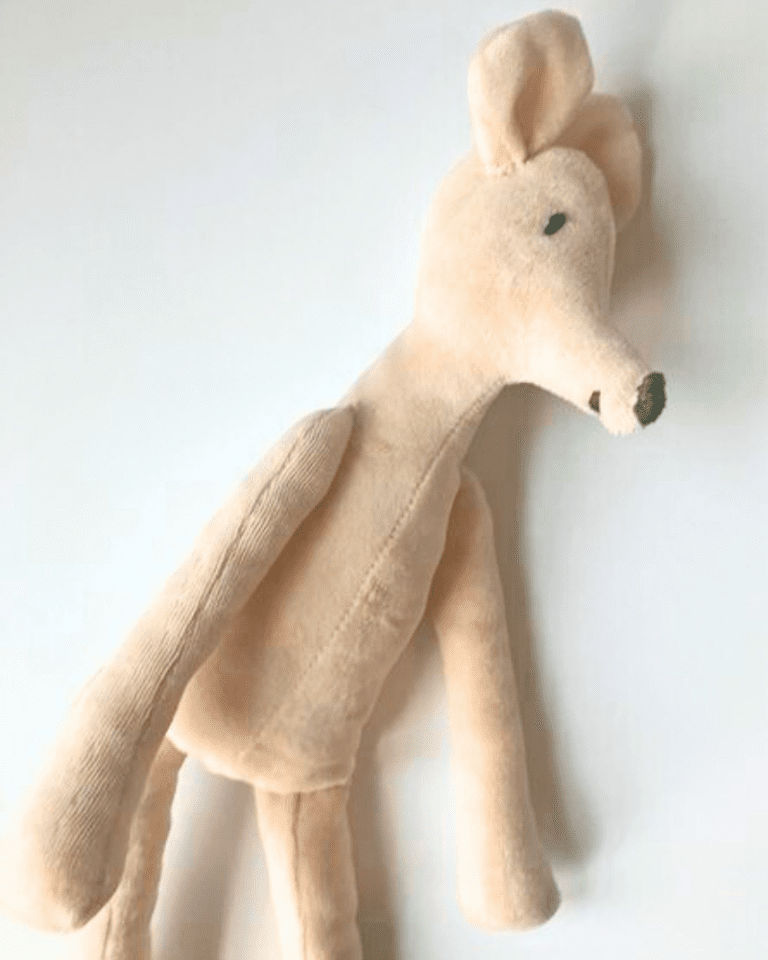
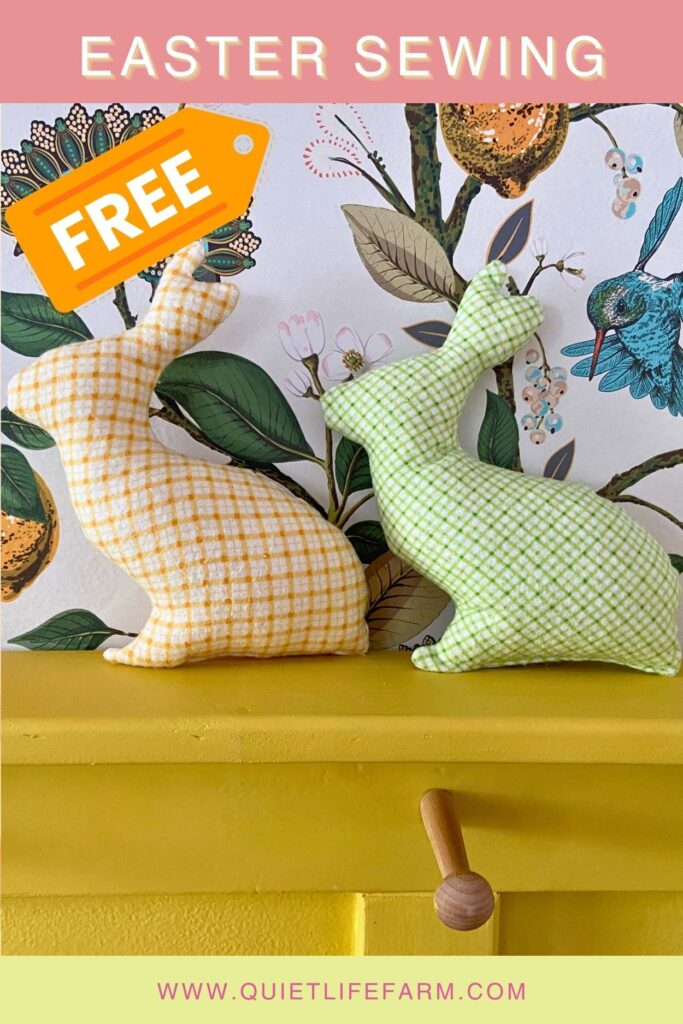
I love the classic shape of this rabbit.
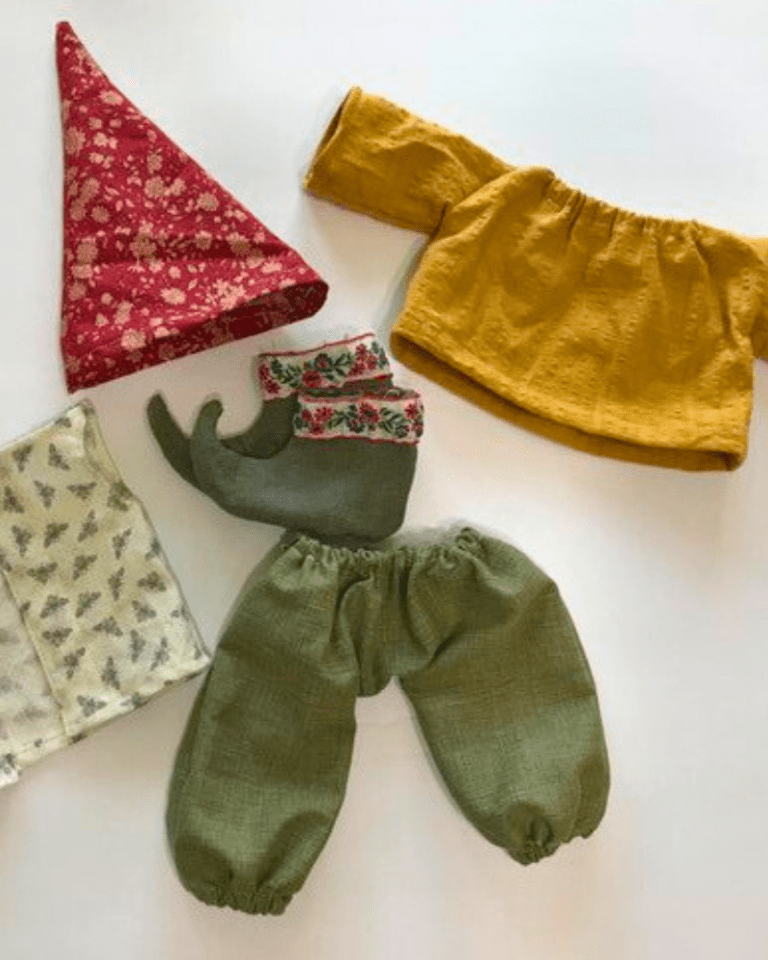
It’s perfect for Easter decor, and perfect for little hands to hold!
I used a soft flannel fabric for these bunnies, making them all the cozier!
Print out your free pattern at the bottom of this page, then follow along a quick and easy step-by-step sewing tutorial!
Supplies Needed:
- A small amount of fabric
- Wool to stuff the bunnies with
- Scissors
- Sewing Machine
- FREE pattern — print below!
Step 1: Print your pattern!
This pattern is free to print!
Get yours at the bottom of the page!
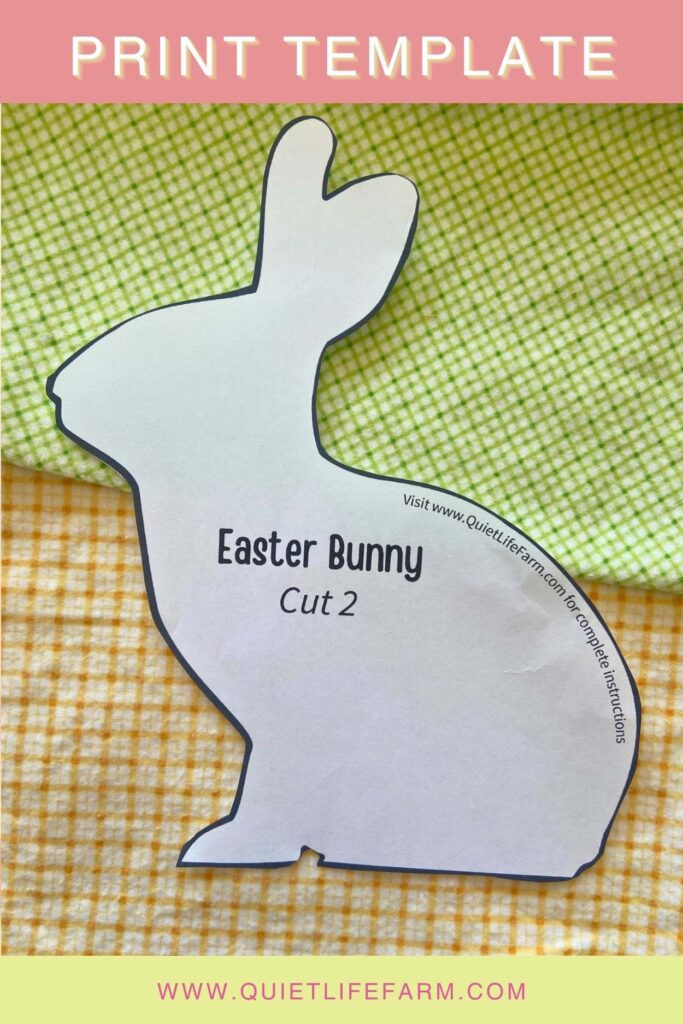
Print out your template, then cut it out.
You’ll want 2 pieces of fabric cut out from your template.
Fold your fabric in half.
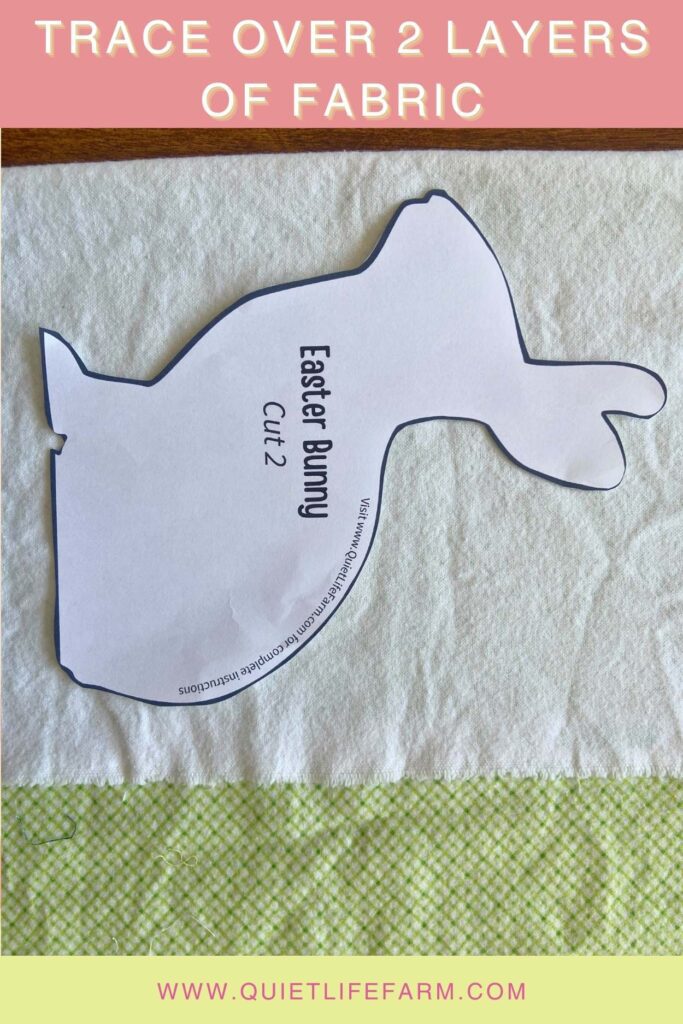
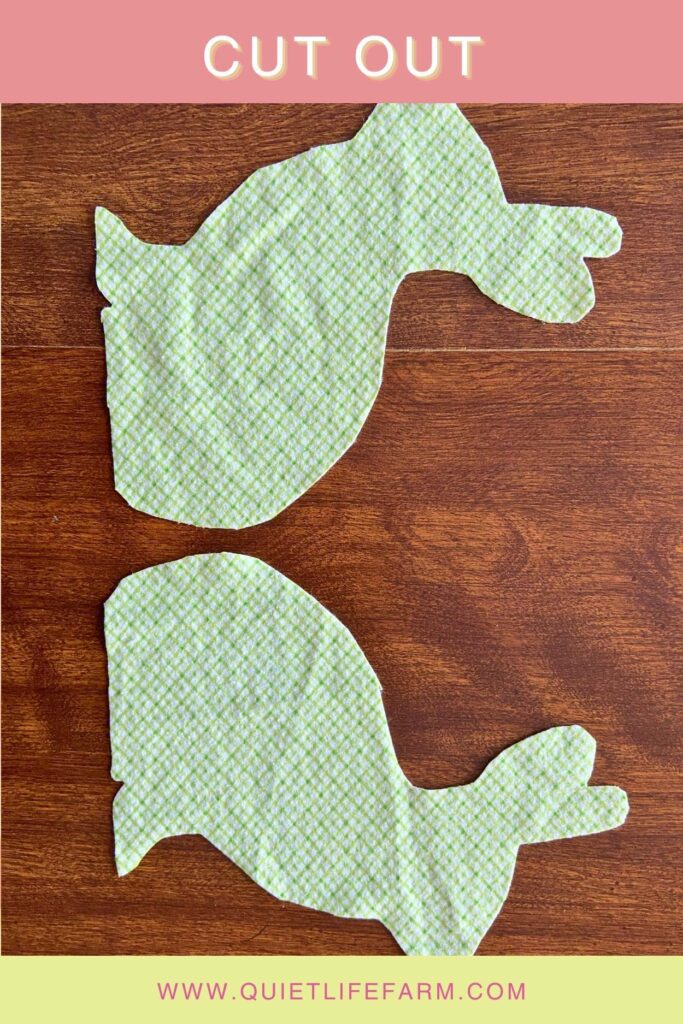
Trace your template, then cut out through two layers of fabric.
This will give you “mirror images” of each piece, exactly what you need!
And by cutting through two layers of fabric — you’ll only need to cut ONCE!
Step 2: Sew!
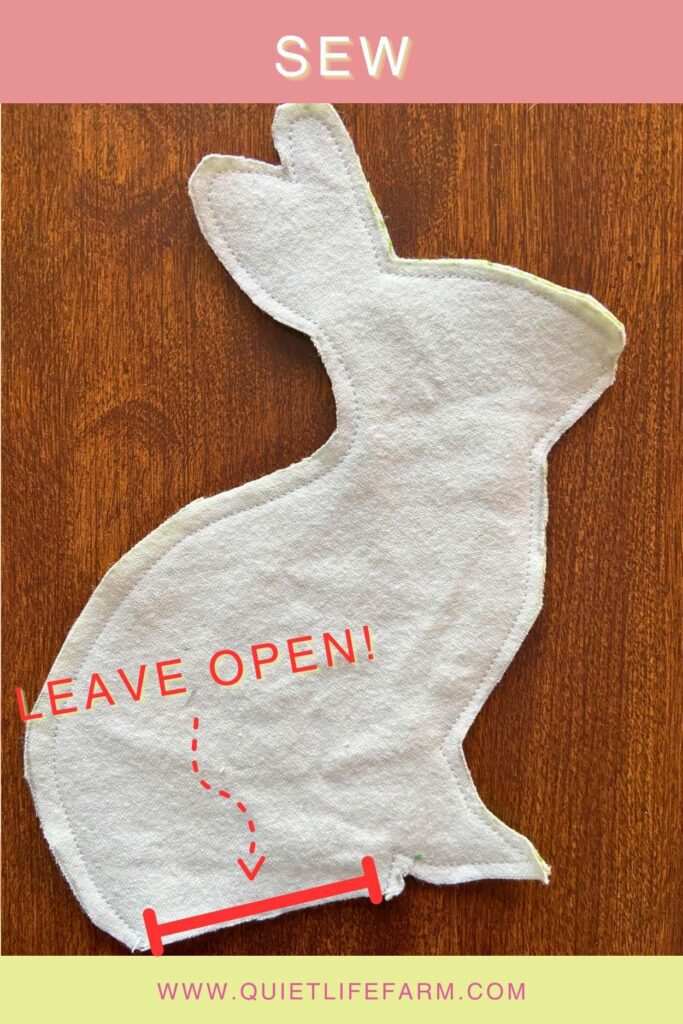
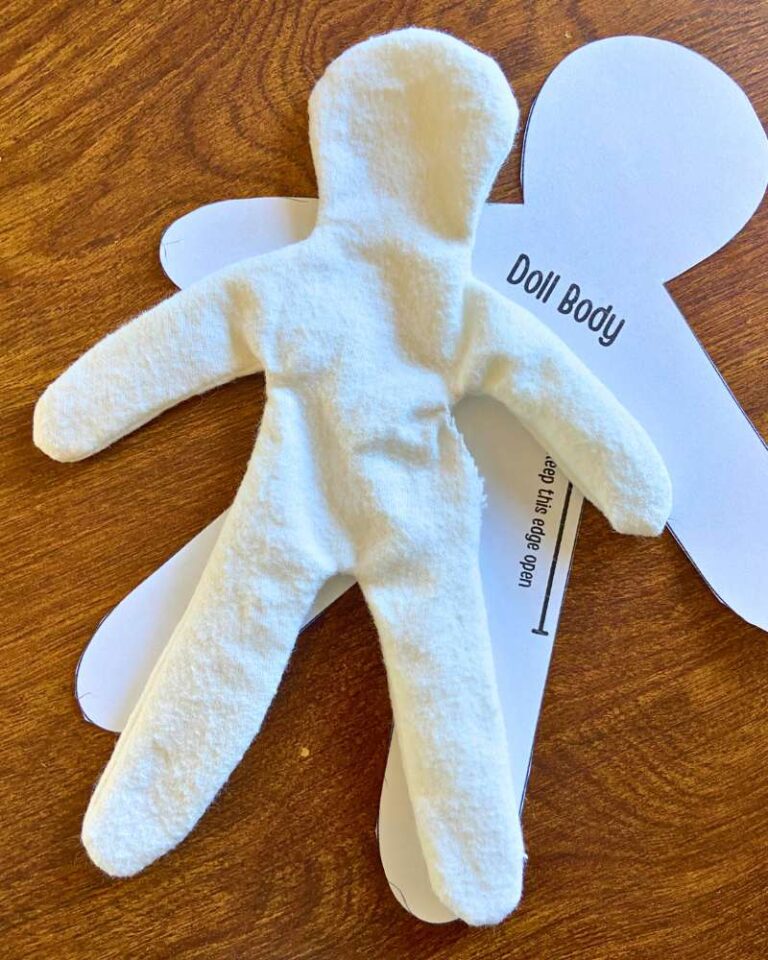
Next, with your pieces right sides together (pretty sides facing each other), you’ll want to sew around your rabbit using a 3/8″ seam allowance.
Leave the flat bottom edge open (the bottom of the legs!) as marked in the photo.
Turn right side out.
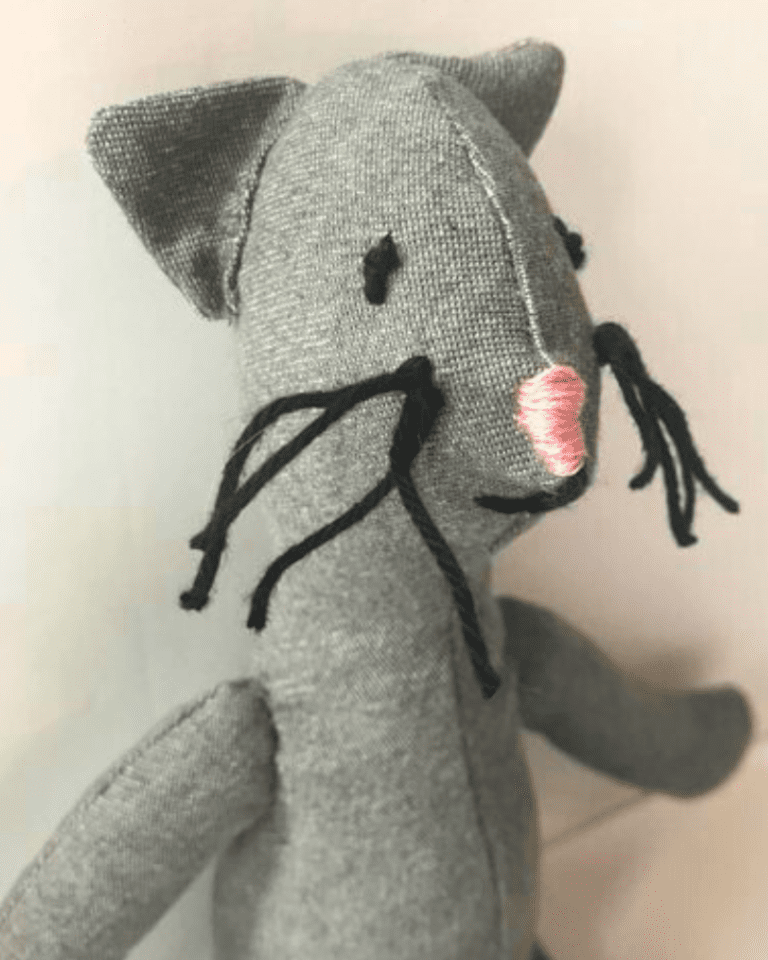
Step 3: Stuff your bunny
Next, you’ll want to stuff your bunny to give it a 3D shape!
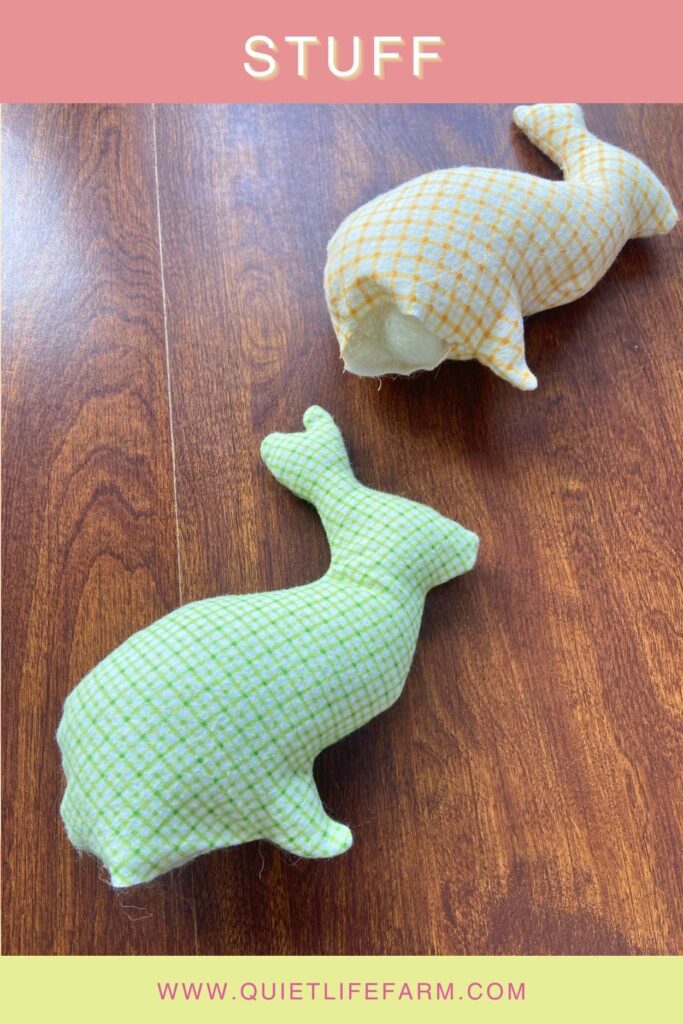
I stuff all my sewing and knitting projects with wool.
Wool has a natural warmth to it, is completely natural, and holds its shape for YEARS.
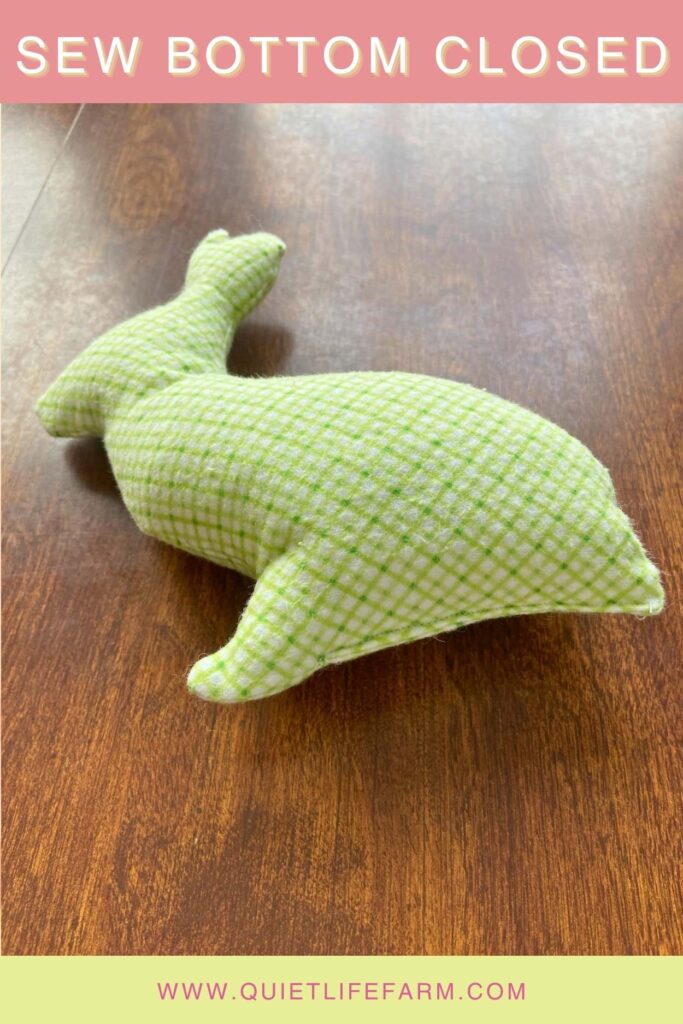
Stuff your bunny, then fold in the raw edges and sew the opening closed.
Print your pattern for FREE!
Ready to get your free pattern?
Print it below!