Sewing Cloth Diapers to become “All In One”
Here’s how I upgraded my stash of Pocket and Cover cloth diapers to become the very convenient “All In One” cloth diapers!
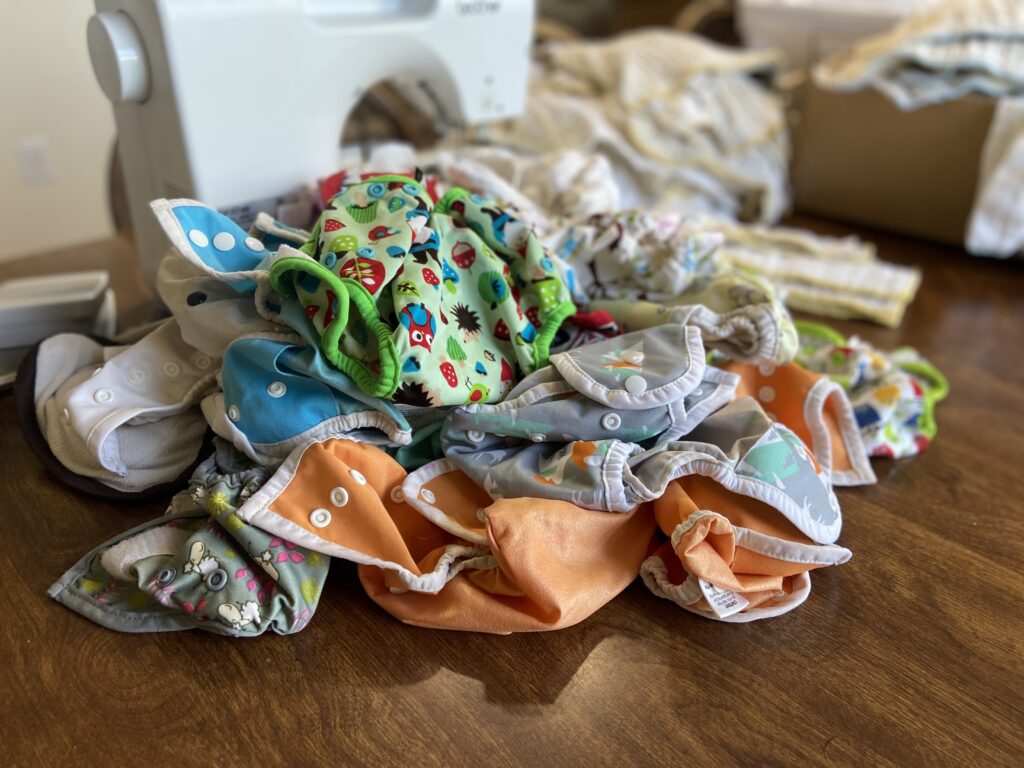
I’ve cloth diapered 5 babies now.
I really prefer them to disposables for many reasons — it’s better for baby’s skin, it’s cost effective, there is no diaper trash, and we’ve experienced very few blow out diapers!
There’s only one thing I would change about my cloth diapers: I wish they were “All in One” style cloth diapers.
But, a single decent “All in One” cloth diaper is $30 on average. Yeah — $30 for one singular diaper is NOT something I want to spend, either.
Besides some cloth diapers that were gifted to me new, I’ve personally purchased all of my cloth diapers used. This means most of them have gone through MORE than 5 kids. And besides some holes here and there, they’re still perfectly usable. I have no reason to re-invest in cloth diapers, especially when I’d want to switch to a style that’s $30 per diaper.
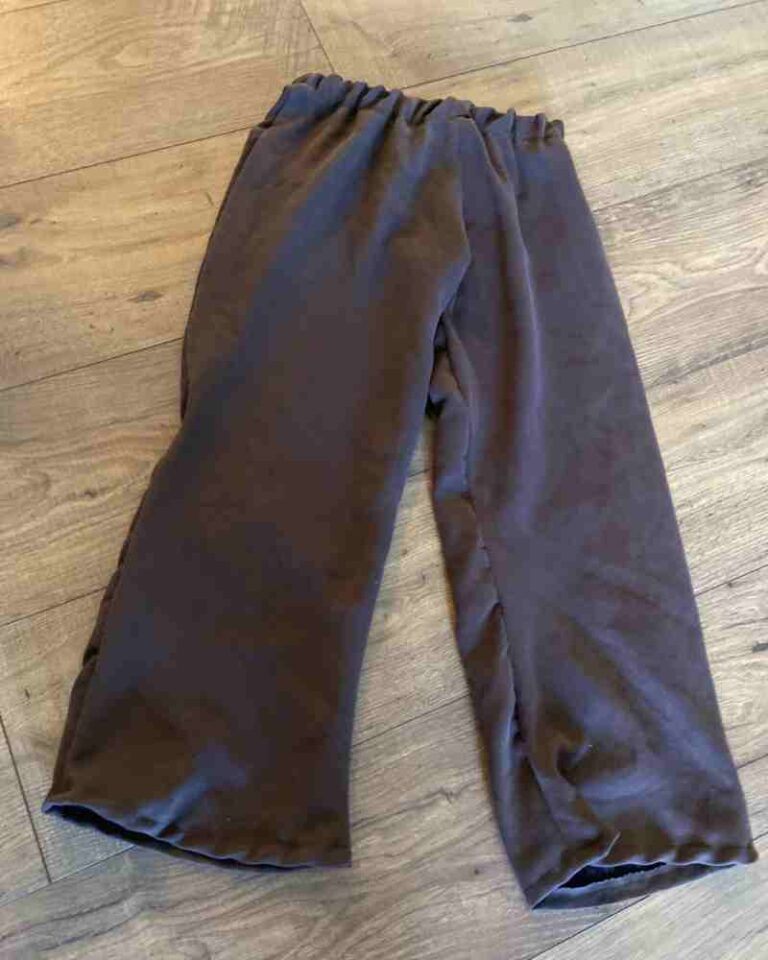
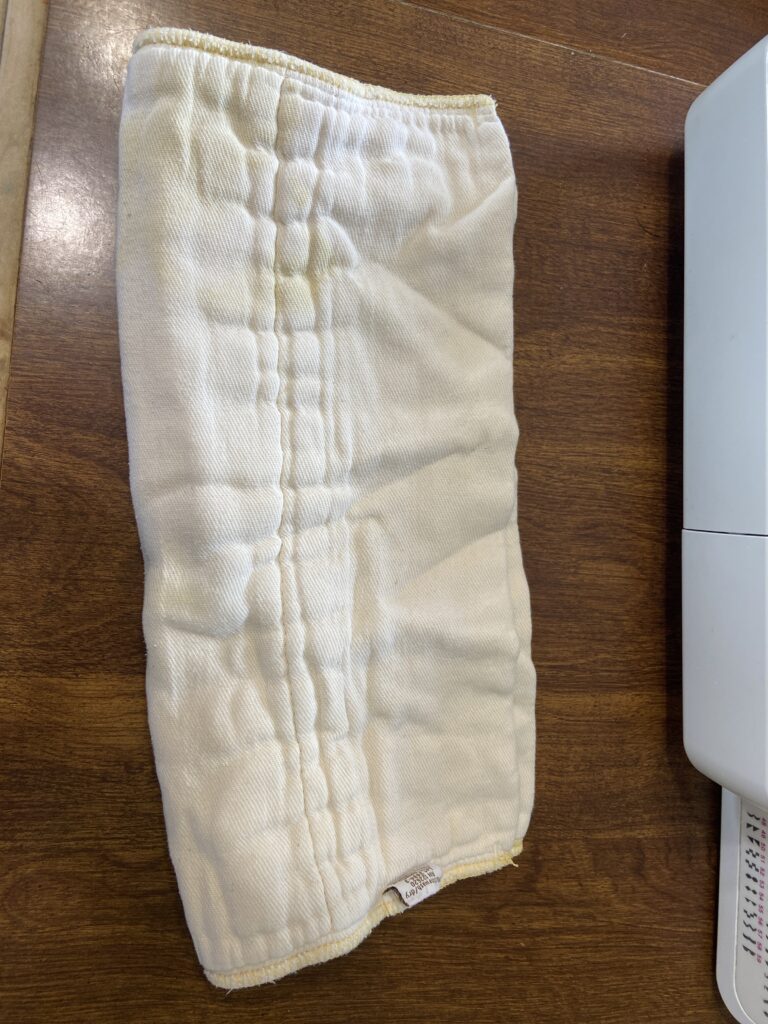
Above: One of my well-loved prefolds. It’s seen better days, but is totally usable and fixable!
So — after a lot of thought, I decided to do some diaper repairs on my more tattered diapers, and to take all of my prefolds, pockets, covers, and receiving blankets I use as diapers — and turn them into All In Ones. For $0. (besides the cost of thread, which I already had.)
Here’s how I did it — step by step!
If you can sew a straight line (or really, mostly straight even) — you can do this, too!
(Read to the bottom of the post to see how it’s going using them on the daily!)
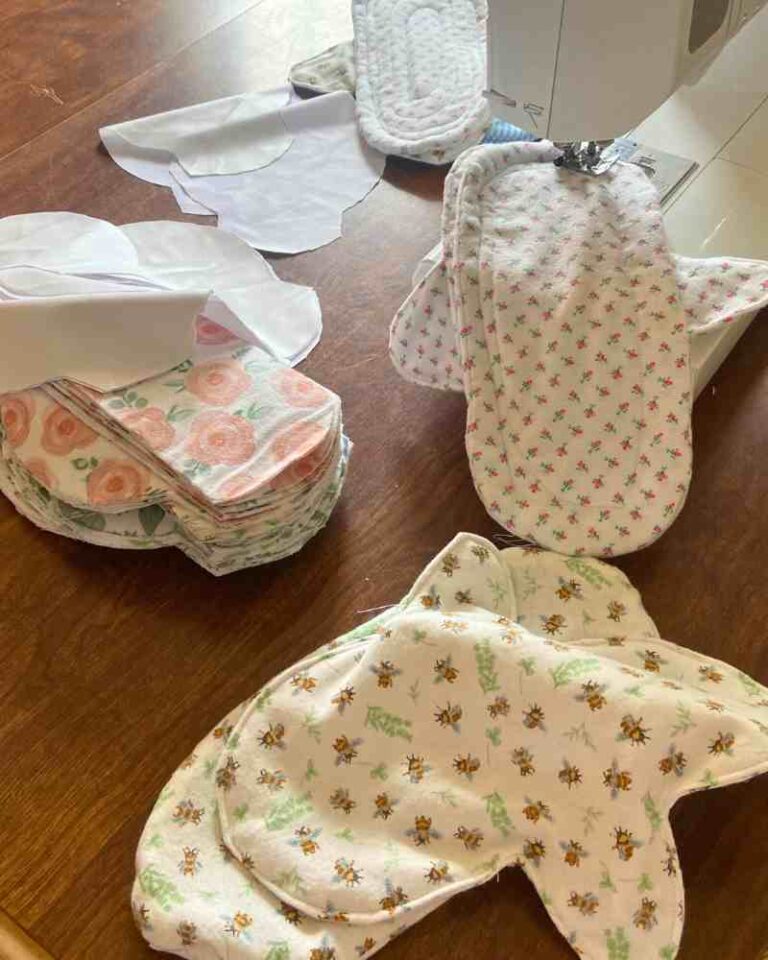
Step 1: Sort through your diapers.
The very first thing you are going to want to do is dump out your (clean, obviously) cloth diaper stash onto your kitchen table and sort through it.
Above: My pile of Newborn sized covers
Sort through things that are too worn to use, and sort through things that are worn but can be repaired.
Sort everything by type (covers, prefolds, flats, etc).
Then, sort everything by size (newborn, medium, “one size” etc).
Just want to throw it out there that I really recommend using your cloth diapers for a while before doing this project. It’s important to figure out what is going to work and not work absorbency-wise before sewing the “stuffings” into your cloth diaper covers. Everyone needs to know what amount of absorbency they personally want in their diapers, without making them too bulky to fit. I’ll give my suggestions for what I find works, but it’s a good idea to figure out what works for YOU.
Newborn Diapers
I highly recommend having a nice collection of newborn sized diapers. The “one sized” diapers truly just don’t do very well at the newborn stage, no matter what the brand.
Side note, my absolute favorite newborn sized diaper by leaps and bounds are the Rumparooz newborn diapers. Seriously, like a thousand times better than any other newborn diaper. (I bought mine for cheap off of Ebay — they were in brand new condition!)
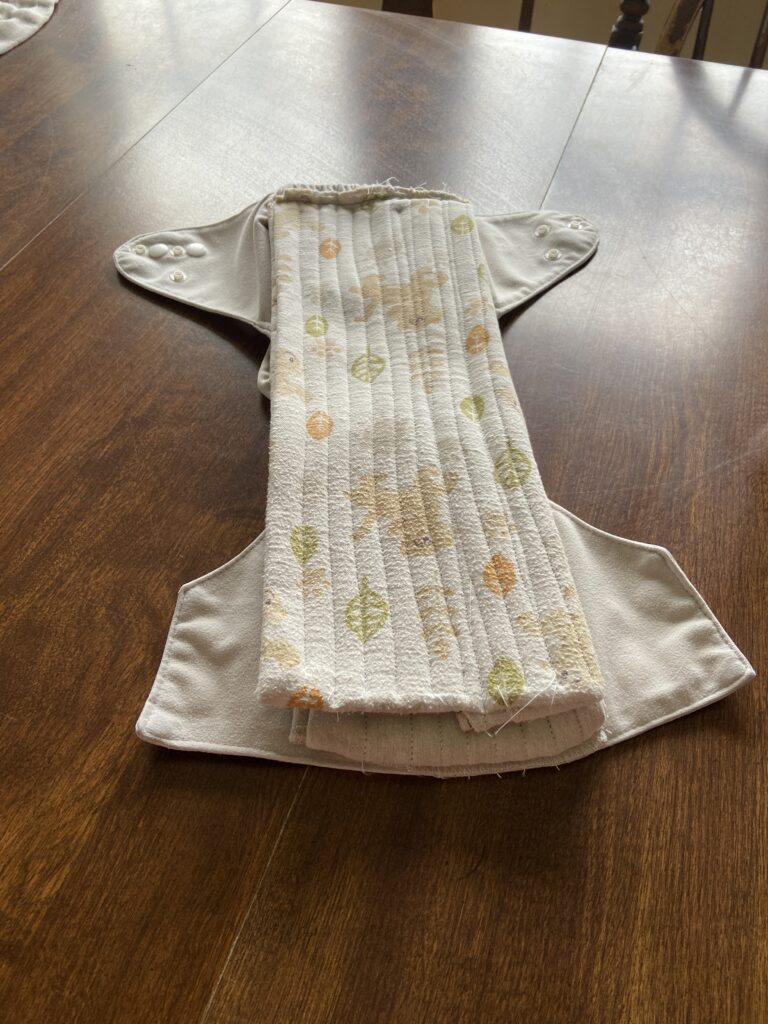
I used small sized prefolds (a variety of brands) to go with my newborn diapers, and attached them a couple different ways.
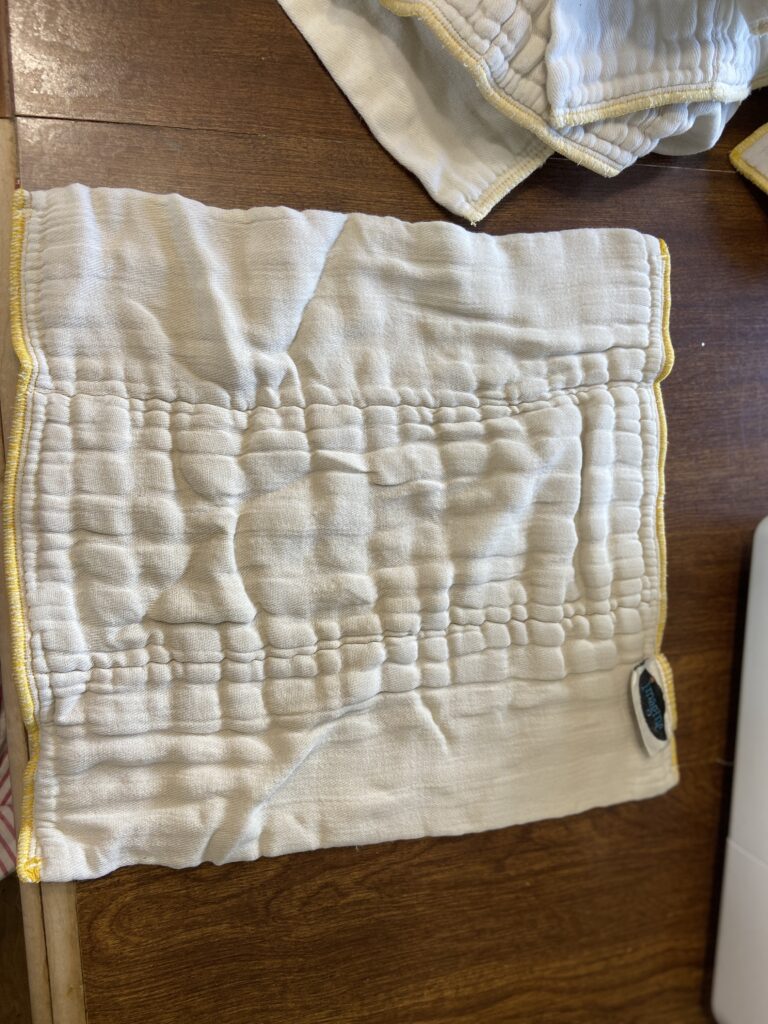
The first thing I did with my prefold was lay it flat on the table. (above)

Then I folded on side in an “almost” third. You don’t want to fold it all the way where the thicker center part of the prefold is right along the edge. If you have the thick center part at the edge, your sewing machine will hate you and refuse to sew it. Trust me.
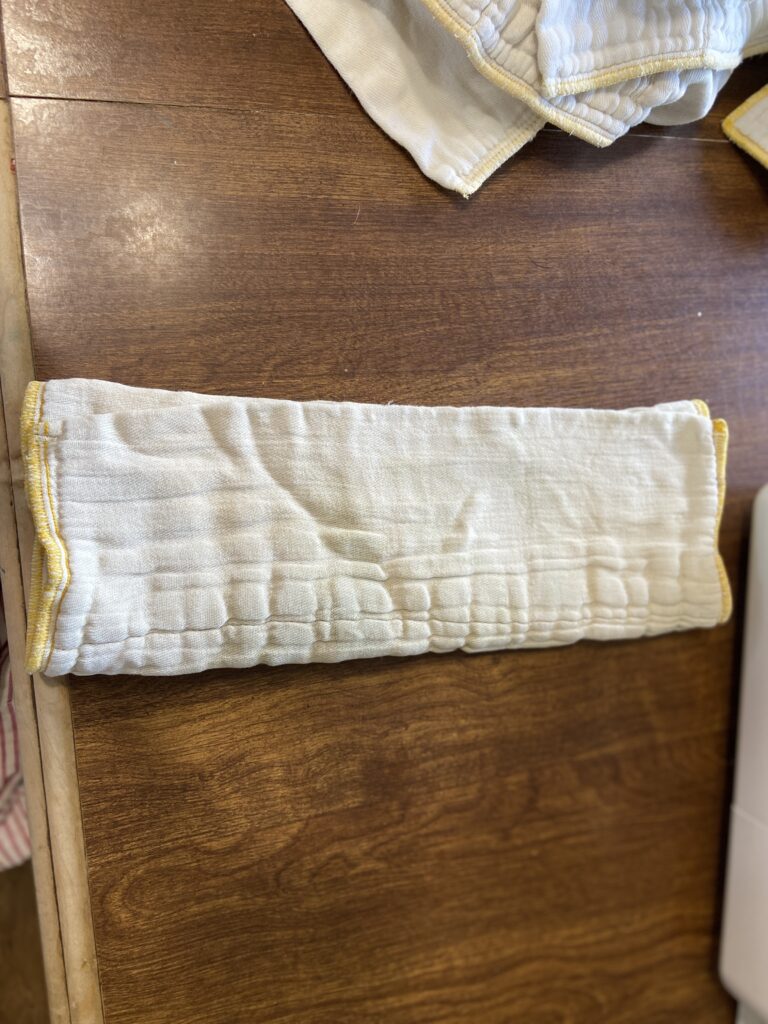
Next, you’ll want to fold your other edge all the way over. (above photo)
Now, you’ll want to sew along your LONG edge of your prefold to hold all of your folds into place.
Go slowly, and see if your sewing machine is going to tolerate you sewing through such a thick layer. If it doesn’t, you can either readjust to make sure the thickest center part of your prefold isn’t being sewn, or you can scroll down and look at my second method of sewing prefolds suits you. (I used to second method of sewing my prefolds for most of my diapers!)
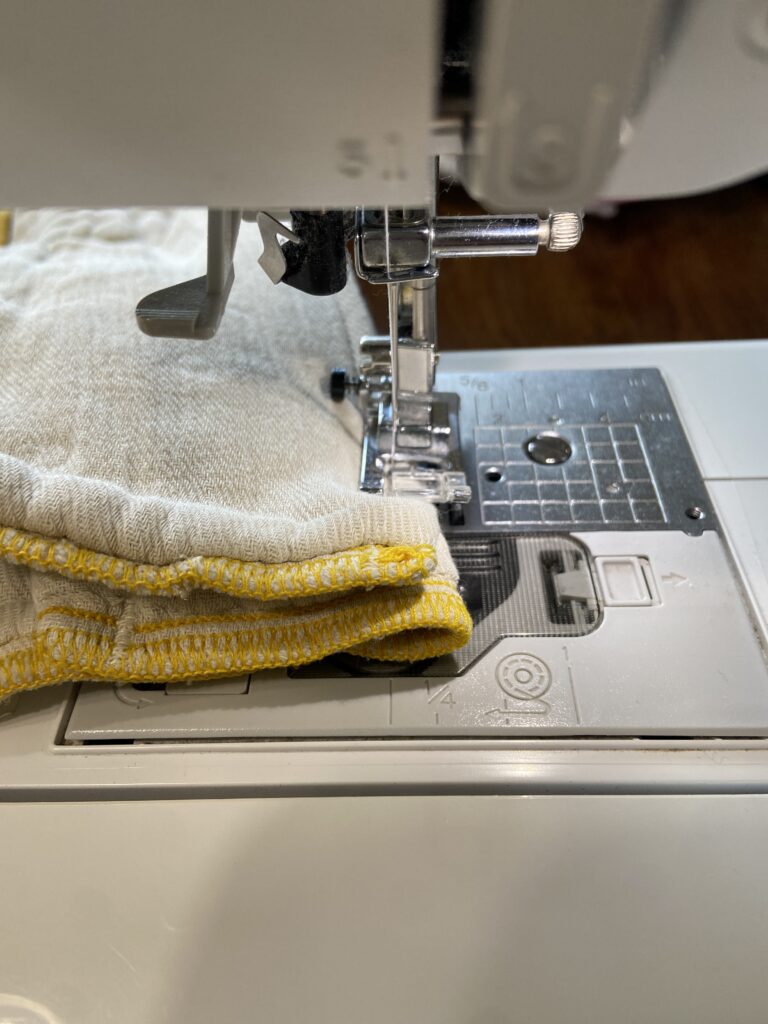
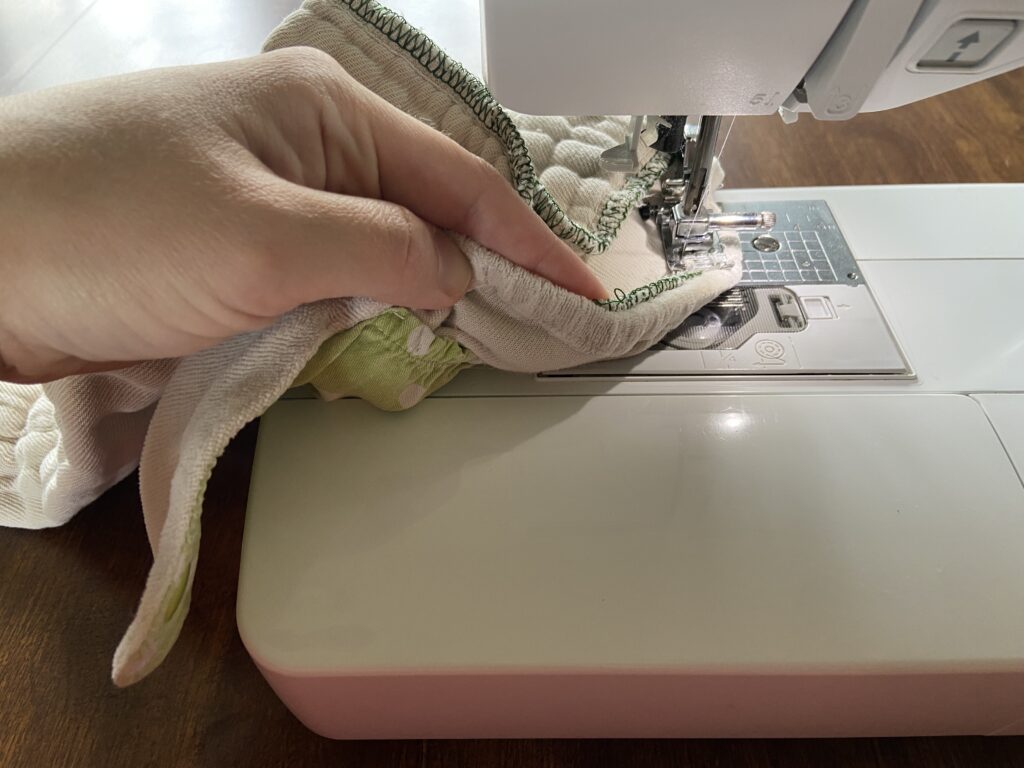
Lastly, sew one top edge to the top BACK of your newborn diaper cover.
Move one the top layer of your prefold out of the way while you sew, so that you’re not sewing through a thousand thick layers of fabric.
Sewing through just one layer of your prefold also aids in the drying process of your diaper when it’s in active use.
Don’t forget to make lots of back stitches at the beginning and end of your seams!

Your diaper will now lay like you see in the photo above.
You can close it from here for storage like you see in the photo above. Or, just throw it in a basket as is to grab when you need to change a diaper!
It’s SO nice not having to organize a bunch of diaper laundry!
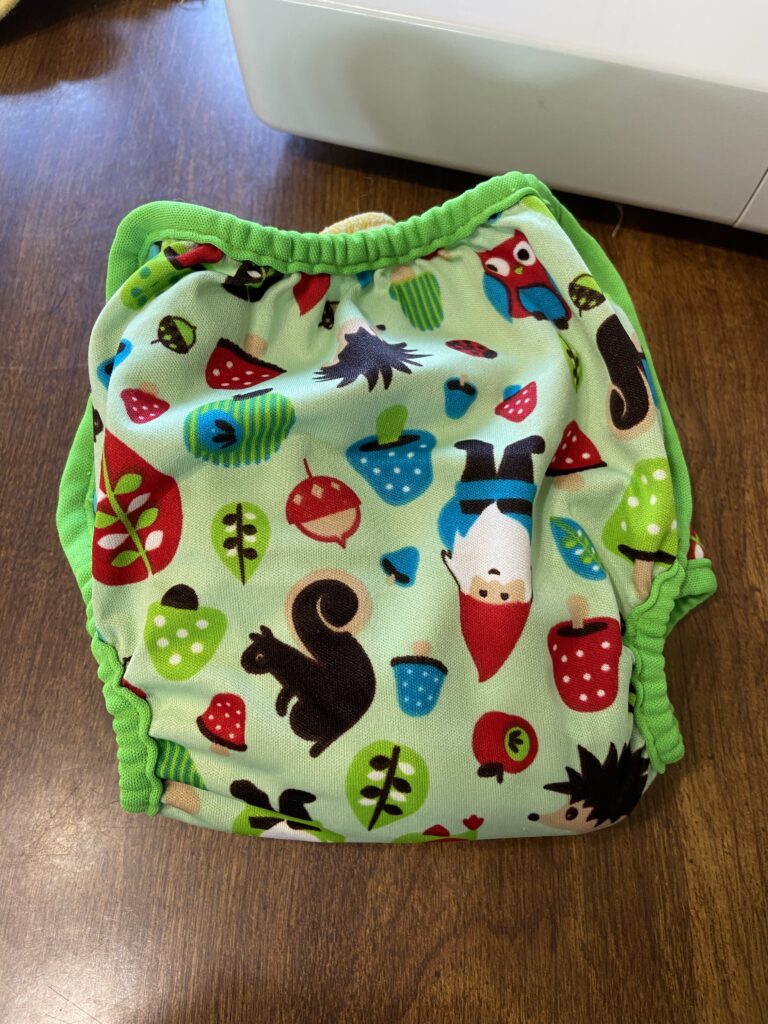
(side note, isn’t the gnome cloth diaper adorable? Just to give you an idea of how long cloth diapers can last — this particular diaper was used on 3 of my nieces/nephews, and was purchased used for THEM, too — so that means this single cloth diaper has diapered at least 9 babies at minimum at this point, and it’s still going strong!)
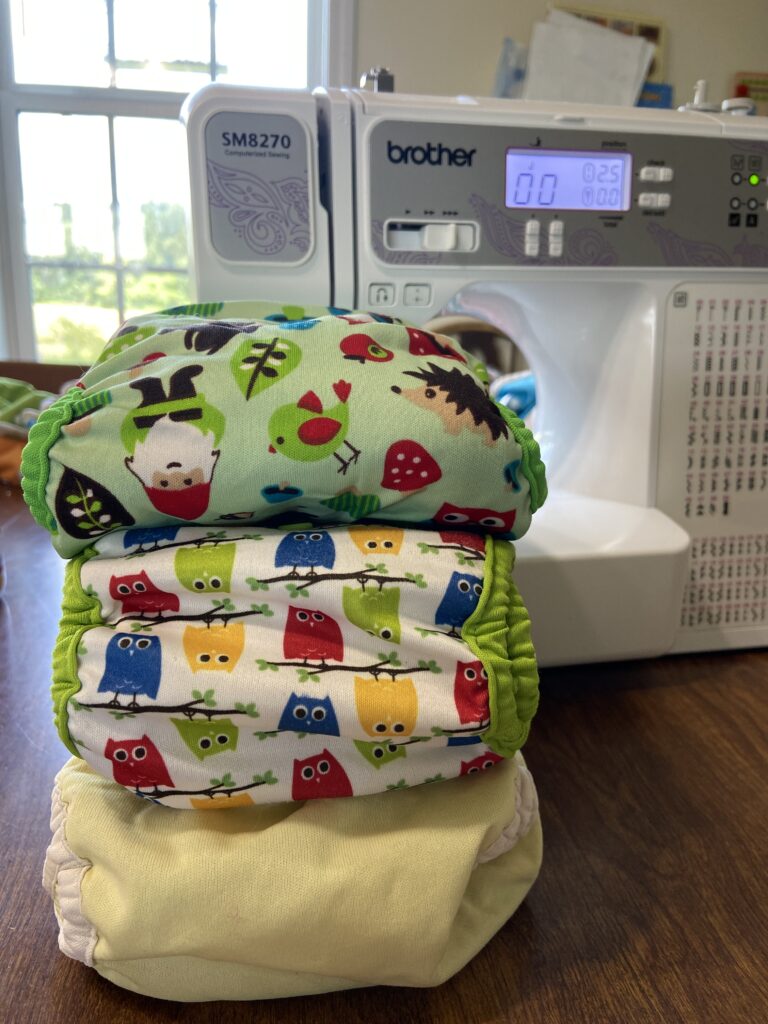
Look how sweet my newly converted all-in-one diapers are looking!
Adding in extra absorbency
For some of my newborn diapers, I wanted to have the (easy) option for extra absorbency.
I like to use extra absorbent diapers for nighttime, or for travel.
My friend gave me some beautiful cloth diapers, and in them there were these really neat little inserts.
I looked them up so I can tell you what they are — they’re Cloth-eez Doublers (size small).
I love them because they add extra protection while not adding very much bulk. (cloth diapers are always bulky, but if you have WAY too much bulk, it’s difficult to get a proper fit!)
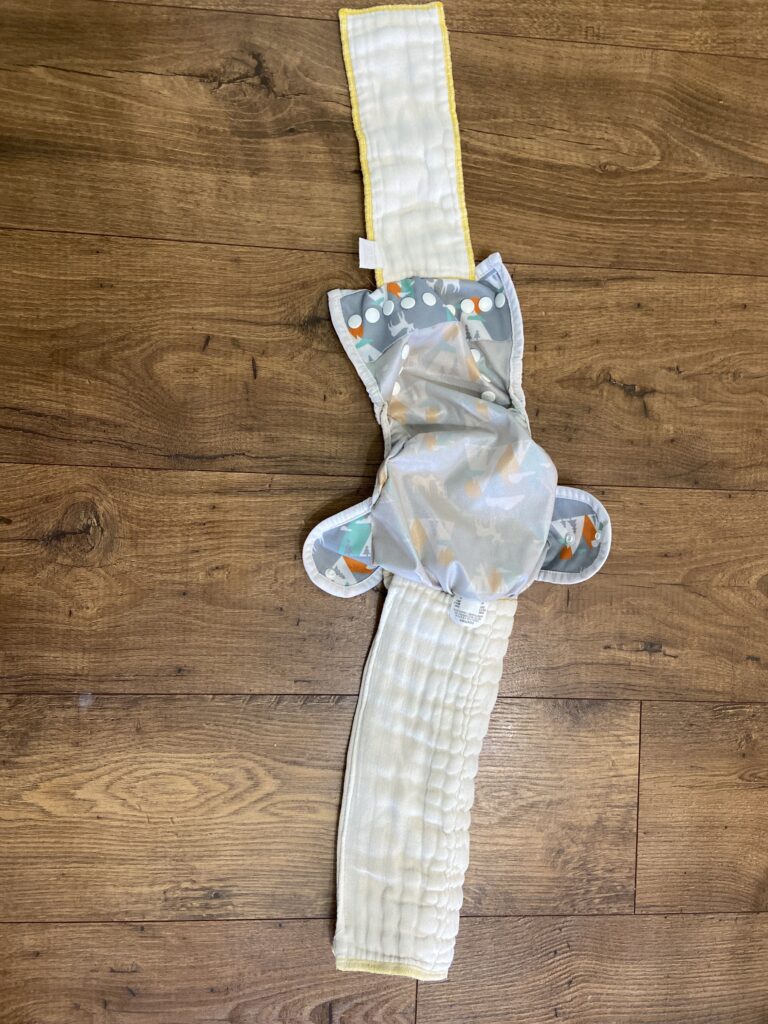
To incorporate the Cloth-eez Doublers, I repeated my process for attaching the prefold to the BACK of the diaper as I showed you above, and then I attached the doubler to the FRONT of the diaper.
For this entire project, when using two layers, I found that it’s best to keep the least bulky/shortest layer in the FRONT, and the larger layer in the BACK. FYI
To fold a diaper with a layer attached to the front and the back of the diaper, just fold one layer on top of the other.
It doesn’t matter which layer is on the top and which layer is on the bottom. In the picture above, the front layer is on the top, but in my active use I’ve actually been preferring to put the front layer on the bottom.
Another way to sew your prefolds
I want to mention another way to sew your prefolds.
If your sewing machine is struggling with the thickness with the first method I mentioned, this method should work much better for you.
Fold the prefold in half, as seen in the photo above.
Sew right down the edge with roughly a 1/2″ seam allowance (for most machines, this just means to line up the edge of your presser foot to the edge of your fabric).
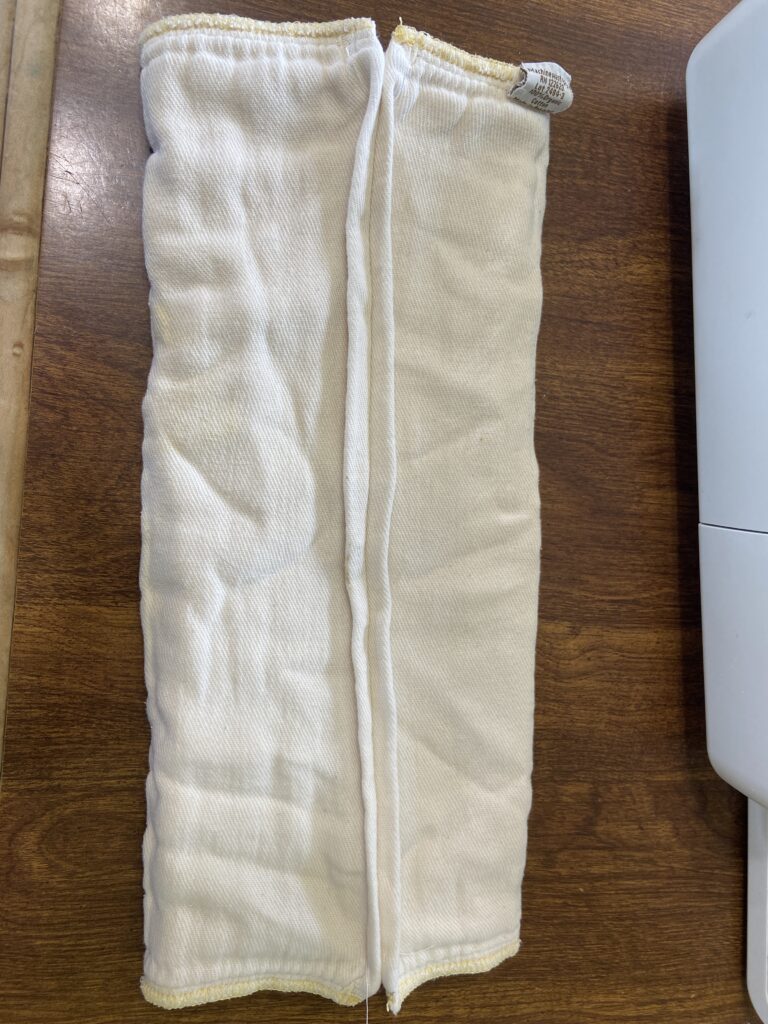
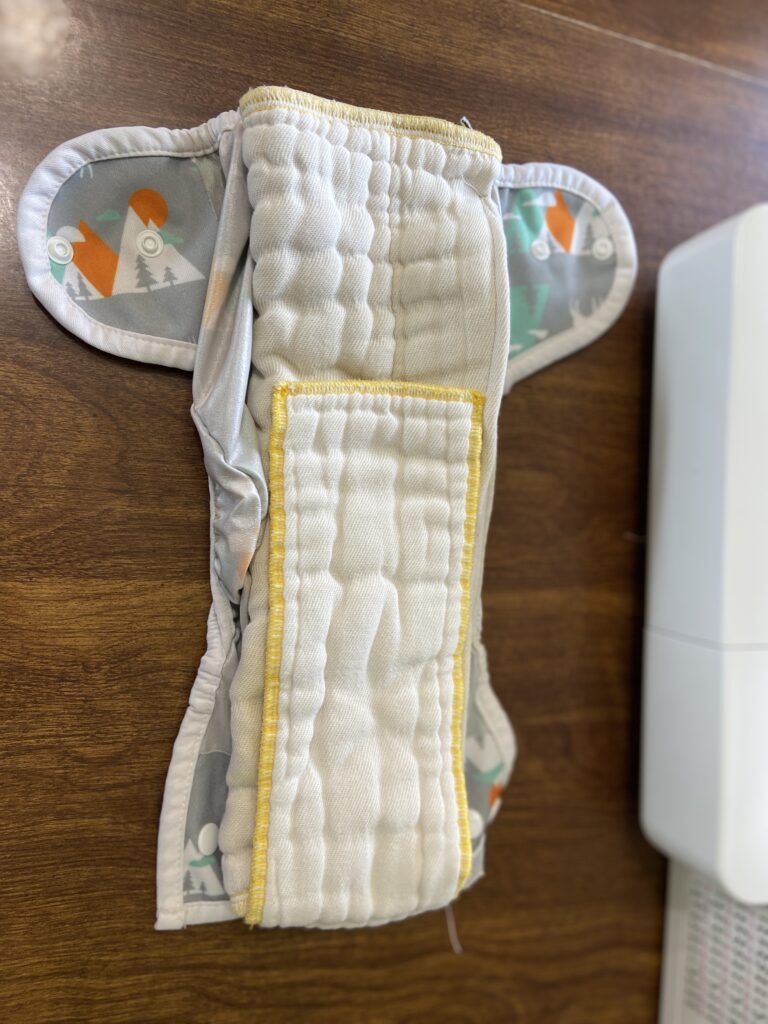
Then, open your sewn edge and put it in the center. This will be the bottom of your diaper. The top will be the center part of the prefold that is the most absorbent. (see photo above)
Turning a receiving blanket into a diaper
A “non diaper” item I use as diapers are some baby receiving blankets I was given as hand-me-downs.
They make great diapers, and even better diapers when they have been converted this way!
A receiving blanket is usually a 30″x30″ square. Since a yard of fabric is 36″ long and usually at least 60″ wide, this means that if you find some nice flannel fabric on sale, you could make 2 inserts (in my opinion good for 1 one-sized cloth diaper) with one yard of fabric. (again, make sure you use flannel! It’s soft and more absorbent than quilting fabric)
To turn your receiving blanket into an AIO diaper, first fold it in half as you can see in the photo above.
Next, fold your blanket in thirds long ways. (See photo above)
Fold your blanket down in half (above).
Make sure that your folded edges are on the INSIDE of your makeshift diaper.
Start sewing straight lines (long ways) on your folded receiving blanket.
You’ll want to sew with a 1/2″ seam allowance, but I also experimented and found that you can sew four lines of stitches at minimum and get away with it.
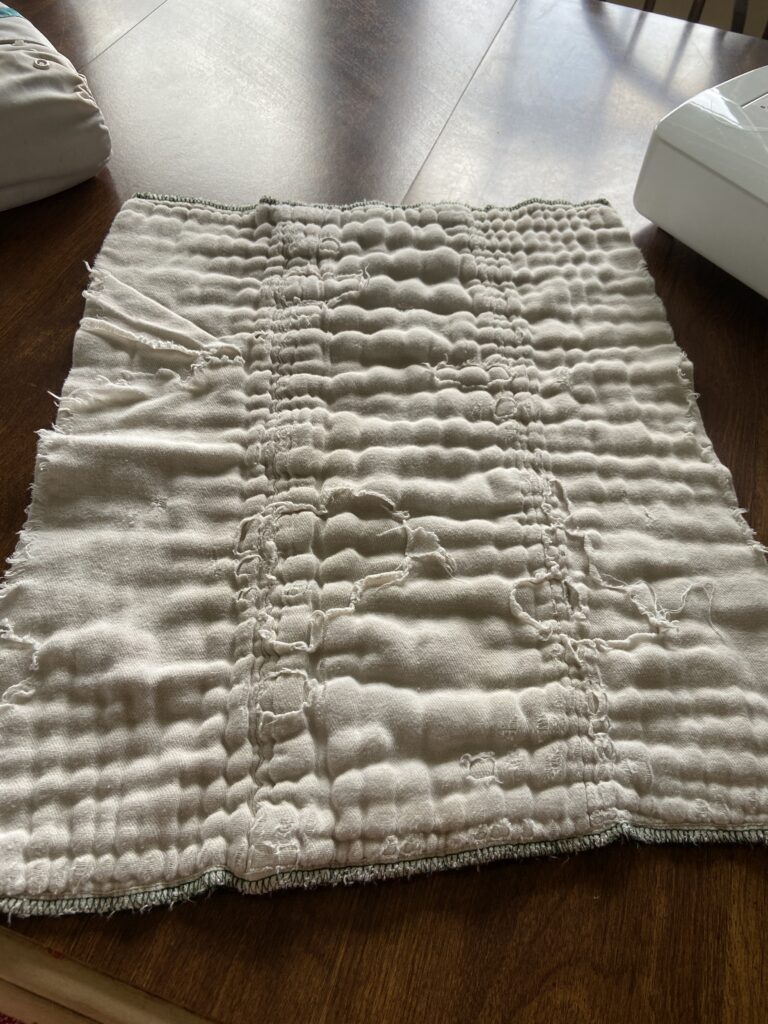
Your diaper should look something like the photo above.
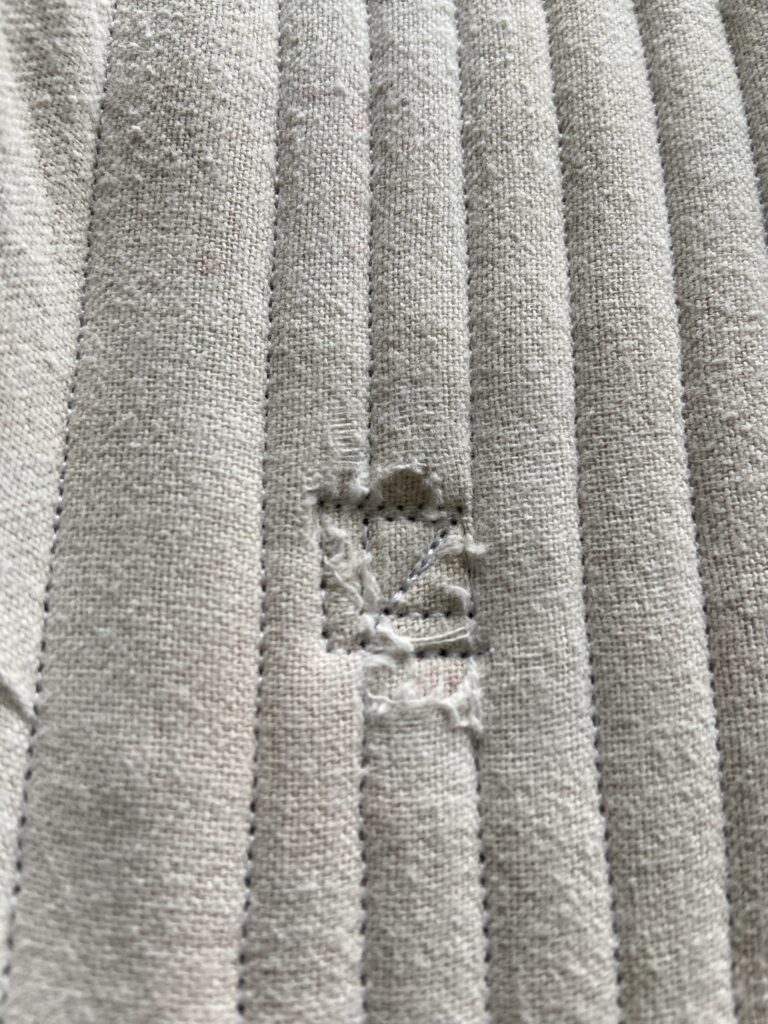
If you have any holes like this in your diaper, now is the time to sew a bunch of stitches all around it to keep it from getting any larger. (see photo above)
When making receiving blanket cloth diapers, I find that for a “one size” cloth diaper, you’ll want two receiving blankets per diaper.
See the photo above to get an idea of what a makeshift AIO receiving blanket diaper looks like! Super thrifty but works super well! (repaired hole and all!)
(photo above) Just fold your folded receiving blanket diapers in the center of your diaper to use it!
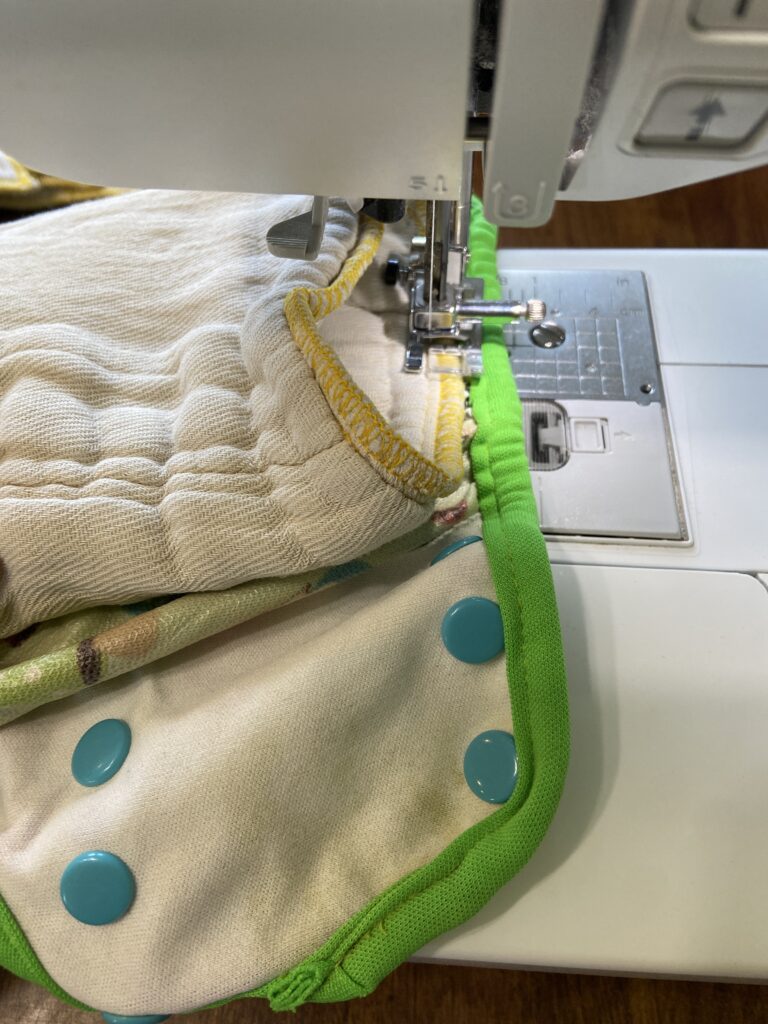
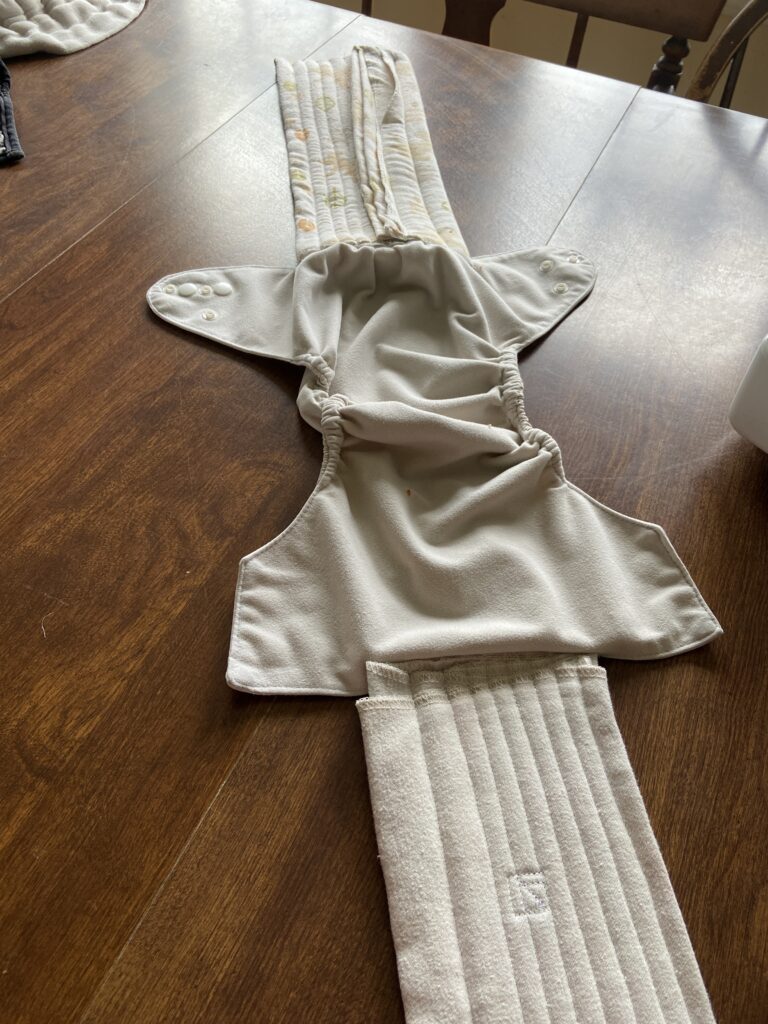
How to sew around elastic pockets?
Pocket diapers have an elastic opening that give a gathered effect to your diaper.
You’ll want to sew your diapers UNDER the elastic (see photo above).
You’ll also want to STRETCH your elastic as you sew, otherwise you’re going to have a bunched up look on the back of your diaper.
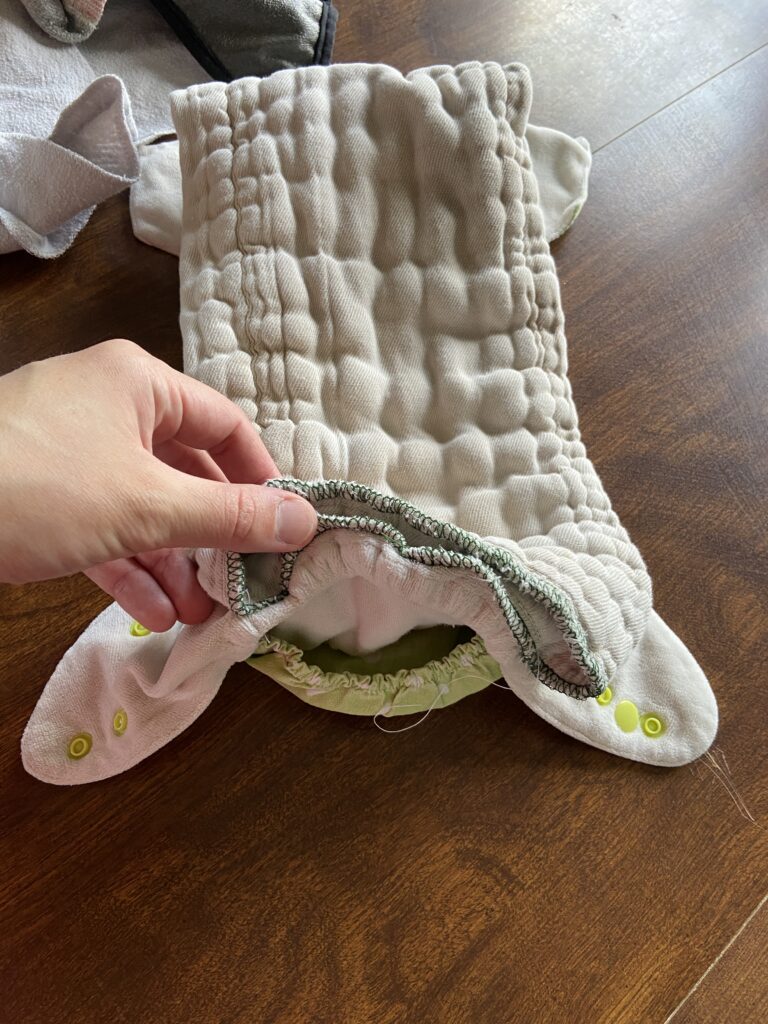
If you want to keep your pocket space for extra absorbency and treat your diapers like “All-in two” diapers instead, just sew your insert to the INNER pocket layer of your diaper, leaving your PUL outer layer untouched!
This will keep your pocket open and able to be stuffed with extra absorbency, as seen in the pictures above!
How’s day to day usage going?
Wondering how my day-to-day usage has been going since sewing all my diapers in this way?
Honestly, I wish I had made the switch sooner. Like, 4 kids ago amount of sooner.
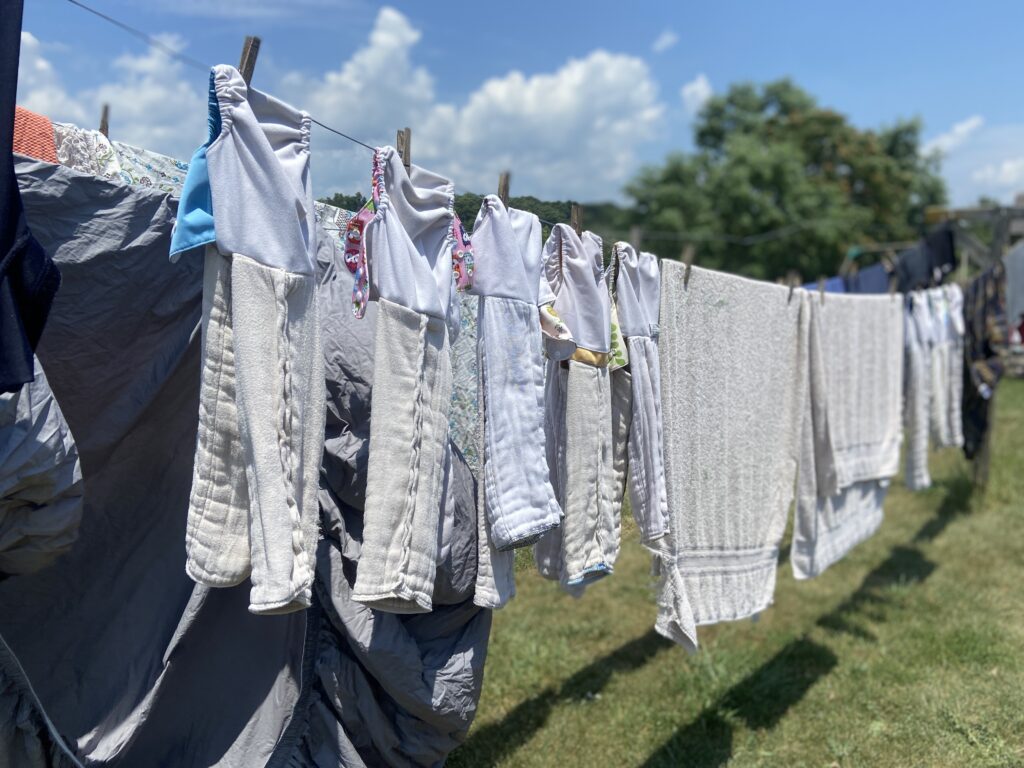
I find that it takes only a slightly extra amount of time for the diapers to dry than they did before, since the prefolds were all left “hollow.” Very little difference in drying time overall.
I also prefer to line dry my diapers anyway. Which has been approximately 345,186 times better than it was before. Now I can throw each diaper on the line as seen in the photo above, and use ONE clothespin per diaper. (Before, it took at least 3 clothespins per diaper when line drying!)
Organizing clean and dry diapers and putting them away has been such a breeze, too. I like to fold my diapers up before putting them away, just for aesthetic reasons, but if you want to skip that step you really wouldn’t even have to fold and stuff your diapers anymore. It’s amazing being able to just grab a clean cloth diaper and have it already “assembled!”
All in all, this project was so worth it to take the time to do. My diapering routine has immediately improved and I couldn’t be more pleased with the results!