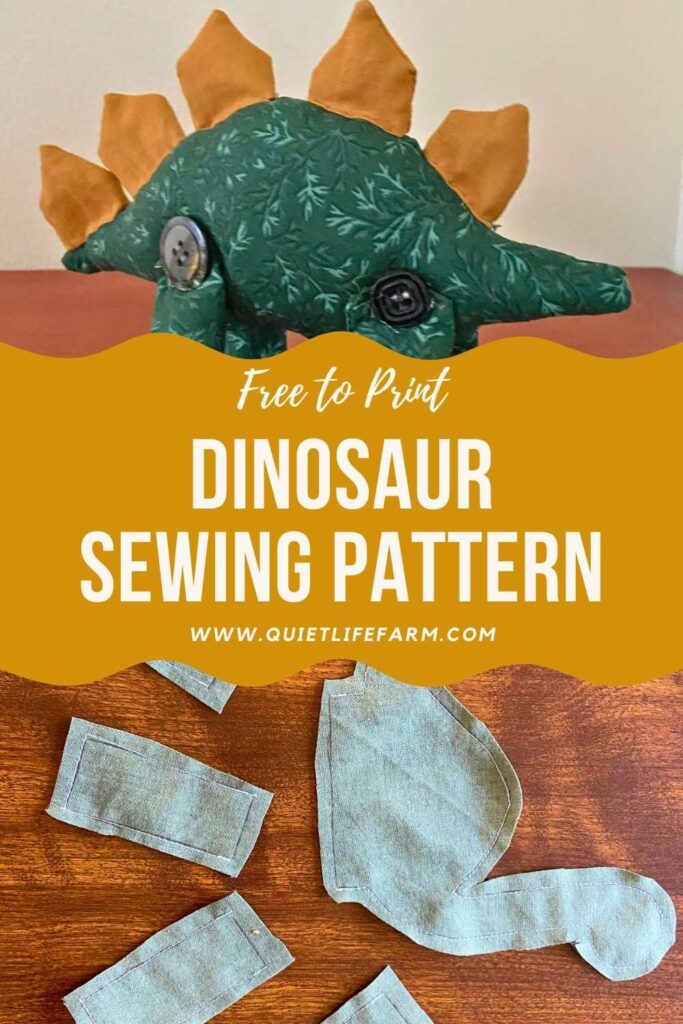
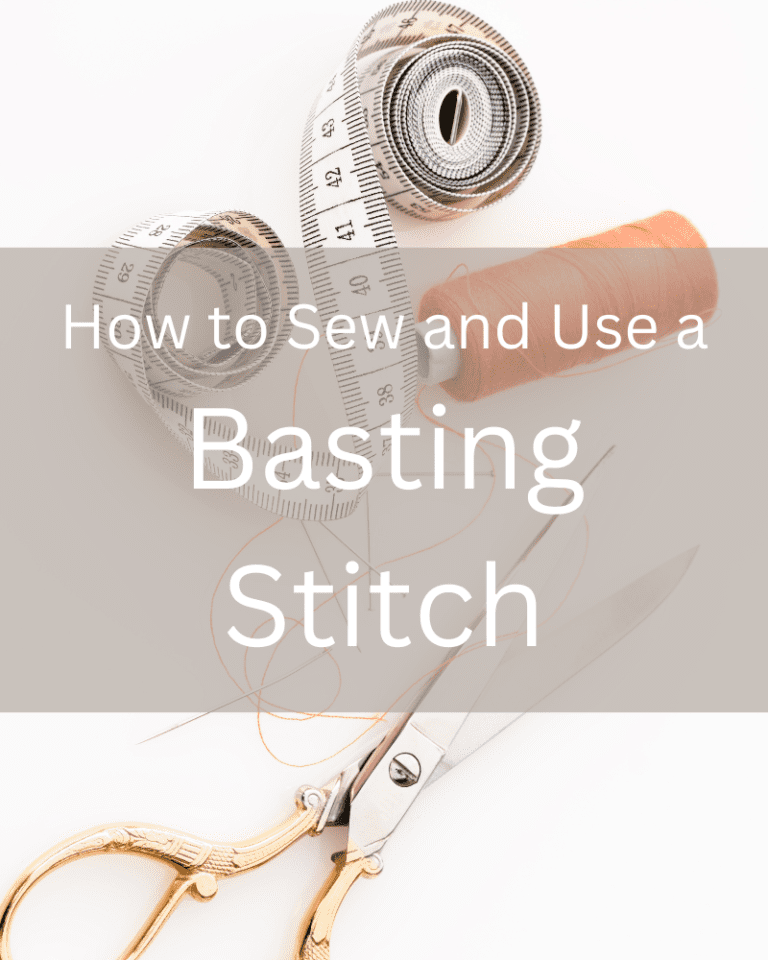
Free Dinosaur Sewing Pattern: Adorable Plush Dinosaurs!
Here’s a collection of free dinosaur plush patterns, all in one PDF ready to print!

This is a great fat quarter project! You may use one fat quarter to make each cuddly dinosaur.
You will have a whole family of dinosaurs in no time!
This collection of free patterns is free for personal use.
In this PDF, you will be able to print out patterns for several different baby dinosaurs: a brontosaurus, a stegosaurus, and a cute t-rex!
Below, you will find general directions for creating all of your dinosaurs. Then, you will find special notes for making each individual baby dinosaur!
Please note: Because there are buttons on these dinosaurs, they are not suitable for small children due to buttons being a choking hazard.
Lastly, if you enjoyed this plush pattern, please check out my other free patterns for soft toys on the blog!
Happy sewing!
Supply List:
- Small amount of fabric for each dinosaur
- Wool to fill the dinosaurs with
- 4 Buttons for each dinosaur
- A hand sewing needle and thread
- A sewing machine
- FREE printable pattern (get yours below!)
Print your Pattern!
To print your free PDF collection of baby dinosaur sewing patterns, have it sent directly to your email inbox below!
General Instructions for All Dinosaurs:
For these dinosaurs, we will cut out the pattern pieces AFTER we have first sewn them.
Lay out two layers of fabric, right sides together.
Take your dinosaur pattern, and trace out each of the pattern pieces onto your fabric.

Keep track of how many of each belly piece, body pieces, spike pieces, arms, and legs to make for each dinosaur!
You will also want to make a note on which edges to keep OPEN. They are marked on your pattern pieces!
Using your sewing machine, sew right on your traced lines through two layers of fabric (right side together).

Again — keep the dotted line portions OPEN!
AFTER you have sewn your pattern pieces, cut out your dinosaur pieces out, leaving a seam allowance (at least 1/4″) around your stitches.

Then, you can turn your pieces right sides out.
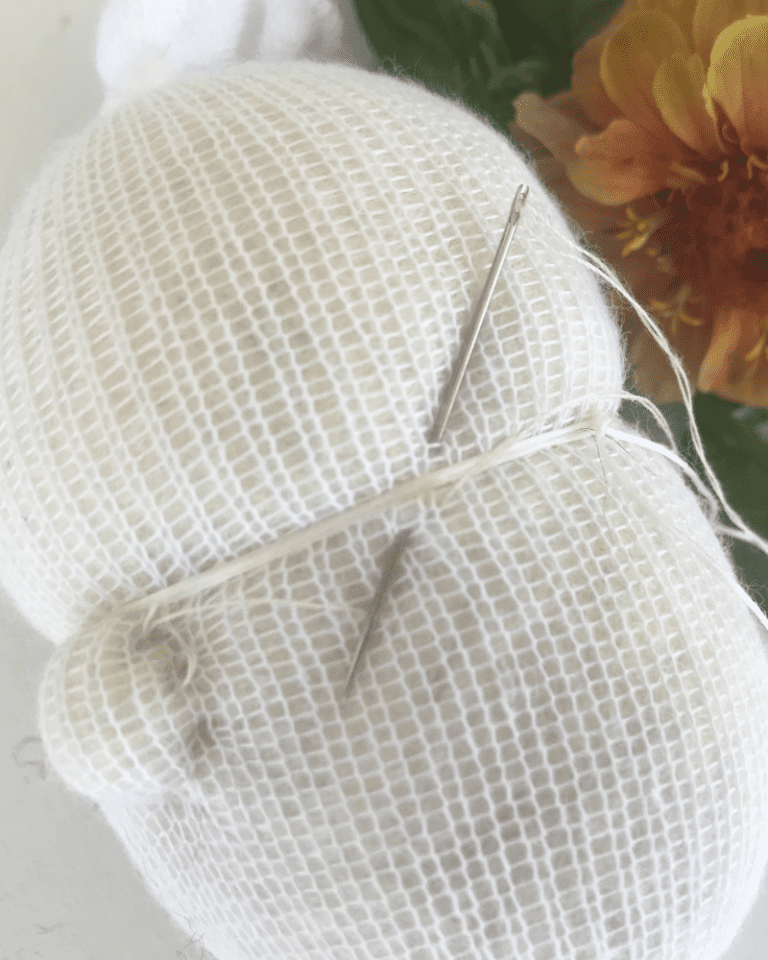
Stuff your dinosaurs with wool.
Stuff each body piece firmly with wool.

Stuff the arms and legs of your dinosaurs loosely with wool. Doing so enables you to be able to sew a button hole onto each arm/leg.
The T-Rex should have his body stuffed lightly and his legs stuffed tightly. This will help him be a little less top-heavy!
Fold in the raw open edges for each piece of your dinosaur, and sew closed.
Each dinosaur body has a nice generous “folding” section to make folding and hemming/closing up the raw edges easy! Fold the section left open completely so that this portion of the body shape becomes even with the rest of the body shape.

Sew buttons on the BODY of each dinosaur where you would like arms and legs to be attached.

Then, sew button HOLES on each leg/arm of your dinosaur.

Use the buttons and the button holes to attach the limbs to each of your dinosaurs.

Brontosaurus:
For the body pieces on the long neck/brontosaurus dinosaur, you will want to use a hand sewing needle to tie a knot at the top of the head. Stick the hand sewing needle sandwiched inside between your two layers of fabric, and use your needle to pull the dinosaur’s head right side out.
The rest of the tiny pieces should be able to be turned right side out with the assistance of an object such as a chopstick.
T-Rex:
If you want your T-Rex to have the ability to stand on his own, it’s important to stuff the legs firmly, and to stuff his body lightly.
Stuff the legs firmly enough to be stiff enough to hold up your dino, but not so stiff that a buttonhole is impossible to make at the top of the legs!
His body should be stuffed a bit looser. It’s very easy for a T-Rex to be top heavy!
Stegosaurus:
For the stegosaurus, You will want to attach the spines with a hand sewing needle.
Fold in the raw edges, and sew the open portion of each spine to the center of your stegosaurus’s back — closing each spine as you go.

They look so cute and I can’t wait to make for my Great Granddaughter 🙂
Thank you for your kindness, Jean!
Have a wonderful time making them for your great granddaughter! What a beautiful legacy you have!
Warmest wishes,
Emeline