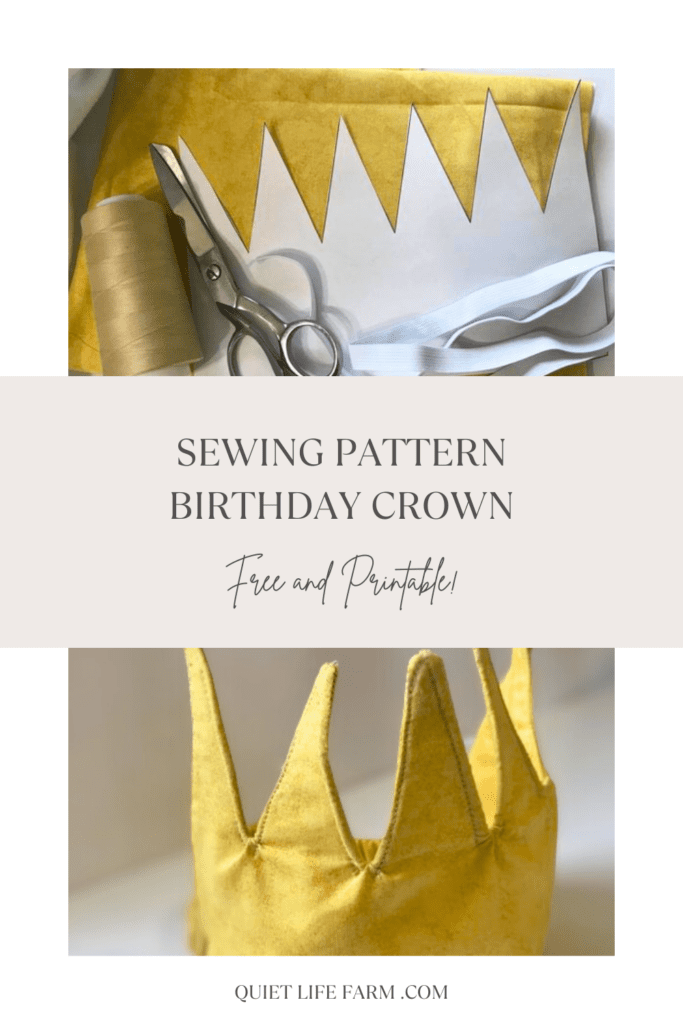
Crown Sewing Pattern Free
This pattern creates a crown your child is sure to love! Perfect for Waldorf-style birthdays, it’s sure to be reused year after year!
This crown is perfect for your little one’s birthday, costume, or day to day dress up!
I love homemade reusable birthday supplies!
They add a special handmade touch that will make your child feel extra loved, are easy on the bank, and give your trashcan a break!
So, follow along if you want to know how to make a fabric crown for your child, or for anyone!
Disclaimer: As an Amazon Associate, I earn from qualifying purchases at no extra cost to you. Thanks for your support!
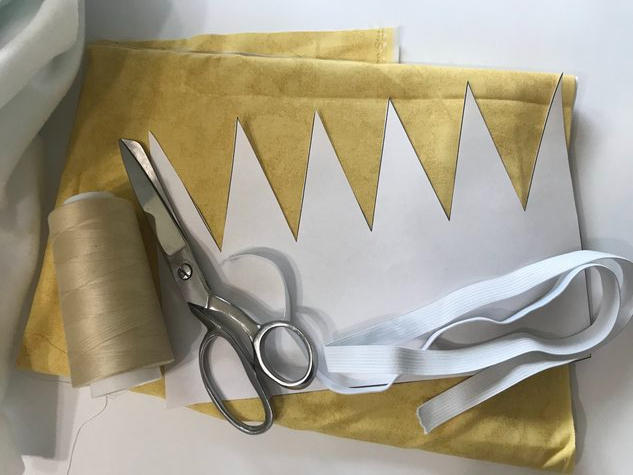
Supplies Needed:
- Cotton fabric in color of your choice (I chose gold)
- Batting, felt, or flannel for the middle layer to help keep the crown “stiff”
- Needle and thread/sewing machine
- Either ribbons for tying the crown on, or 1/2″ elastic for the back
- Safety pins (you only need 2, but here’s my link in case you have the urge to buy 1,000 of them)
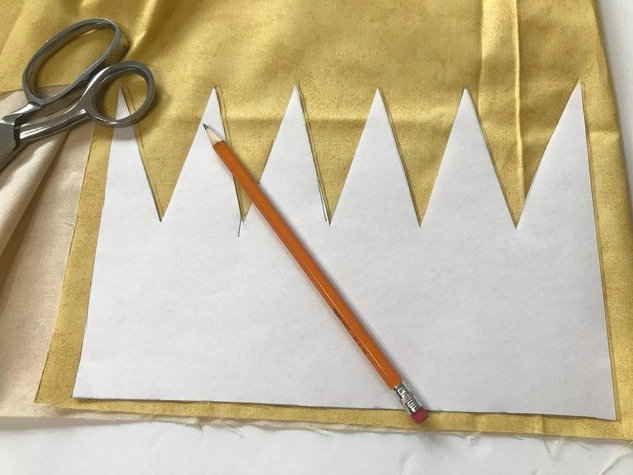
Step One: Print your crown pattern, cut out pieces
Firstly, you’ll need to print out your pattern.
You can do that for free HERE! Your pattern will be sent right to your email inbox.
You can also just draw up your own pattern if you’d prefer!

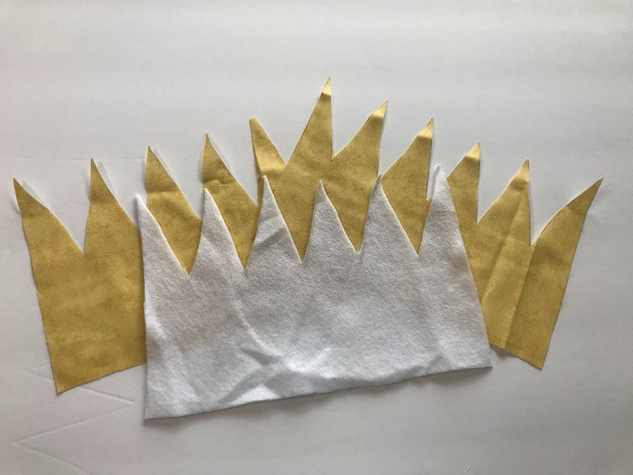
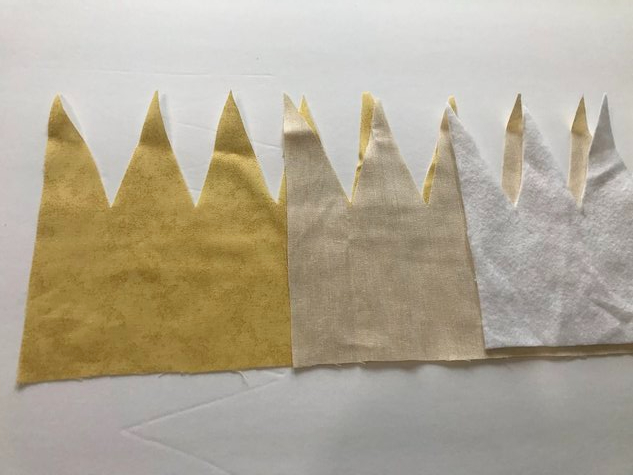
Cut out two layers of your pretty cotton fabric.
Then, cut out one layer of the “stiff” fabric — quilting batting, felt, thick flannel… whatever you have on hand!
The stiff middle layer just helps your crown stay nice and pointy.
Use a washable fabric marker or chalk pencil to trace your pattern onto your fabric.
Or, if you don’t mind potentially seeing a little pencil mark left behind, just use a regular pencil to trace it all out.
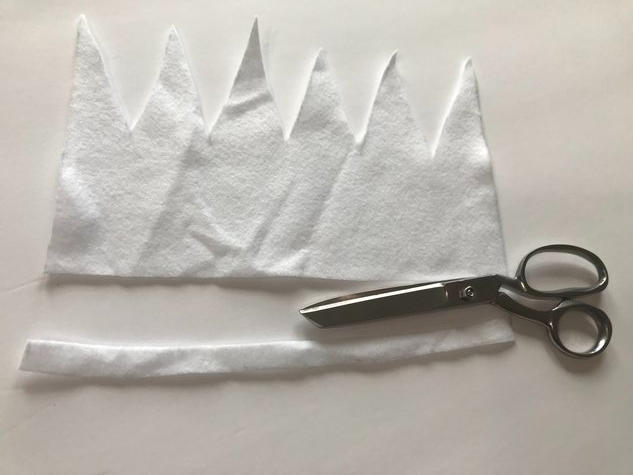
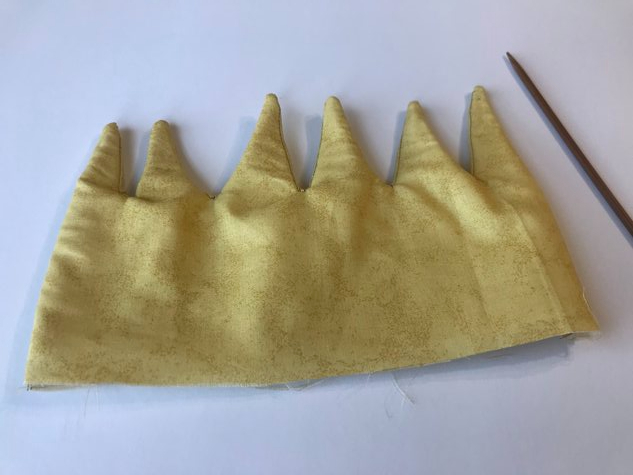
After you cut out your center “stiff” piece, cut off about 1/2″ off of the straight, flat bottom.
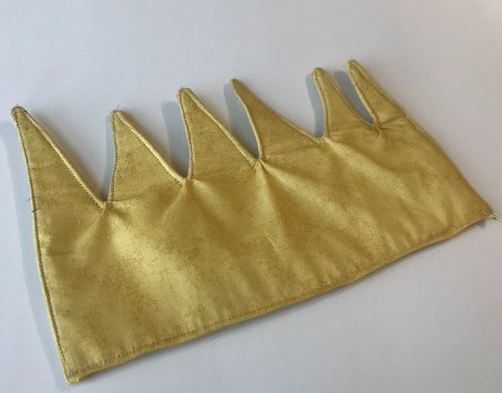
Step Two: Sew your crown layers together
Next, you’ll want to sew the three layers of your crown.
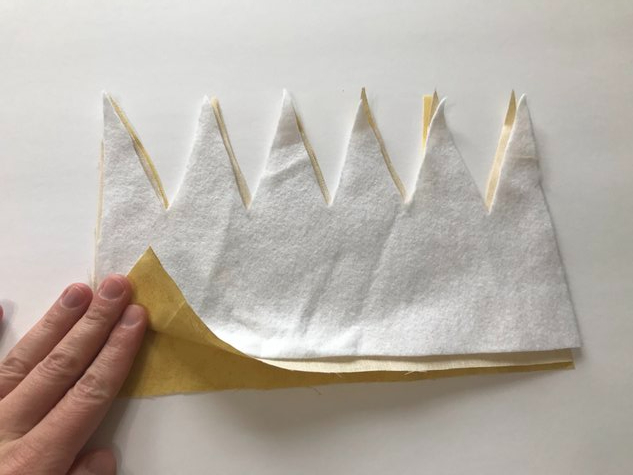
Put the right sides of each fabric piece together, then put your felt piece on top.
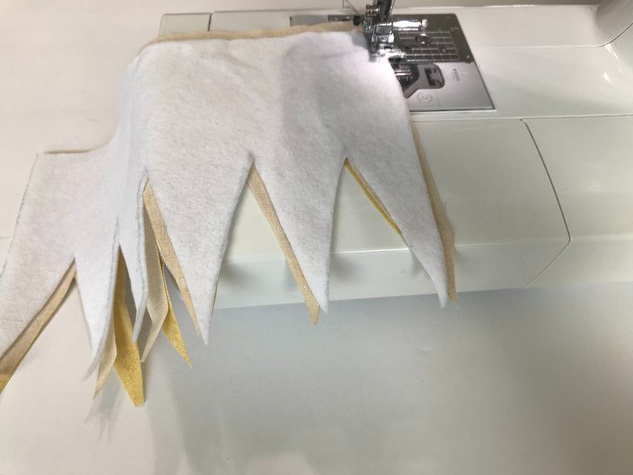
Sew around all the edges, leaving the bottom open.
You might want to sew around your edges two or three times, to make sure your stitches aren’t too close to the edge!
If you’re stitches are too close to the edge, it will leave holes in the edges of your fabric when you turn your crown right side out.
So, maintain a balance of sewing close to the edge, but not TOO close to the edge. 🙂
Stop for a moment at this part and take the time to trim off any excess from your edges.
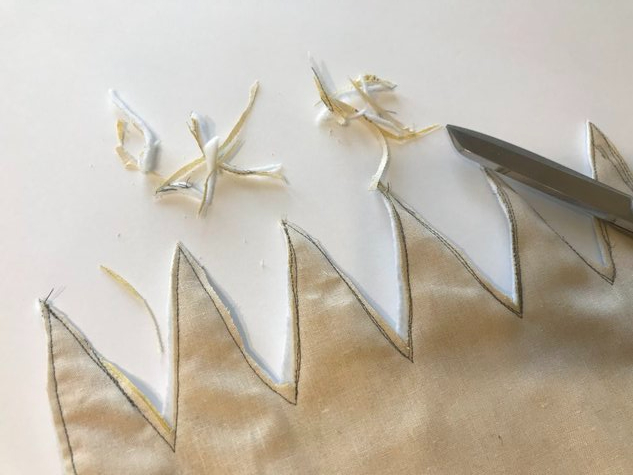
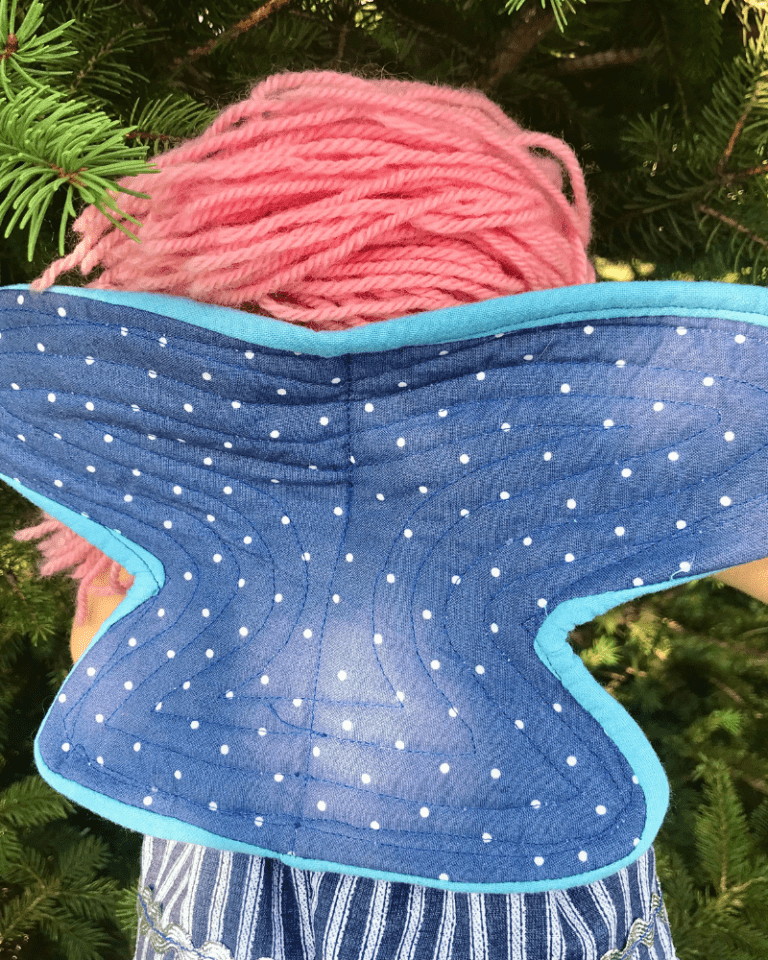
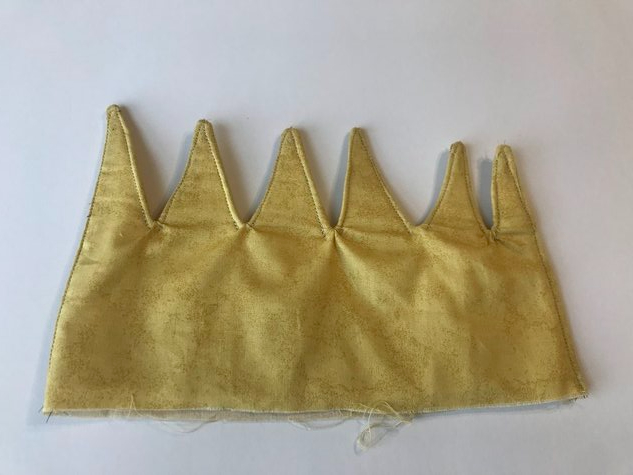
Next, turn everything right side out.
Your cotton layers of fabric will be “right side out” on the front and on the back, with the felt layer in the middle.
It’s helpful to (carefully!) use a chopstick or knitting needle to help poke out the corners.

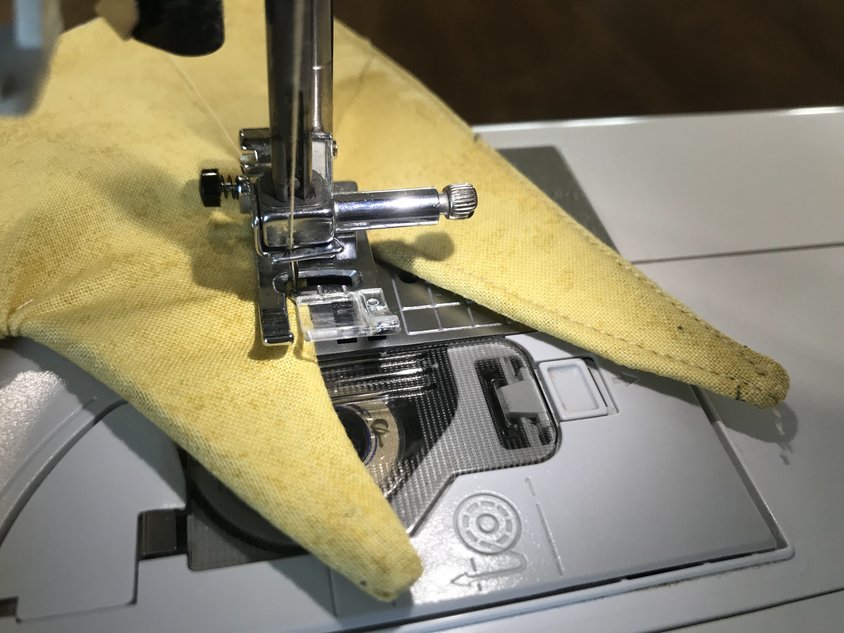
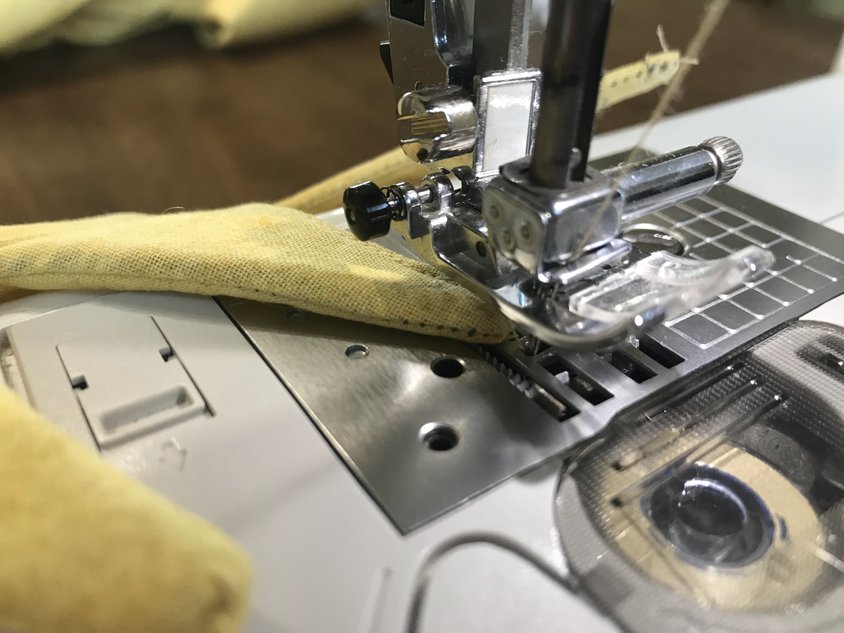
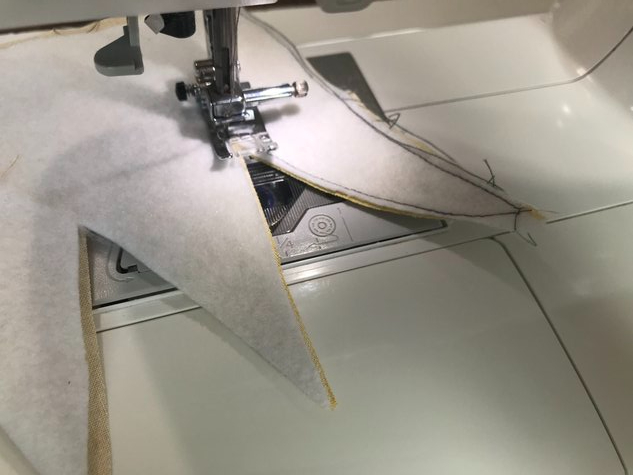
Sew around your edges again, still leaving your bottom edge open.
I found the best way to sew around the edge this time was to start at the bottom of each point, and sew until you come off the very pointiest part of the point.
Once you sew around all your sides and points, hem the edge of the bottom of the crown, and sew it shut.
Step 3: Sew your ties or elastic onto the crown
Lastly, you’ll want to make sure the crown can actually be secured to a child’s head!
There are two ways to go about this: ribbons or elastic.
With ribbons, the size is basically infinitely adjustable.
However, a parent will likely have to be the one to tie the crown on the child’s head.
Depending on the type of ribbon you choose, using ribbon may also cause the crown to easily slip off.
I opted for elastic for my crown.
Side note, I love to buy my elastic in bulk. It’s only a couple dollars more than what you’d pay for a tiny roll, but it lasts you forever and ever and ever (and ever).
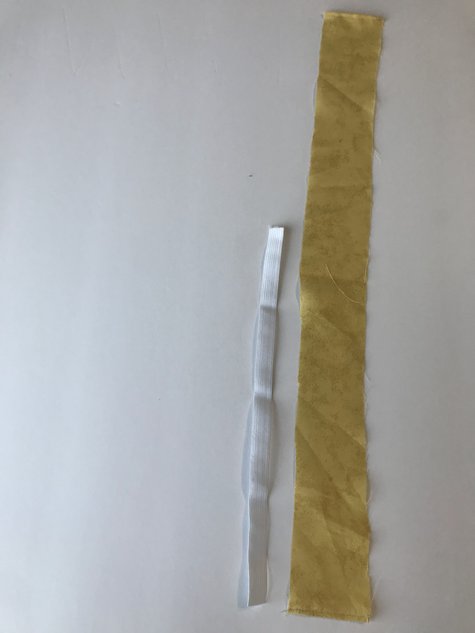
Anyway, to use elastic, take some 1/2″ elastic and measure it (with the crown! otherwise your elastic will be too long!) to your child’s head.
Cut to your desired length.
Then, take your fabric and cut a long strip of fabric that’s roughly 1 1/2″ wide. You’ll want the fabric to be roughly twice as long as your elastic piece.
Hem each shot end of your long strip of fabric.
Then, fold the right sides together of your long strip of fabric, and sew with a 1/4″ seam allowance.
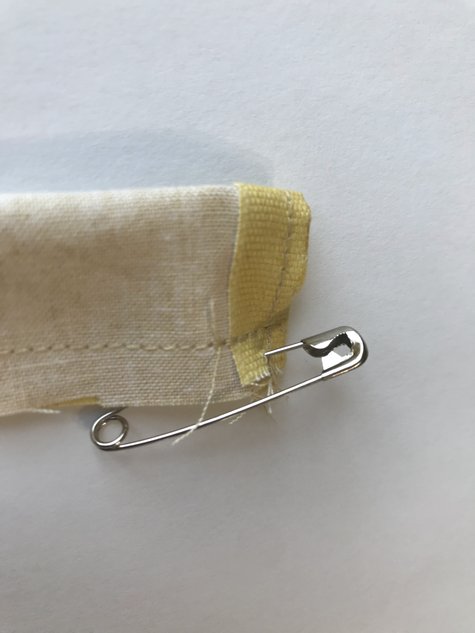
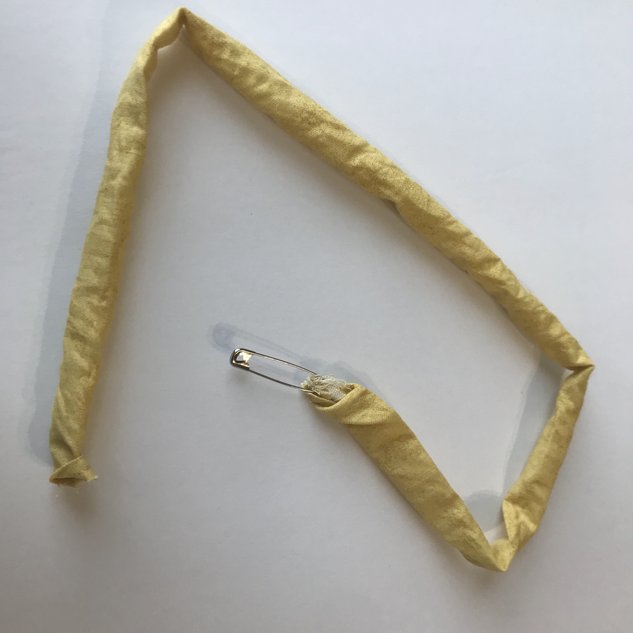
Attach a safety pin to one end of your strip of fabric.
Stick the safety pin inside your “fabric tunnel”, and inch the safety pin through until it comes out the other end.
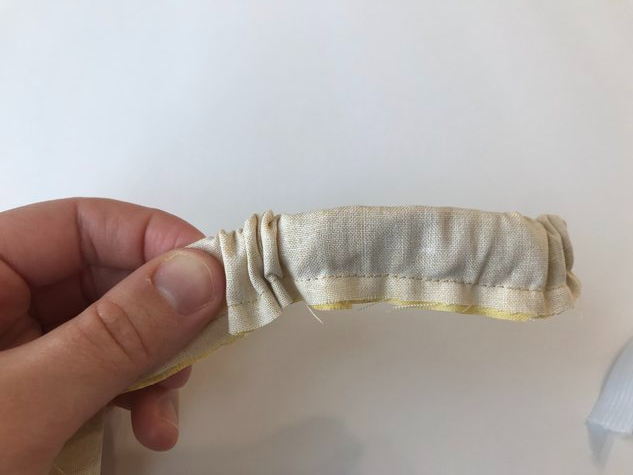
From here, pull your fabric right side out.
Next, attach a safety pin to one end of your elastic. On the other end, use a safety pin to connect the elastic to the edge of your fabric strip.
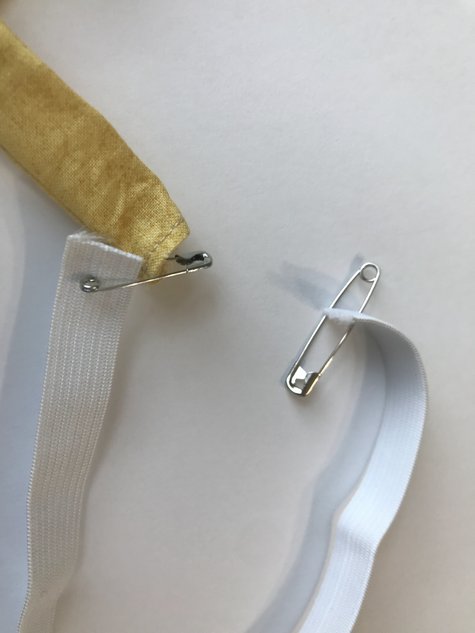
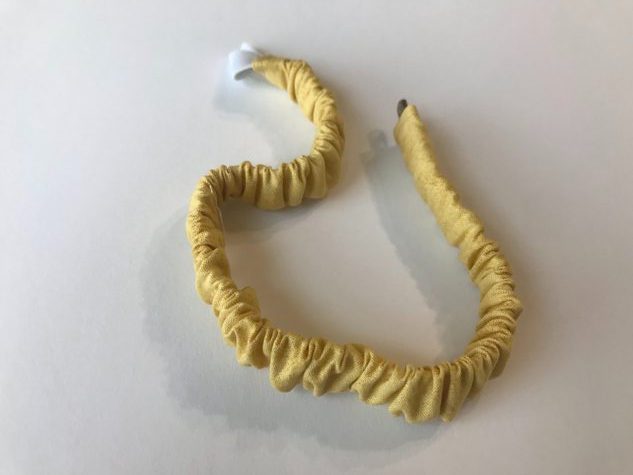

Using your safety pin, draw the elastic through your fabric.
Sew both ends of the elastic to the edges of your fabric strip so that they do not come back out.
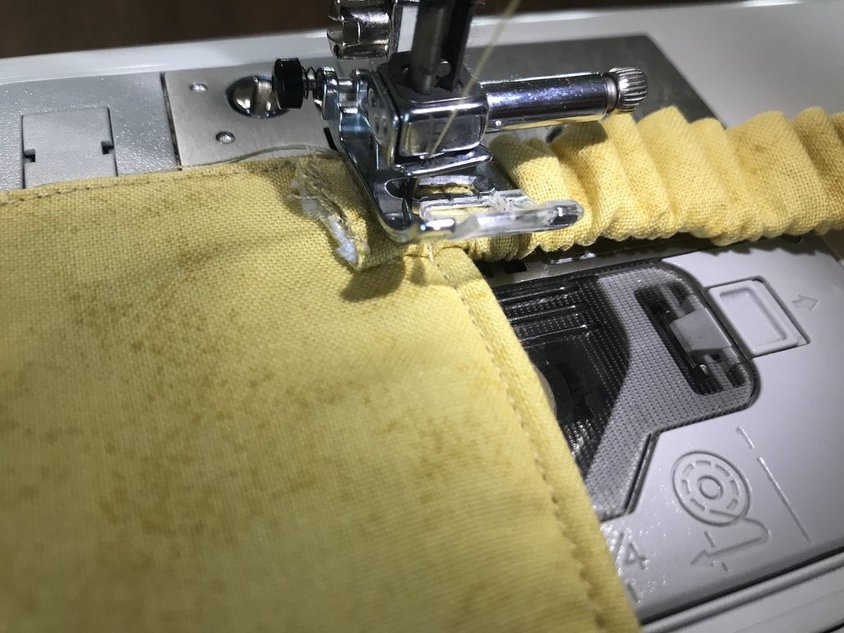
The, sew your stretchy headband piece you’ve just created to your crown!
There, all done!
If you’re making this crown for someone’s birthday, perhaps you’d be interested in making a reusable birthday banner, too!