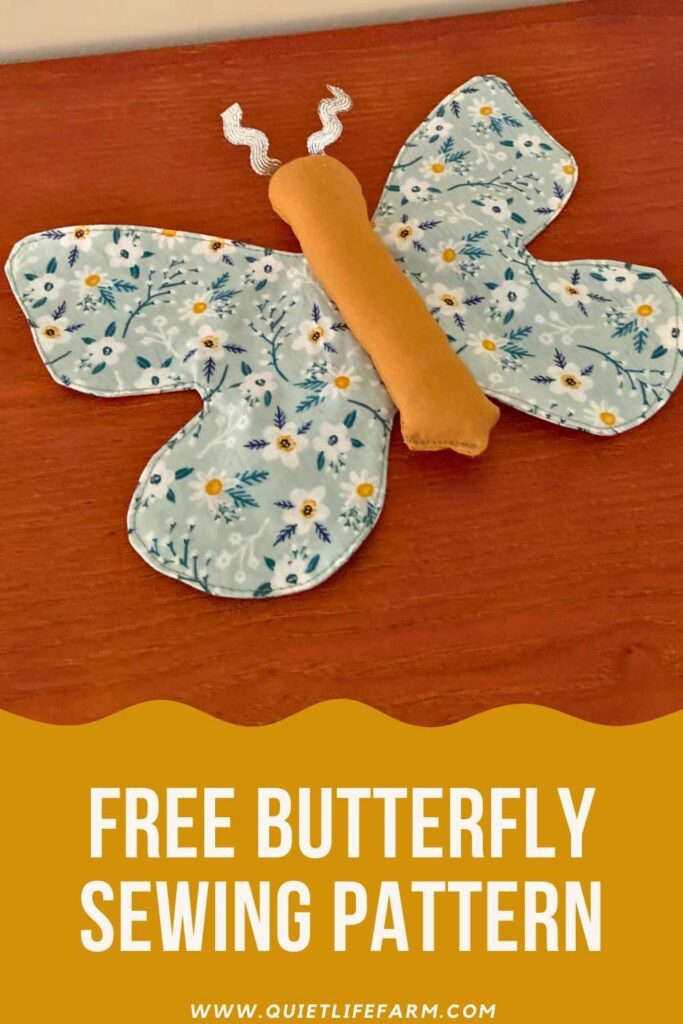
Free Butterfly Sewing Pattern! DIY Fabric Butterflies
Here’s a free PDF pattern for a fabric butterfly! Grab your scraps of fabric and make your own fabric butterflies!
Looking for a creative way to use up some scrap fabric?
This very quick and very easy sewing project will turn your fabric scraps into beautiful fabric butterflies!
This is a free sewing pattern for personal use.
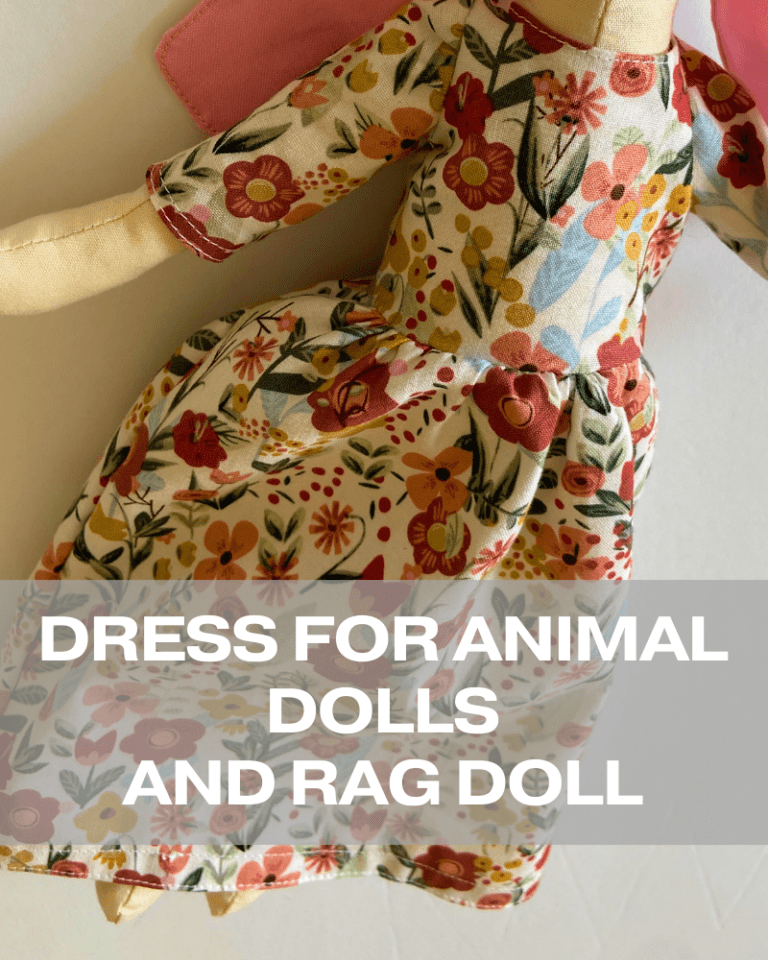
Use these butterflies for home decor or gift it as a unique child’s toy!
This is an easy project and is suitable for beginners.
Print out the PDF file below, grab your sewing machine, and let’s get started!
Happy sewing!
Supply List:
To make this butterfly, you will need:
- Scrap fabric (woven preferred, but knit fabrics/stretch fabric will work if you use a zig zag stitch!)
- Wool to stuff the body with
- Ribbon for antennas (optional)
- Sewing machine
- Scissors
- Hand sewing needle/thread
- Pencil for tracing your paper pattern onto fabric
- Free pattern (print below!)
Print Your Pattern!
Your first step to creating a fabric butterfly is to print out your butterfly pattern!
Enter your email address below, and the pattern will be sent right to your email inbox!
Then, cut out your paper pattern.
Below, on the blog, you will find step-by-step instructions for how to make your butterfly!
Butterfly Body
First, let’s make the center body of the butterfly.
Trace your body piece onto your fabric and cut out two pieces.

Lay your body pieces right sides together and sew around the body using a 1/4″ seam allowance.
Leave a small portion open so that you can turn the body pieces right side out.
Turn the body piece side out and fill it with wool.
Fold in the raw edges, and sew the remaining open portion closed.
If you sew the opening closed by hand and using a whip stitch, it will be much less noticeable than sewing it closed with a sewing machine.

Butterfly Wings
Now, we’ll make the wings for your butterfly.
Take out your wing pattern piece.
Fold your fabric in half, and place your wing piece on the fold.

Cut out your wing on the fold. Doing so will give you your second wing.
Repeat this process of cutting out the wing on the fold a second time.
Now you will have two double-wing pieces of fabric.

Lay these two wing pieces right sides together.
Sew all the way around your wings with a 1/4″ seam allowance.
Do not leave any open sections on your wings — just sew all the way around!
Next, use your fingers to pinch ONE layer of fabric in the center of the wings.
Cut a little vertical slit in the center of the fabric — just large enough to turn your wings right side out.

Turn your wings right side out through the little hole you have just cut in the center of your wings.
Iron the wings flat.
Then, top stitch all the way around the wings, right at the very edge.
This will help keep your wings flat.

When top stitching, I like to adjust my stitch length to be slightly longer — 3.5 on my sewing machine.
Top stitching with a slightly longer stitch length will make your top stitches look a bit more straight.
Attach the Body to the Wings
The last step to your fabric butterfly is to attach the body piece to the wings.
Lay the body of the butterfly over the hole in the wings you used to turn the wings right side out.
Attaching the body over the hole will completely cover the hole up, making the hole disappear.
Use a hand sewing needle to attach the body to the wings through the back of the butterfly. (see picture)

Use tiny stitches for each stitch going into the back of your butterfly so that your stitches are not very noticable.
You may use larger stitches coming back up out from your butterfly’s body. Only your “in” stitches need to be very tiny.
Make 2 rows of stitches into the back of the butterfly. This will help keep the wings extra secure.
You may also create some antennas on your butterfly by hand sewing some ribbon to the top of the head.

Other Free Patterns!
Please be sure to check out my other free patterns on the blog!
I love giving away free sewing patterns — if you’re looking for another simple project, please do check them out!