Waldorf Baby Doll: Attaching Hair and Adding Details
Part 3 of our waldorf baby doll tutorial, in this post we will be covering how to attach beautiful hair to your doll, and adding details from embroidered eyes down to a little round bum!

And — Part 4 can be found HERE!
Today, we will be working on part THREE of this tutorial! Nearly at the end now!
Disclaimer: As an Amazon Associate, I earn from qualifying purchases.
In Part 3 of our Waldorf Baby Doll, we will cover:
- Embroidering the eyes and face
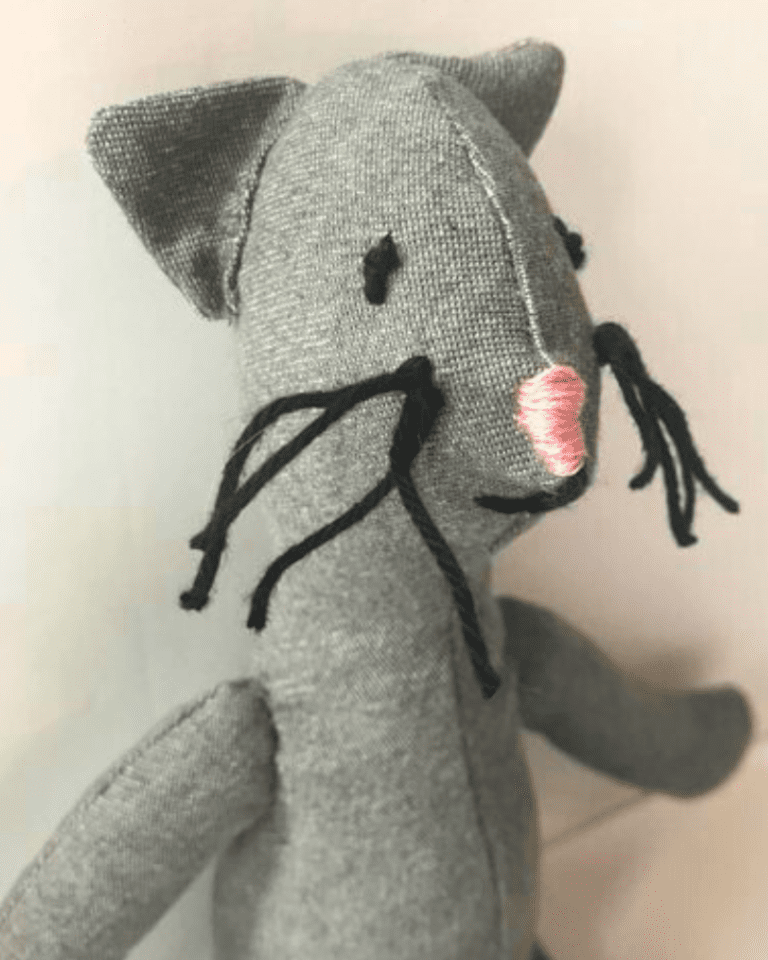
- Adding ears
- Embroidering a belly button and bum
- Adding dimples to the arms and legs
- Crocheting a cap for the hair
- Attaching the hair
Let’s jump right in!
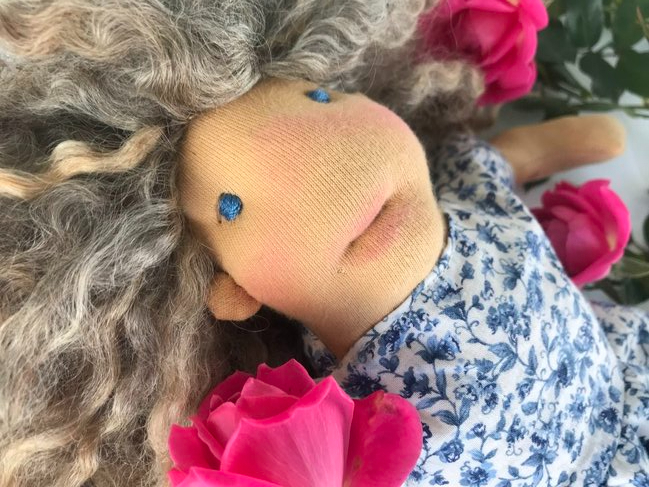
Embroider your Waldorf Baby Doll’s face
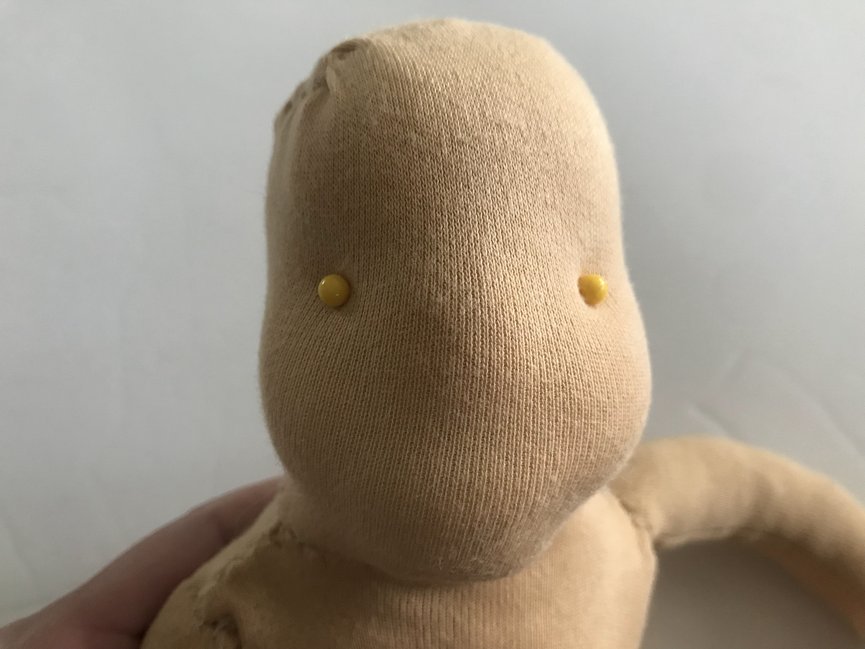
Let’s start with the eyes.
Use some straight pins to decide the placement of the eyes.
Take your time with this part! Doll eyes make or break a doll!
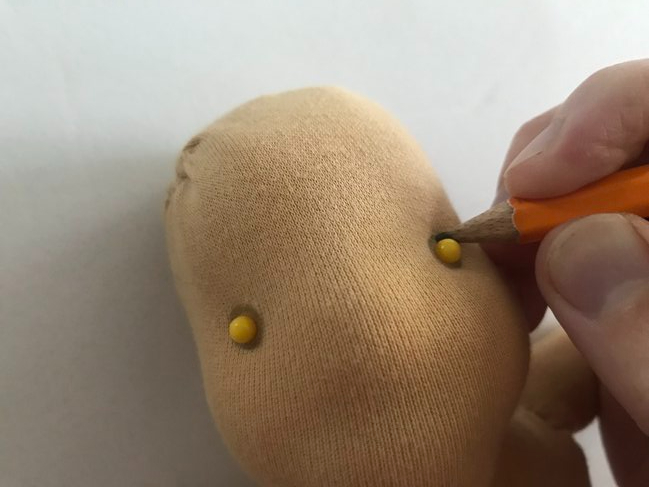
Use a pencil to trace circles around the pins.
Remove the pins.
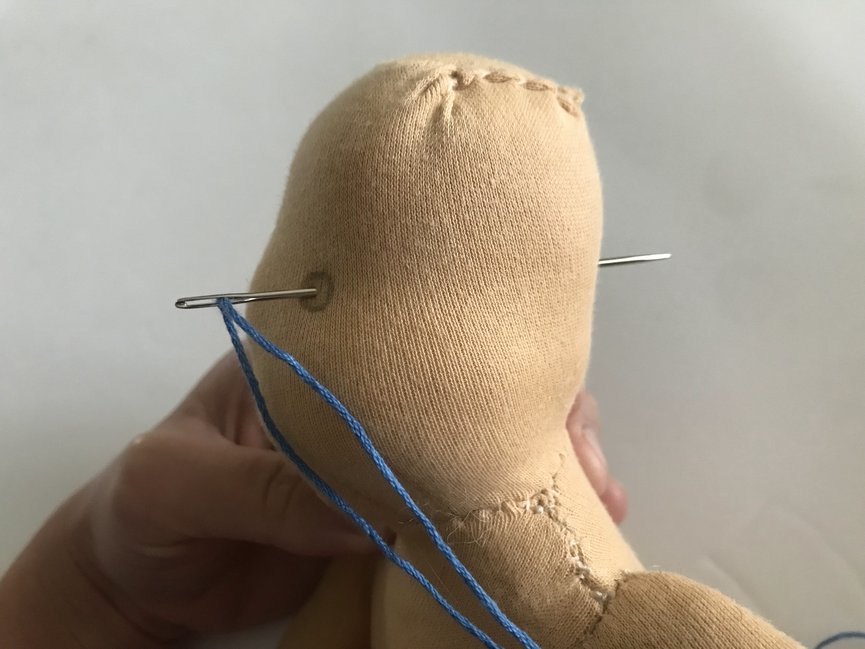
You’ll want a long and strong dollmaking needle for this part!
Thread your doll making needle with embroidery thread (obviously, use the color you want the eye to be).
Pull a thread a few inches long out through the back of the head.
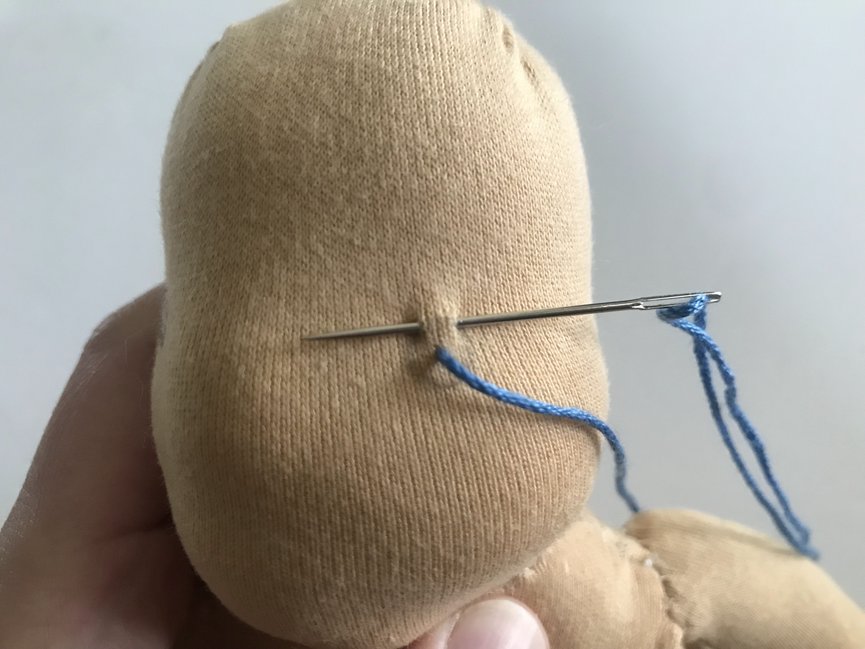
Rethread a smaller embroidery or tapestry needle (just use something thinner than the doll making needle — otherwise you’ll poke big old unsightly holes into your doll’s face) using the other end of the embroidery thread.
Using the pencil marking as a guideline, start from the top of the eye and go down to the bottom.
Make sure the eye is wide enough in the center, otherwise I personally feel like your doll ends up looking a wee bit surprised. You might have to go slightly outside the pencil line in the middle of the eye to achieve this.

Take off your thinner needle you’ve been using to embroider the eye.
Rethread the embroidery thread back into your big thick doll jumbo doll making needle.
Poke through the bottom of the eye, and pull your embroidery thread through the back of the head.
You want to pull through your other end CLOSE to the first thread of embroidery floss, but not through the exact same hole.
Tie a nice tight knot at the back of the head.
A nice tight knot will pull the eye back into the head a little bit, which gives a nice dynamic look to the face.
Weave in your ends.
Repeat for a second eye.
Again, don’t worry about the back of the head being ugly. It’ll be covered by hair.
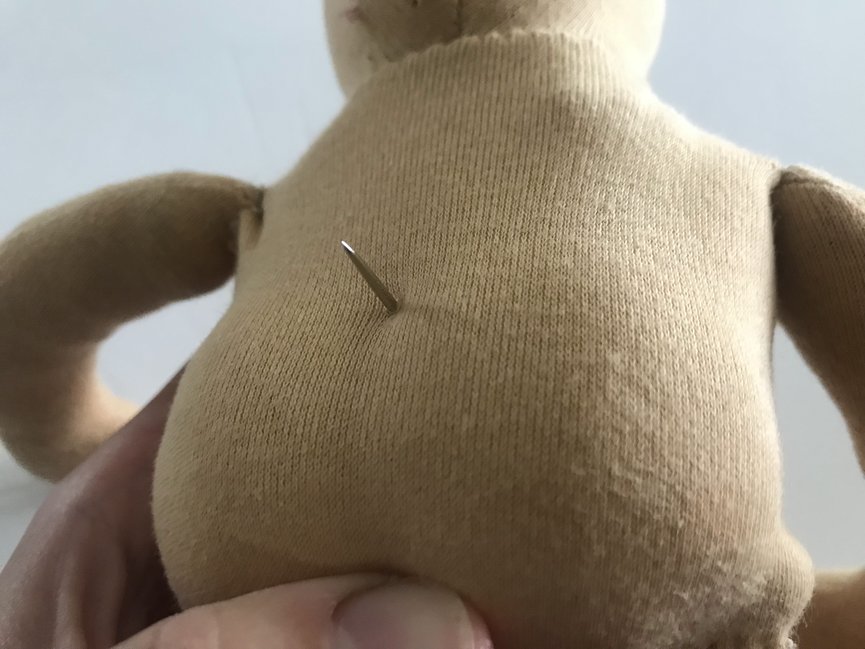
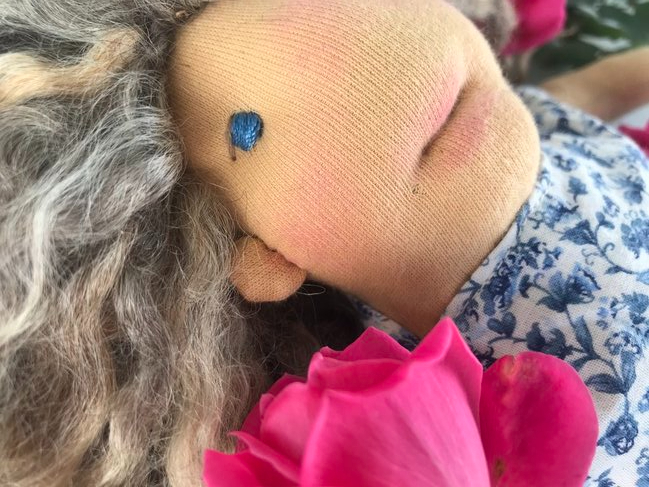
Above: Back of the waldorf doll’s head
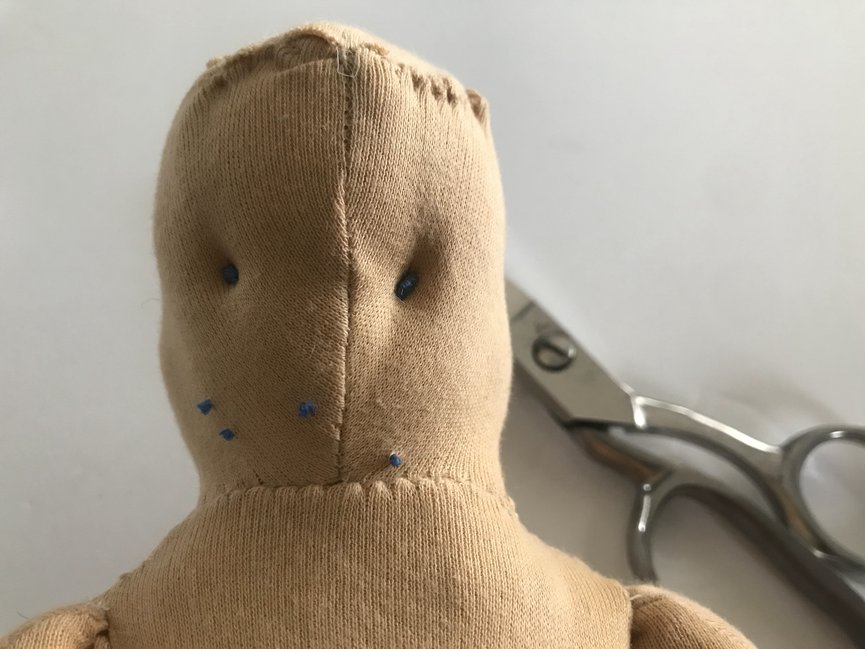
Embroidering the eyelids and lips
To embroider some eyelids onto your doll, choose an eyelid color of emboidery floss (I chose a brown) and thread your giant doll making needle.

Stick your needle into the top inner corner of the eye.

Like before, poke through to the back of the head.
Use your other end of embroidery floss to “draw” a line for the eyelid, pulling the thread to the back of the head.
Tie a knot, not so terribly tightly this time (your eye is already positioned into the head as it should be!), and weave in your ends.
Using embroidery thread (I used pink this time), make a small line in between your felted lips.
Use the same technique as mentioned above.
Make a nice tight knot to pull the mouth back and make the mouth indented.
Weave in all your ends!
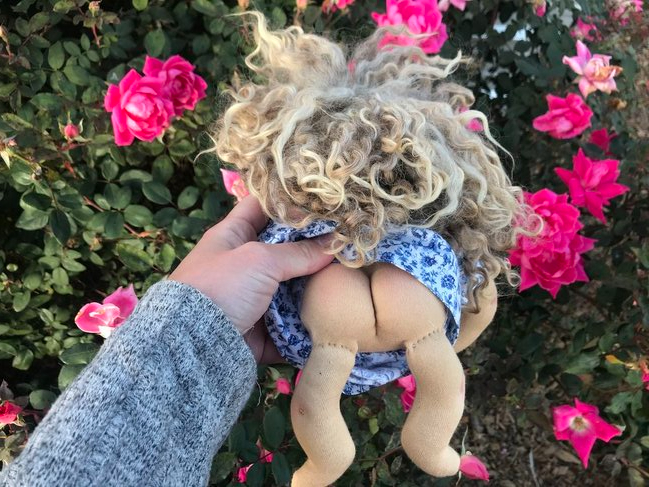
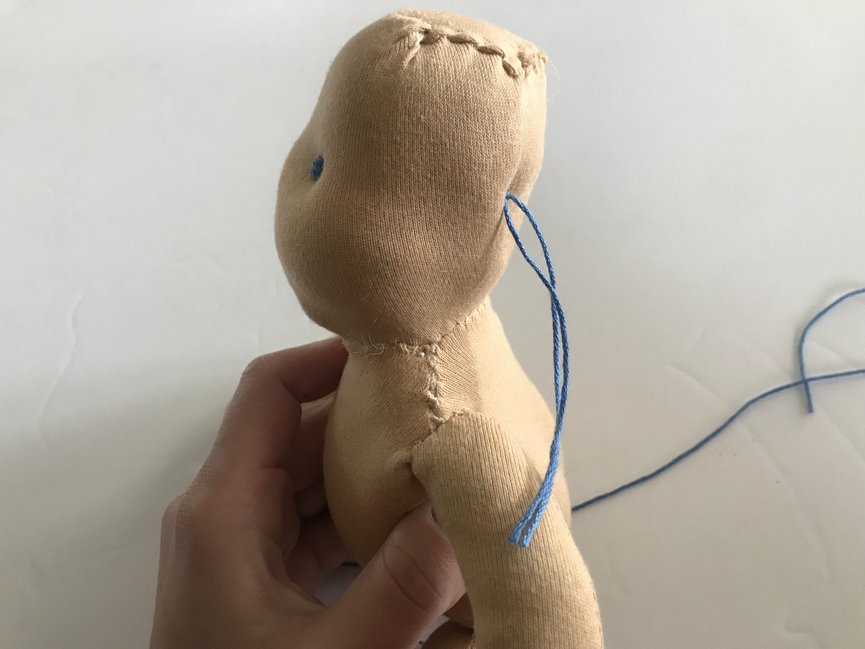
Embroidering BODY features on waldorf baby doll
Now we’ll move onto the torso, arms, and legs.
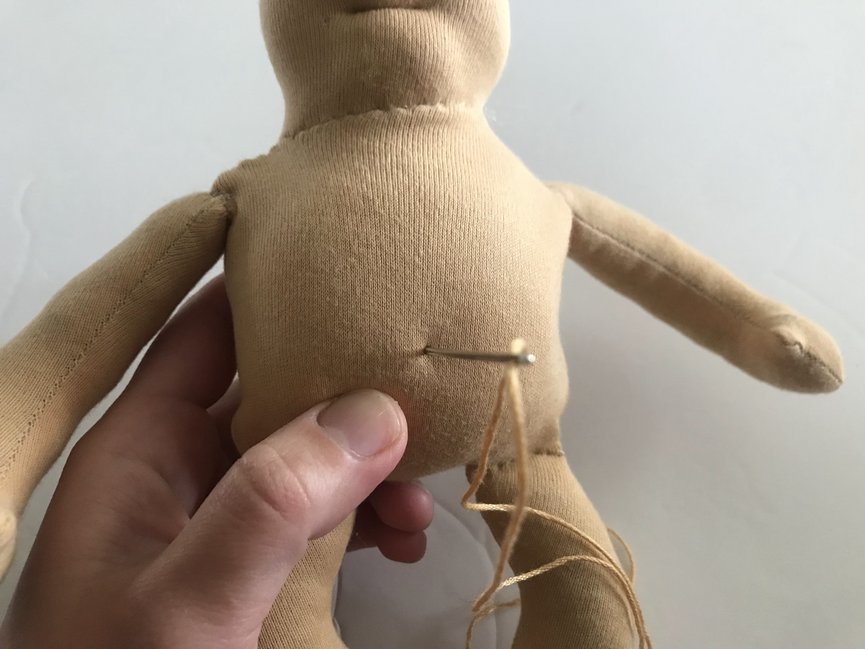
First, in the middle of the belly, use your big doll making needle and embroidery floss and stick all the way out to the other side, coming out at the top off the butt.
Un thread your needle.
Using the same dollmaking needle, rethread the needle using the thread coming out the front of the belly button, and go back towards the top of the bum, going in and out next to your initial holes, but not exactly through them.
Tie a tight knot in the back, pulling to make a nice belly button indent.
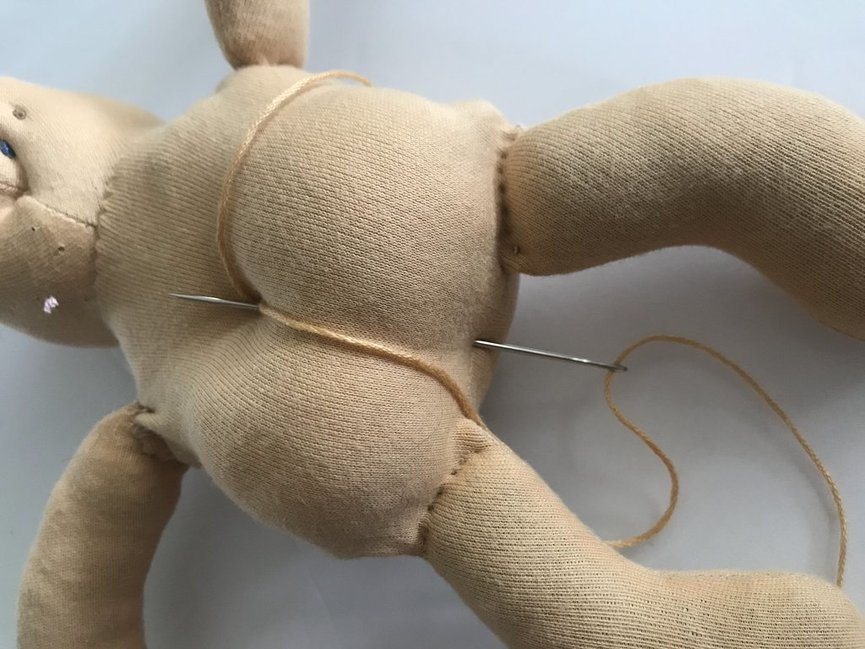
As seen in the picture above, thread up through the bottom of the butt coming out the same spot where the knot is.
Tie another nice tight knot, and weave in your ends.
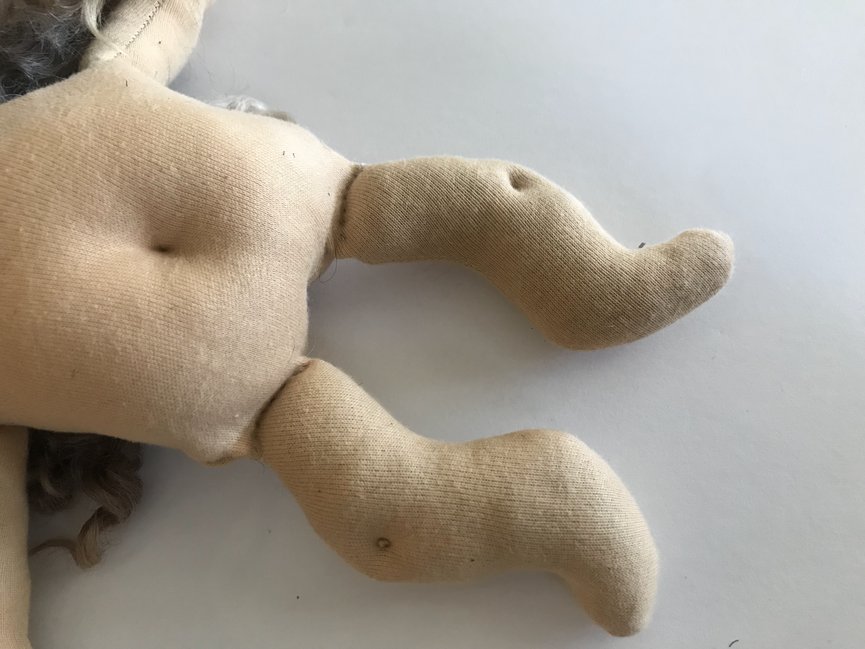
Next we will be creating little dimples on the knees and elbows.
The arms and legs are made the same way.
Make your first stitch into your arm limb, right at where an elbow or a knee would be.
Make a stitch back the other way, making your holes right next to your initial holes, but not in them.
Tie a nice tight knot to create a dimple.
You may line up your arms/legs to make sure the dimples are even on each limb.
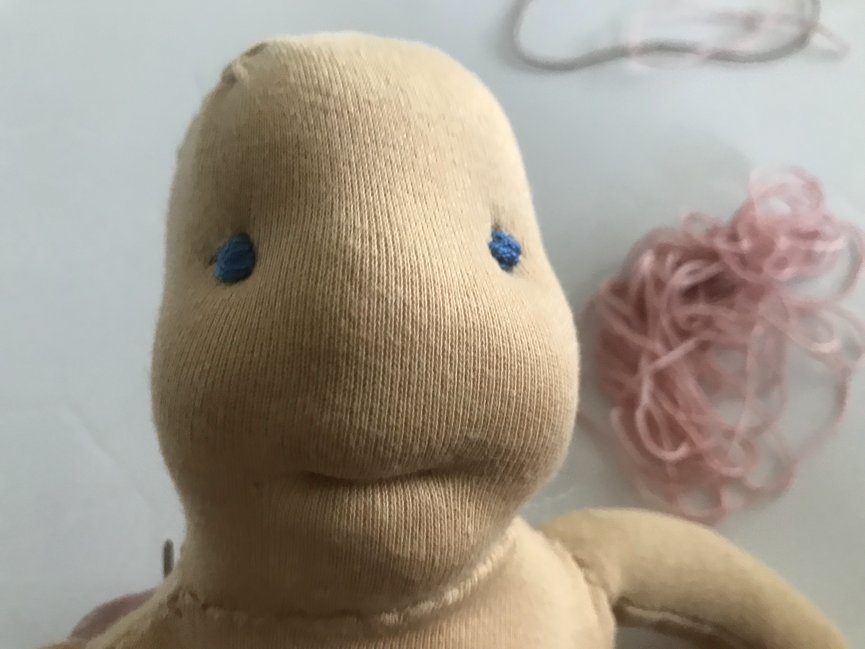
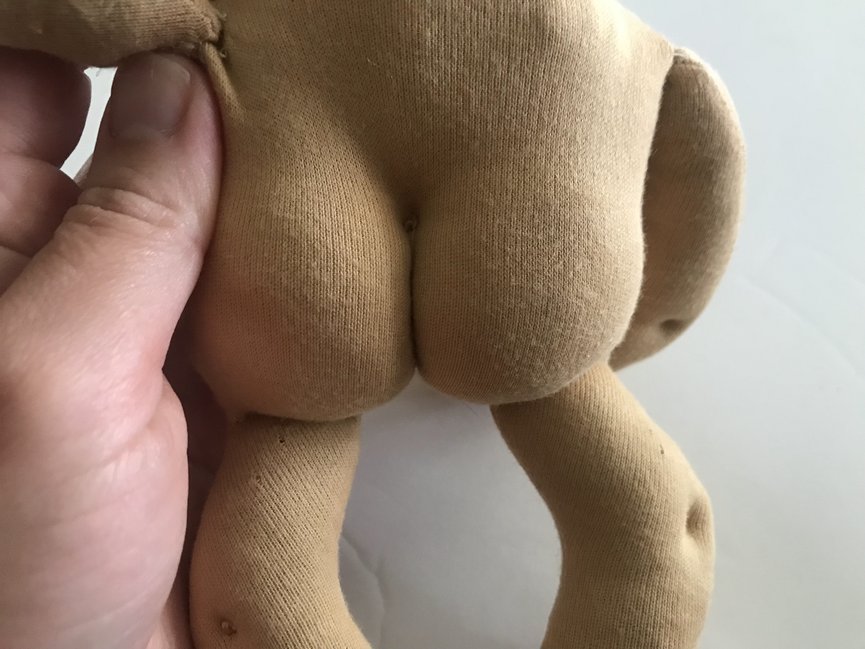
At this point, I like to blush my doll using a red crayon.
Apply blush to the cheeks, lips, knees, elbows, bum, and belly button.
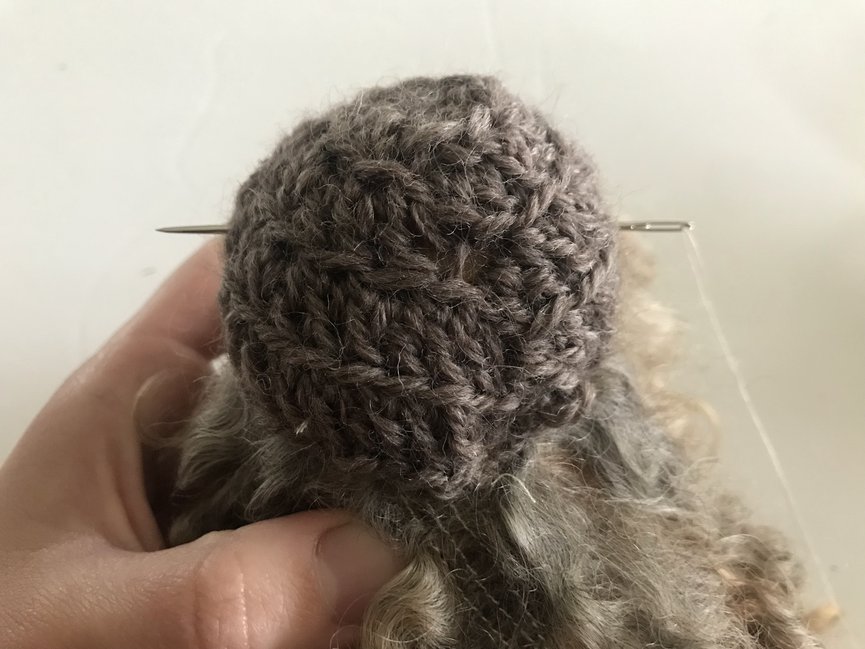
Crochet cap for waldorf baby doll HAIR
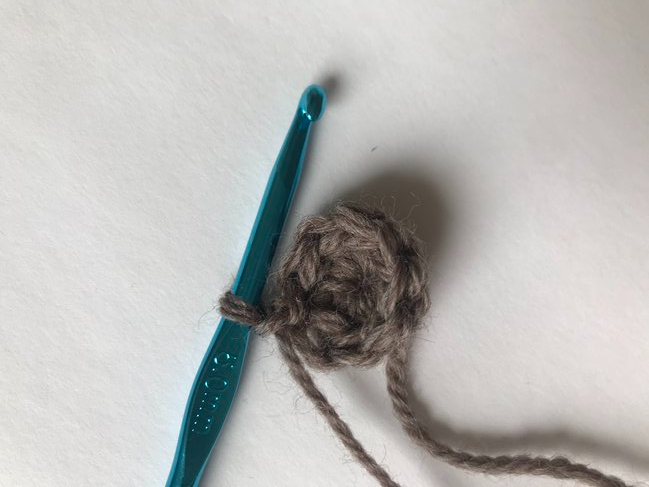
Next we need to create a cap to sew the hair onto our doll.
We will crochet one using worsted weight yarn that somewhat matches our doll hair color.
Using a 5 mm crochet hook, chain 3 and slip to join. Chain 1.
Slip to join and chain 1 at the beginning of each round.
Round 1: 8 DC into center of the circle you’ve created with your 3 chains. Place stitch marker into first stitch and move stitch marker with each new round.
Round 2: 2 DC into every stitch.
Round 3: (2 DC into first stitch, 1 DC into the next stitch) repeat around.
Round 4: (2 DC into first stitch, 1 DC into each of the next two stitches) repeat around.
Break yarn and weave in ends.
Above photo: This side should be UP with your cap.
Attaching HAIR to your waldorf baby doll
Now we will use your crochet cap to attach hair to your doll!
Place the cap on your doll’s head.
Starting at the center BACK of the head, begin pinning your doll’s hair UNDER the crochet cap.
With a sharp needle and thread, sew through the crochet cap – hair – head all away around the doll.
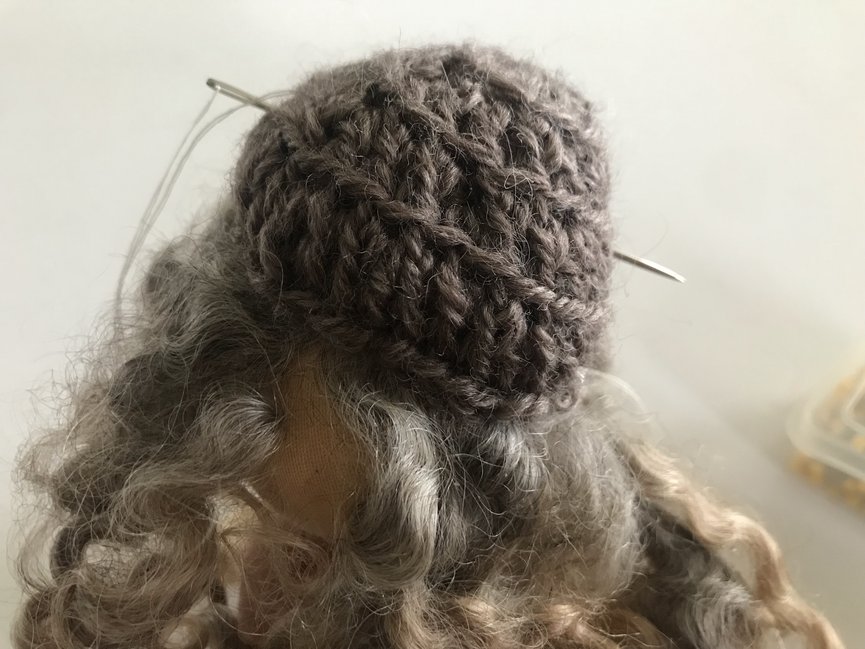
Remove the pins.
At this point, I like to stop and use my big doll making needle and thread and sew the rest of the cap firmly to the head. It makes sewing the rest of the weft go much more smoothly.
Continue going around in circles sewing on the hair, working towards the top center of the head.
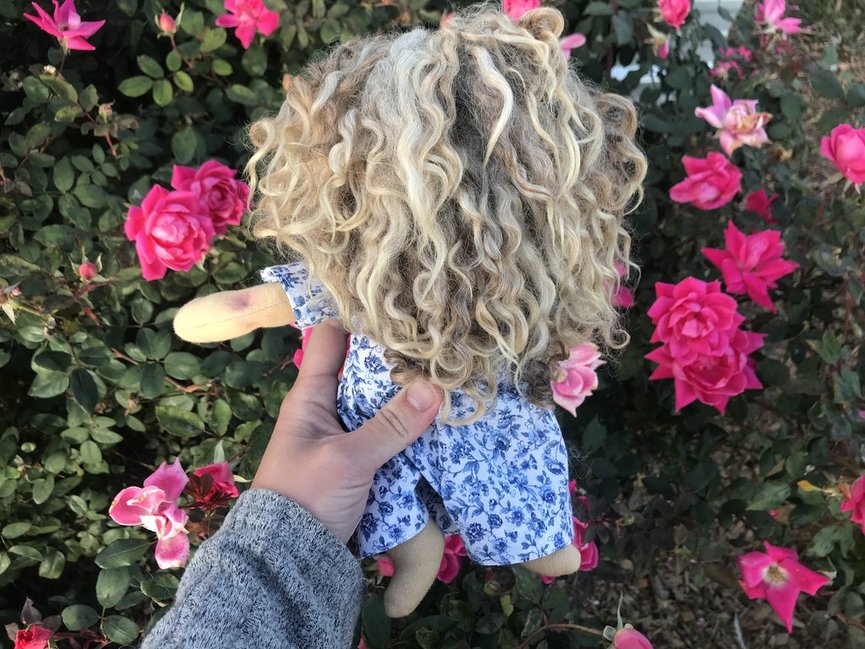
Above photo: Finished hair on doll
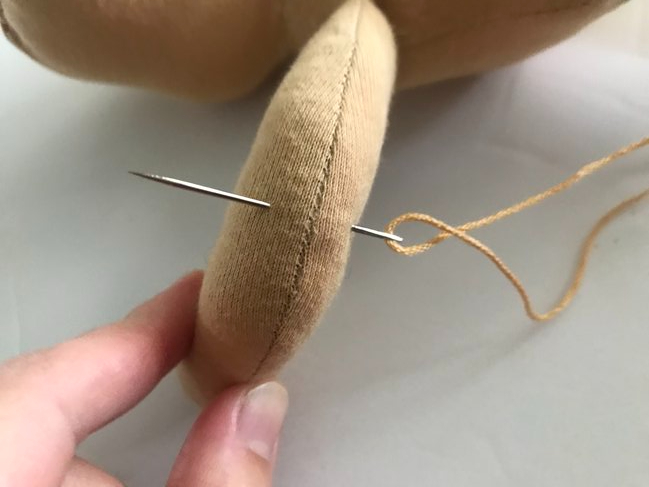
One last step: EARS for your doll
Once the hair is attached, it’s time to attach the ears.
You may opt to skip the ears if giving this doll to a young child.
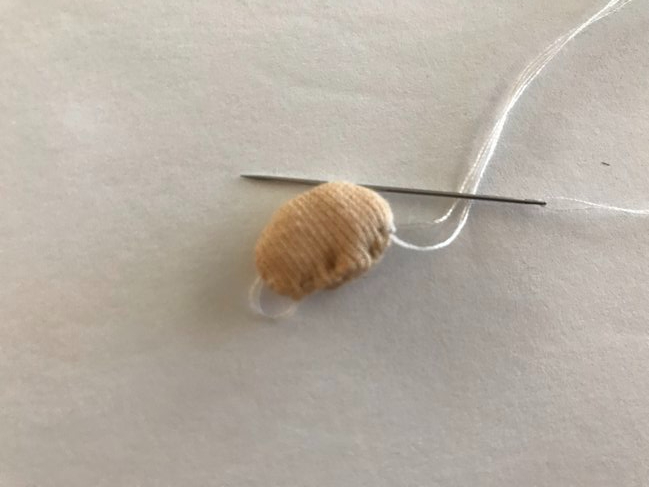
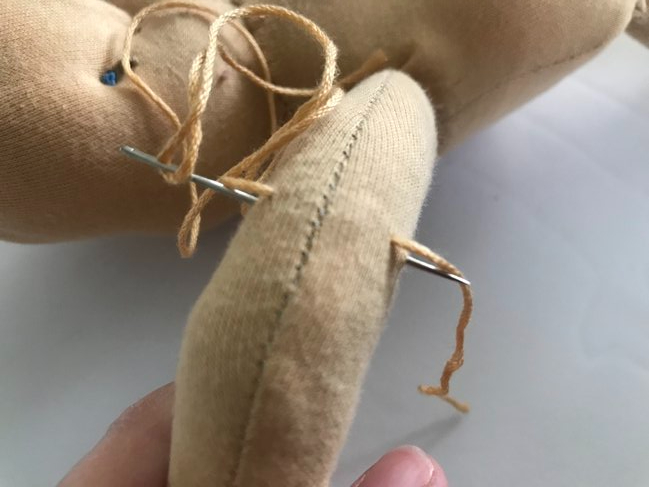
Turn your ear right side out.
Fold in your raw edges, and stitch close to the edge.
No need to stuff your ear! The extra fabric on the edges will serve as stuffing.
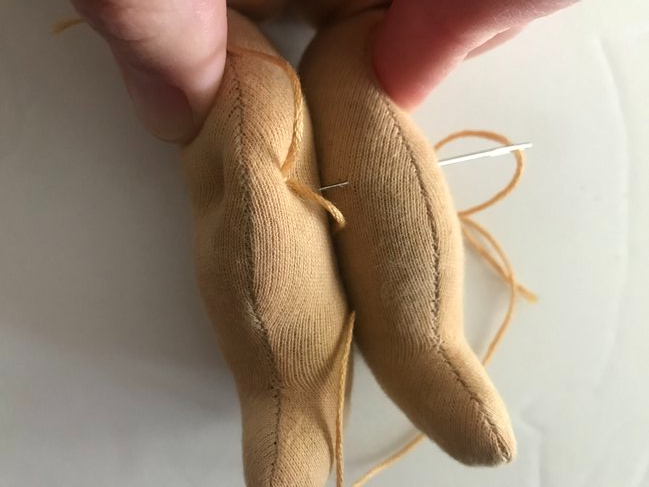
Position your ears on your doll’s face, and use a ladder stitch to attach.
Weave in all your ends!
At this point — the body of your doll is FINISHED!
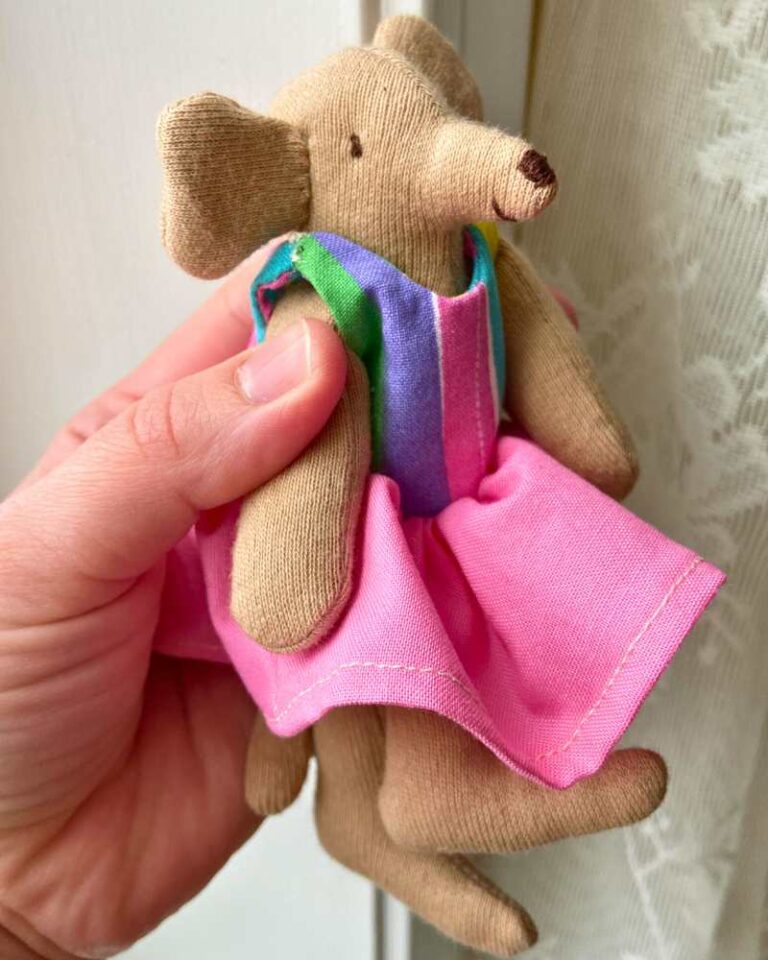
To make her dress that comes as a part of this PDF pattern, continue on to the dress tutorial HERE.