Waldorf Baby Doll Tutorial part TWO
Here’s part TWO of our Waldorf Baby Doll. Follow along on this free pattern/tutorial to continue work on your doll!
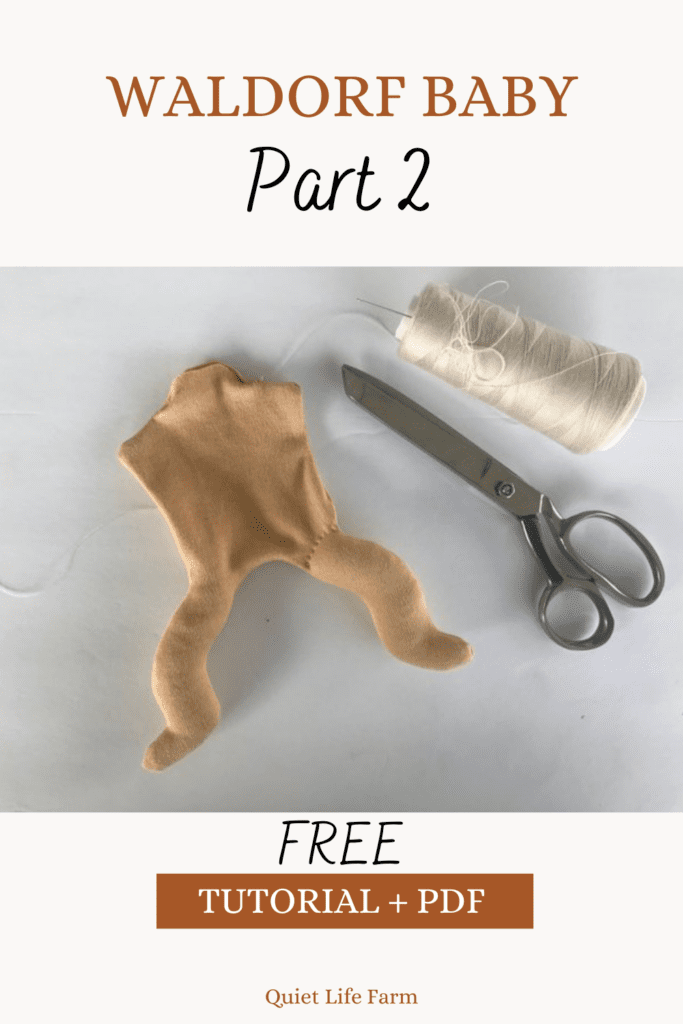
In Part 2 of our waldorf baby doll tutorial, we will cover:
- Stuffing the limbs
- Felting the face and body
- Sewing together all the body pieces
Let’s get right to it!
Stuffing your waldorf baby doll’s limbs
First, we will stuff the legs.
Use DRY and clean wool!
I like to use the blunt end of a knitting needle to help push down the wool into all the crevices.
“Fluff” the wool before you stuff it into your doll.
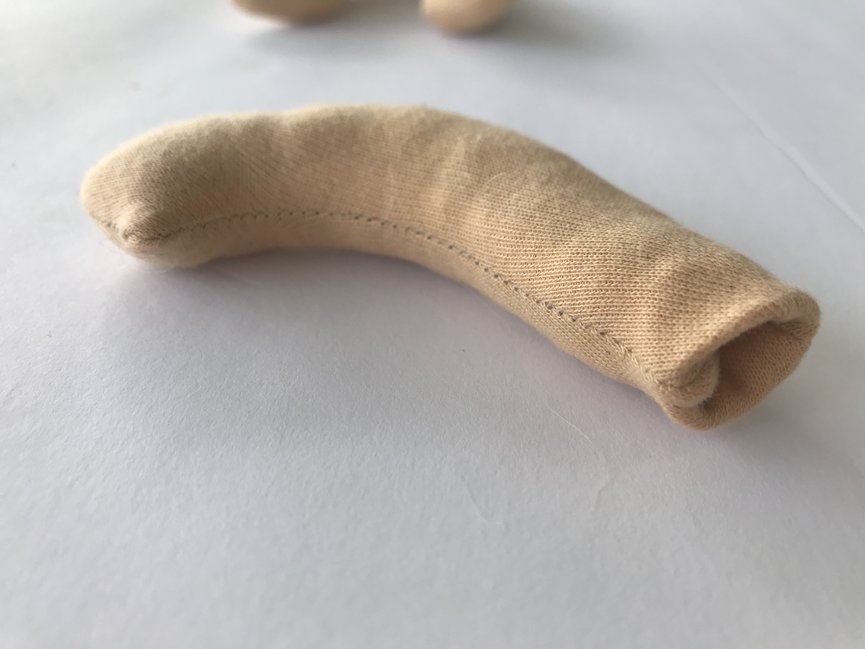
Let’s work on stuffing the arms first!
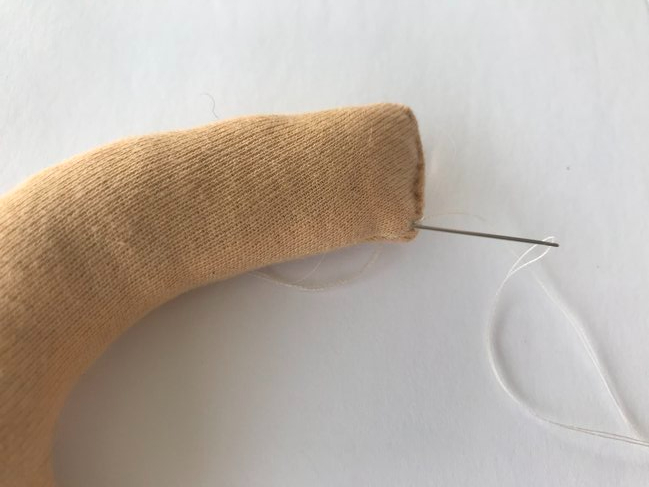
Stuff the arms with wool. Fold the raw edge of the top of the arm into the arm.
Use tiny stitches to sew the ends of the arms, close to the edge.
Repeat process for both arms.
Tie a nice tight knot (I use a french knot at the end of lines of stitches like these) and weave in the ends of the thread into the body.
Thread your needle.
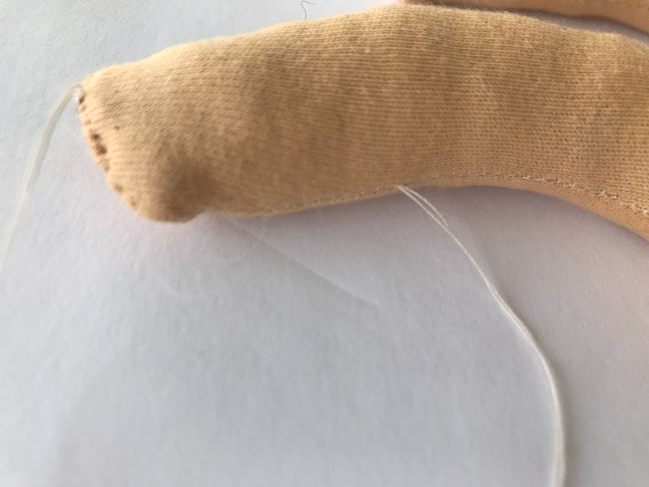
Pull the thread tightly out another end of the arm. Cut your thread so that it’s hidden inside the body — secure, but not seen.
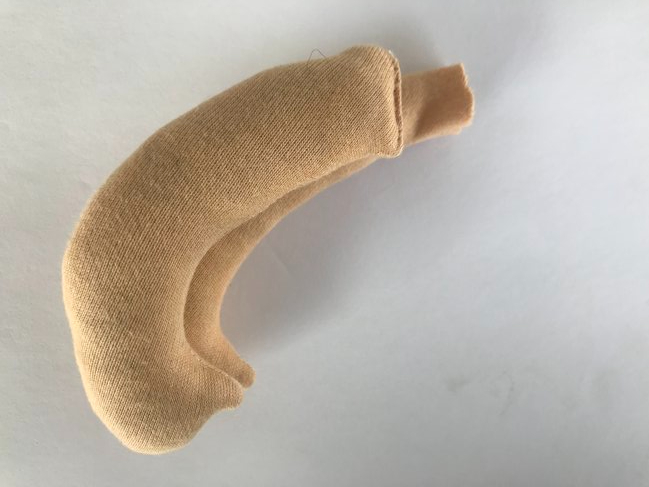
Next we’ll work on stuffing the legs.
Stuff each leg, again fluffing each piece of wool before placing it inside the leg.
Use the blunt end of a knitting needle (or the end of a wooden spoon, or anything else you can think of!) to push the wool into all the creases.
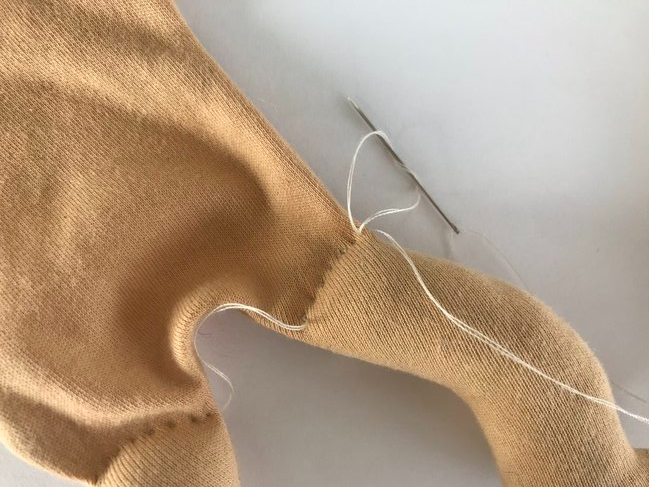
Towards the top of each leg, make tiny stitches across each leg.
This will increase the mobility of the legs.
Weave in both ends of thread into the body so that they are secure but not seen.
Waldorf Baby Doll: Making the Head and Body
Let’s work on making your waldorf head and body!
The head AND the body will be felted. They will be a separate piece placed inside the skin fabric you have already sewn together.
In other words, while the legs and arms were stuffed, we won’t be simply stuffing the body and the head.
So, let’s make a basic felted head and body!
You will need a set of felting needles for this project. Here’s the $12 kit I used. You can see what all is included in the picture below.
You can felt with just a single felting needle and save the buck, but I have done it that way and it just takes FOREVER. I also managed to break a ton of needles trying to do the work without a multi felting tool. It is, however, doable.

For the body and the head, grab some 1 1/8″ Wide Cotton Gauze Inner Head Tubing.

Cut a piece of tubing 12″ long.
Tie a knot at the top.
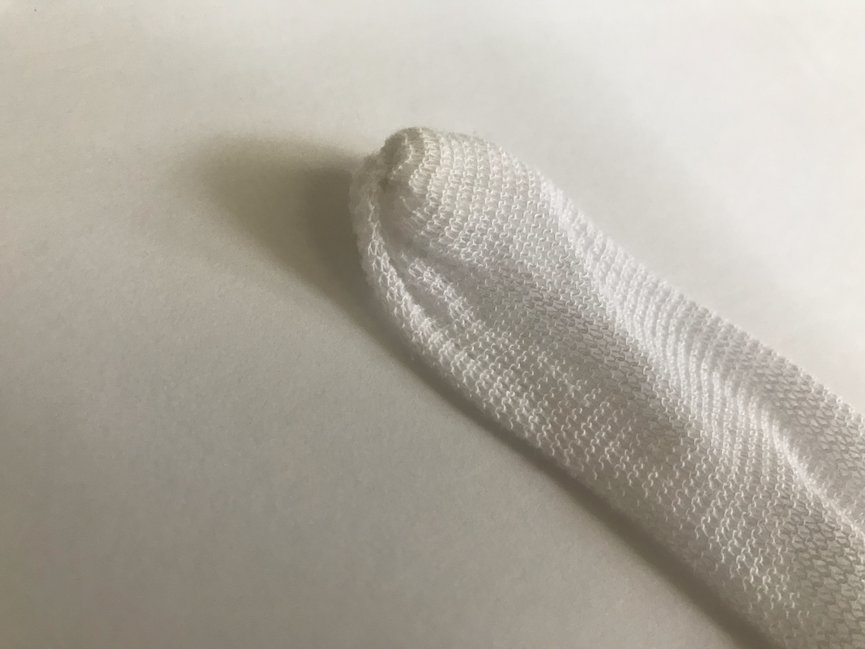
Turn the tubing inside out so that the knot is INSIDE the tubing.
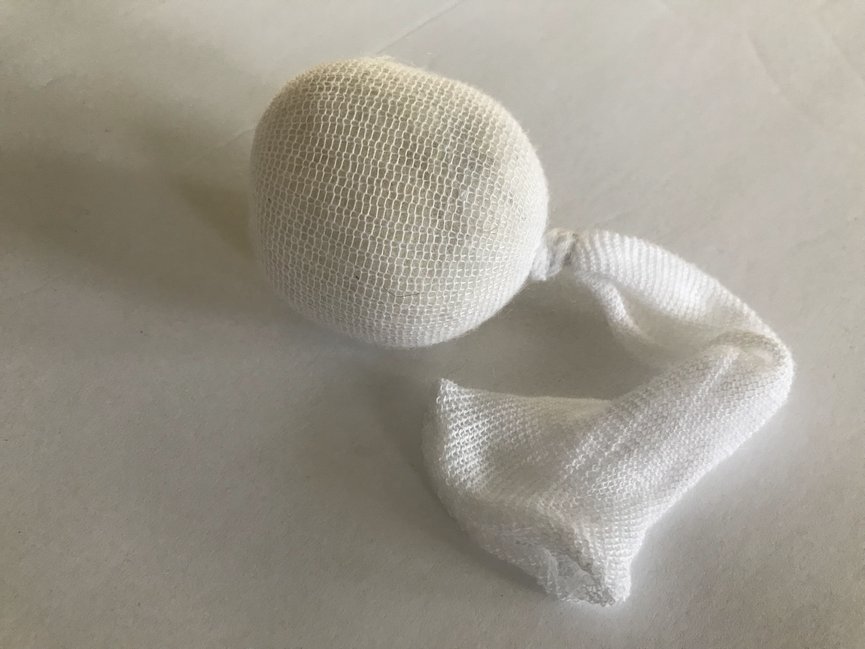
Stuff wool FIRMLY for a head. The ball should be 6″ around.
Tie a knot at the bottom.
Then, fill the rest of the tubing with more wool FIRMLY for the body.
Sew the bottom of the body closed.
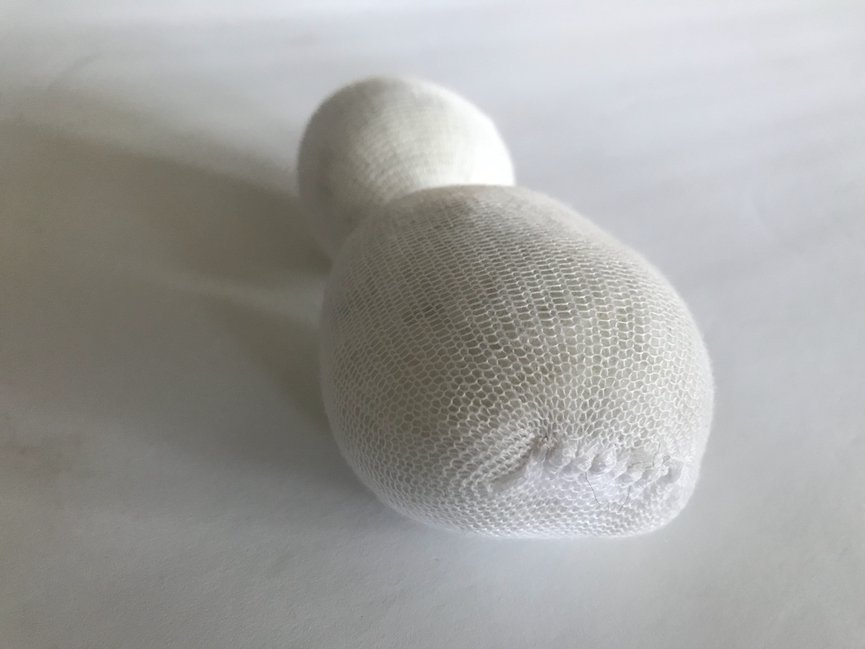
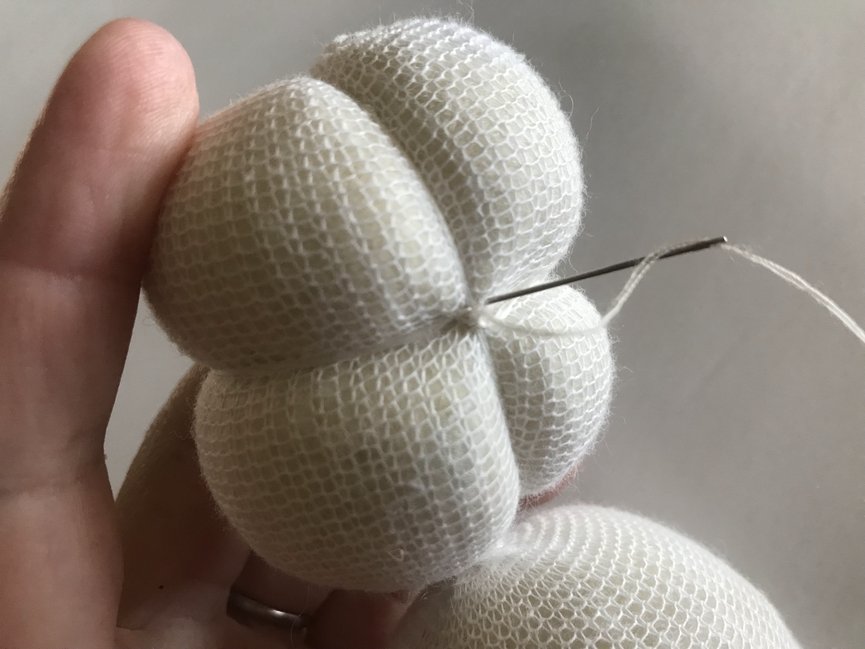
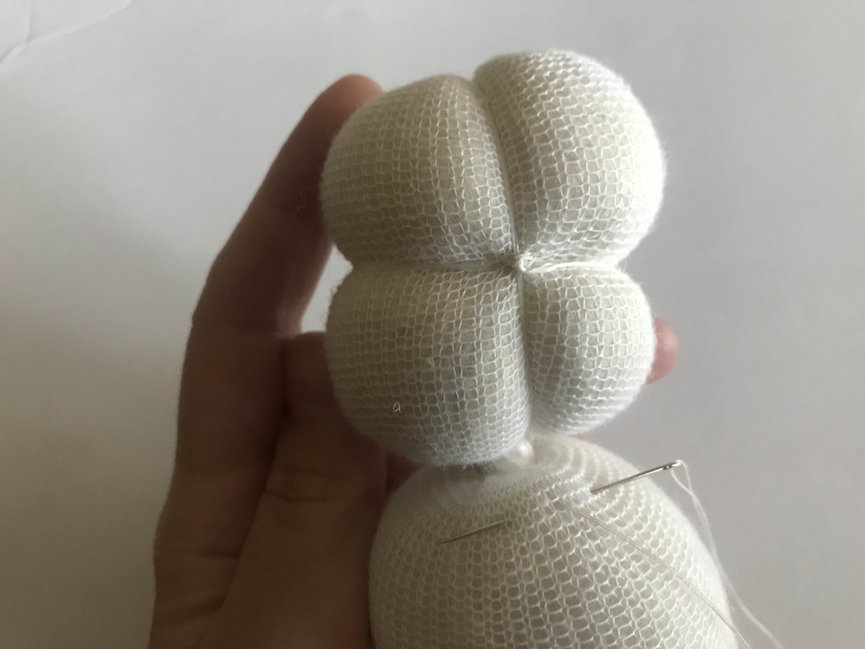
Next, take some unwaxed dental floss and tighty tie around the middle of the head to create an indent.
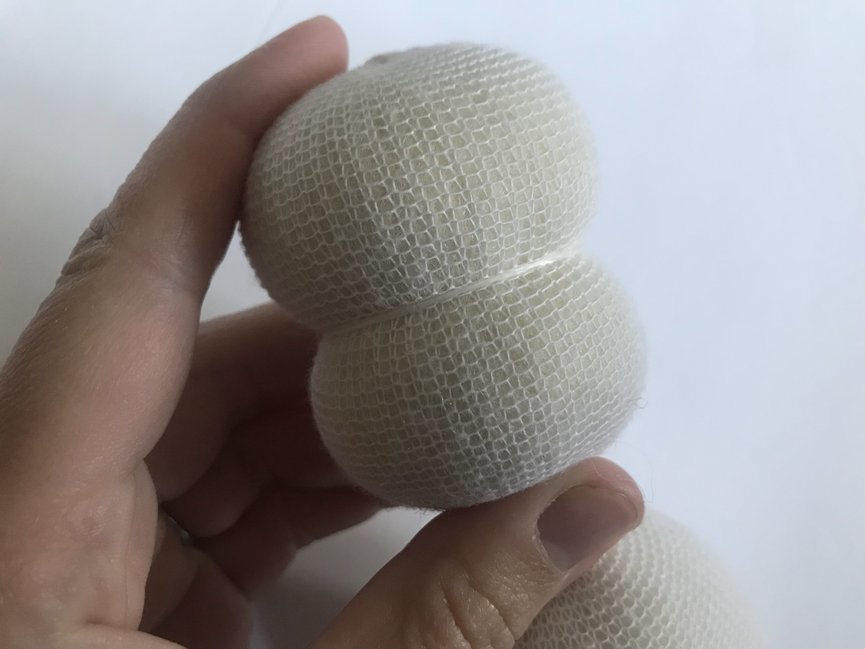
Use the dental floss to wrap around the center of the head, top to bottom.
Your head should be divided into fourths.
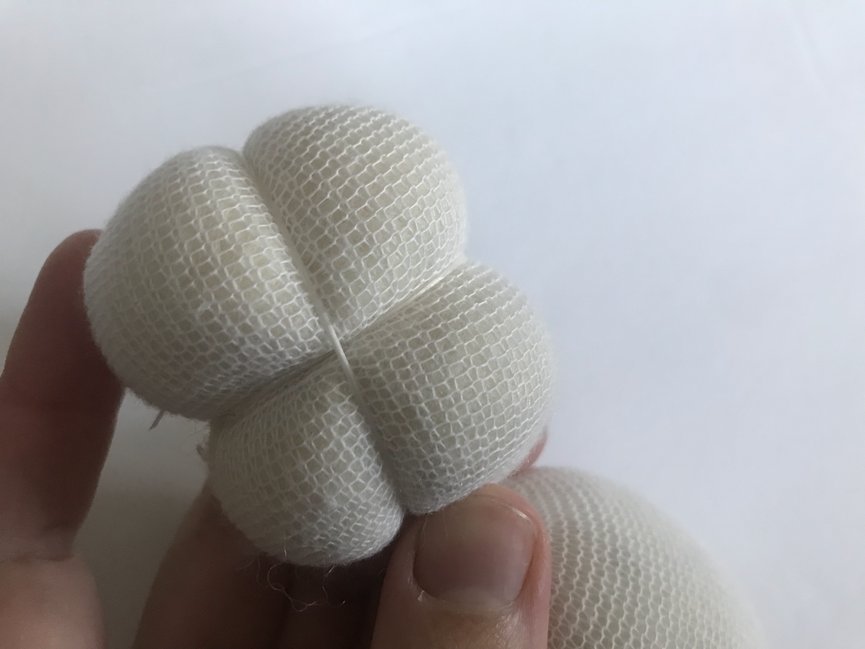
Take a sharp needle and some thread and secure the dental floss to the head.
It’s important to secure the floss so that it doesn’t move around in the doll making process, OR the PLAY process!
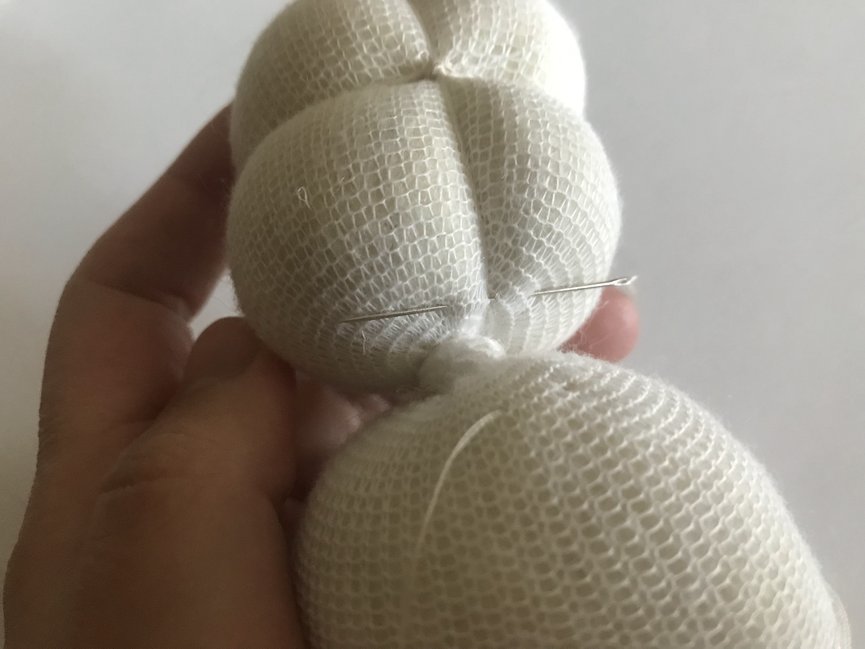
Lastly, you will want to secure the head to the shoulders a bit better. Otherwise you will have a very floppy head!
Use a ladder stitch to secure the head to the shoulders, as seen in the pictures below.
Begin Felting your Waldorf Baby Doll
Time to start felting your doll!
Take out your single felting needle and strips of wool.
Wrap the strips of wool around the BODY of the doll.
Use your SINGLE felting needle to secure the EDGES of the wool to the EDGES of the body.
Then, use your MULTI felting tool to felt the wool to the entire body of your doll.
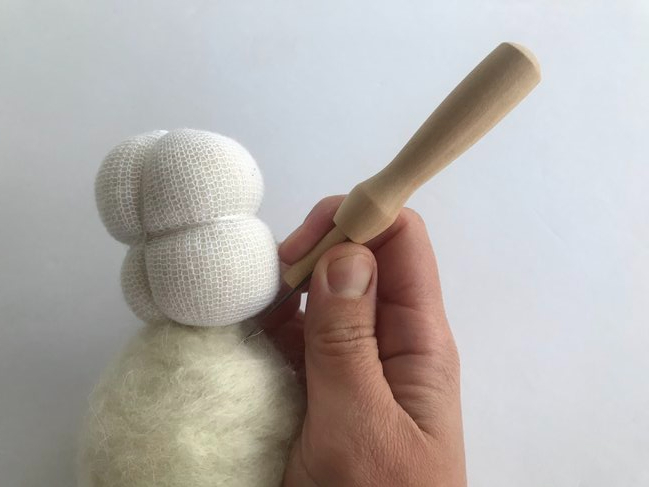
Single Felting Needle to attach wool to edges
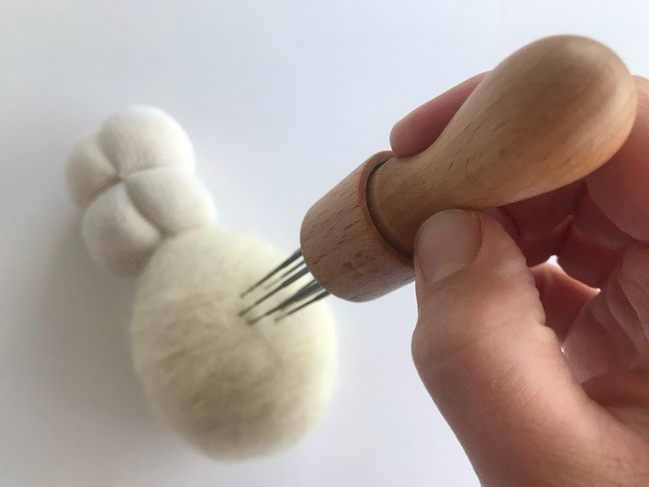
Multi felting needle to secure wool to body of the body
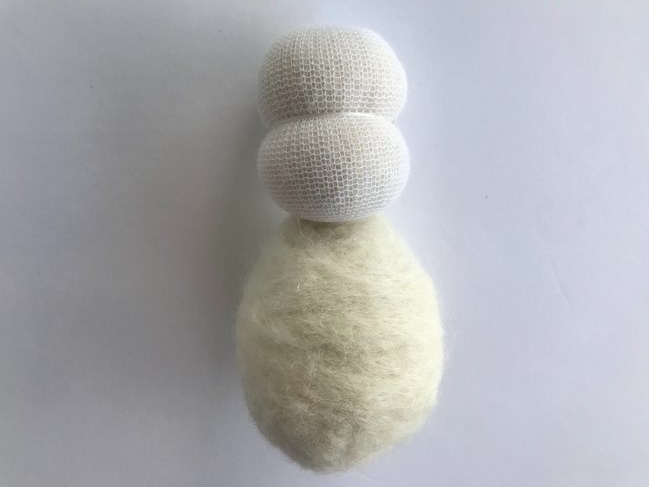
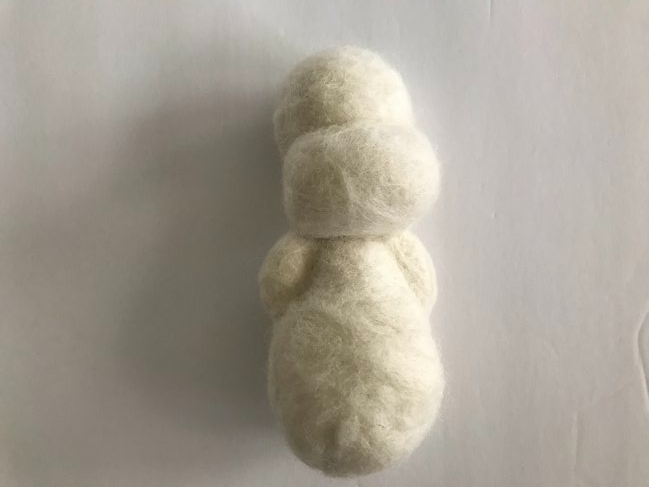
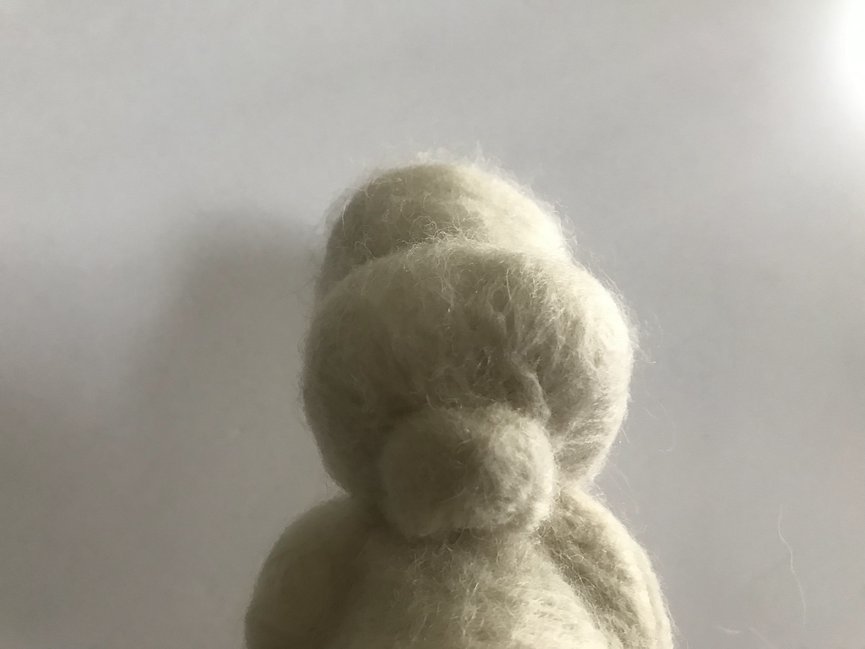
See the photo above for what your head/body of your waldorf baby doll should look like so far.
Now we will begin felting the head!
Use strips of wool to felt over the entire head.
Again, use the single felting needle to get all the edges secured, and the multi felting needle to do the rest.
You will ALSO want to use your SINGLE felting needle to make DEEP stab punches into the eyeline and “cheek line” to keep them clearly defined!
Continue adding wool onto the BOTTOM FRONT quadrant of the face to create a nice, rounded look.
Be sure that each layer of wool is completely felted before adding any extra wool!
This is a lengthy process, listening to an audiobook or watching your favorite show is a great way to pass this time!

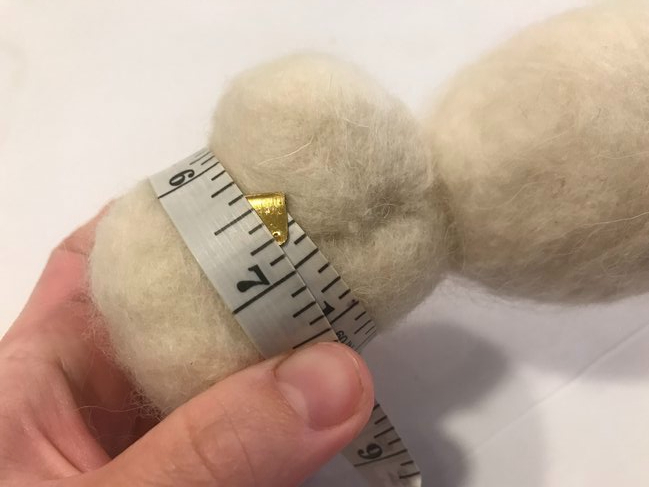
The top half of the head should measure 6 1/2″ around.
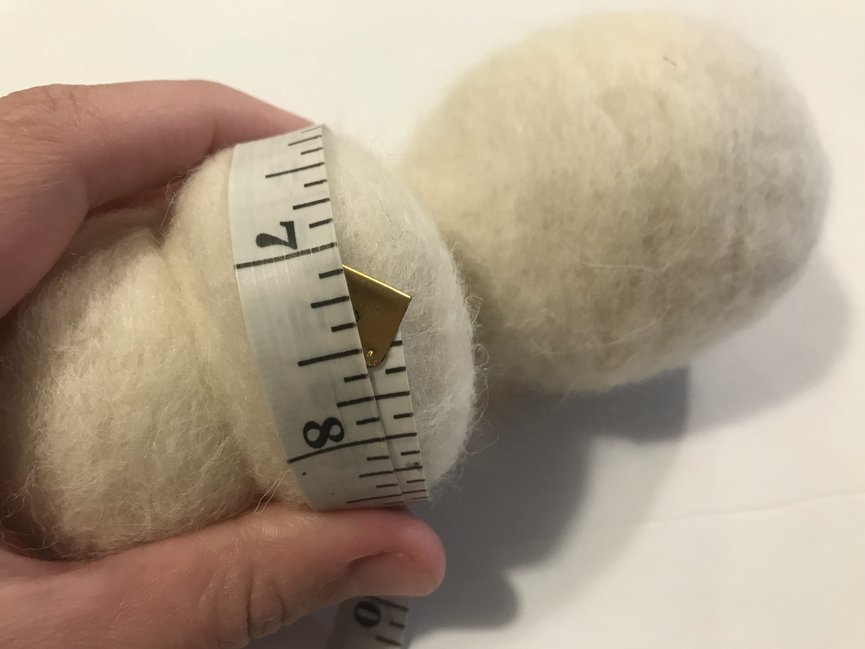
The bottom half of the head should measure about 7 1/4″ around.
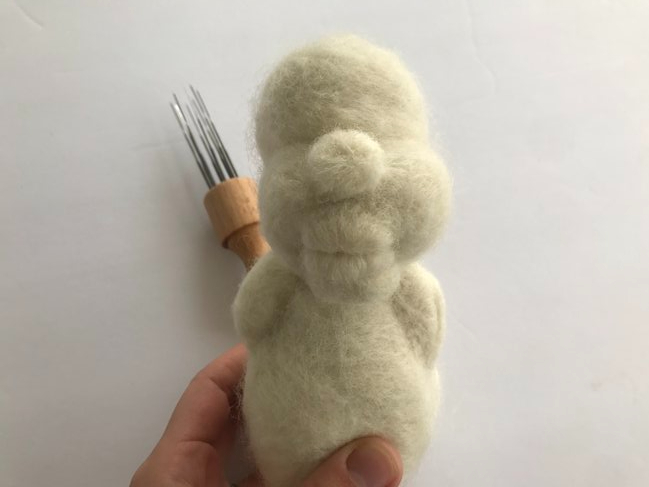
Next we will get some shoulders felted onto your body.
Take about “this much” (see picture above) wool.
Use the bunched wool to felt a shoulder onto the body. Again, use the single felting needle to get the edges secured, and the multi felting tool to firm and smooth the rest.
Repeat for two shoulders.

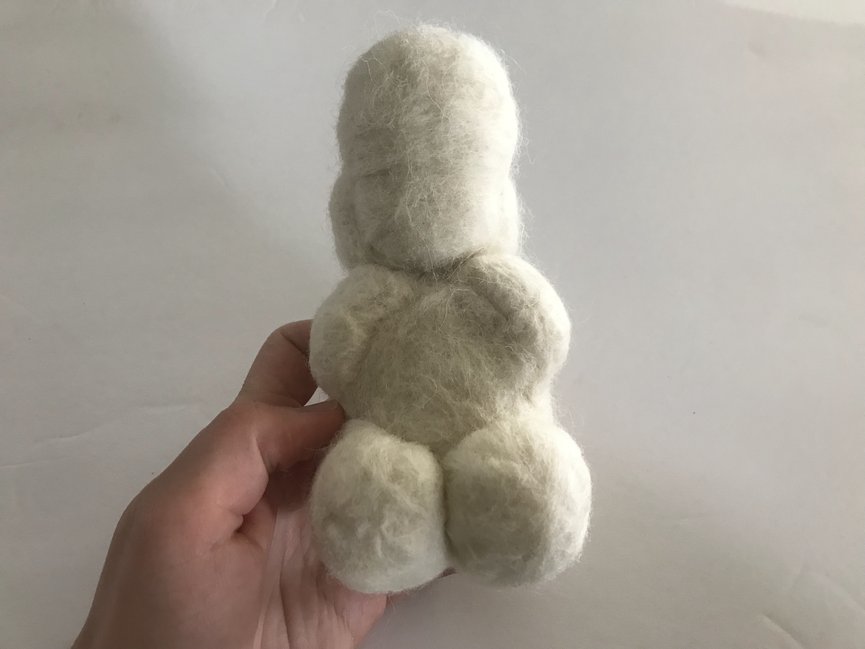
Now, we’ll felt a rear on the doll.
Felt two round balls on the bottom back of the doll.
Make sure to use the single felting tool to make a clearly defined, ermm… bum.
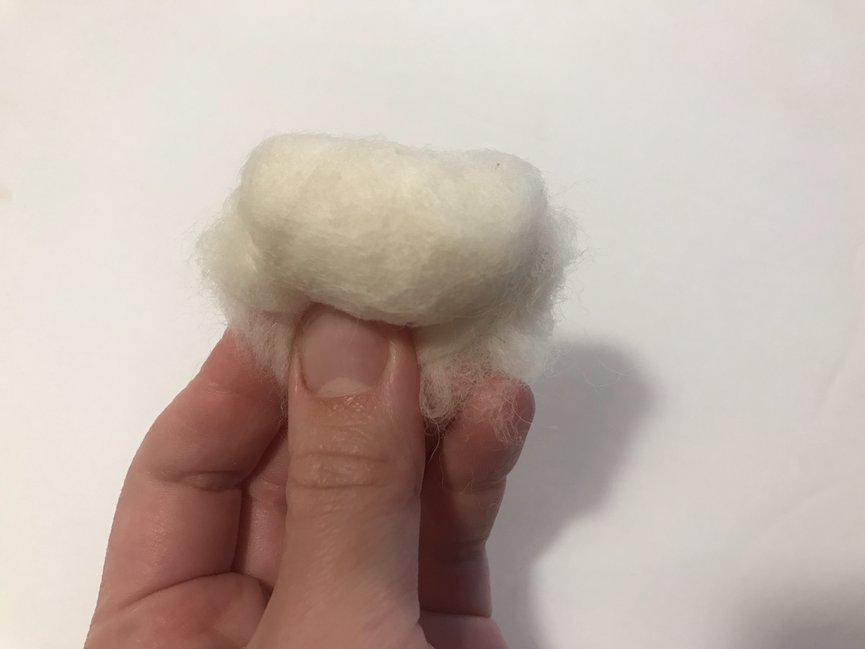
Next we will move back to the face.
First, felt a chin under the front bottom of the face.
Now, felt two lips above the chin.
Make sure they are clearly defined!
Bear in mind the facial features will be much less defined once the skin fabric is draped on top of your felted face and body.
Felt a firm nose above the lips.
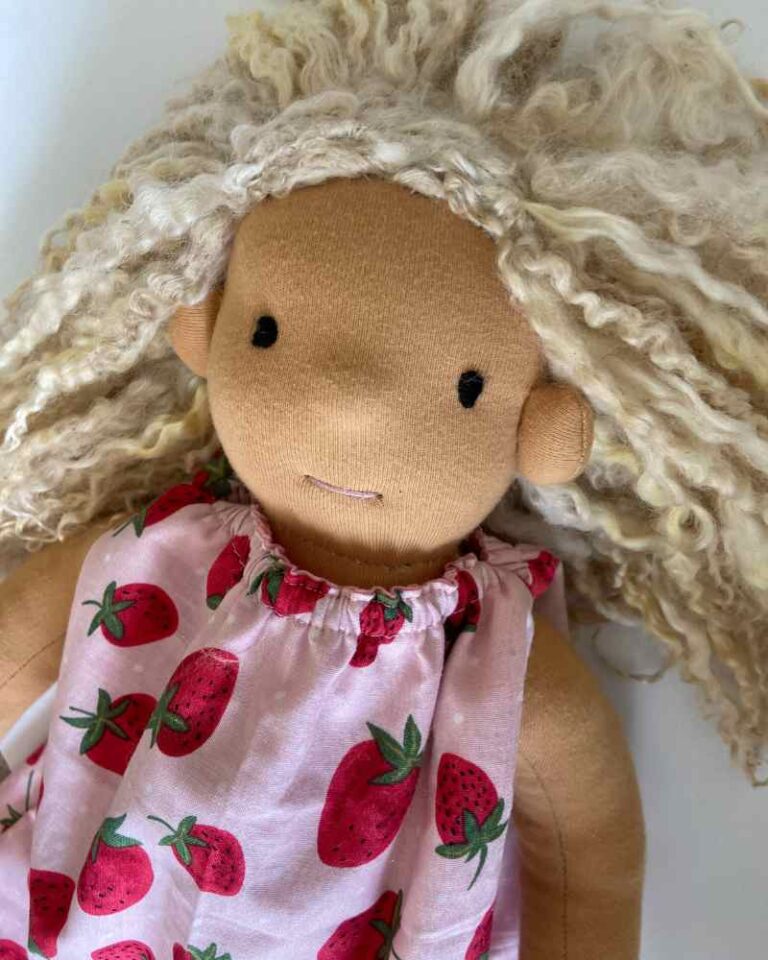
Now, take the head skin and place it over the doll’s head.
The seam should be on the BACK of the head.
Sew the bottom of the head skin over the shoulders.
Fold the top of the head skin BACK and sew it. The stitches on the top of the head do not need to be pretty — they will be hidden by the hair. So take your time to make some STRONG stitches!
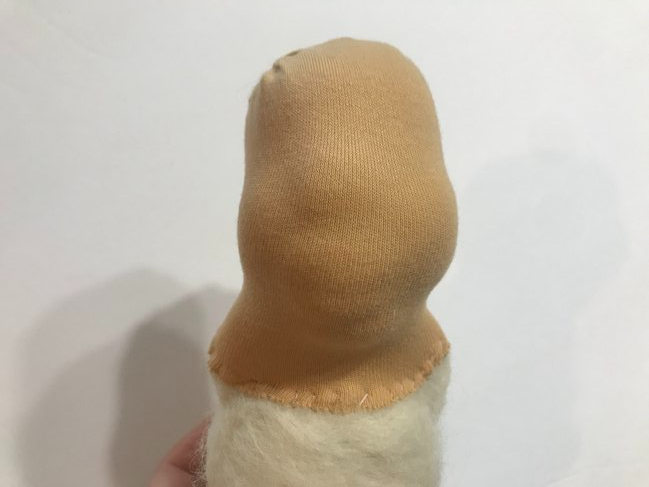

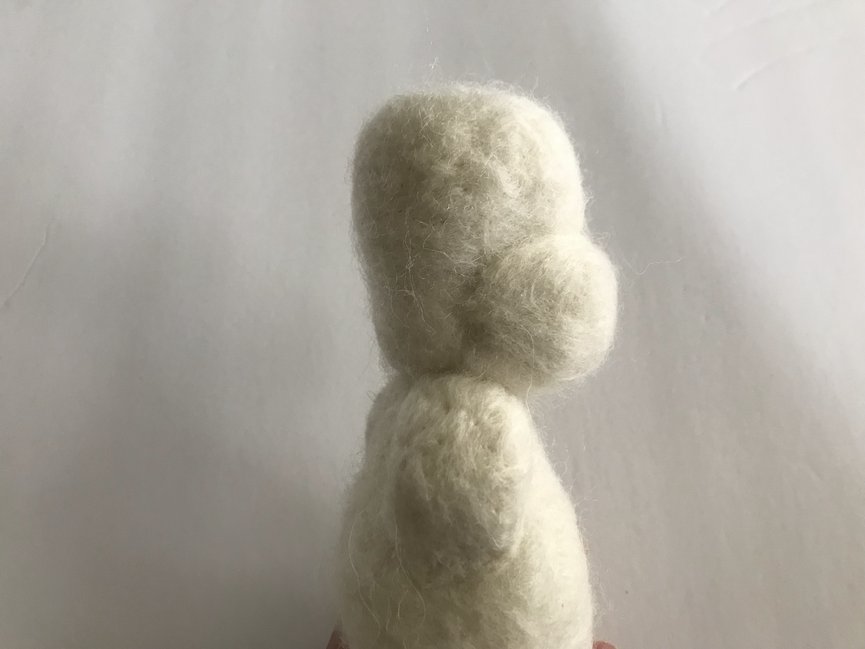
Above: top view of the head.
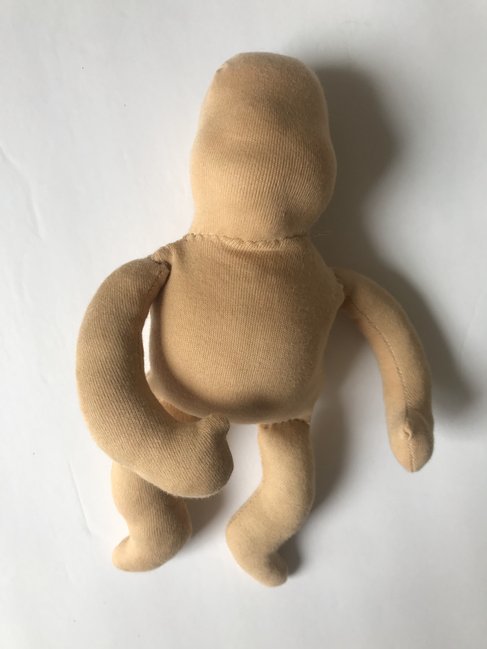
Likewise, sew the body onto the felted body/head piece.
Use a ladder stitch to sew together the body.
Attach the arms at the shoulders — again, using a ladder stitch.
Head over to part 3 — adding the details!
In part 3 of this tutorial, we will cover:
- Crocheting a cap for the hair
- Attaching the hair
- Adding all the small details to your doll, from embroidery to blush!