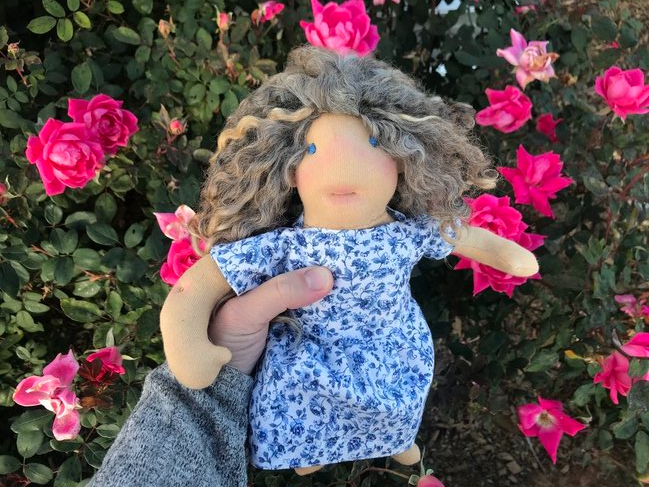
Airy Dress Pattern: Part 4 of Waldorf Baby Doll. Free PDF!
This doll dress fits dolls roughly 10″ tall. It is specifically designed to go with my waldorf baby doll, and is available as a free printable PDF file!
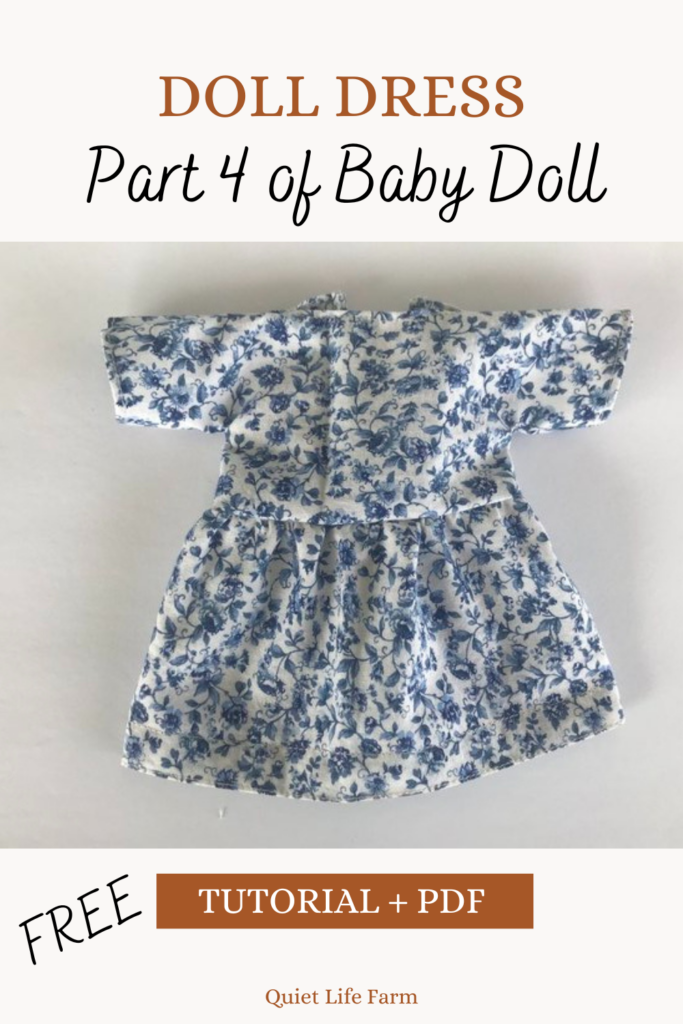
Today I’ll be teaching you how to make a simple little doll dress.
This dress fits smaller dolls.
The doll (which I also have a free pattern and tutorial for!) is 10″ that I made this dress for.
Make it for that waldorf baby doll, or make it for another doll you’d like to dress!
Disclaimer: As an Amazon Associate, I earn from qualifying purchases.
FREE PDF PATTERN for Doll Dress
Print your pattern out below!
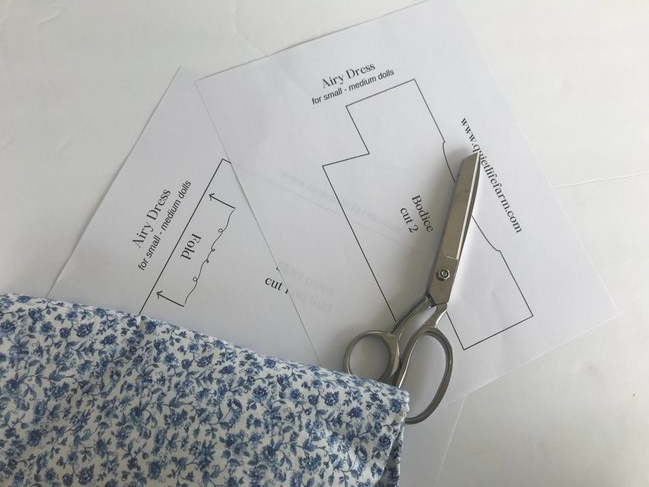
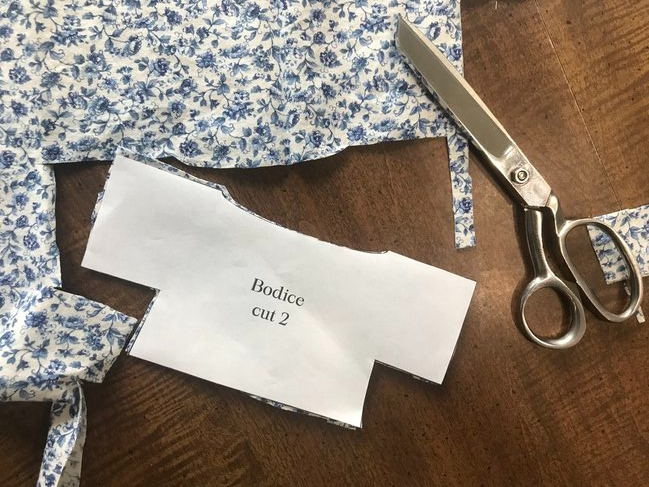
Trace and Cut Your Doll Dress Pattern
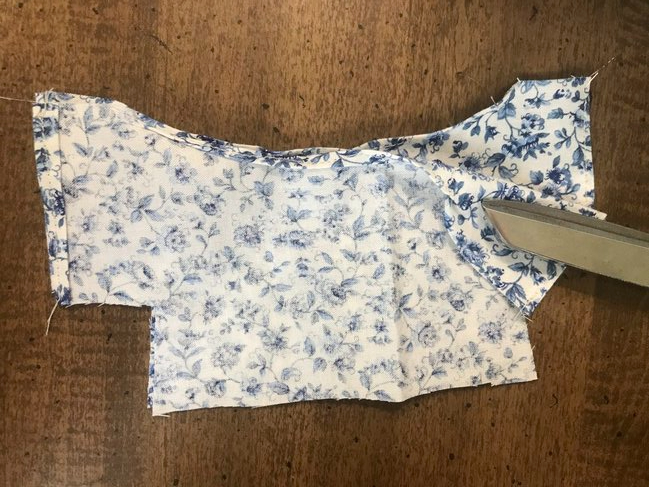
First, you’ll want to trace and cut out your pattern.
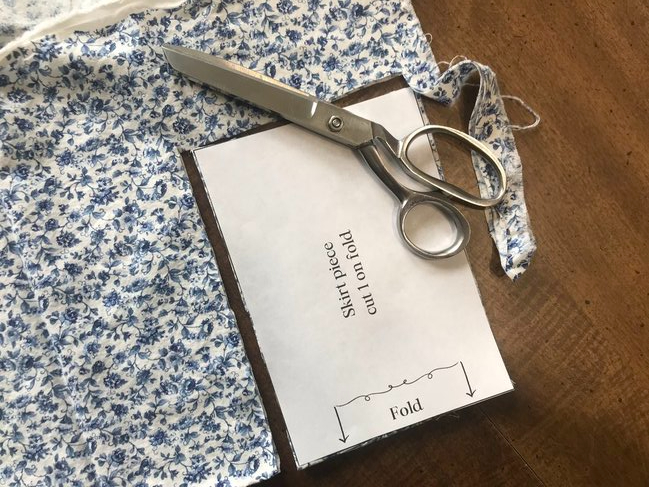
Make sure you cut on the fold for your skirt!
And make sure you cut through two layers of fabric for your bodice!
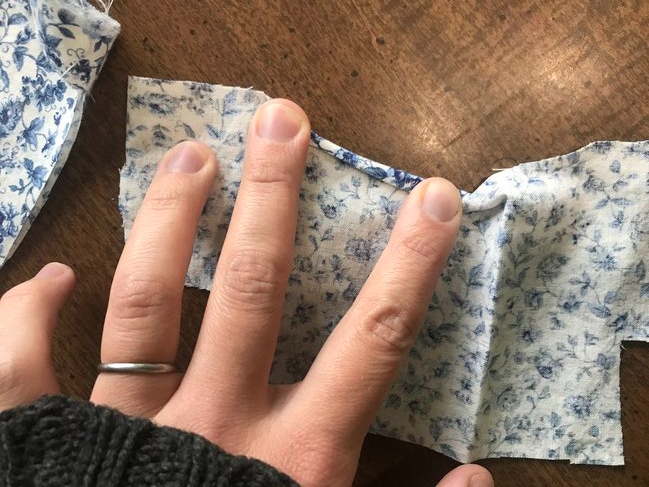
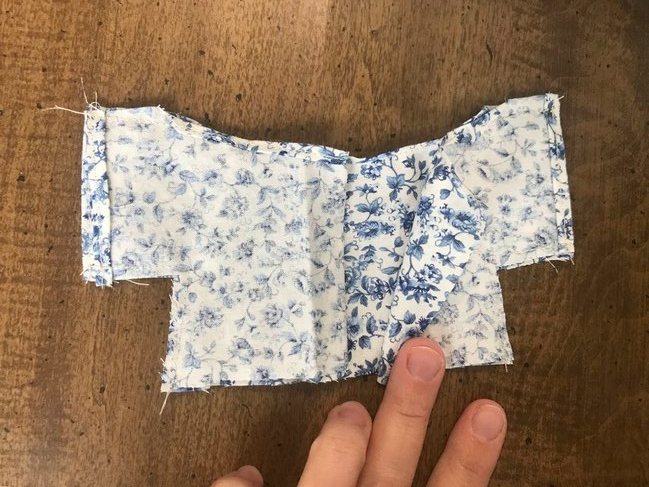
First, you’re going to want to sew some tiny hems on your bodice pieces.
Sew a tiny hem along the necklines of your bodice, as seen in photo above.
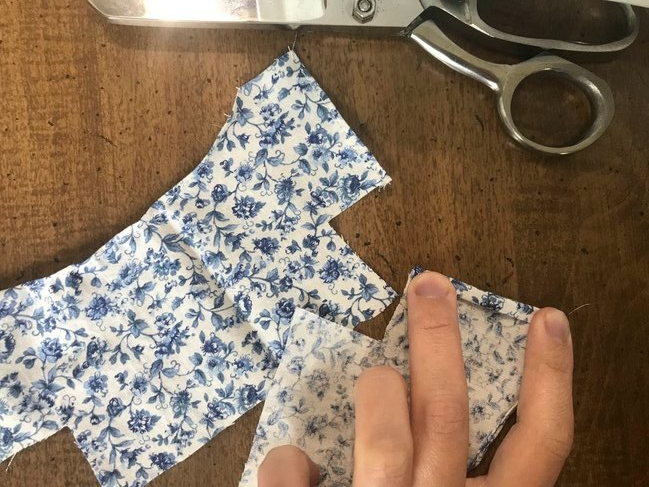
Then, sew some hems on all the edges of your sleeves.
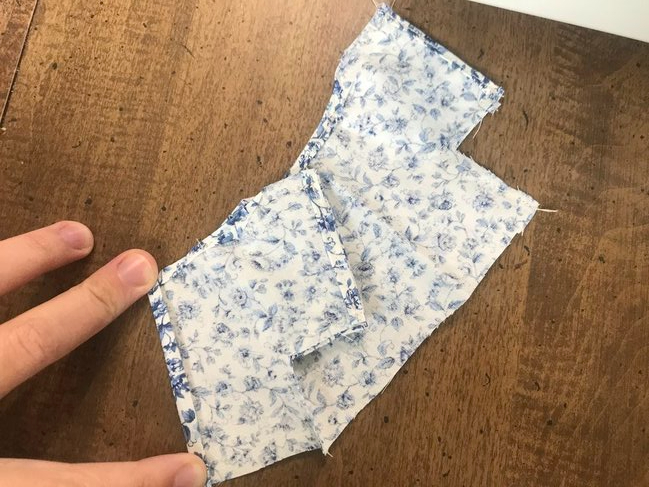
Put your two bodice pieces right sides together, and sew the tops of the sleeves, the bottoms of the sleeves, and the waist line.
Leave the neck open for the head of the doll,
leave the bottom open for the waist of the doll,
and leave the arm holes open for the arms of the doll.
Next, cut a slit down the center BACK of your bodice.
Make two more tiny hems along the back opening.
You could place buttons, ties, or velcro on the back. I opted to keep mine open for ease of play and safety — a small child will be playing with my doll and her dress!
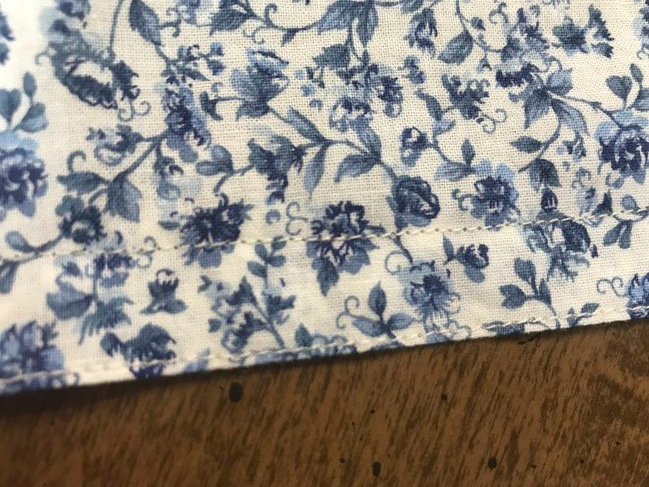
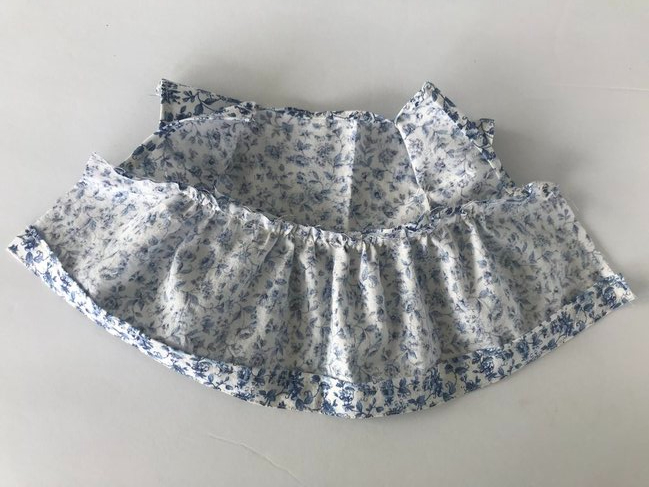
Next, you will hem the bottom skirt piece of the dress.
Make two lines of stitches — one towards the top of where the hem is folded, and another right at the bottom edge.
This makes your hem nice and neat!
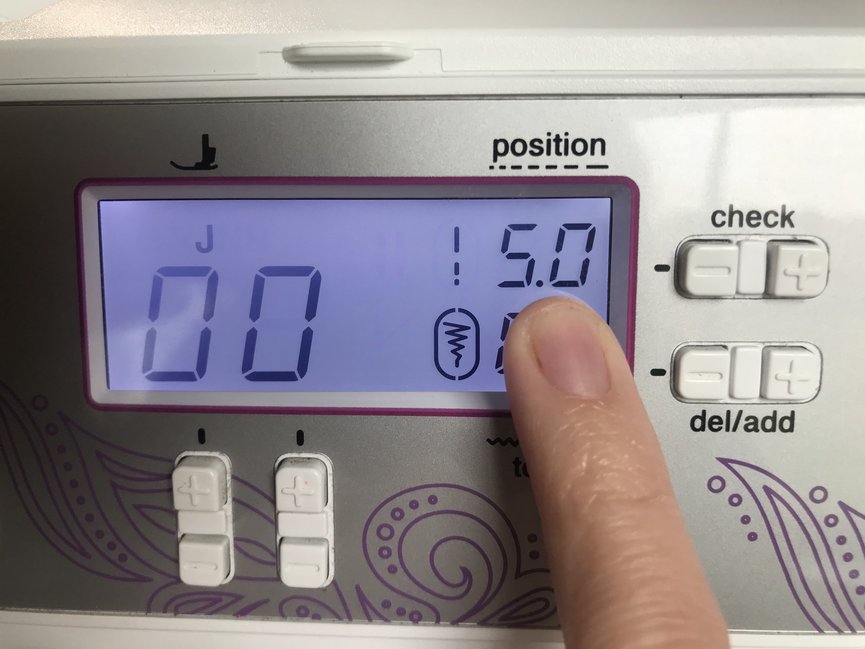
Next, we will be gathering the top of the skirt.
Set your sewing machine to a WIDE stitch setting.
Alternatively, you can just use a basting stitch to gather your skirt by hand.
With right sides together, line up the gathered edge of your skirt to the waistline of the bodice.
Adjust your gathered edge so that it is the proper length.
Pin your skirt to your bodice.

Be sure to leave a little bit of overhang when you go to sew the backside of the skirt up!
Sew your skirt to your bodice.
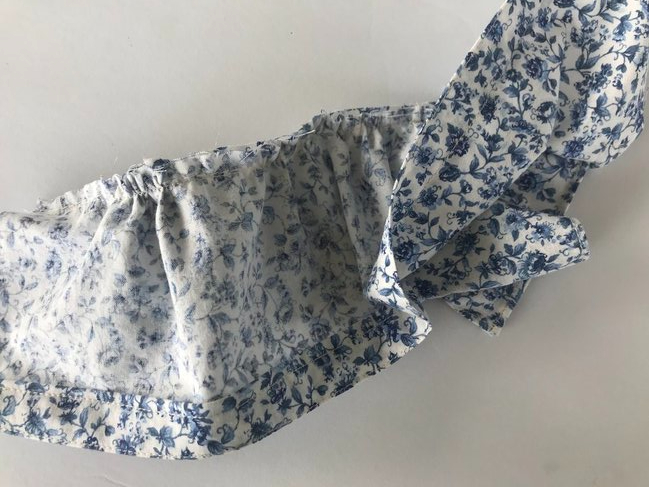
Above photo: This is what the wrong side of the dress will look like once the skirt is attached to the bodice!
With right sides together, sew the back of the skirt, stopping at the bodice waist line.
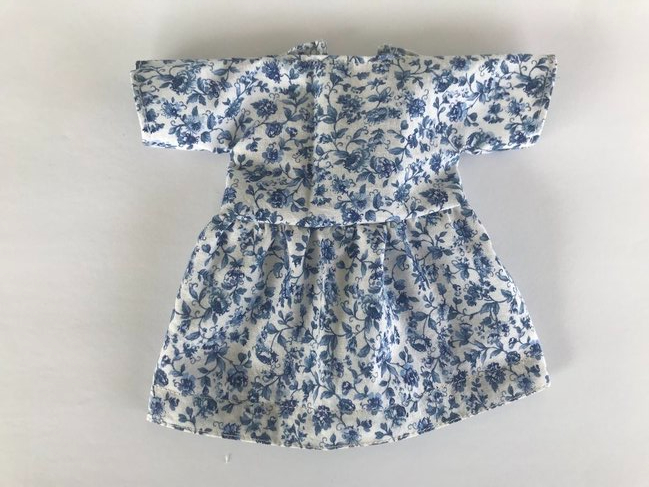
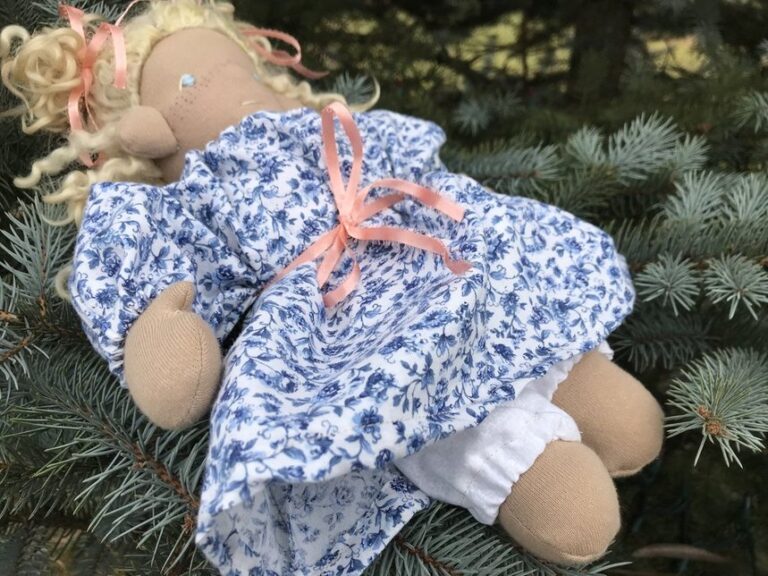
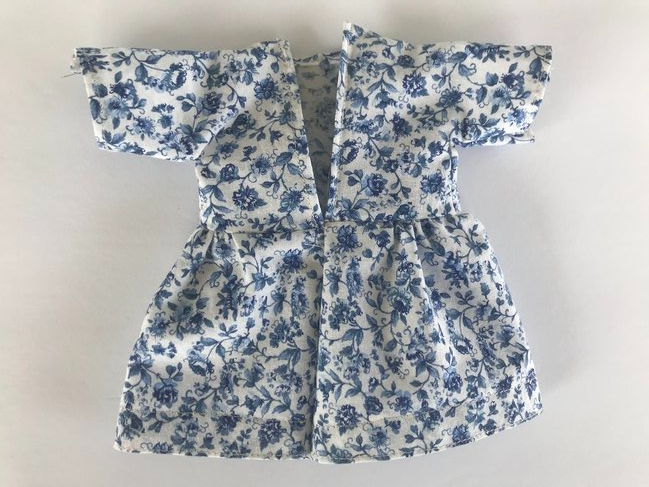
Your simple doll dress is finished!
Pair her with a waldorf baby doll HERE!
If you’ve been following along on my waldorf baby doll pattern and tutorial, this concludes the series!
I hope your handmade doll is well loved for many years to come!