How to make a Jedi Robe
Learn how to sew an easy Jedi Robe out of 6 simple squares! Free Pattern!
My Star Wars loving son requested that I make him a Jedi robe!
This beautiful robe is perfect for creating a Anakin Skywalker, Luke Skywalker or Mace Windu costume (just use black fabric if you’re making Anakin’s costume, or white or black for Luke’s!)
So, here it is. I made it from 6 squares, so it’s ridiculously easy to sew together.
Best of all, it’s a free sewing pattern! (No need to buy a commercial pattern, yay!)
This pattern would also work great to use as a Harry Potter robe!
I’ve included the measurements for each square. Use mine for a child’s robe, or measure yourself — I’ll tell you how to get your own exact measurements!
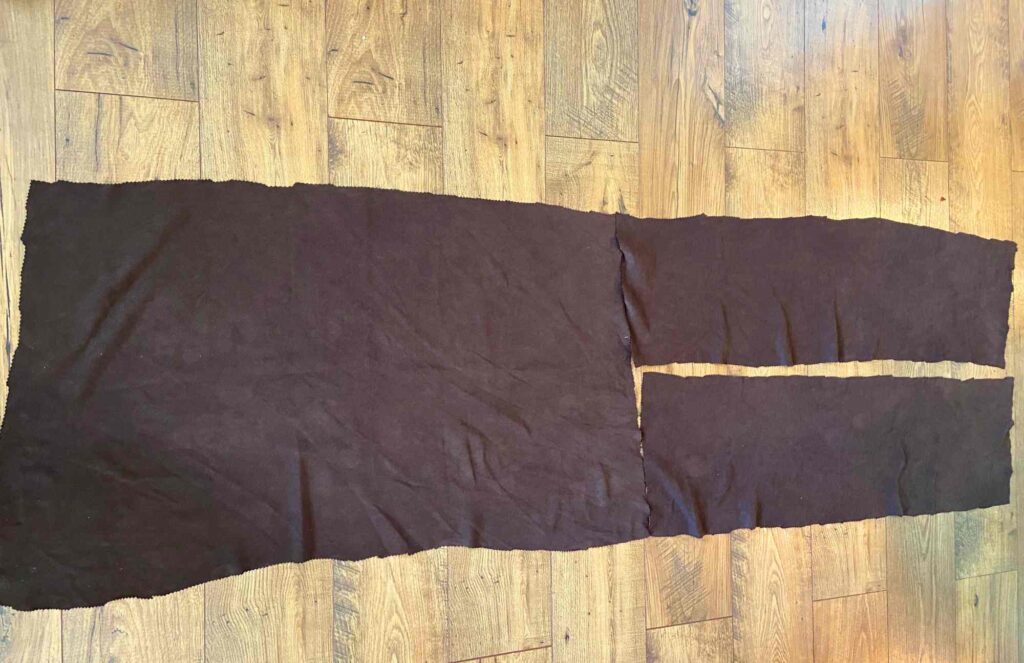
For the fabric, I repurposed one of those removable sofa covers I found at a thrift store. It’s a medium weight fabric.
If you’re purchasing your fabric, I’d buy about 2 yards of fabric for this project. (of course, you’ll need more yardage if you’re making a larger Jedi robe, so take your measurements FIRST before you decide how much fabric to buy.)
The fabric I bought is polyester. I usually opt for natural materials, but this old sofa cover gives the robe such an authentic look that I don’t even mind this time!
Want to know how to make a complete Jedi outfit? I have a complete costume tutorial! Scroll to the bottom of the page for links to my posts on how to make a Jedi shirt and some Jedi pants! Each one is a free pattern!
Measuring Your Squares: Cut Your Fabric Pieces
If you’re not going to use my measurements, you’ll need to make your own measurements.
Measure both the length and the drape that you want, and then add 1″ to both your length and width.
All seam allowances are going to be 1/2″ — this is why you want to add 1″ to each of your measurements.
A 1/2″ seam allowance is usually achieved by sewing with your fabric running along the edge of your presser foot.
Of course, this Jedi robe is probably just being used for dress up — so don’t worry if your seam allowances aren’t exactly right (just as long as they aren’t too small or too big).
When in doubt, give yourself enough fabric — you want nice wide sleeves and a nice and big hood piece!
Always give yourself extra fabric if you aren’t sure!
Also remember that each sleeve and the hood is one piece — so measure all the way around the arm plus the drape, and the length. For the hood, measure from the shoulder, around the top of the head, to the other shoulder, plus the drape (and from the back of the head to the front of the head plus the drape).
You’ll really want there to be lots of drape for this to be a proper Jedi robe!
If you’re measuring on your own, go ahead and cut one piece for the back (measure shoulder to shoulder, top of the back to the ankles), two pieces for the front (measure from one shoulder to 3/4 way across the chest plus length), two sleeves (measure the length of the arm, and around the arm plus a nice loose drape), and one hood (measure from the back of the head to face plus lots of drape, plus from one shoulder over the head down to the other shoulder plus drape).
Again, you’ll want to add 1″ to each of the measurements you came up with.
For example, if you measured 37″ x 24″ for the back piece, you should cut out a rectangle that measures 38″ x 25″.
Each piece should be just a square/rectangle! No fancy shapes here!
If you want to just use my measurements, keep on scrolling!
My Jedi Robe Measurements
Here are my measurements for each rectangle/square!
- Back Piece: 38″ by 25″
- 2 Front Pieces: 12″ by 28″
- 2 Arm Pieces: 22″ by 22″
- Hood: 30″ by 16″
Now that you have all of your pieces cut, let’s start sewing them together!
Remember — each seam allowance should be about 1/2″!
You can use french seams like I did (you won’t have to worry about your fabric fraying, and your seams will be stronger), or you can just quickly sew it with all right sides together.
I love french seams because they hide all of the raw edges!
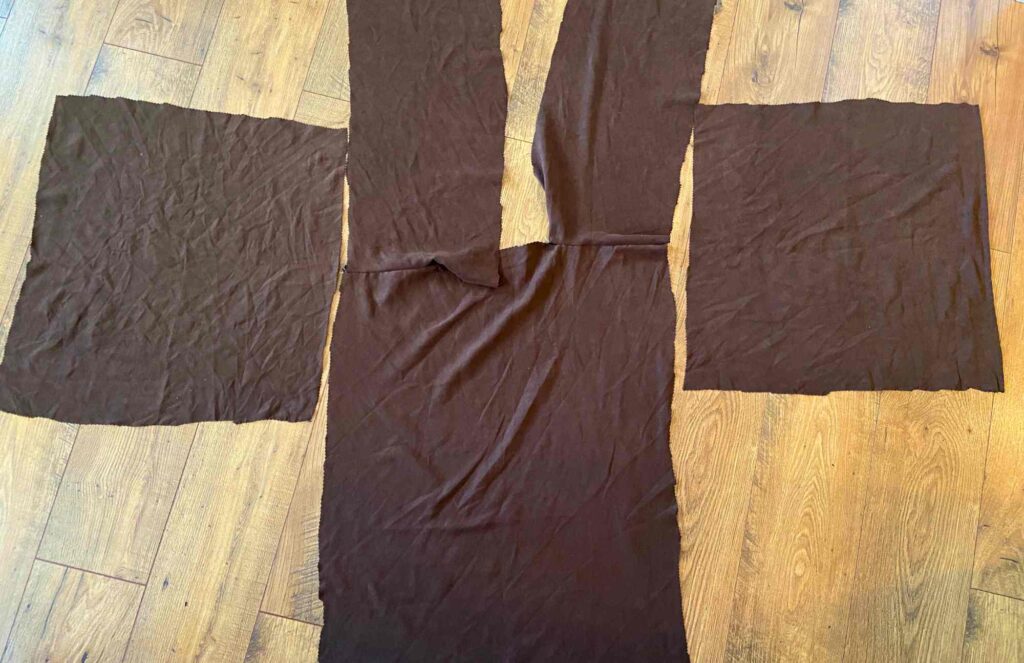
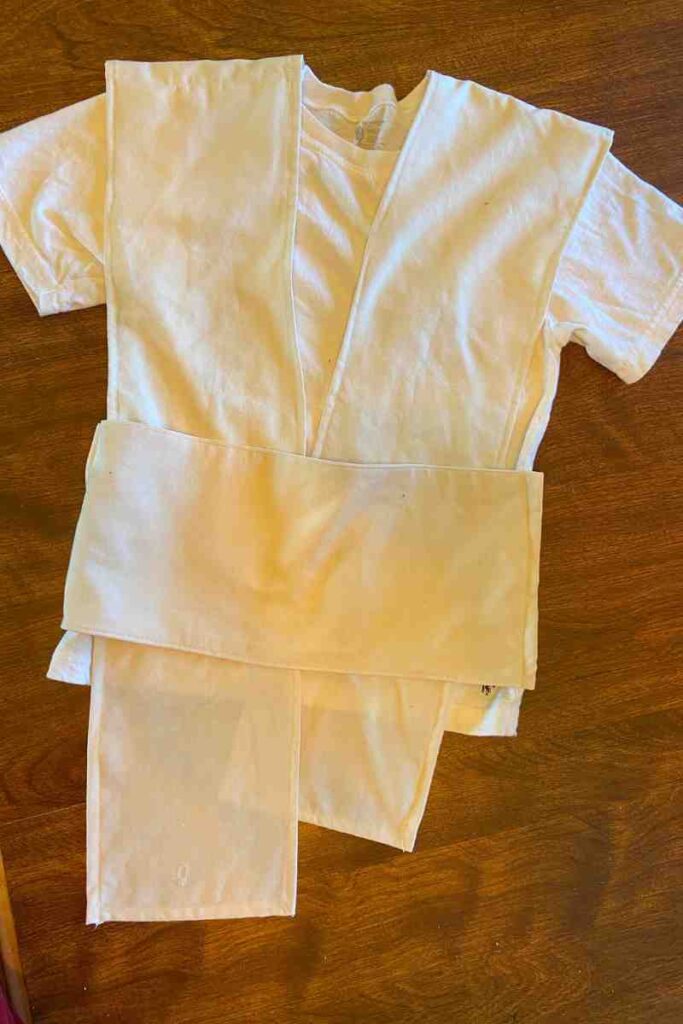
Step 1: Sew the Front Pieces to the Back Piece
First you’ll want to attach the back piece to the front pieces.
Lay your fabric out like you see in the picture.
Line up the short edges together, careful to line up each corner.
Starting at each corner, sew about halfway across each front piece. This will create “shoulders” on the cloak while still leaving an opening/closure on the front of the robe.
Step 2: Sew the Sleeves to the Body
Next you’ll want to sew the sleeves to the body of the robe.
Line up the sleeves to the body of the robe.
The sleeves on my robe are a perfect square (well, not “perfect” — I was holding a baby while cutting this all out, so don’t judge my cuts too harshly, haha!), so there is no “long” and “short” side.
If you made your own measurements, you might have a long and short side, so be careful to make the length of your sleeves going away from the body of the cloak.
Line up the middle of each sleeve at the shoulders (the seams where the back and fronts of the robe were just sewn together).
Sew the sleeve squares right here.
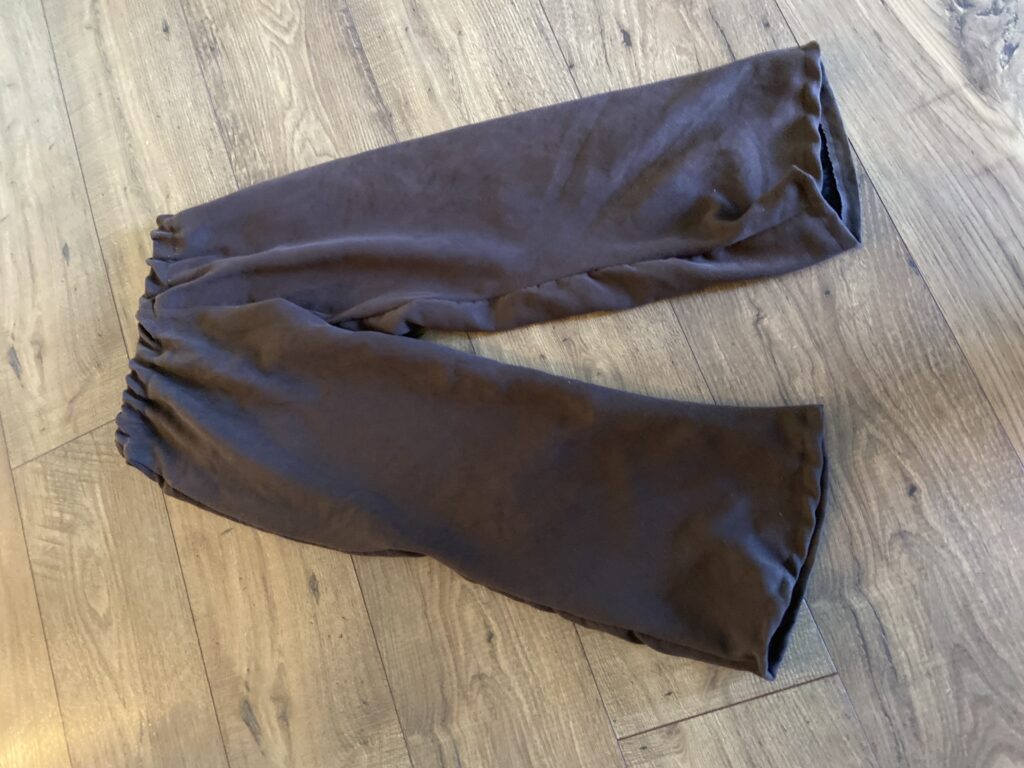
Step 3: Fold, Sew, Hem.
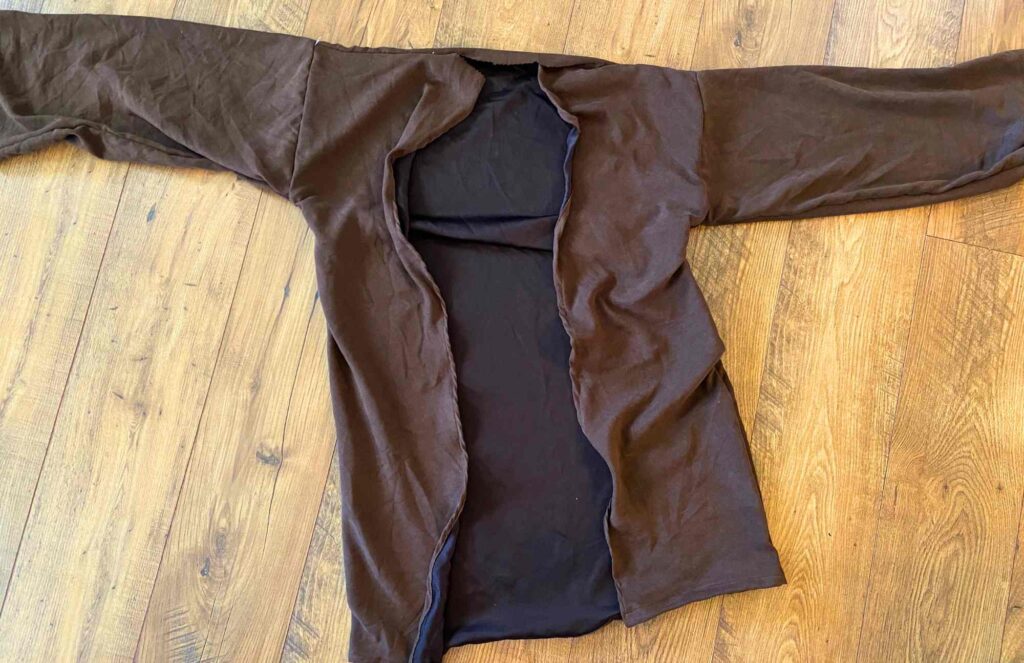
Next, fold your Jedi robe in half so that it looks nearly “complete.”
Starting at each wrist, sew down the arms and down each side.
Next, you’ll want to hem the ends of the sleeves, the inner front pieces of the robe, and the bottom of the robe.
Don’t hem the neckline of the robe just yet.
Step 4: The Hood.
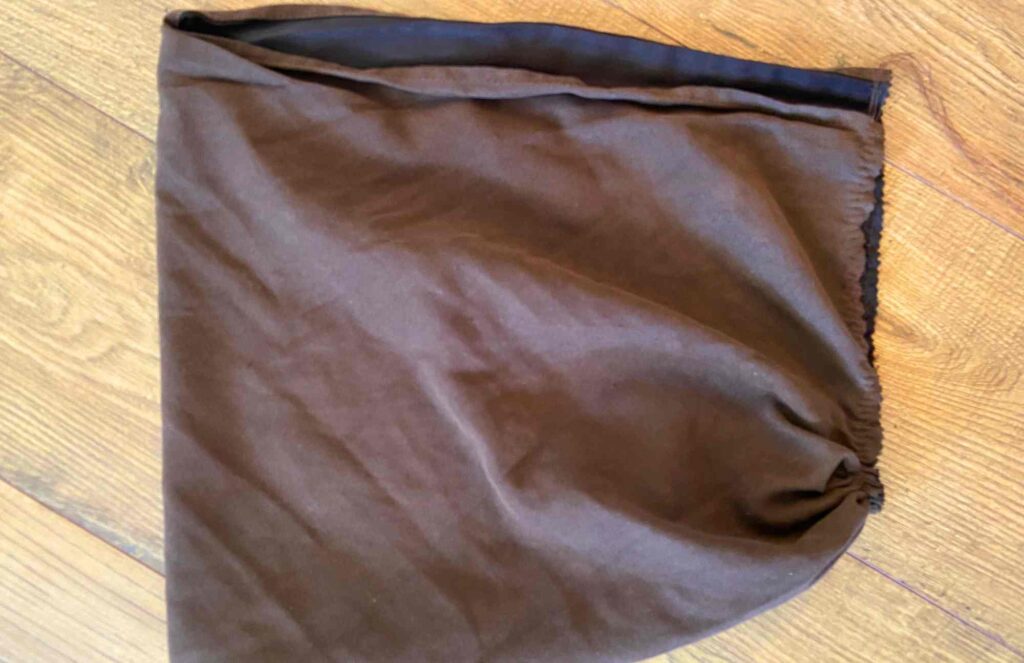
Lastly, you’ll want to work on the hood.
Fold your hood the way you want it to be.
If you’re using my measurements, you’ll want to fold your 30″ side in half.
If you want a rounded hood, you can round the top back of the hood at this stage. I didn’t bother.
Sew the back edge of your folded 30″ side (which is now 15″).
This is the part of the hood that will be laying on the back of the head.
Hem the front edge of the hood.
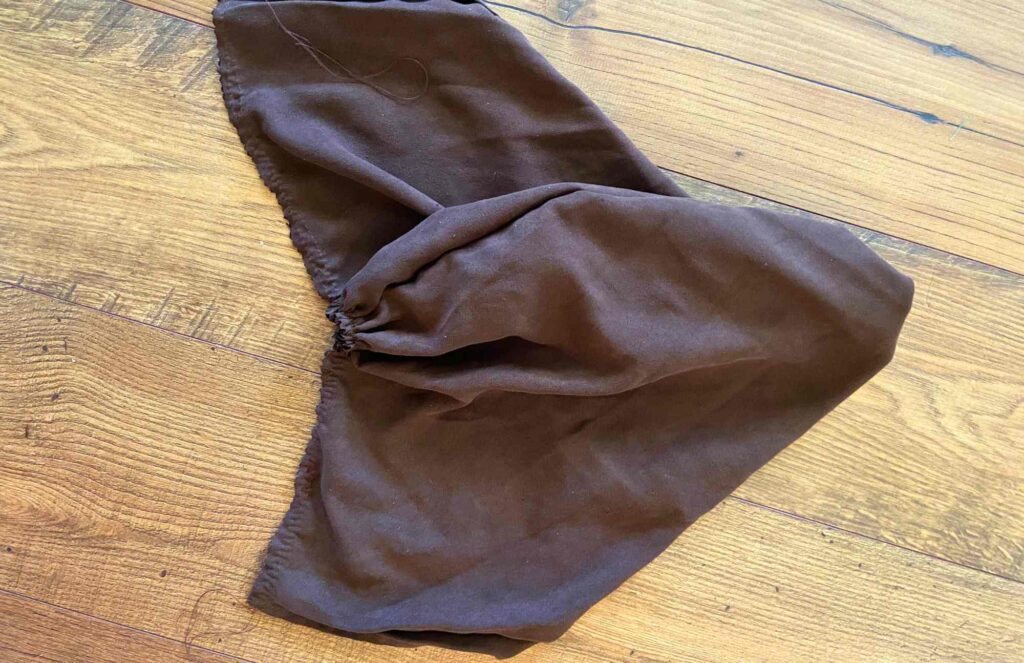
Next, gather the bottom “neck edge” of the hood.
Push all the gathered part to the center of the hood, and measure so that the bottom of the hood is the same length as your neckline on the body of the cloak.
Sew the hood on the neckline. The front edges of the hood will line up with the center edges of the body of the robe.
Lastly, attach a clasp to the neckline of the Jedi Robe to keep it shut.
Your Jedi Robe is complete!
Part 2: Jedi Pants and a Jedi Shirt
Want to make a complete Jedi costume? Check out these tutorials I made while completing my son’s costume! Click the links to redirect to my other blog posts!
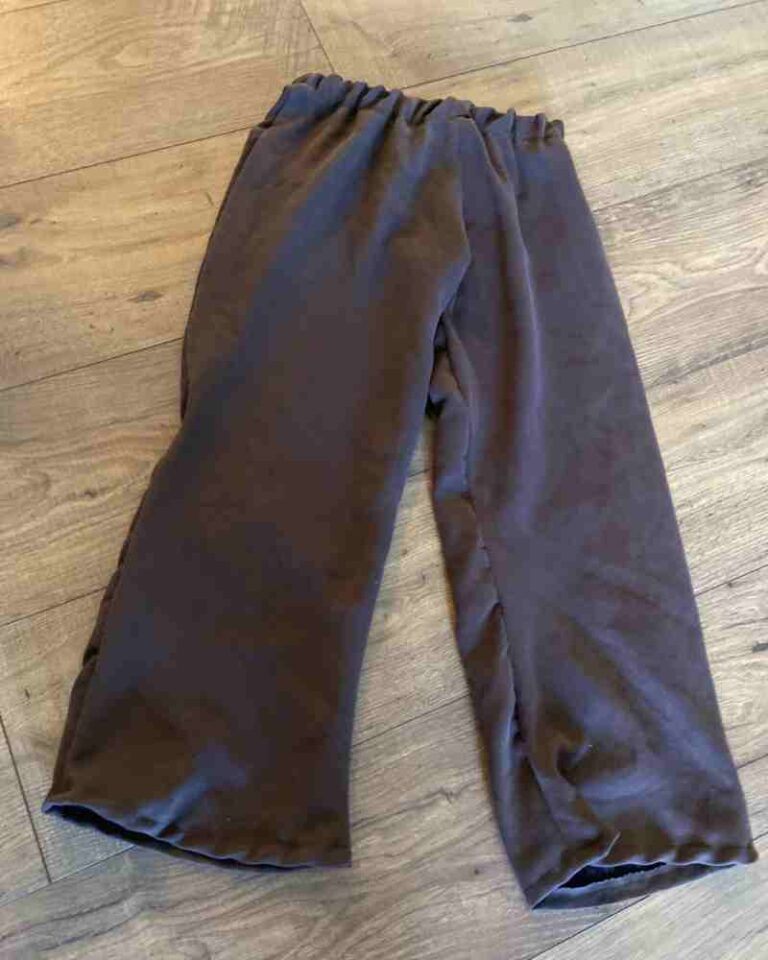
Jedi Pants Beginner’s Tutorial
How to Make an Easy Jedi Shirt

how tall is your kid??
Around 48″