Waldorf Doll Dress Free PDF DIY Pinafore Sewing Pattern
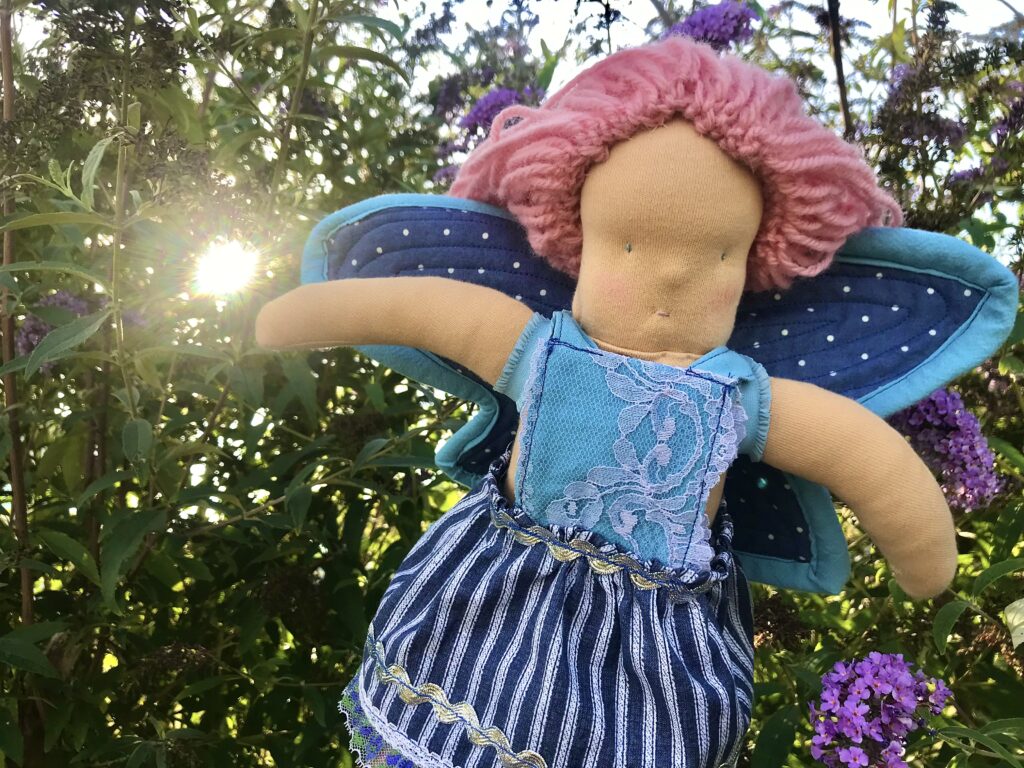
Scroll down to get a free PDF for a waldorf doll dress sewing pattern! This dress fits a medium sized waldorf doll, about 12″ tall. It is easy to alter to fit a doll of a similar size.
Grab your Free Printable Sewing Pattern for a Waldorf Doll Dress!
Here’s a pattern and detailed tutorial on how to make this dress for your waldorf doll.
Print out your free pattern, then follow along here for the tutorial!
Interested in patterns and tutorials to make the rest of this doll? Find them at the bottom of this post!
Disclaimer: As an Amazon Associate, I earn from qualifying purchases.
Supplies Needed
- Desired fabric, about 1/4-1/2 yard
- Sewing Needle
- Thread
- Free Pattern (get below!)
- Scissors
- 1 safety pin
- Optional: Sewing machine
- Optional: Lace/trim to decorate
Let’s get right to it!
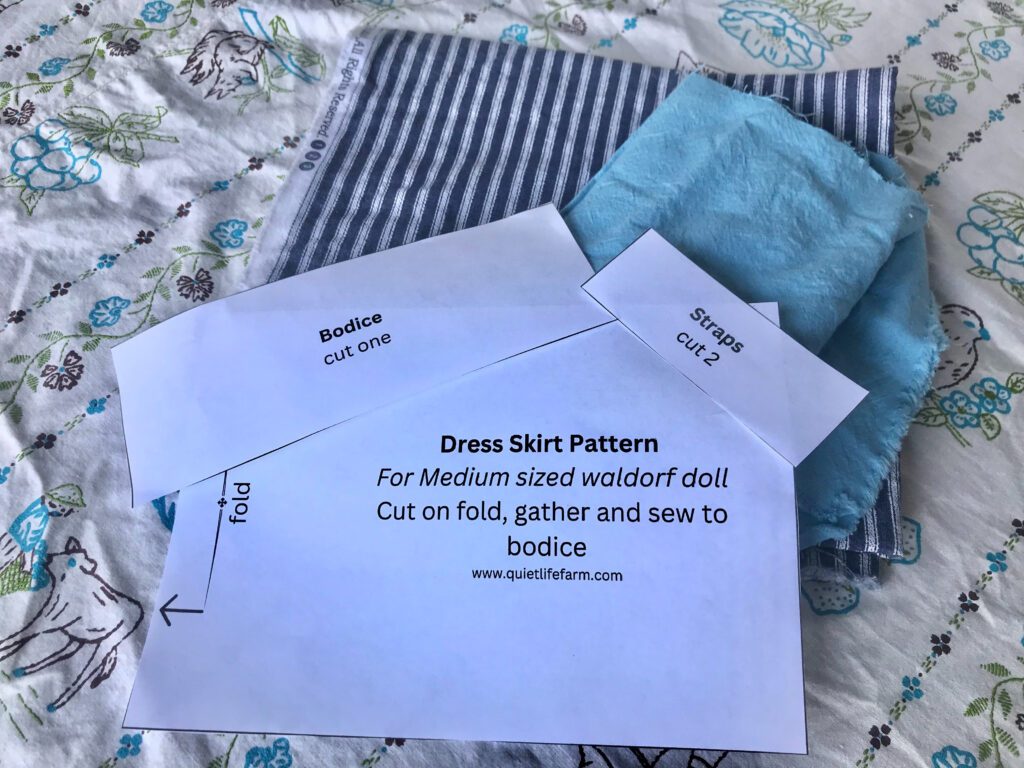
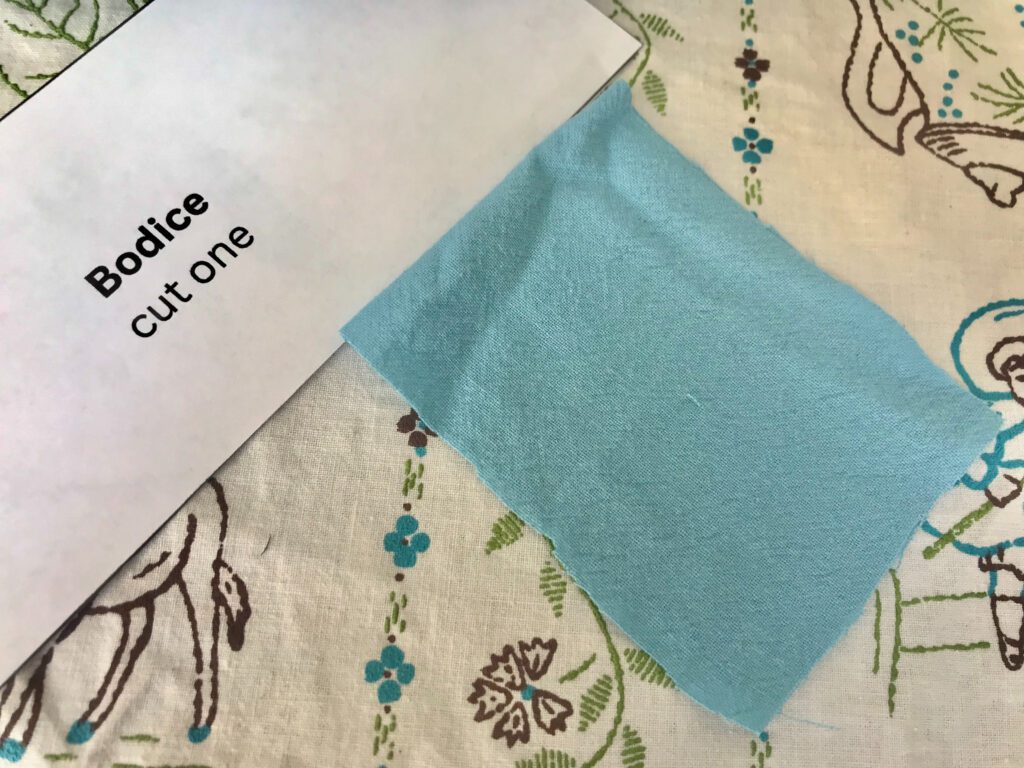
Step 1: Print Waldorf Doll Dress pattern and cut fabric
The first thing you’ll need to do is print out your Waldorf doll dress pattern.
The pattern can be downloaded and printed below.
It is two pages long. Save both images below and print.
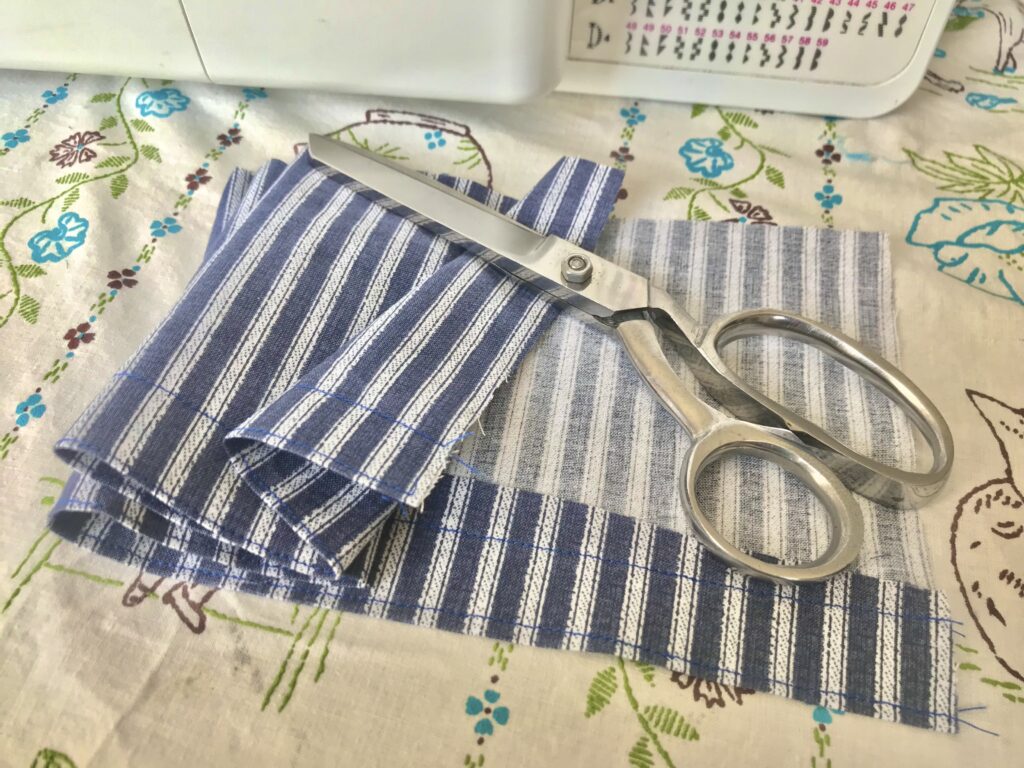
Next, cut out your pattern.
Trace on your fabric and cut.
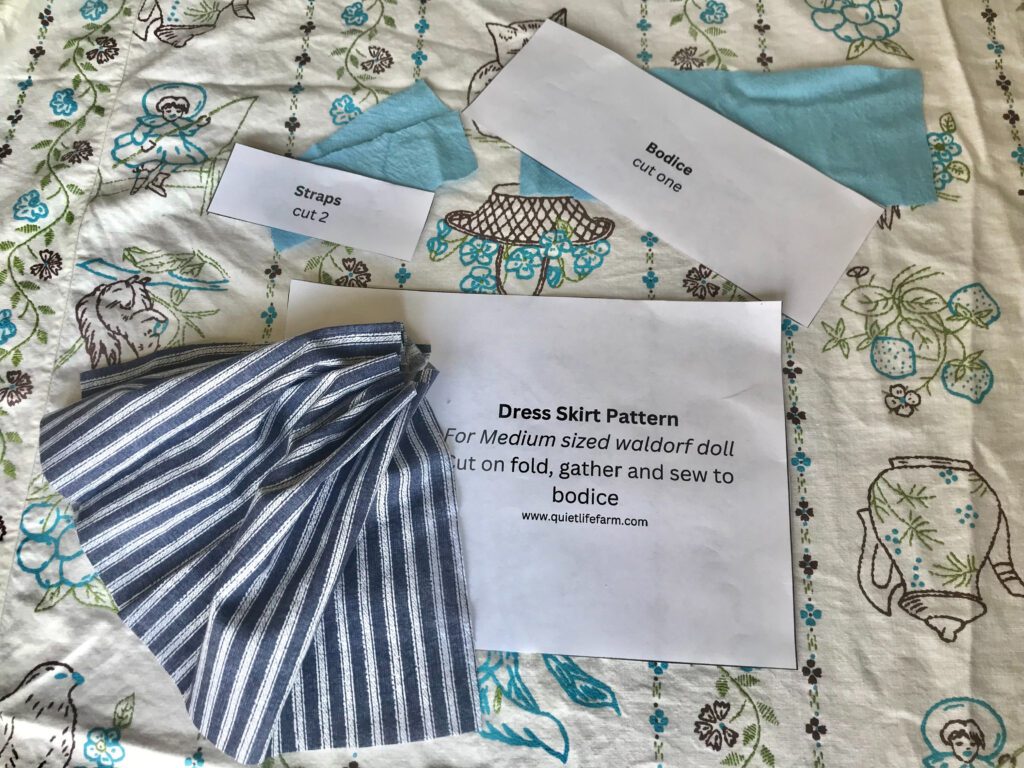
Be sure to cut the dress skirt on the fold!
By cutting on the fold, you will have a nice long skirt piece. This will make for an extra fluffy dress!
Step 2: Hem and Gather Waldorf Doll Dress Skirt
Next, you will want to hem the raw edge towards the bottom of the dress.
There is definitely some leeway in this — if you want a longer dress, sew a shorter hem. If you want a shorter dress, sew a bigger hem.
After you hem the dress, sew a seam close to the very bottom of the dress.
By doing this, you will keep the dress skirt looking neat and tidy. This will help keep the bottom hem flat and in place!
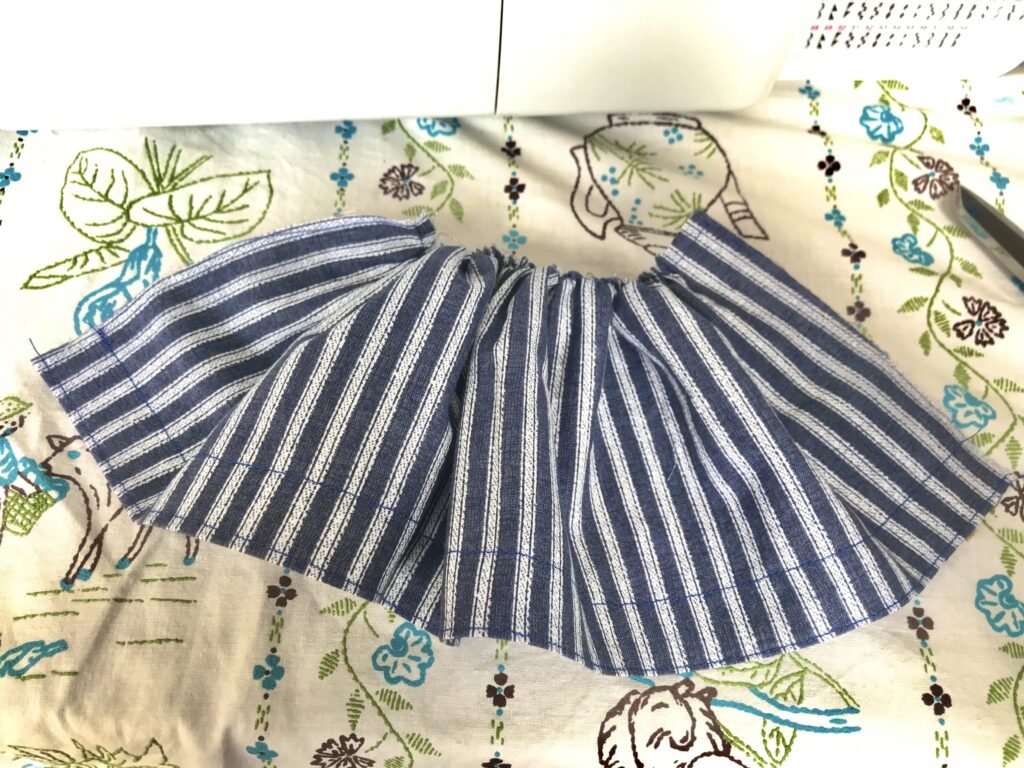
Next, you will want to gather the skirt at the top to create a nice ruffle.
Use a long stitch on your sewing machine. I set my sewing machine as long as the stitch will go — 5.0.
Do not create a knot at the beginning or end of this line of stitches!
Instead, leave long strands of thread at each end.
Pull the tread to gather the skirt.
Alternatively, you can sew this part (and the entire dress) by hand.
Measure against your doll’s waist to see how fluffy the ruffle should be.
Make sure you leave plenty of fabric to play around with — you will want all those raw edges sewn up!
Because of this, make sure you have plenty of fabric to sew the back seam of the skirt.
After you decide the width of the skirt you’ll need, reinforce the skirt ruffle by sewing across the ruffle.
Don’t forget to reset your sewing machine back to a standard stitch length! (mine is 2.5!)
Step 3: Sew Waldorf Doll Dress Bodice
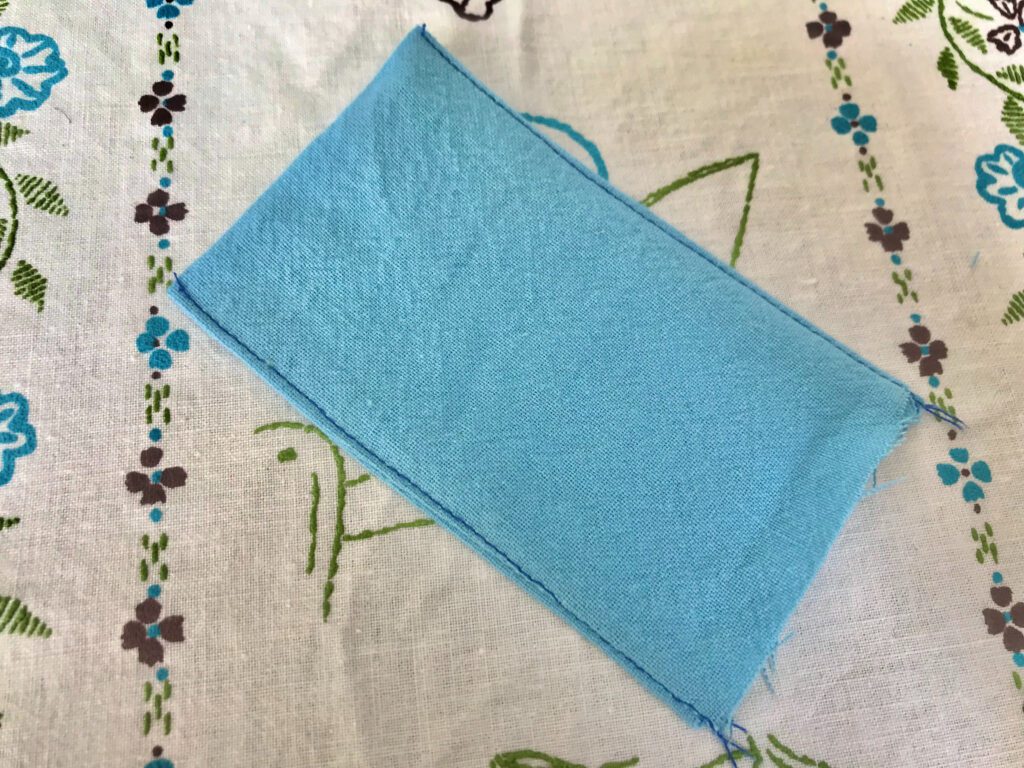
Next we will sew the bodice of the dress.
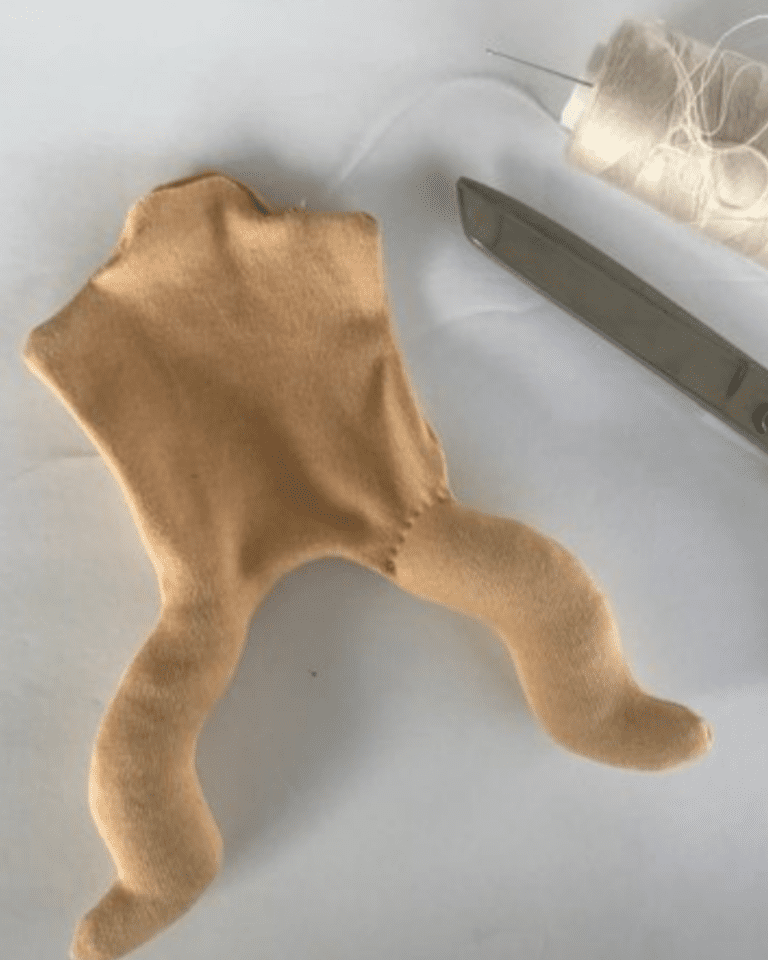
First, fold the bodice in half, like in the photo above.
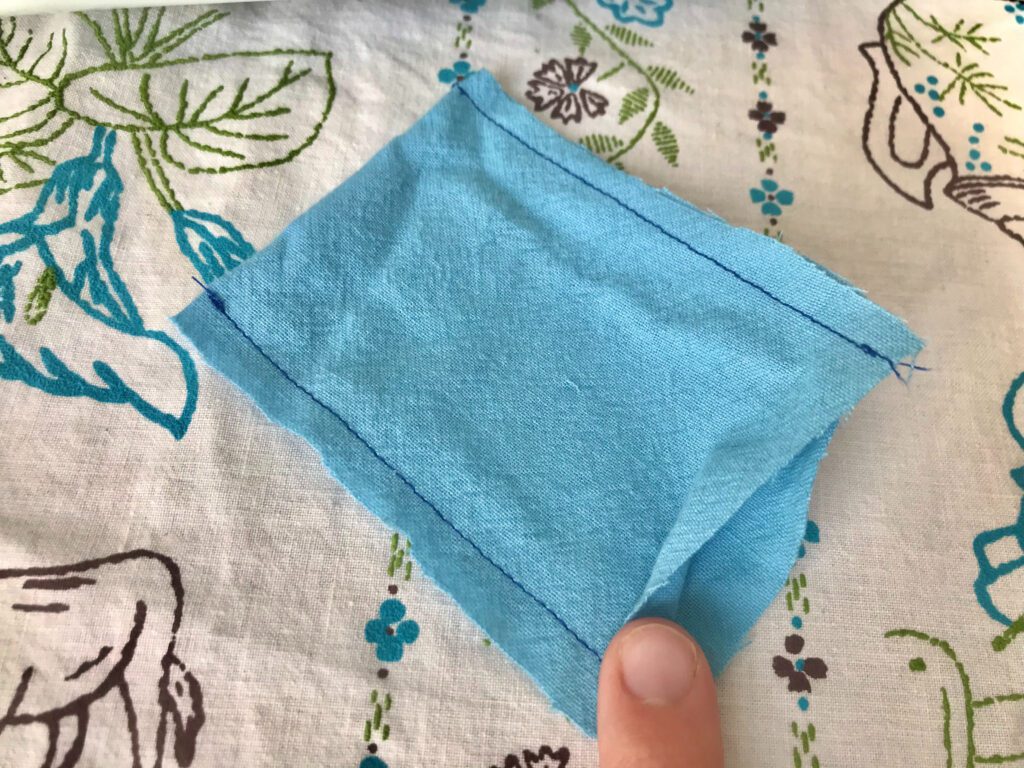
Next, sew a seam on each end.
Be sure to leave the bottom pocket open!
Turn the bodice right side out.
Sew seams close to the edge to keep the bodice “flat.”
Again, this will keep your final product looking neat and tidy.
It will also hold the dress together better with reinforced stitching.
Toys are meant to be played with! Don’t let yours fall apart!
Step 4: Sew Waldorf Doll Dress Straps
Next up, the straps of the dress!
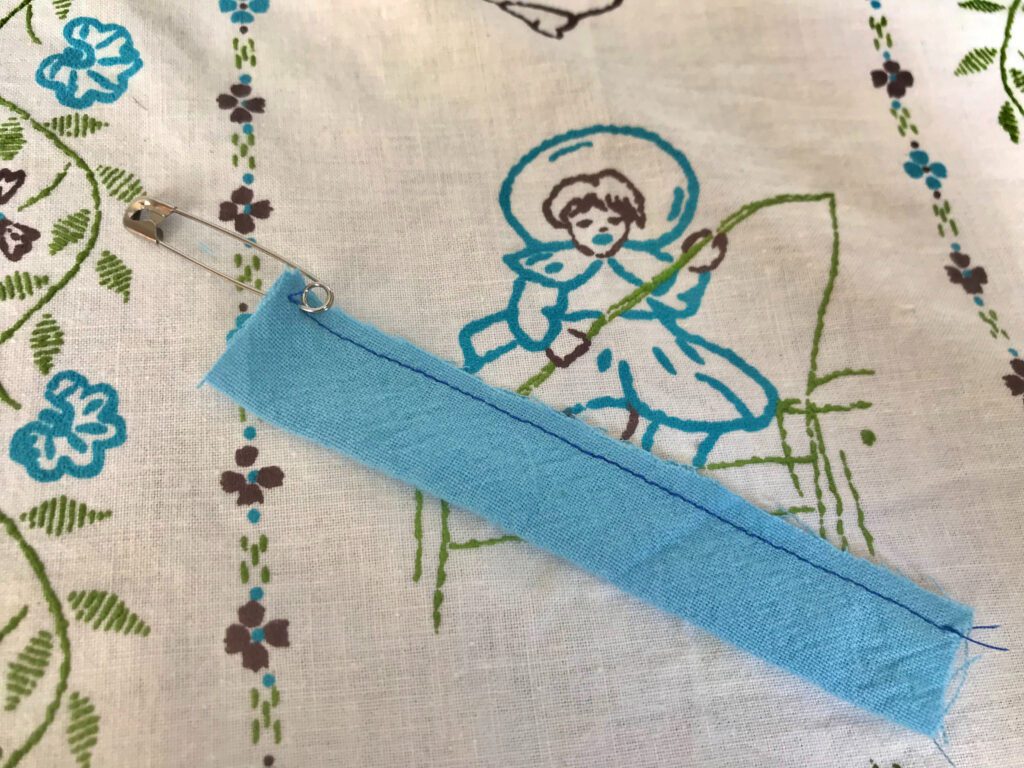
Fold the right sides of the fabric together, and sew the long side of the piece together only.
Leave both the top and bottom ends open!
Attach a safety pin to one end.

Push the safety pin into the “tube.”
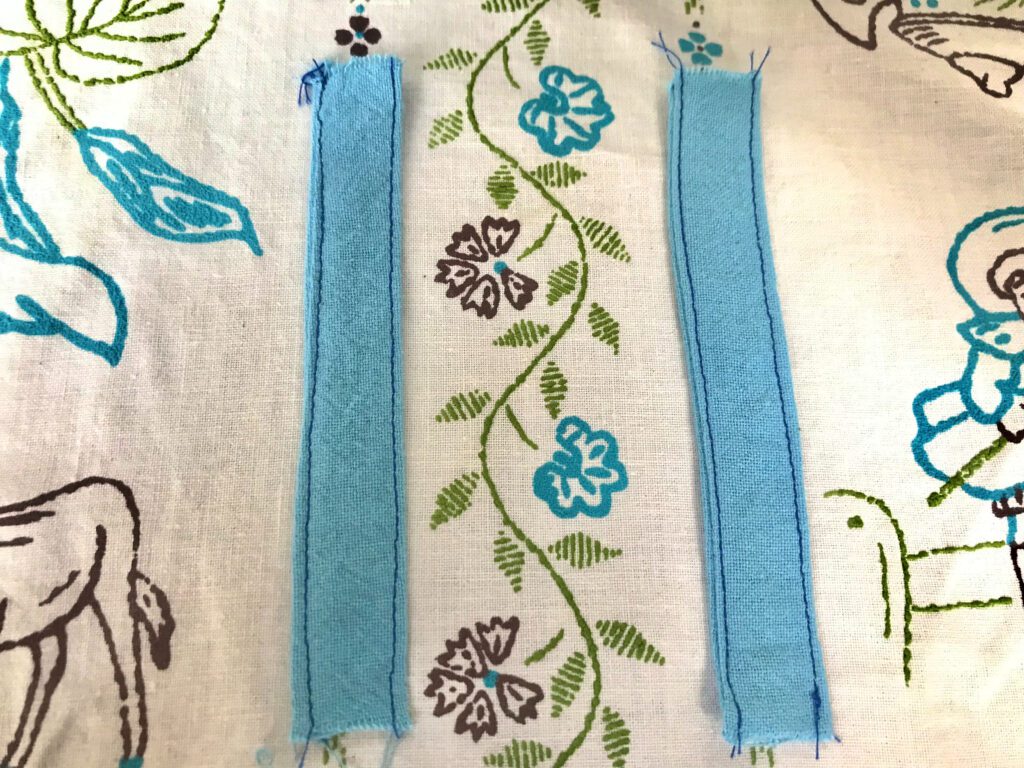
Turn the straps right side out by pulling the safety pin out the other end.
Lastly, sew a seam down each end of the straps.
Step 5: Putting it all together!
The last step is the most fun step!
It’s time to put your dress together!
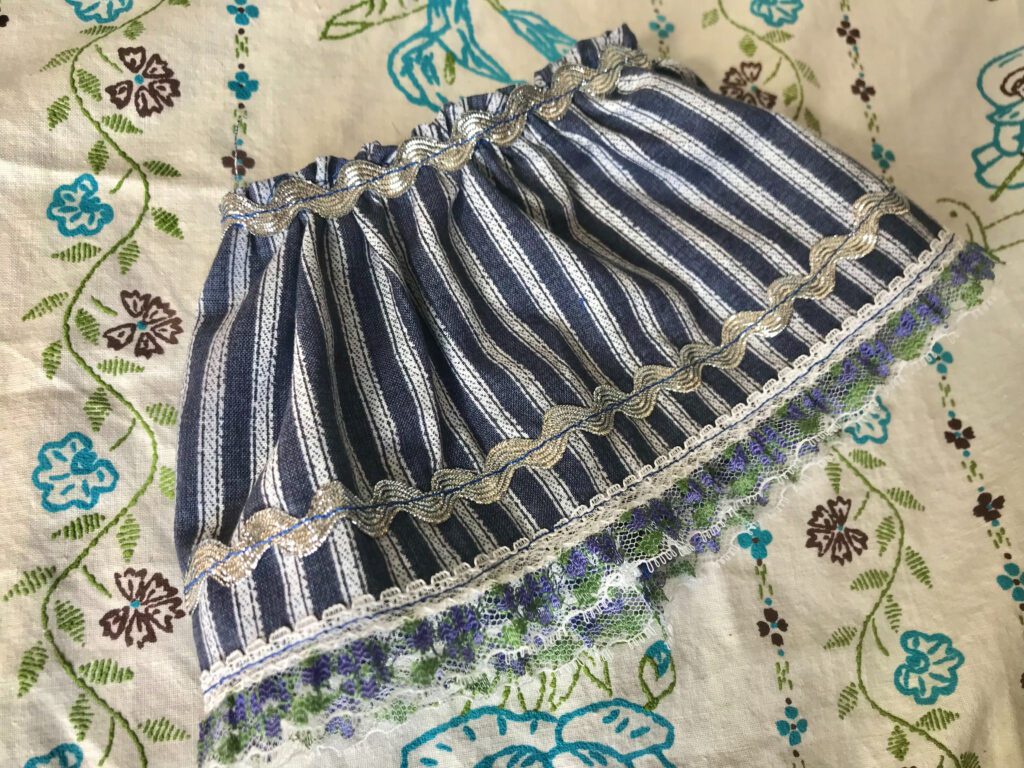
First, put any lace or trim on the skirt that you’d like to embelish it with.
This part is not necessary, but it certainly makes the dress look more interesting!
Sew the back seam of the skirt.
Next, embellish the bodice if you wish.
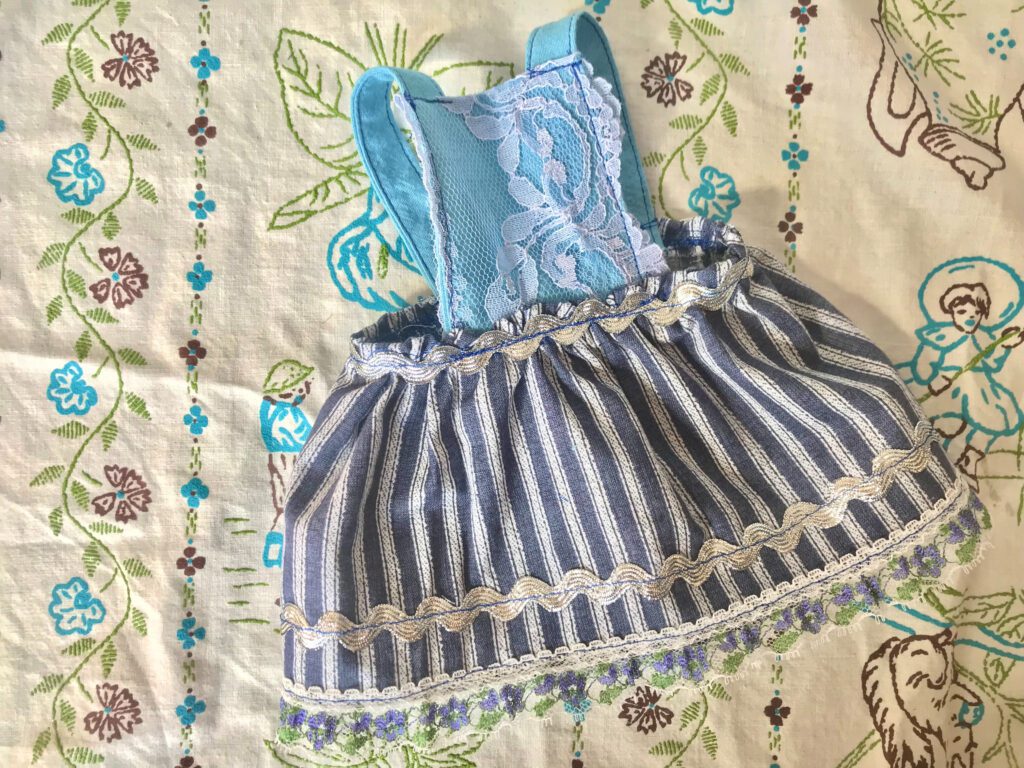
I chose to put a piece of lace over my whole bodice piece.
Then, attach the bodice to the skirt as seen in the photo below.
Lastly, attach the straps to the dress.
Don’t cross the straps in the back or you won’t have enough space to fit your doll in the dress!
Simple straps will simply do well. 🙂
That’s it!
You’ve created a simple pinafore dress for your Waldorf Doll!
Looking for more tutorials for this Waldorf Doll?
Want all the patterns and tutorials to make the complete doll seen in the picture above?
They are available for FREE down below!
Lastly, don’t forget to leave a comment down below to let me know what Waldorf patterns you want to see next!
Waldorf Doll Head can be found HERE
Waldorf Doll Body can be found HERE