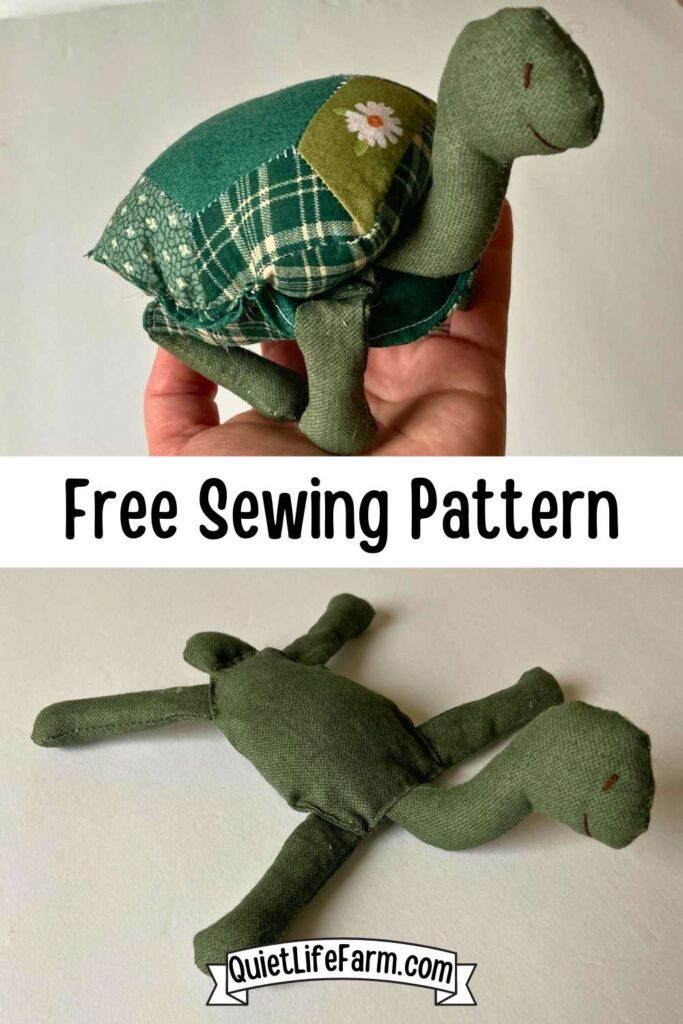
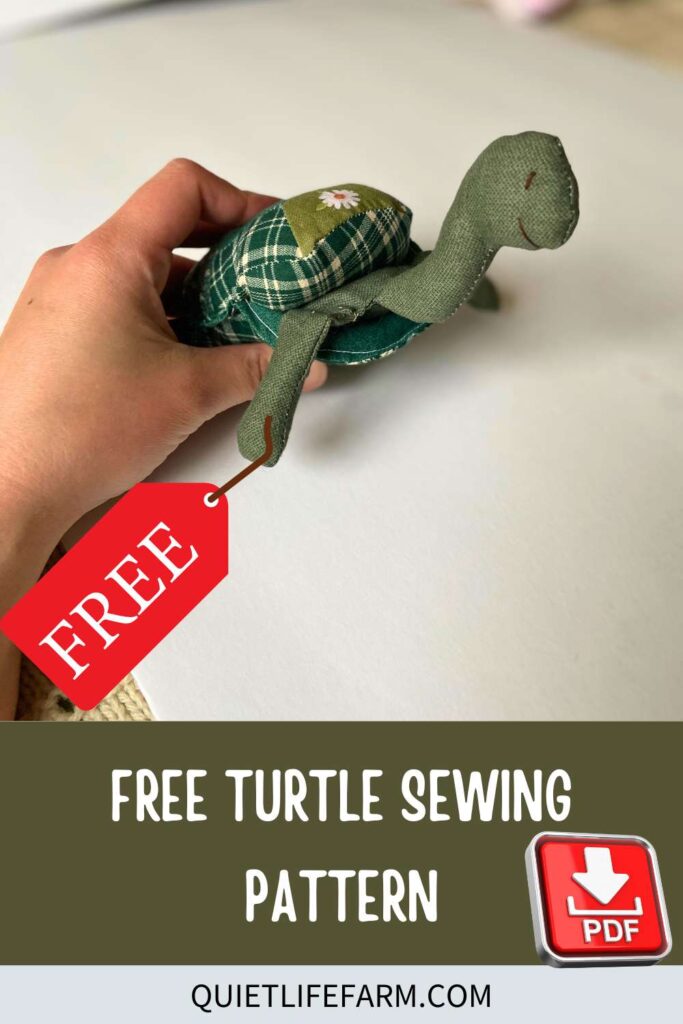
Free Turtle Sewing Pattern: DIY Stuffed Plush Pattern!
This adorable little quilted turtle can come completely out of his shell! The sewing pattern is a free printable PDF!
Use this fun pattern to make a whole bale of cuddly turtles, they make wonderful gifts!
This is an original pattern free to use for personal use.
The turtle body is a separate piece that can be taken in and out of the shell.
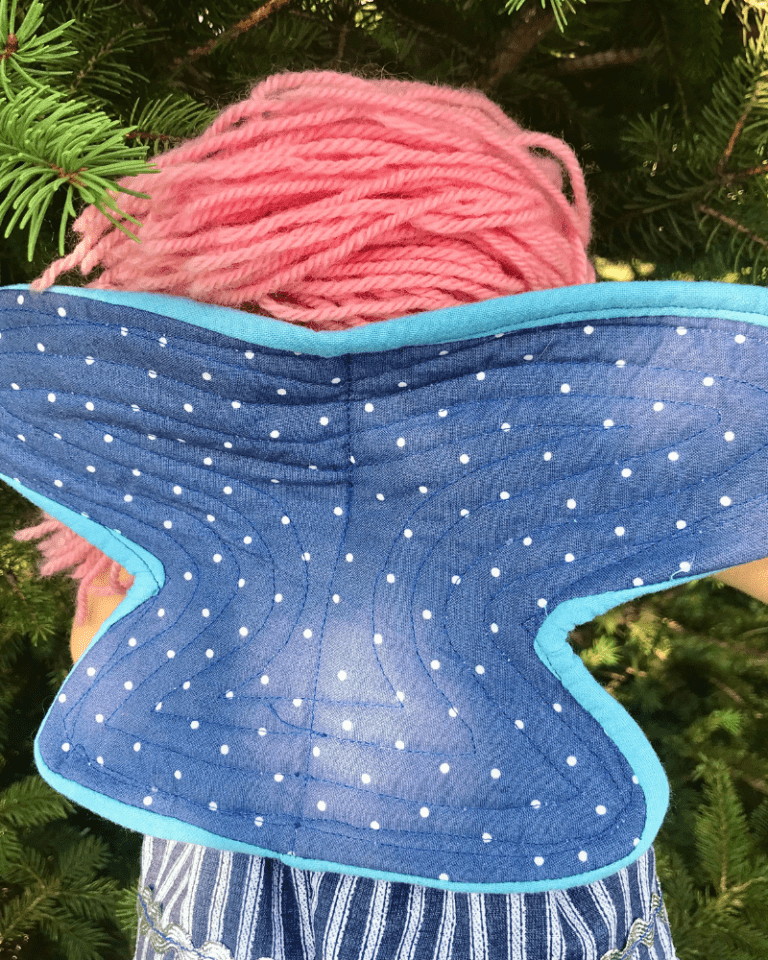
The turtle’s shell is quilted, imitating the texture of their shells.
Print out your pattern, then follow along the photographed tutorial below!
List of Materials Needed
- Cotton fabric in varying green colors/patterns
- A sewing machine
- A pencil/pen for tracing the paper templates onto the fabric
- A small amount of wool for stuffing the turtle
- A hand sewing needle and thread for embroidering a face
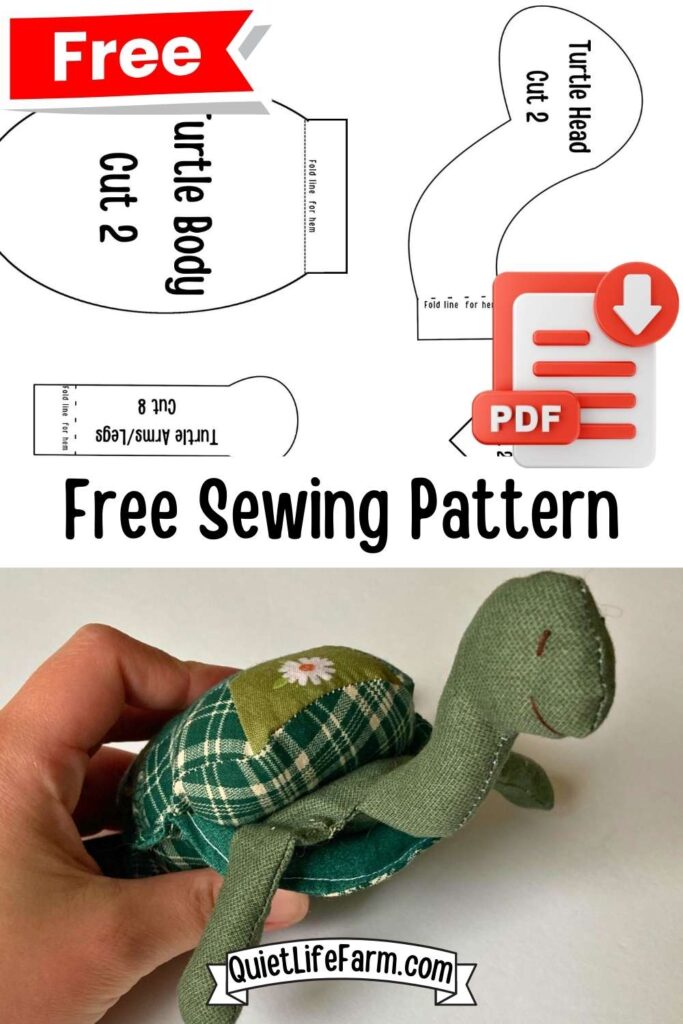
- Your Free Printable Sewing Pattern, found below!
First, print out your free sewing pattern.
Cut out all of your paper template pattern pieces.
These paper templates can be divided into two categories: The turtle’s body, and the turtle’s shell.
The shell is made by tracing the paper templates onto fabric, cutting out the fabric pieces, and then sewing them together.
The turtle’s body is made a little differently.
For the turtle’s body, you will trace your paper templates onto 2 layers of fabric (right sides together, wrong side showing!) and then sew directly onto your traced lines.
Making the turtle’s body this way makes it MUCH EASIER to make such a tiny little guy!
AND, it keeps the shape looking much more accurate/sharper!
The Shell
First, let’s make the shell.
Use a 1/4 inch seam allowance for all of the shell!
Cut out all of your shell pieces.
First, match up each top of the top shell sides to each side of the center top shell. (see picture)

With right sides together, sew all 6 sides to the center top shell.
Then, (with right sides together) sew the SIDES of each top shell side piece. (again, see picture!)
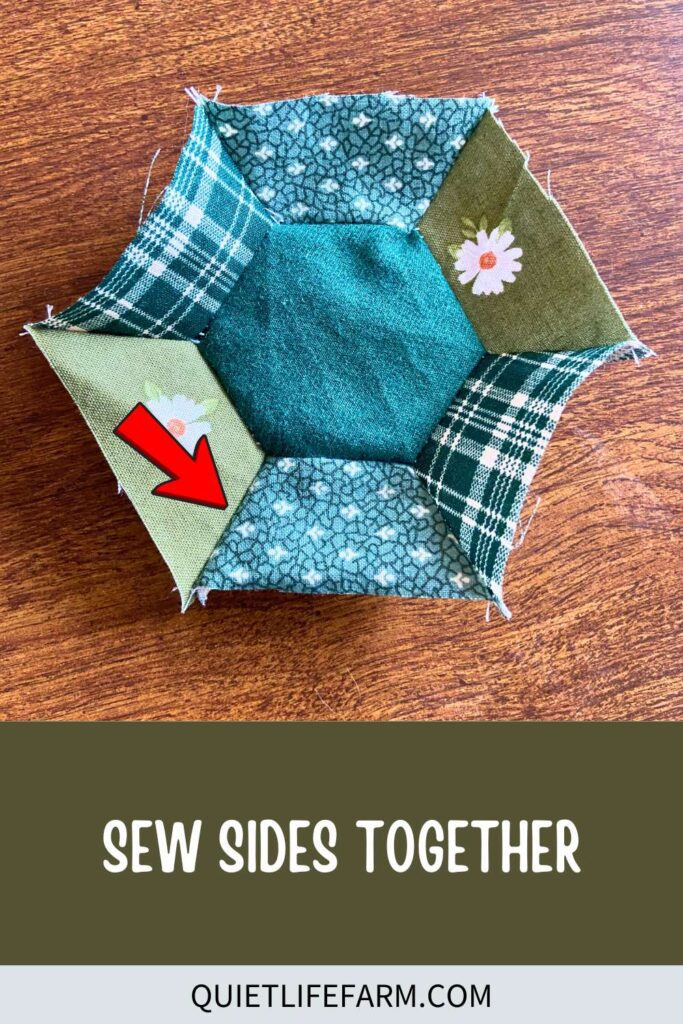
This creates the quilted top of the shell.
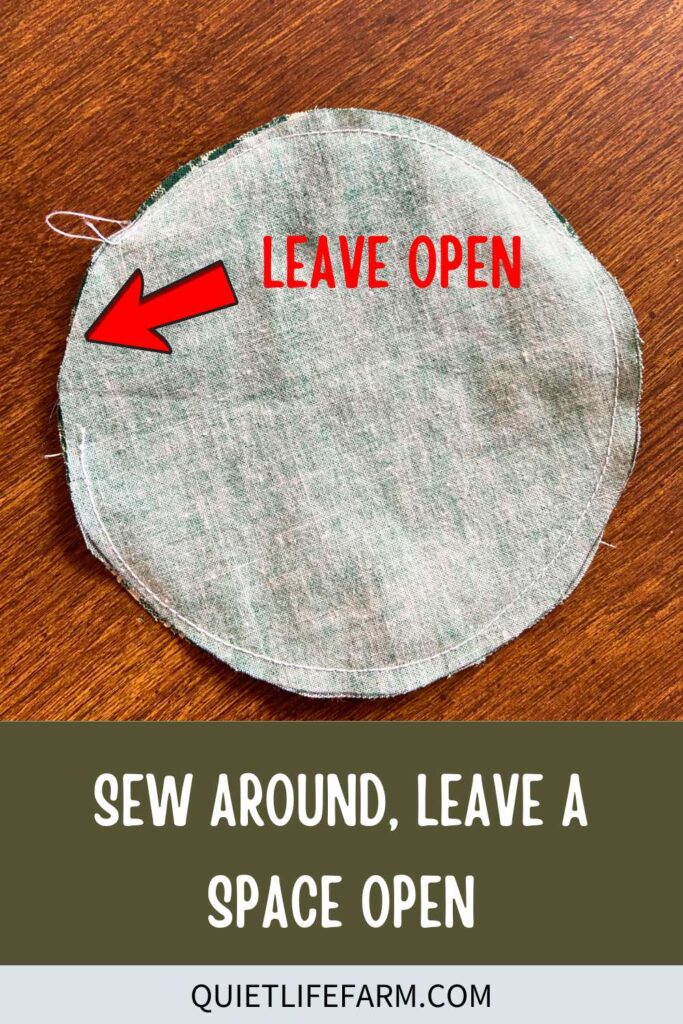
Now, you’ll take one of the big circles you cut out and lay it right side together with this quilted top.
Sew around, leaving a small portion open so that you can turn everything right side out.

Turn the shell right side out.
Stuff it firmly with wool.

Fold in the raw edges, and sew closed.
Now, we’ll move onto the bottom of the shell!
Take the remaining two circle pieces and put them right side together.
Sew around, leaving a small portion open.
Stuff LIGHTLY with wool. Don’t overstuff the bottom of the shell — just a little bit!!
Use the opening to turn the piece right side out, fold in the raw edges, and sew the remaining opening closed.
With a hand sewing needle, attach the sides of the top and bottom shell together.

Sew right on each side edge of each side of the shell.
Make sure you don’t sew too much when attaching the top and bottom shell together — envision where the head, arms, legs, and tail will be on your turtle. You’ll want enough space in the openings for those!
The Body
Next, we’ll make the body of the turtle.
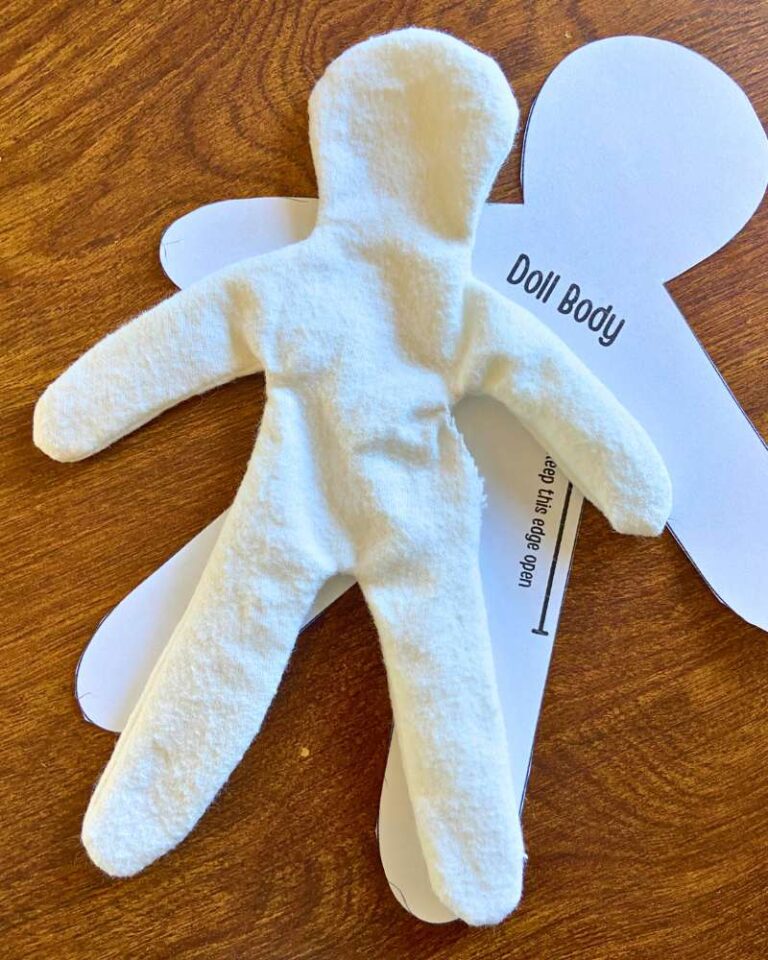
Trace the templates for the turtle’s body over 2 layers of fabric, laying right sides together.

DO NOT cut your fabric. You will SEW FIRST.
Next — SEW over your traced lines — minding where the paper templates instruct you to “keep open.”

Then, only after you have first sewed, cut out your pieces, leaving a decent seam allowance. (in other words, just don’t cut too close to your stitches, otherwise they’ll fall out over time.)

Turn everything right side out.
A turning tool such as a chopstick, straw, or knitting needle can help with this part.
Stuff the head piece FIRMLY with wool.
Stuff the arms, legs, body, and tail LIGHTLY with wool.

Fold in each raw outer edge as instructed on your paper templates. Sew across to hem.
With a hand sewing needle, attach your turtles head, limbs, and tail to the body.
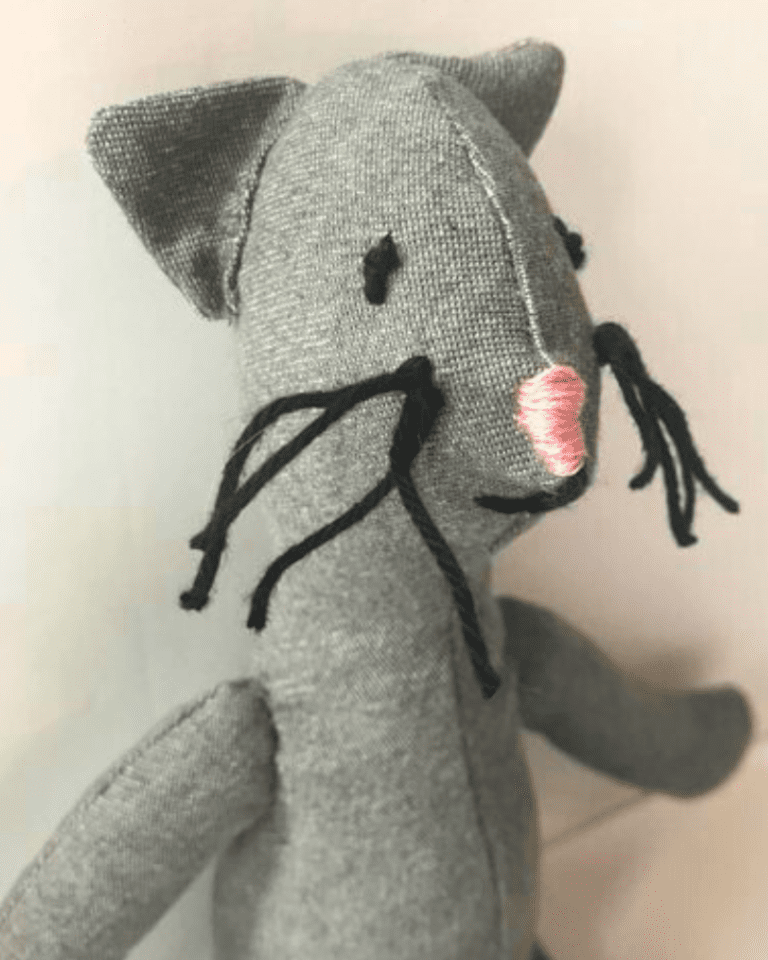
Stitch a happy little face onto your turtle!

From here, you can stick your turtle’s body inside the turtle shell.
The turtle is designed so that the body can be taken in and out of the shell during play. There’s no need to stitch it into place!


Print your Pattern
Ready to print out your turtle pattern?
Get it for FREE below!
Don’t forget to check out my other free sewing patterns!
I have other free templates for more plush toys!
Happy sewing!