RABBIT KNITTING PATTERN FREE: part 2 — assembly
Below are the instructions for how to assemble this knitted classic rabbit.
For the FREE knitting pattern for this rabbit, please click HERE.
Once you have knitted all the pieces of your rabbit, it’s time to assemble him!
Follow along below for instructions for assembling your knitted bunny rabbit.
Disclaimer: As an Amazon Associate, I earn from qualifying purchases.
Step 1: Thread your tapestry needle with yarn of matching color
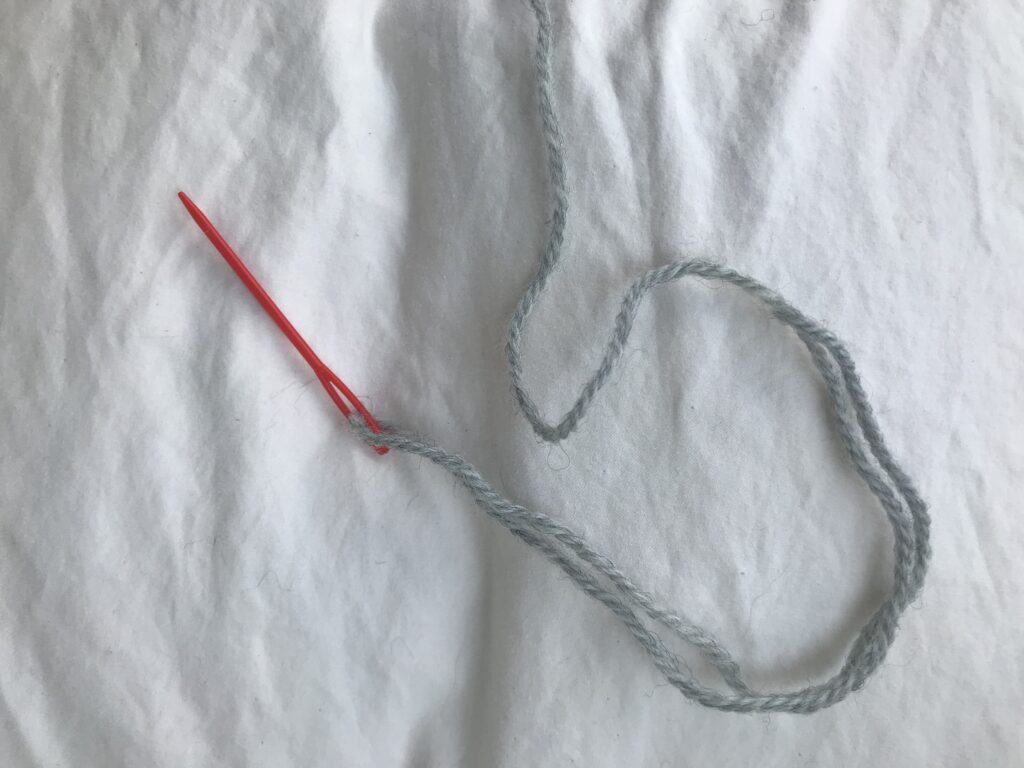
Thread your needle with your yarn!
You will want yarn that is a matching color to the parts you will be sewing.
It’s best to use the same yarn you knitted the outer body of your rabbit with.
Since my outer body on my rabbit is grey, I used the same grey yarn for sewing up my rabbit.
Step 2: Sew the head

Fold your rabbit’s back in half. Be sure that the right sides are facing each other. The purl side should be facing OUT.
Sew your rabbit’s head together.
Using your tapestry needle and yarn, start at the back of the head, and sew all the way to the rabbit’s nose.
Then, be sure to tie a tight knot to secure it all!
Lastly, leave a nice long tail of yarn at the beginning and end of your stitches.
These long tails of yarn will ensure that your work does not come undone. They will be hidden on the inside of the rabbit, out of sight.
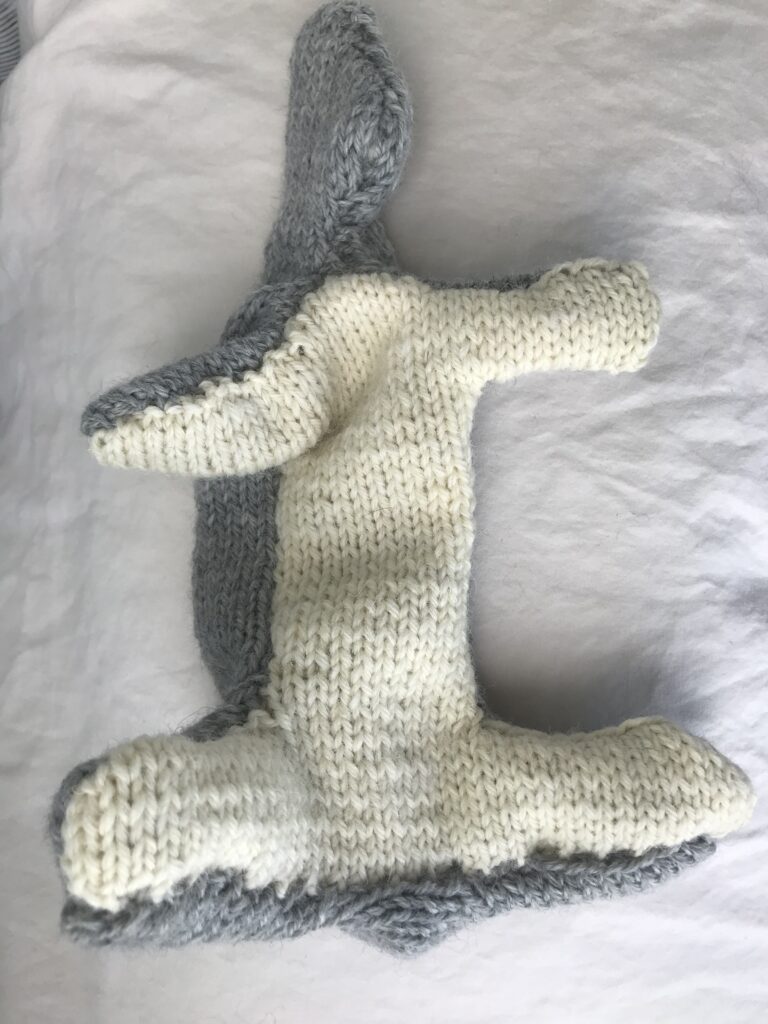
Step 2: Sew the rabbit’s front body
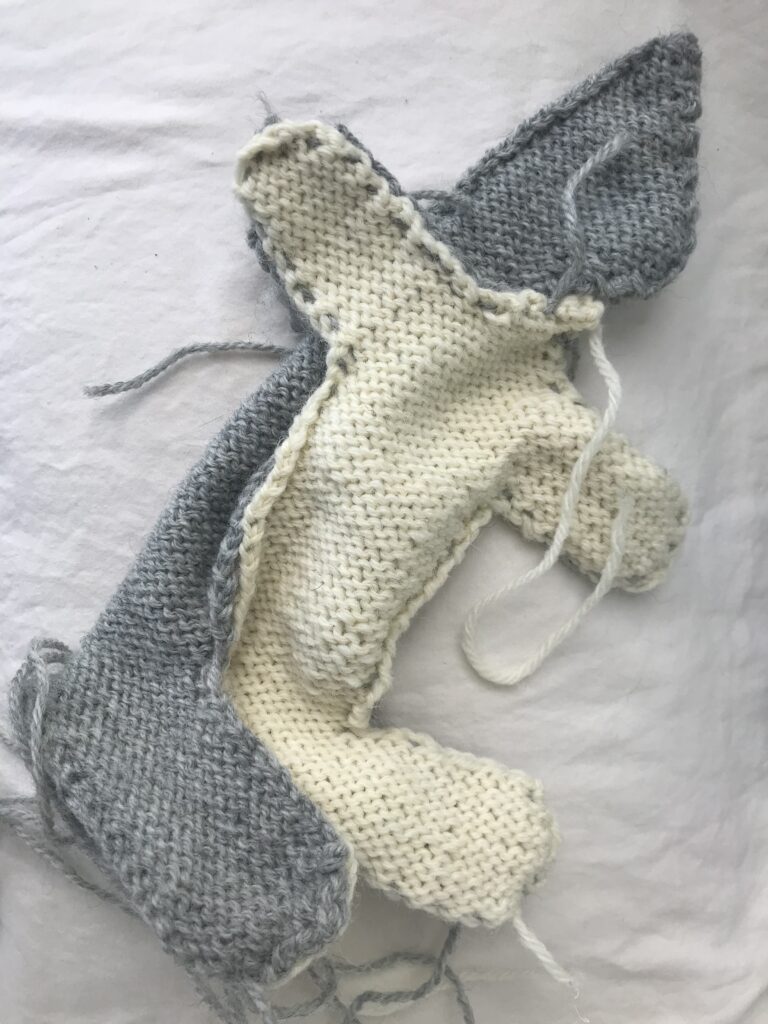
With the right sides facing (purl side out), sew the front body to the back body.
I still used my matching grey yarn for this portion. The stitches were unnoticeable in the end product.
Again, be sure your knots are tight and tails are long!
It is also helpful to be aware of your next several stitches ahead. In other words, line up your work nicely as you go along. Be sure that your knitted pieces will be sewn together in all the right places.
Alternatively, you may wish to pin your work together.
Sometimes I find it helpful to use my stitch markers as pins to hold everything neatly in place!
Sew everything together from the neck to the bottom feet.
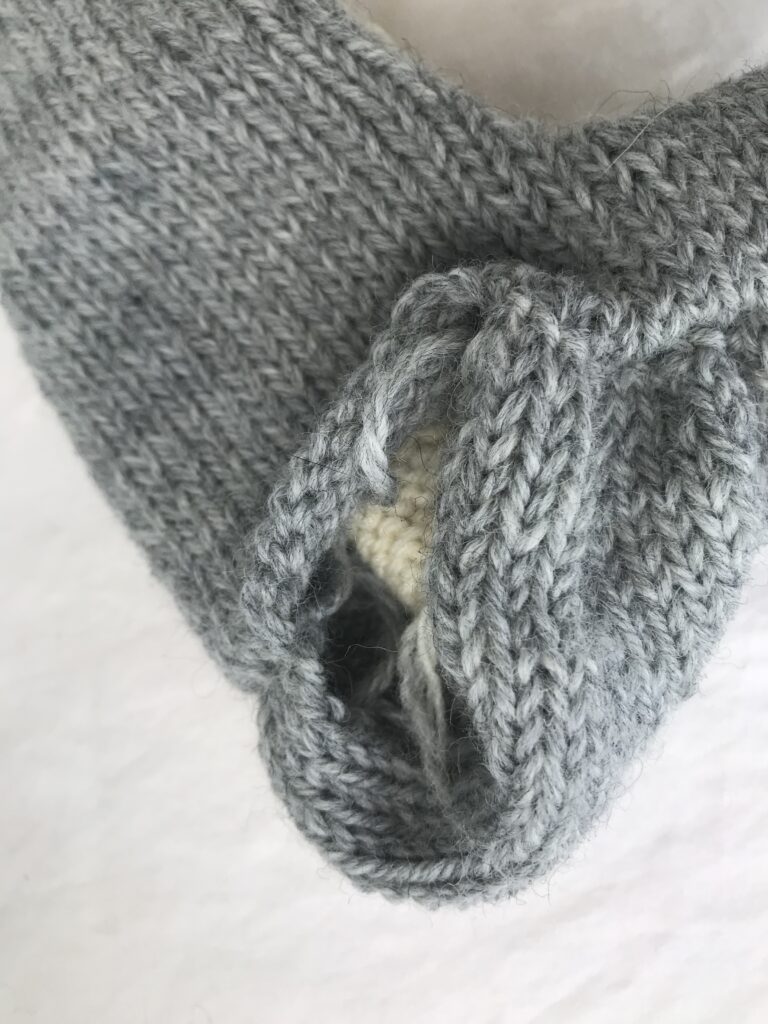
Step 3: Sew the rabbit’s bottom
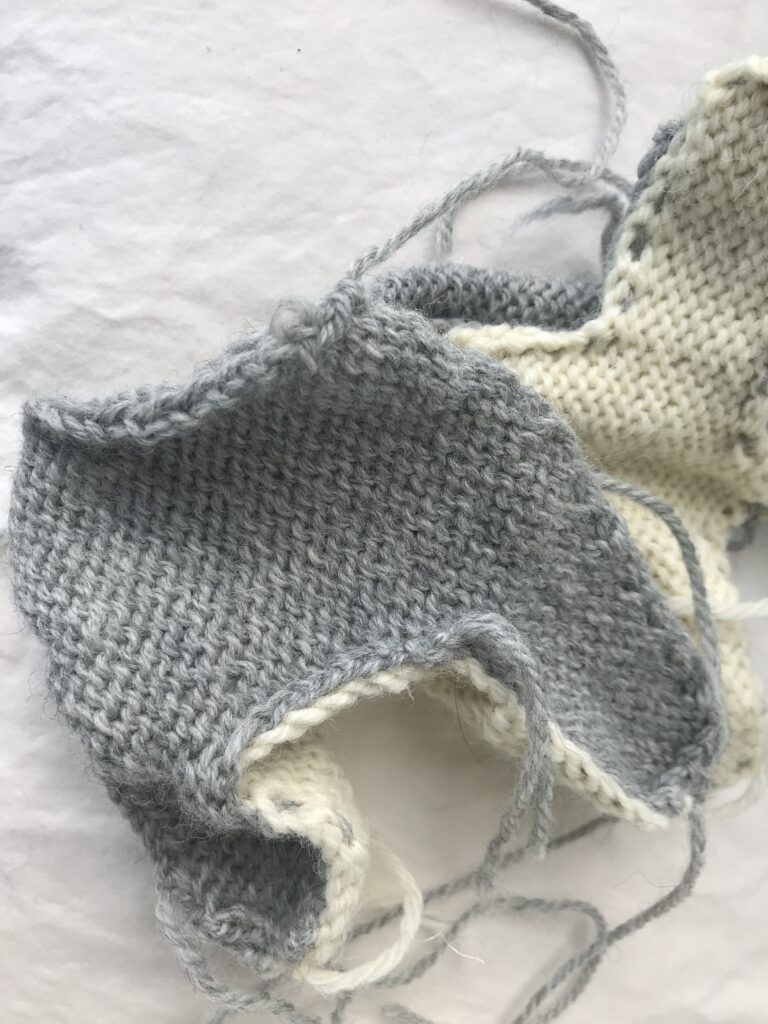
Next, you will be sewing the rabbit’s bottom into place.
Be sure to leave a place open towards the back to stuff with fluff!
Line up the bottom side of the legs with the rabbit’s lower/bottom legs on the body.
Secure everything with nice tight knots and long tails.
Again, leave a nice sized opening towards the back of the rabbit.
Turn your rabbit right side out!


Starting to look a little more like a rabbit, eh?
Now you need to stuff your rabbit with some fluff.
I used lambswool to stuff my rabbit.
Wool is a great stuffer for stuffed animals.
It’s nontoxic, a natural byproduct of caring for sheep.
It holds its shape very well, and gives a “warm” feeling that children appreciate when snuggling their toy.
Wool is also pricier than its polyester counterpart, so to each their own!
I like a nice firm head and a softer body. Play around with your fluff until the rabbit is properly fluffy to your own tastes.
If you have extra knitted material on the seat once you’ve filled your rabbit, you can simply tuck it inside the rabbit’s body, pulling the back of the rabbit down over it and sewing it neatly.
Stuff with fluff. Sew shut.
Step 4: Assemble and attach the rabbit’s ears
First, take one inner ear piece, and one outer ear piece.
Lay them right sides together (knit side facing knit side).
Sew them together.
Turn the ear right side out.

I like to sew the opening of the ear. This makes a nice finished product.
Repeat this process for the second ear.
Attach ears to head.
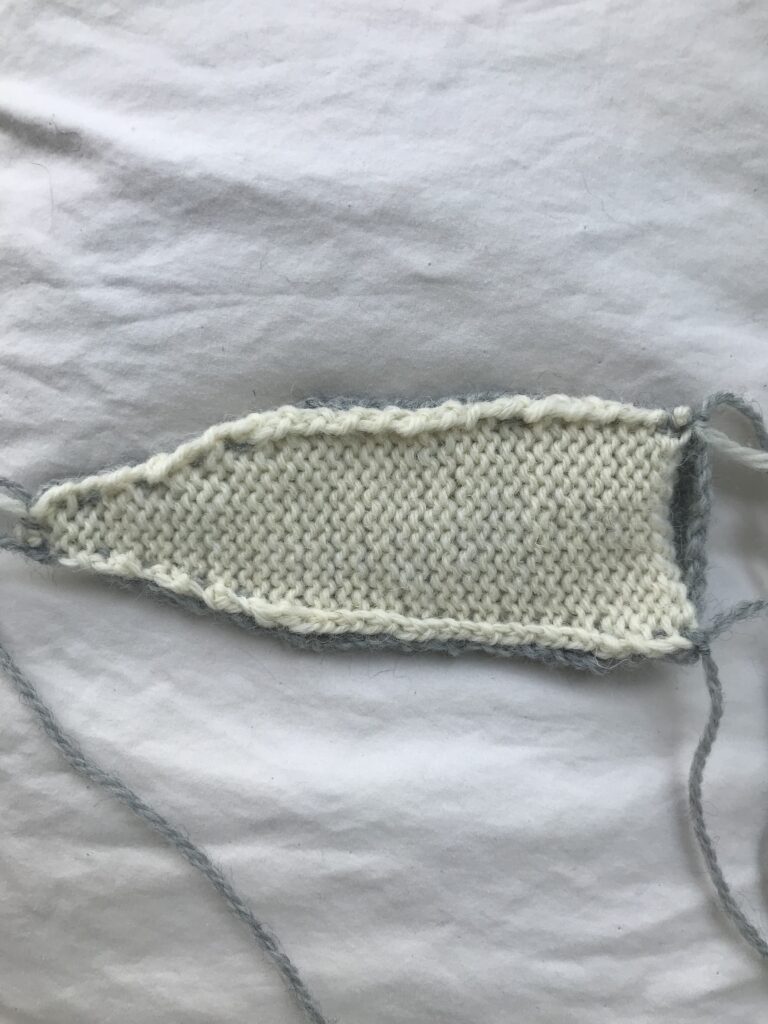
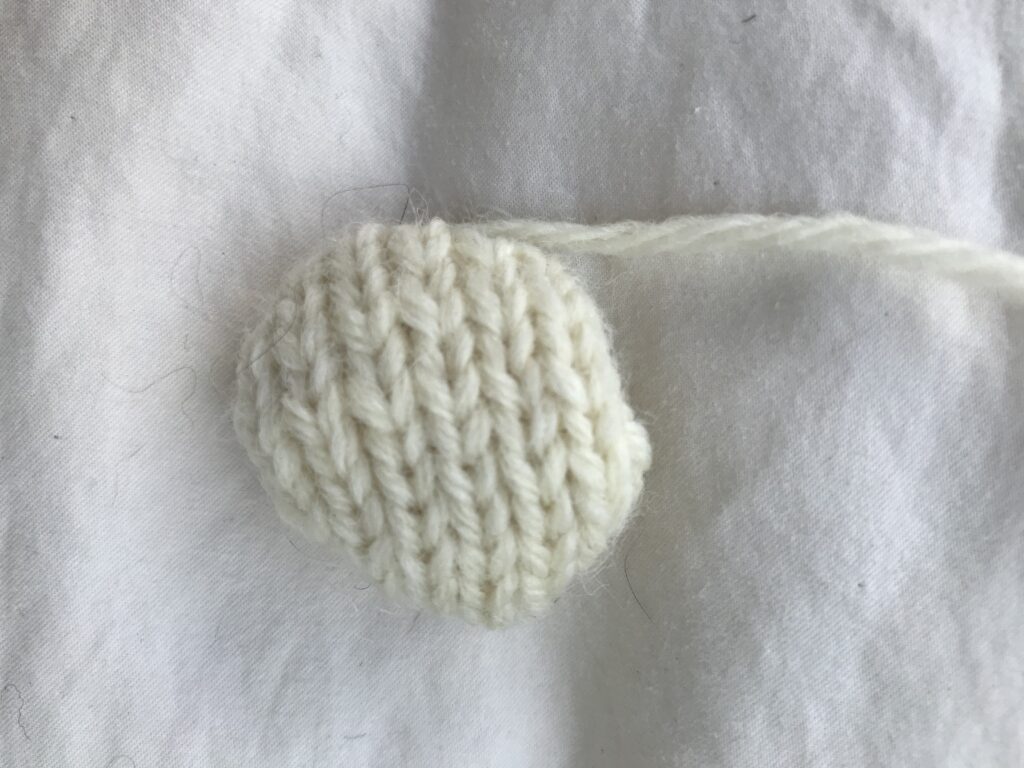
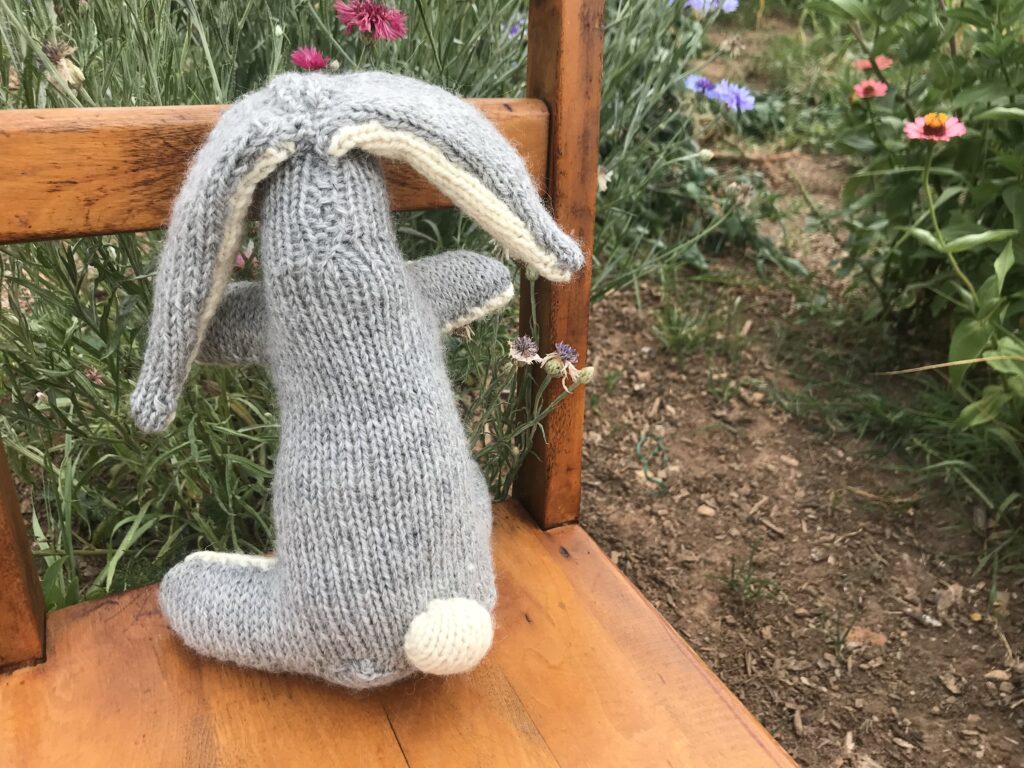
Step 5: Rabbit Tail
Take your rabbit’s tail piece.
Sew stitches all along the edges of the tail piece in a circle.
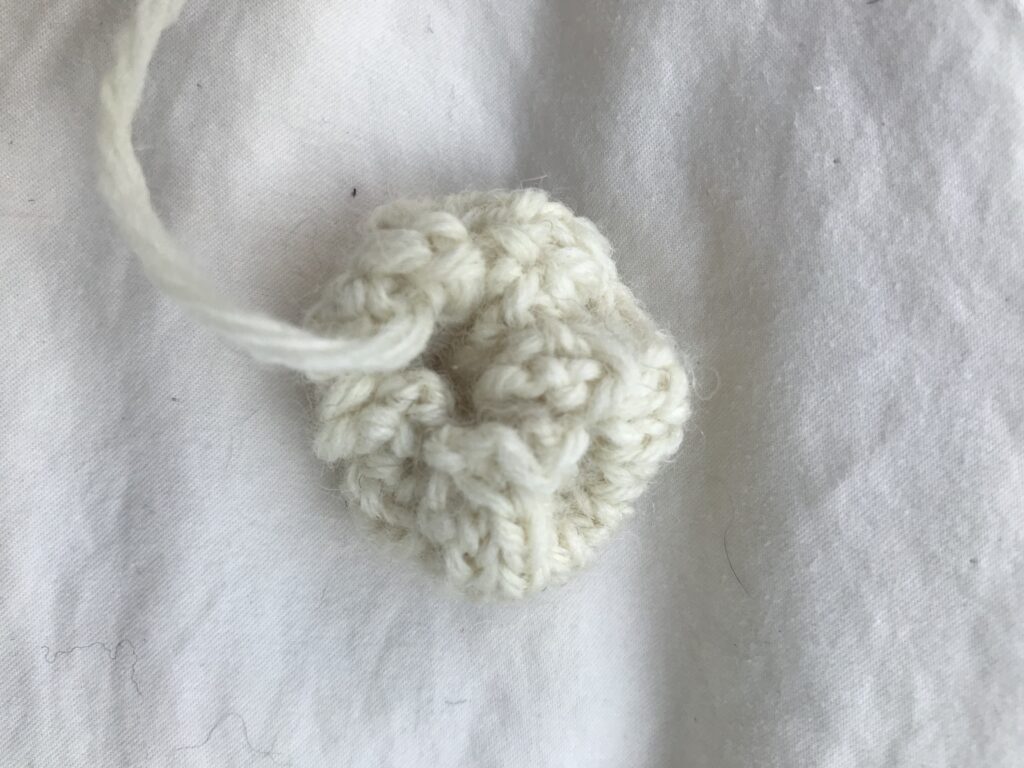
Pull up that long piece to create your little fluffy tail. Tie it tight.
Alternatively, you may first wish to stuff the tail with a bit of wool to give it some extra fluffly bulk. Then tie it tight.
Attach the tail to your bunny.
Step 6: Embroider your rabbit’s face
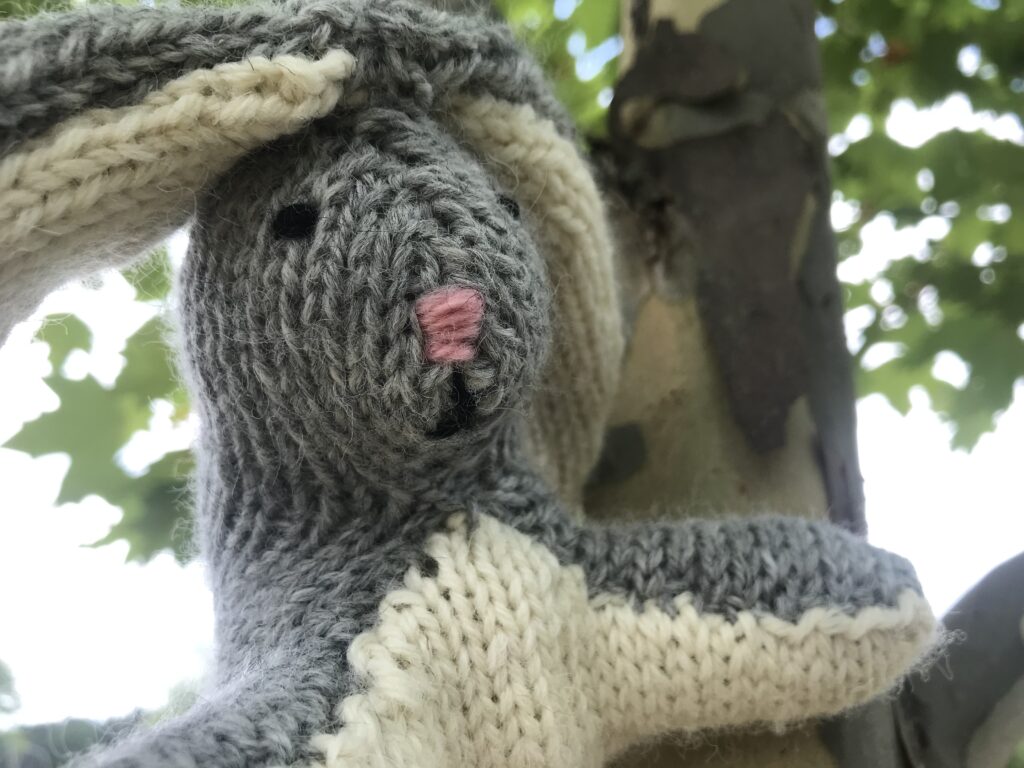
Lastly, you will want to embroider the face.
Use whatever color you want for the face. Only scraps of yarn from your stash are necessary for this part.
Embroidery thread is another option for this part.
Be sure to tie tightly and weave in your ends deeply into the body where they won’t be seen.
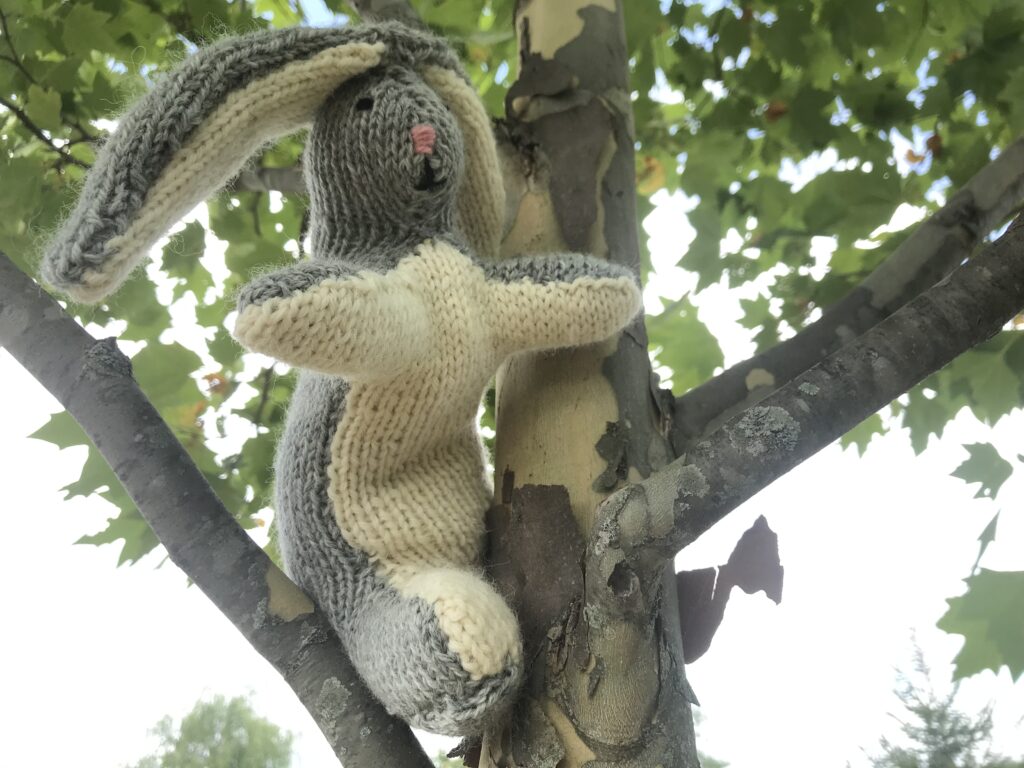

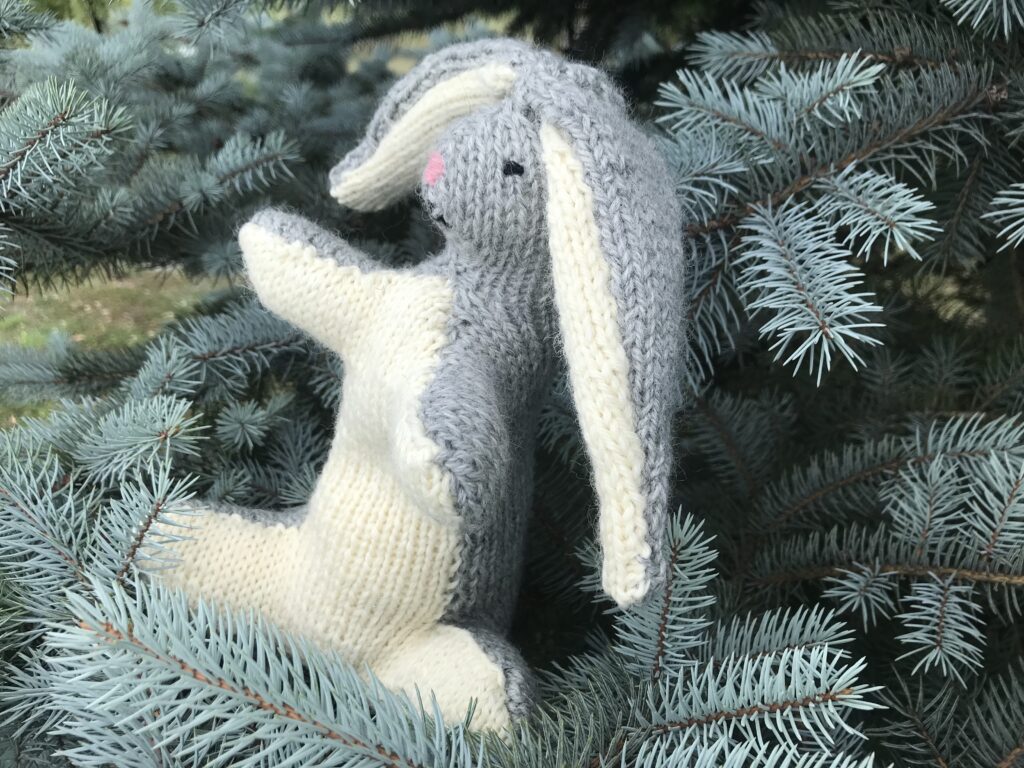
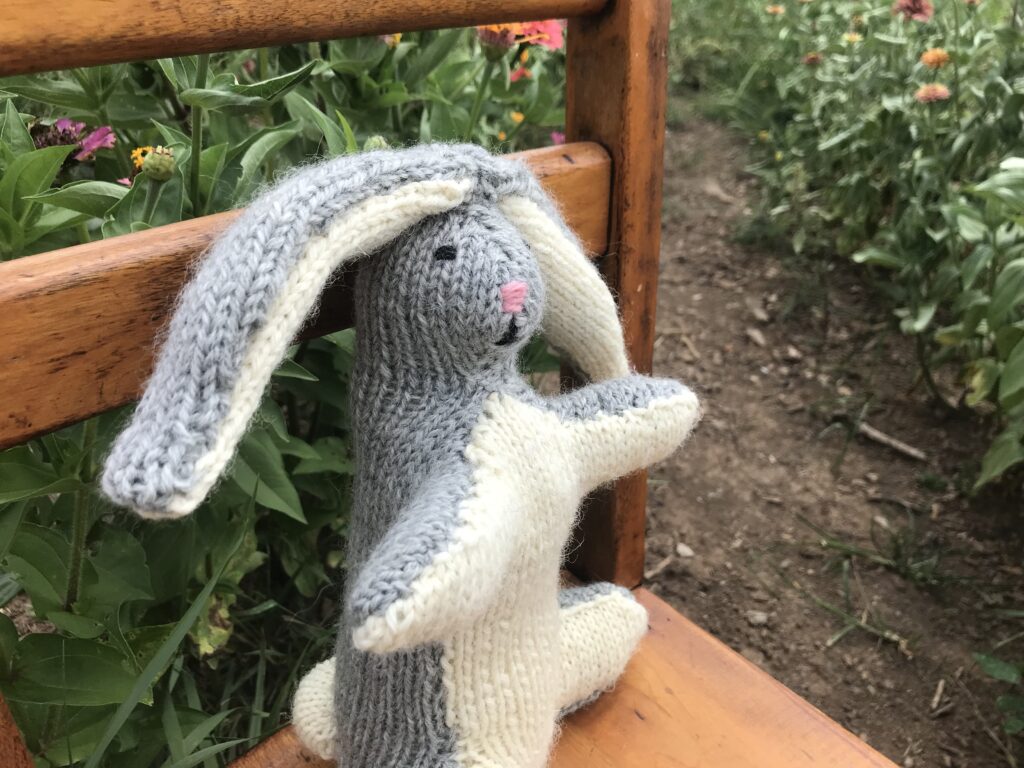
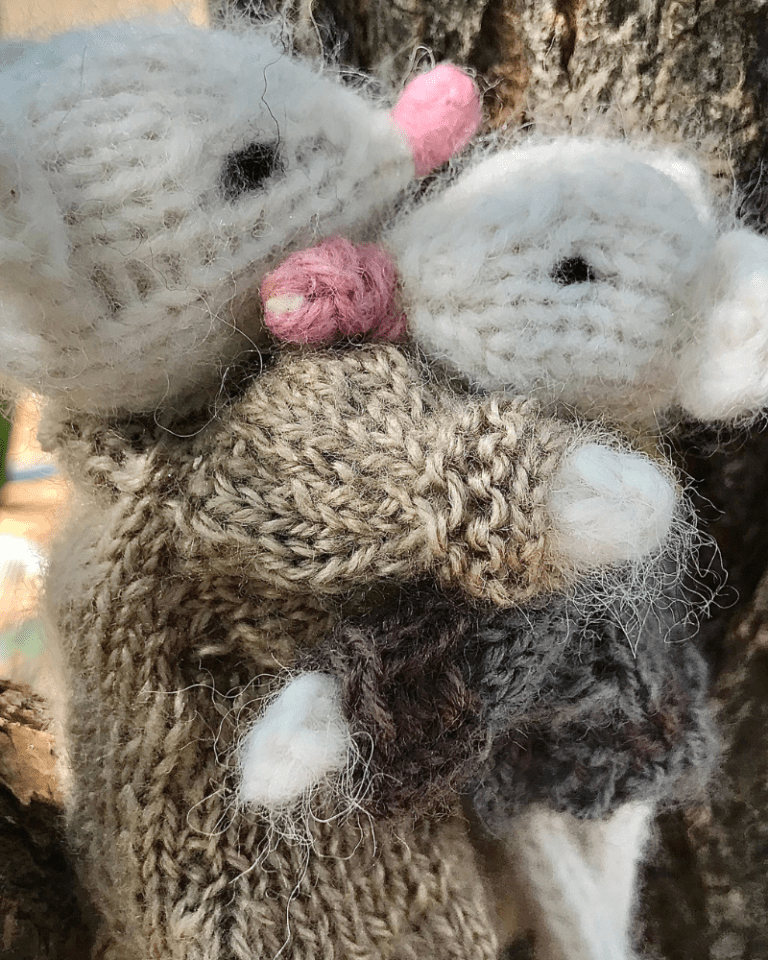
Enjoy your finished rabbit!
Isn’t he just handsome?
If you missed the first part of this tutorial, click here for your free knitting pattern!
Leave a comment down below with any questions you may have!

Thank you for very detailed pattern: number of stitches on needle when increasing and decreasing.
I will go to this pattern for soft toy. Thanks again.
Thank you for your kind words, Maureen! Happy knitting!
I have just finished knitting the body for the cute knitted Rabbit . When I went to knit the tail, I cannot see the directions I had printed, so I don’t know how to proceed. this bunny is to be a Birthday gift for my Grandson who is turning 2 in April. Can you please email me the instructions , and also the Assembly Instructions. When I tried to print them, It says “Content is Protected. ” Please help me and email me the instructions for both. Otherwise, I will have to sit in front of the computer and knit to finish.
Thank you so much. I love your website and I made lots of Waldorf Dolls and toys over a lifetime. We lived on a farm and homeschooled our 11 children. Well done Emeline!!!
sincerely,
Susan Smalley Mother of 12, and Grandmother of 31 children. Also owner of
Elves and Angels Heirloom Quality Toys for over 35 years.
Of course, Susan! Emailing you now! Thank you for your sweet comment — it warms my heart that you’re making this for your grandson’s 2nd birthday, because I first made this rabbit for my son’s 2nd birthday! What a wonderful life to raise 11 beautiful children on, what a blessing! And a wonderful blessing to have so many grandchildren as well! I am sure they all love and appreciate their handmade toys, there sure is something special about making handmade toys for littles!
Do you stuff the ears lightly?
I did not stuff the ears at all — but if you want them to stand up straight, stuffing them would help!