FREE EASY Newborn Baby Hat Sewing Pattern DIY Tutorial
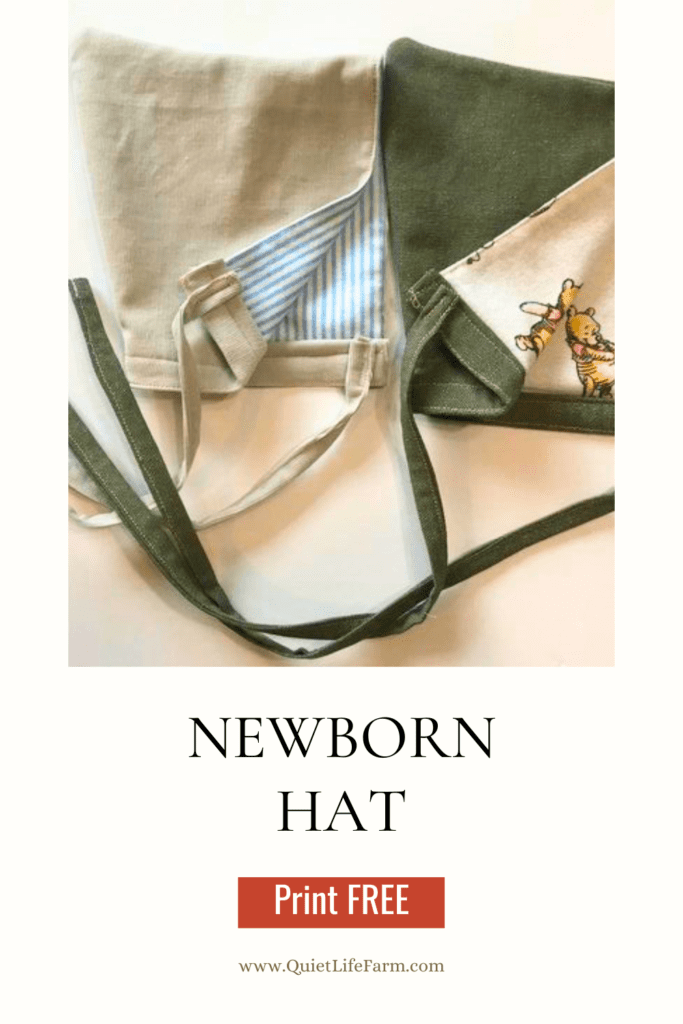
Scroll down to get your FREE baby hat pattern! Pattern comes as a PDF download and this blog post has a step by step tutorial!
I’m in a “baby” stage of life.
My babies, friends’ babies, family’s babies… it seems everyone is having babies right now!
I’m constantly in search of the perfect baby shower gift, and I believe that handmade baby items always make great gifts!
Handmade baby gifts are one of my favorite things to make!
So, as I make this little hat for our friend’s impending baby boy, come along and make it with me!
This hat is in newborn size, although it would easily be considered 0-3 months sizing.
This is an easy baby hat to make. If you have basic sewing skills and want to sew a cute baby hat in just a few easy steps, this is the pattern for you!
Print your free pattern, then keep reading for your step by step instructions!
Supplies Needed:
- Small amount of cotton fabric (1/2 yard is plenty)
- Sewing Machine (or needle/thread)
- Free Sewing Pattern (below!)
- Optional ribbon to use for ties
Print your free pattern
To get started, you’ll want to print out your free baby hat sewing pattern!
Your pattern will be in PDF form and ready to print!
It’ll be instantly sent to your email inbox. From there, you’ll simply print out your pattern, and cut out your pattern piece.
Then, pop on back over to the blog and I’ll show you how to complete this DIY baby hat project!
There are not multiple pattern pieces to this project — just the one! It’s an easy peasy pattern that doesn’t eat up much printer paper or ink!
Fabric
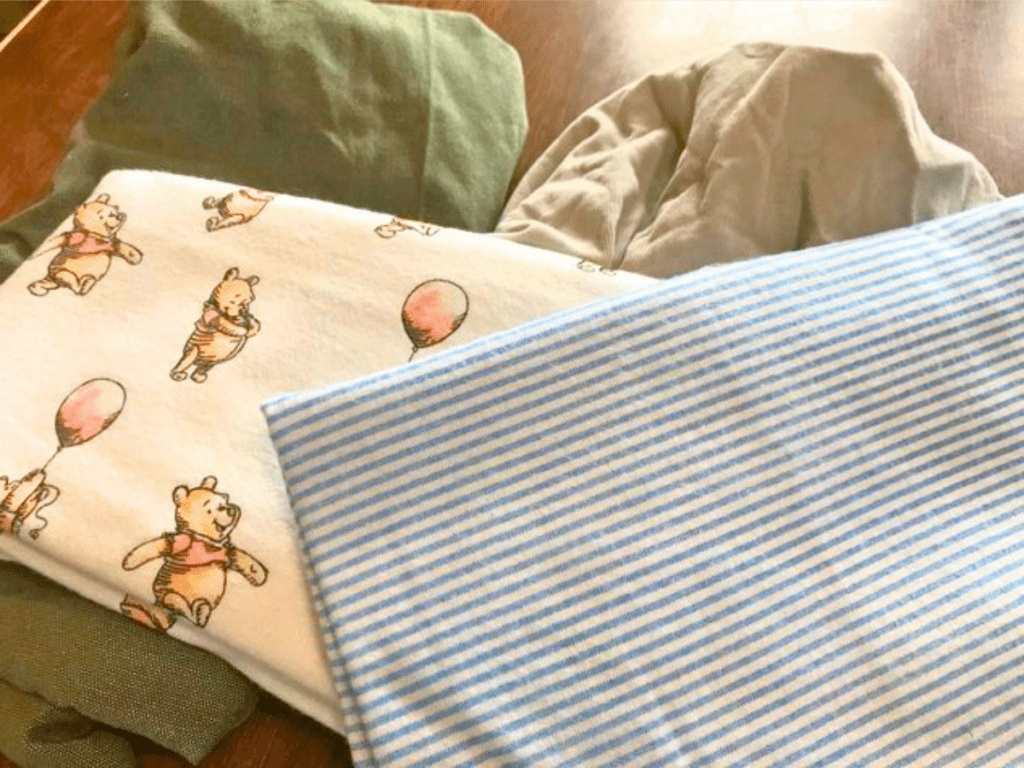
This pattern is easily adaptable to a variety of different fabrics.
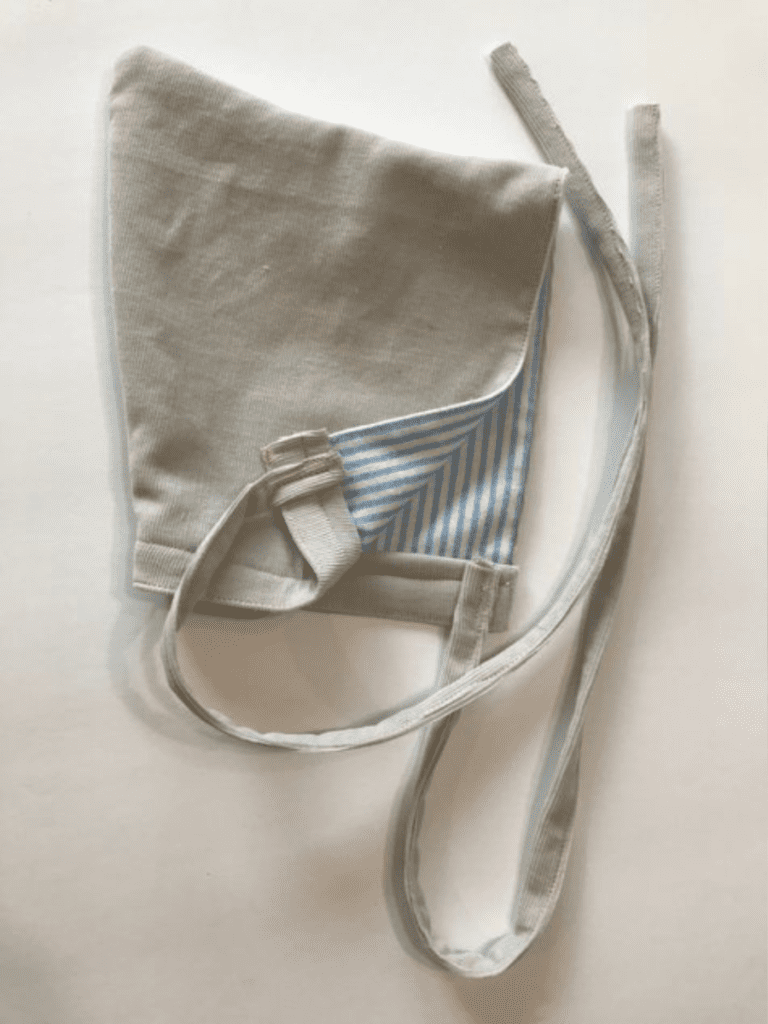
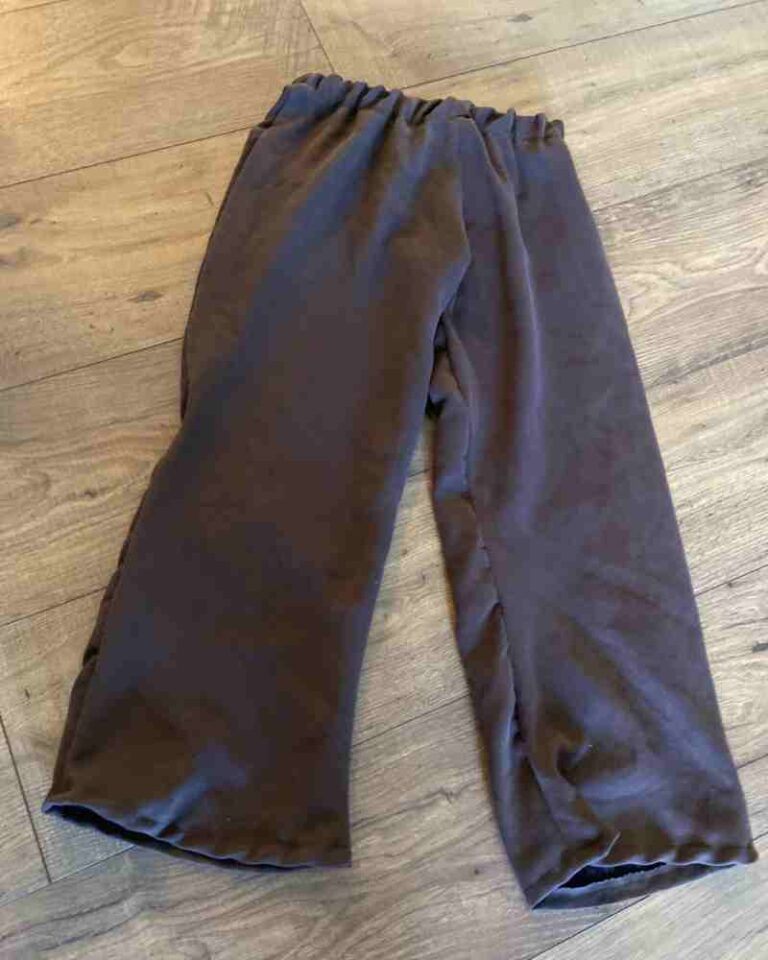
For the grey hat, I used a medium weight soft corduroy fabric, with a blue striped flannel lining on the inside.
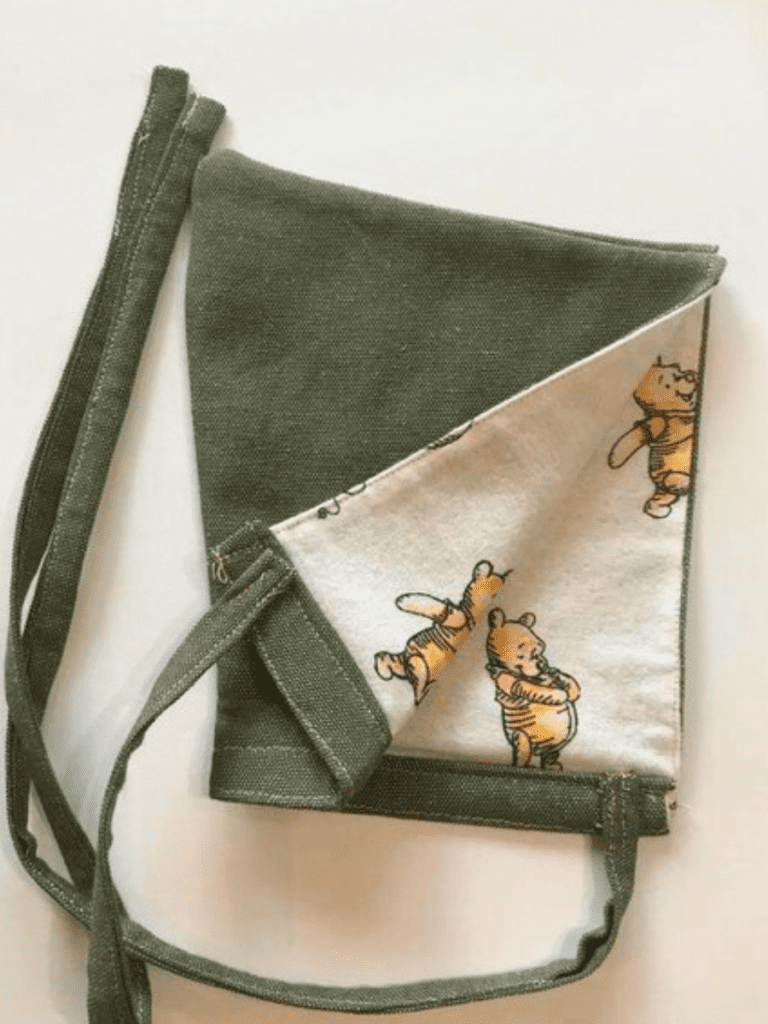
The second hat (green hat), I used a heavy weight cotton fabric with a pooh bear flannel lining (isn’t that pooh bear fabric the SWEETEST??).
Use whatever fabric you’d like! I do suggest using something SOFT for the lining — remember, this will be what’s touching baby’s little head! Baby skin is soft and sensitive — that’s why I chose soft flannel for the insides of both hats.
I can even see using some medium-weight knit fabric for this project! If you decide to use knit or jersey knit fabric, just be sure to use a zigzag stitch and to pay attention to the stretch of the fabric. The stretch of the fabric should stretch OUT towards baby’s face, not up towards the top of baby’s head.
Cut your pattern pieces
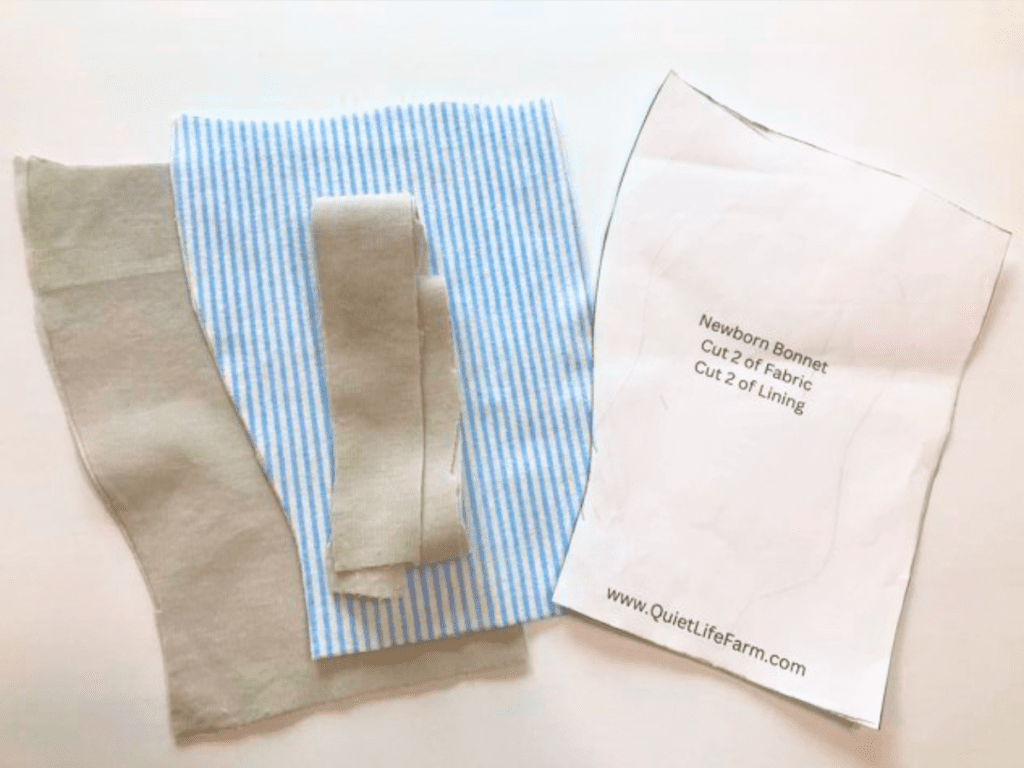
First, cut out your pieces.
You’ll want four total pieces of fabric from your hat pattern that you printed out.
Trace and cut two hat pieces in the outer fabric you want.
Trace and cut two pieces in the inner fabric (lining) that you want.
Before you trace and cut your fabric — fold your fabric in half so that you’ll have a right side and a wrong side.
You’ll also want two additional rectangle pieces that aren’t included in this pattern.
These long rectangular pieces are for the ties on the hat.
Cut two rectangle pieces of fabric — 3″ wide and about 20″ long.
You can omit the long rectangles if you’d prefer to use ribbons for the ties on the hat.
So, the total amount of fabric pieces you will have is as follows:
- 2 main fabric pieces (outer fabric)
- 2 contrast fabric pieces (soft inner lining fabric)
- 2 ties — 3″ wide by 20″ long (or ribbon to use for ties)
Sew your side pieces
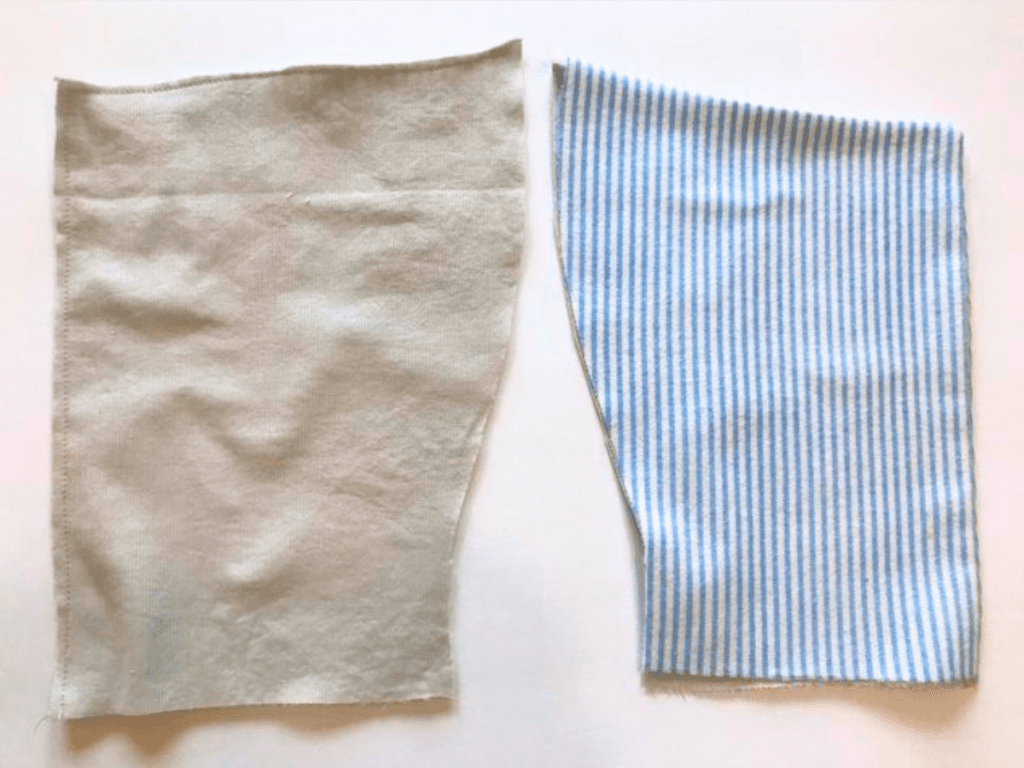
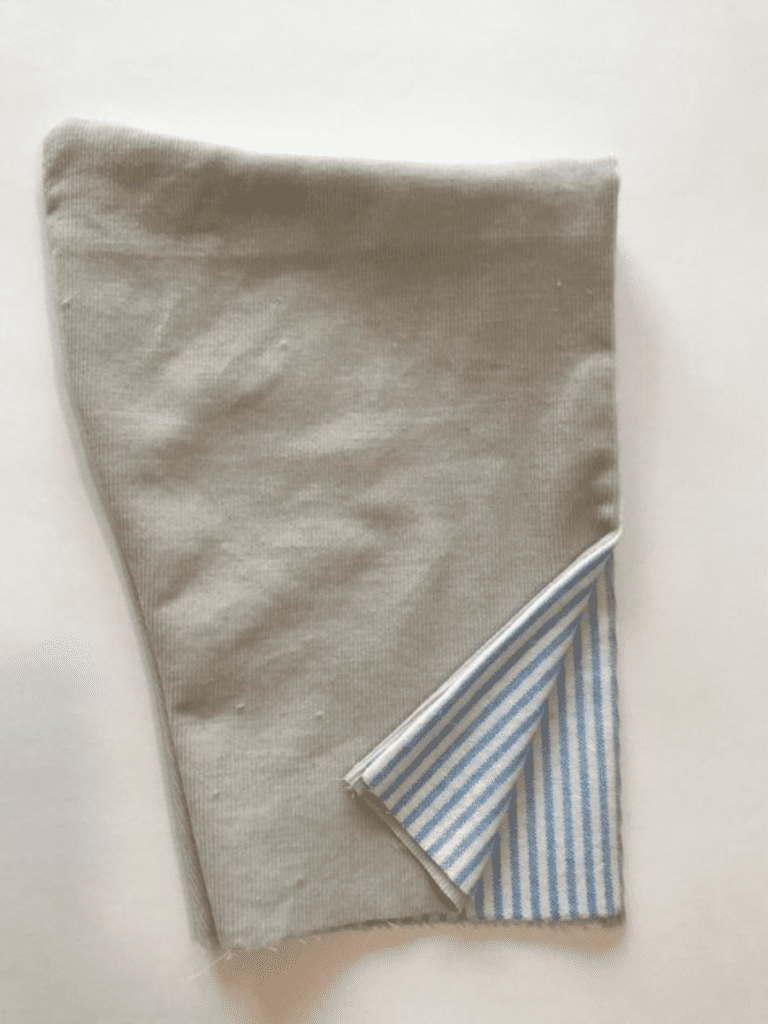
First we’ll the lining to the outer pieces of the hat.
Take one outer fabric piece, and one inner fabric lining.
With right sides together (wrong sides showing), use a 1/8″ seam allowance to sew around the front edge of the hat (the long straight edge that will frame baby’s face), and the top edge of the hat.
Turn this piece right side out.
Repeat for both side pieces.
Again, if you’re using knit fabric, you need to use a zig zag stitch. If you’re using regular cotton fabric like I did, use a regular straight stitch.
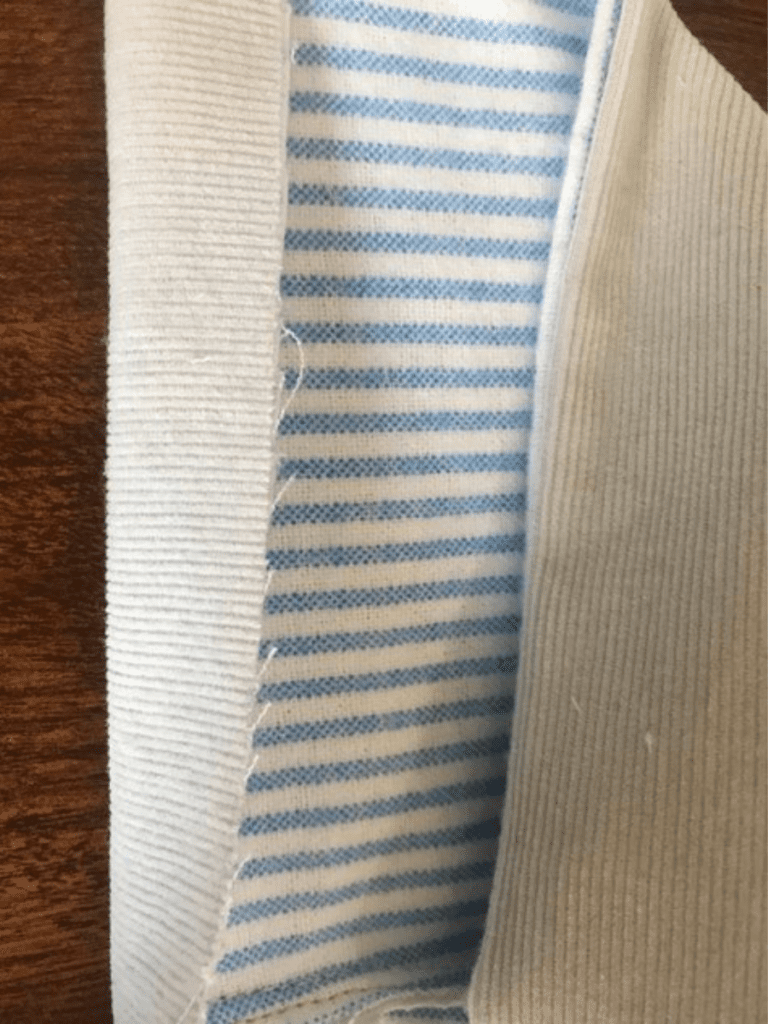
Attach side pieces
Next, we’ll attach these side pieces of the hat together.
Put each outer fabric facing each other. Each lining piece should be facing OUT.
Sew a 1/8″ seam allowance around the top of the hat, and down the back seam of the hat.
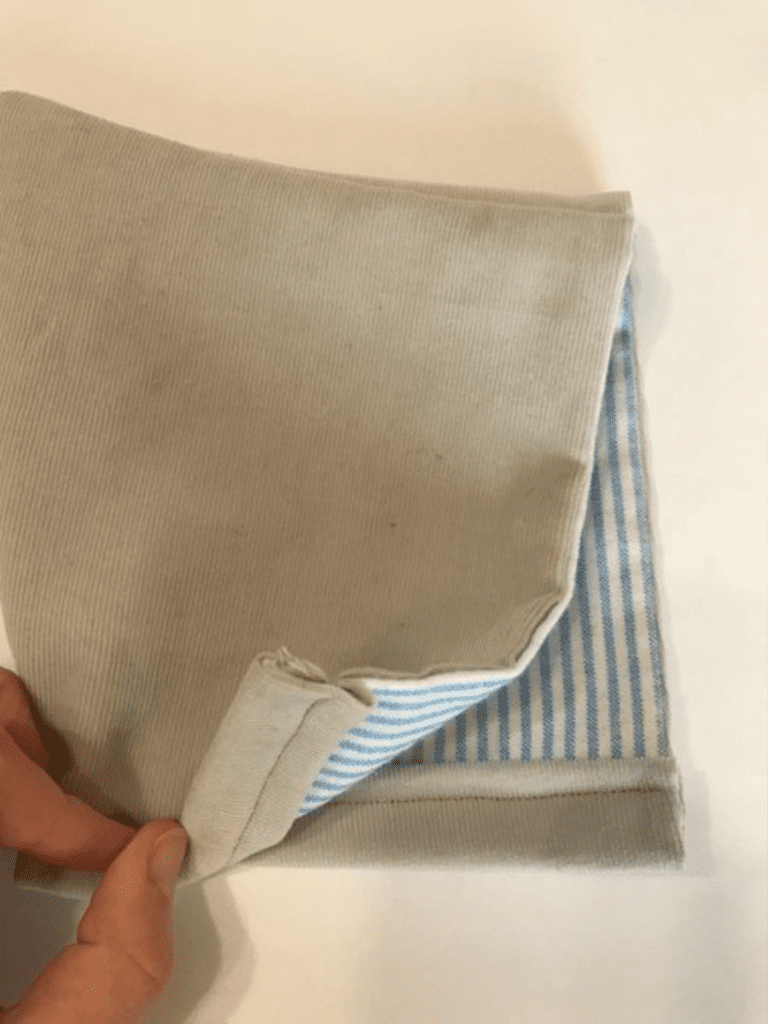
Turn the hat right side out. Make sure the lining on the hat is on the inside now.
Hem remaining raw edges of the hat
Now we’ll want to hem the bottom raw edge of the hat.
To do this, fold the bottom edge of the hat in half once, then twice.
Then, use a hefty 1/2″ seam allowance to sew across the folded edge.
To neaten up the entire hat, we now want to stitch a tiny 1/16″ seam allowance all around the entire hat edge.
Use that 1/16″ seam allowance to sew around the bottom edge of the hat, and all along the front straight sides of the hat.
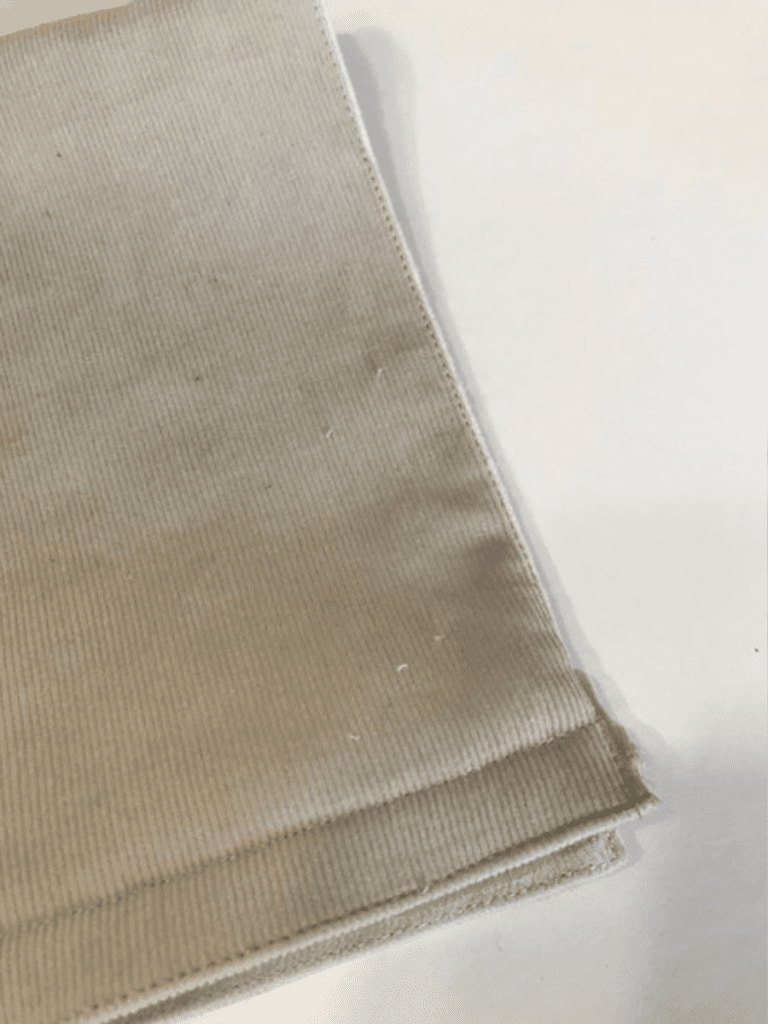
This simply gives the hat a more professional look, and it also keeps the fabric layers from shifting around. It makes your hat look very neat and tidy!
Making and attaching tie
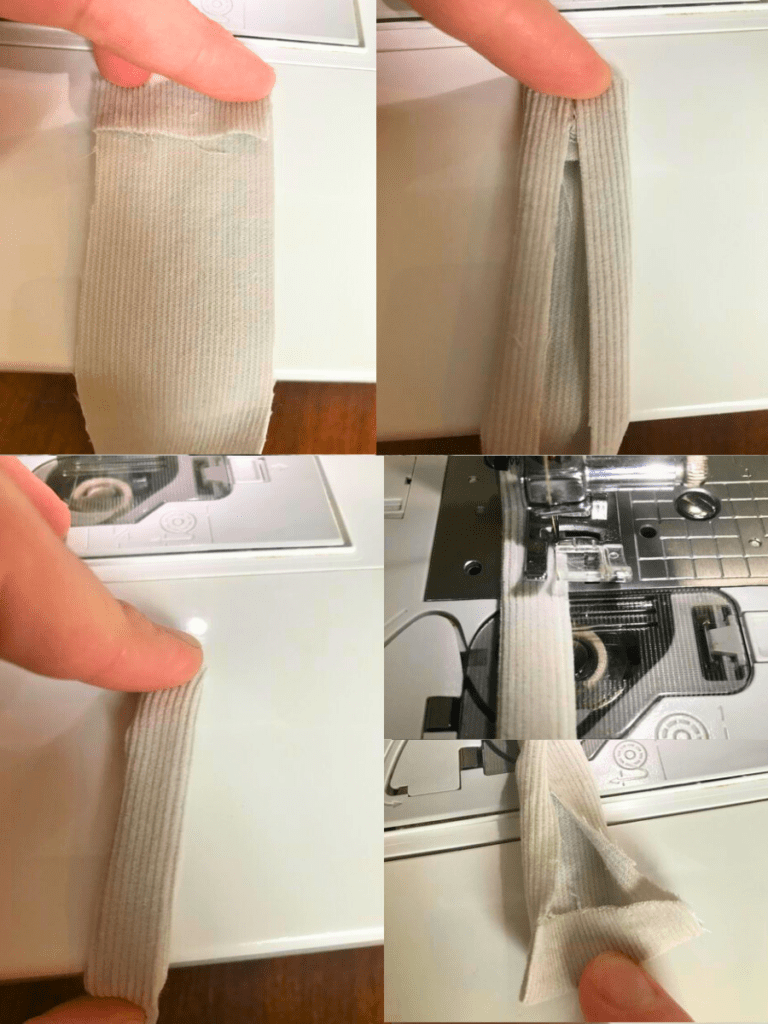
The last step for this hat is to make some ties.
Again, it’s totally fine if you just want to use ribbon for this project. Just skip this part and attach ribbons to the hat. But if you’d prefer to use a matching fabric tie — keep reading!
Take your long 3″ by 20″ rectangular pieces of fabric.
You’ll want to do a series of folds to hide all the raw edges.
First, hem the short end.
Next, hem both long edge towards the center.
Do one more fold — fold the long edges in half.
Sew along the edge of your tie — stopping a little bit before you get to the end of your fabric.
Hem the short end of your fabric in before refolding your other folds and finish sewing to the end of your tie.
Repeat for the second tie.
When attaching your ties — ribbon or fabric — attach them on the INSIDE of the hat.
That’s it! Your hat is complete in not very much time at all, and is ready to keep a baby snuggly warm!
Leave a comment, and grab more of my free patterns!
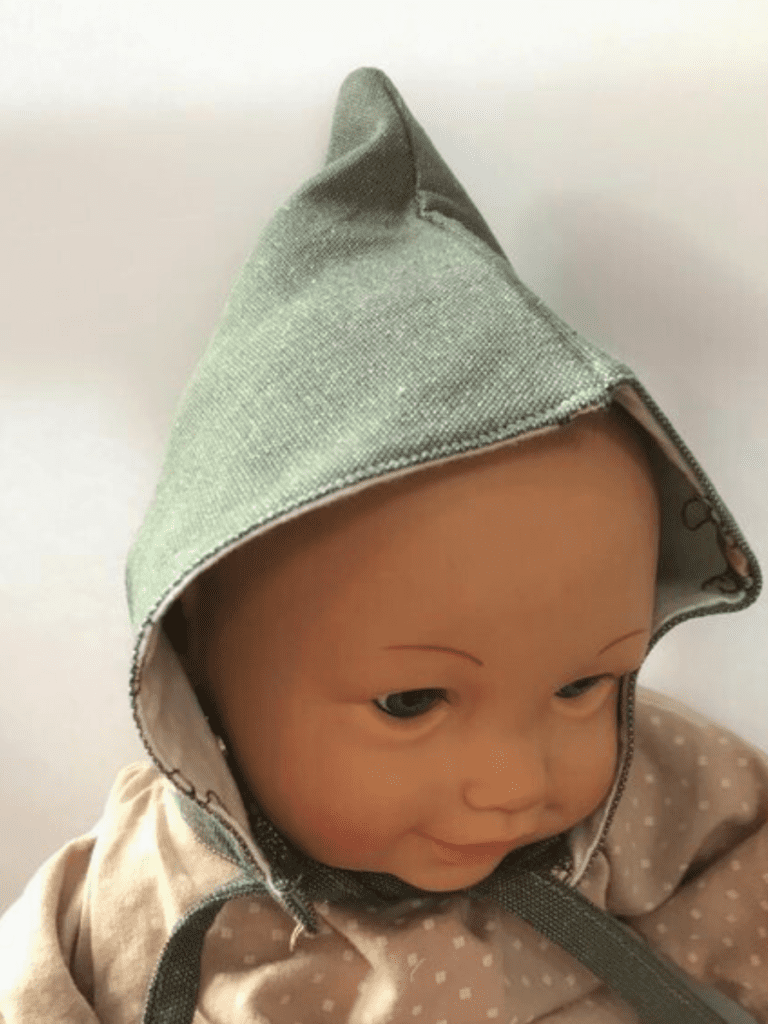
Above: My daughter’s oversized baby doll wearing the hat. Typically this doll fits “real” baby clothes sized 0-3 months, so this hat will have some room to grow on your real life newborn!
I hope you enjoyed this sewing tutorial!
Leave a comment letting me know who you made this baby hat for!
If you like free PDF patterns, please check out my other free patterns on my blog!
Sewing Birthday Party decorations — perfect for baby’s first birthday!
While you’re planning for baby’s first birthday, why not consider a Waldorf-style fabric birthday crown for your litte one?
Are you a knitter, too? Here’s a knit baby hat pattern that’s easy peasy!
Hello, i do not see the link for the pattern?
Hi, Nellie! To print your free pattern, click on the “exclusive content” image under “Print your free pattern!” A PDF will open instantly for you, ready to print! Happy sewing!