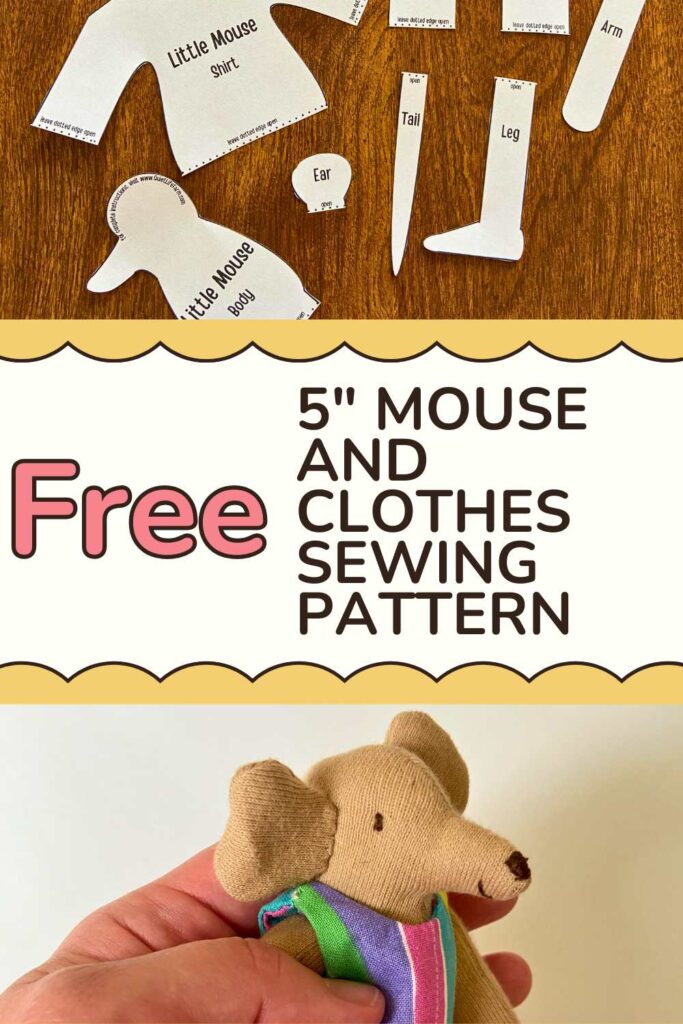
FREE PDF Sewing Pattern for 5″ tall Mouse With Clothes
Print out your free pattern for a 5″ tall mouse with a complete wardrobe!
As an Amazon Associate, I earn from qualifying purchases.
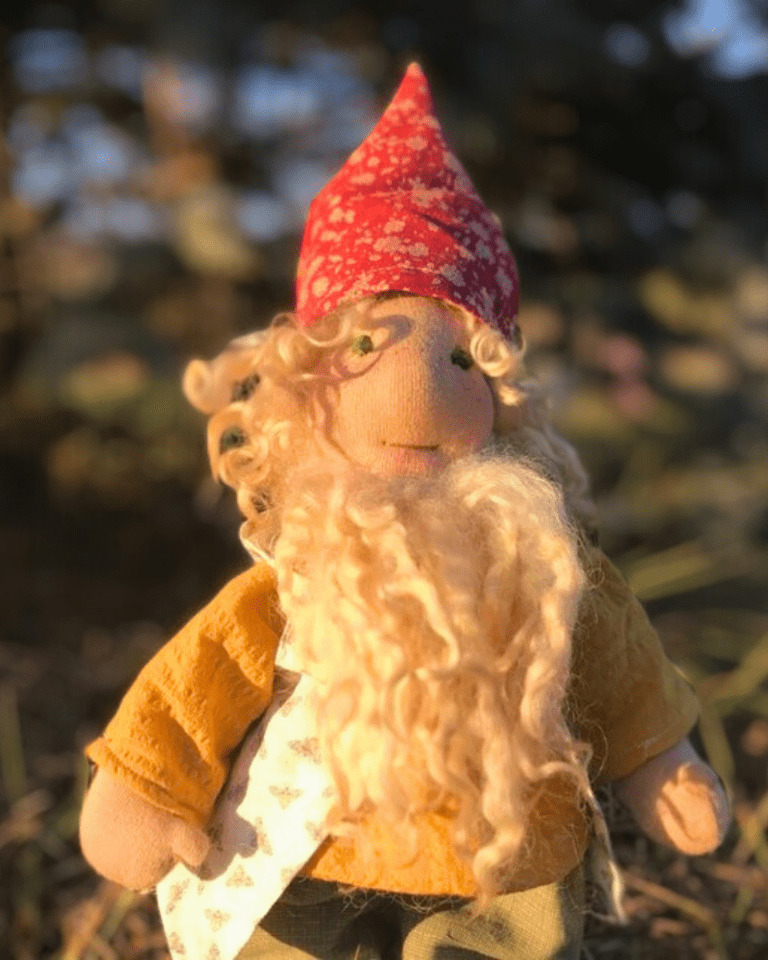
Here’s a free printable sewing pattern for a mouse doll!
This mouse measures just over 5″ tall.
A pattern for a dress, shirt, and pants to fit this mouse are included in the pattern.
Get your free sewing pattern below!
The pattern comes as a PDF for easy printing.
After you print your pattern, head back over to the blog for your step by step tutorial!
Supplies Needed
To sew this mouse and clothes, you will need:
- Cotton Interlock Knit Fabric for the body (I used this, but my all-time favorite interlock fabric is from Weir Crafts)
- Cotton fabric for clothes (I used someone’s leftover quilt squares I found at the thrift store)
- Wool to stuff your mouse with (It’s natural, warm, has a good weight, and holds its shape well!)
- A pencil
- Sewing Machine
- Scissors
- A hand sewing needle and thread
- Your FREE sewing pattern!
How to Make Your Mouse
To make your mouse, cut out all your paper pattern pieces and get out your pencil.

Fold your cotton interlock fabric in half (right side together) so there are two layers of fabric.
Note: It’s really difficult to tell which is the “right side” of cotton interlock. Don’t stress if both sides look too similar and you can’t figure out which is the right side. It doesn’t matter too much.
Lay out each paper pattern piece for your mouse’s body on top of your cotton interlock fabric.
Lay each pattern piece on your pattern so that the “stretch” is lined up with the double arrow written on each pattern piece.
You want your mouse to stretch “wider” — not taller! — when finished!
Trace 1 body, 2 ears, 2 arms, 2 legs, and 1 tail onto your fabric.
DO NOT CUT YOUR FABRIC.
Instead of cutting your fabric, sew directly onto your traced lines for each pattern piece.
Leave each dotted edge (marked on your paper pattern pieces) open.

After sewing over your traced lines, cut out each pattern pieces, leaving at least a 1/4″ seam allowance around your seams. You don’t want your seams to come undone!
Cut tiny lines towards your stitches (while being careful not to cut into your stitches!) around any curved edges. This will help your curved edges not to appear bunched up.

Then, turn your mouse pieces right side out.
Stuff the body firmly with wool, leaving a little bit of empty space towards the bottom opening.
Stuff the arms and legs about halfway full.
Do not stuff the tail or the ears at all with wool!

With a hand sewing needle, sew the legs INSIDE the mouse’s body, while folding the raw bottom edges of the body inside the mouse while sewing across. This will attach the legs and hem the bottom of the body at the same times.
The center seam of your mouse should be in the center of your mouse’s body.
Fold the raw edges of the arms inside each arm.
Use a ladder stitch to sew all the way around the arms (the top of the arm and the “arm pit” of the arm) while attaching to the shoulders of your mouse. (see photo)

In the same way, use a ladder stitch to attach the ears and the tail to your mouse.
The ears should be sewn to the sides of the mouse’s head.
The tail should be towards the center of your mouse’s back.

Lastly, use some brown thread and a hand sewing needle to embroider eyes, a nose, and a mouth to the face of your mouse!

Toymaking Tip: When hand sewing toys, leave long ends of your thread after making a knot at the beginning and end of your stitches. Then, when you’re done sewing, rethread the ends of your thread, and use your hand sewing needle to pull these threads INSIDE your mouse. This will hide the threads — making your knots STRONGER, and your knots NEATER.

How to Make Clothes for your MOUSE
Let’s make clothes for your mouse!

First, we’ll make the shirt and pants.
To make the shirt and pants, trace your paper pattern pieces onto two layers of fabric, right sides together.

Make a note of which edges should be left OPEN. (marked on your pattern pieces!)
Just like we did with your mouse, sew directly onto your traced lines — and again, leave those dotted/marked edges OPEN!

Cut out your shirt and pants leaving a generous seam allowance around your stitches (and around the open edges — just keep it all even!).
Snip around the curved edges — just like with your mouse!

Turn your shirt and pants right side out, hem your raw edges with a hand sewing needle.

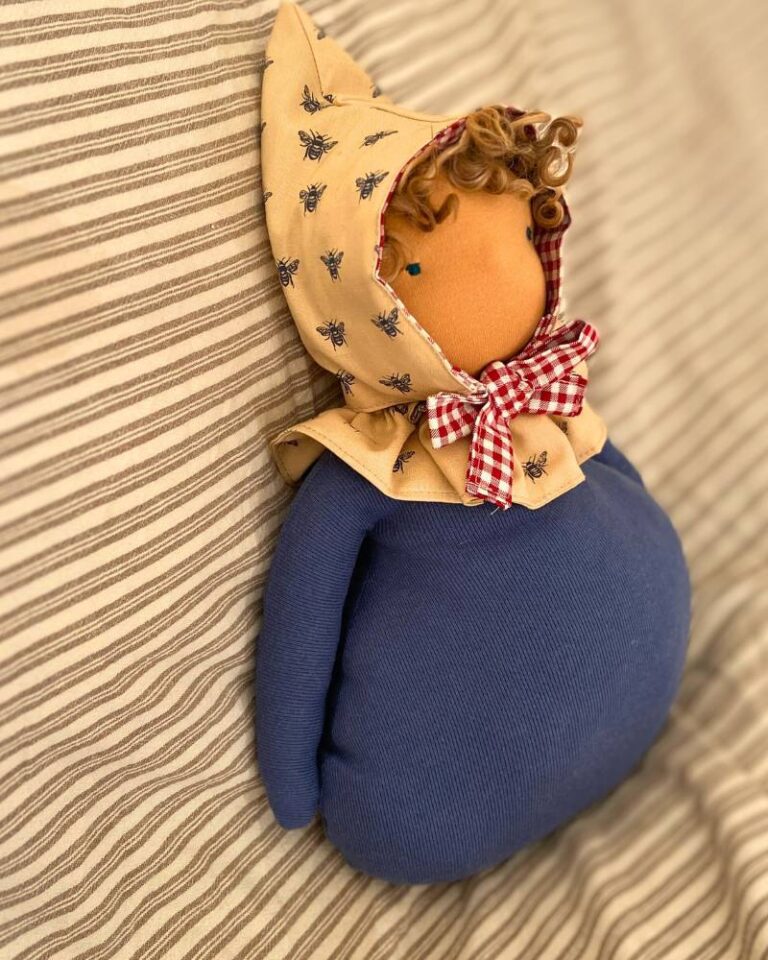
For the dress — make your bodice by tracing it over two layers of fabric, right sides together.

Sew directly onto your traced lines on your sewing machine.

Cut out your bodice, leaving a seam allowance and snipping your curved edges.

Turn your bodice right side out through the bottom open edge.

Set aside, and get started on the skirt of the dress.
For the skirt, cut out one skirt piece on the fold of the fabric.
Your skirt is the only part of your mouse and clothes that you will cut out BEFORE you sew anything on it!
Hem the short side edges of your skirt, and the bottom long edge.
Use a basting stitch to gather up the top of your skirt (as marked on your pattern piece!).
Sew the gathered edge of your skirt to the bottom of your bodice, right sides together.

Lastly, use a hand sewing needle to attach the shoulders together with a whip stitch.
Use a whip stitch to close the top back of the dress.

You can leave the bottom half of the dress open to allow room for the tail of your mouse!

Get your free sewing pattern here!

In case you missed it, you can get your free sewing pattern below!
Be sure to check out my other free toy sewing patterns on the blog!
More Mice!
Want more free mouse patterns?
Get another free mouse sewing pattern HERE! (about 3 times bigger than my 5″ mouse!)
Are you a knitter? Get my free mouse knitting pattern HERE!