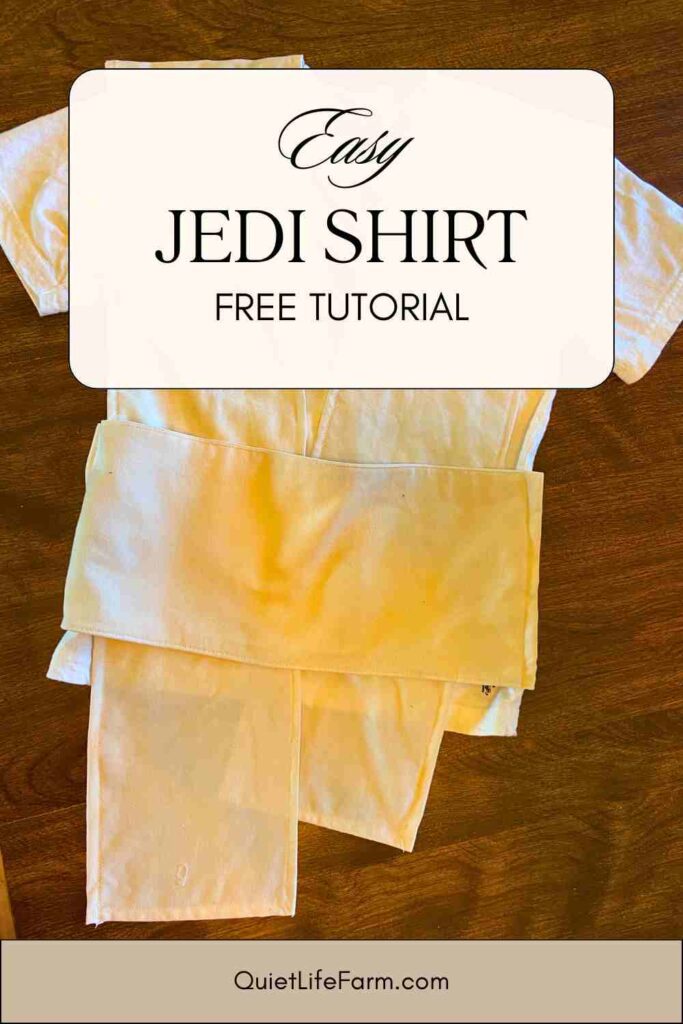
How to Make a Jedi Shirt
How to transform an ordinary t-shirt into a Jedi shirt!
This is the final part to making a complete Jedi costume.
(I also have tutorials on my blog for making a Jedi robe, elastic jedi pants, and a cloak on my blog, so check those out, too!)
Learn how to easily turn a regular shirt into a Jedi shirt!
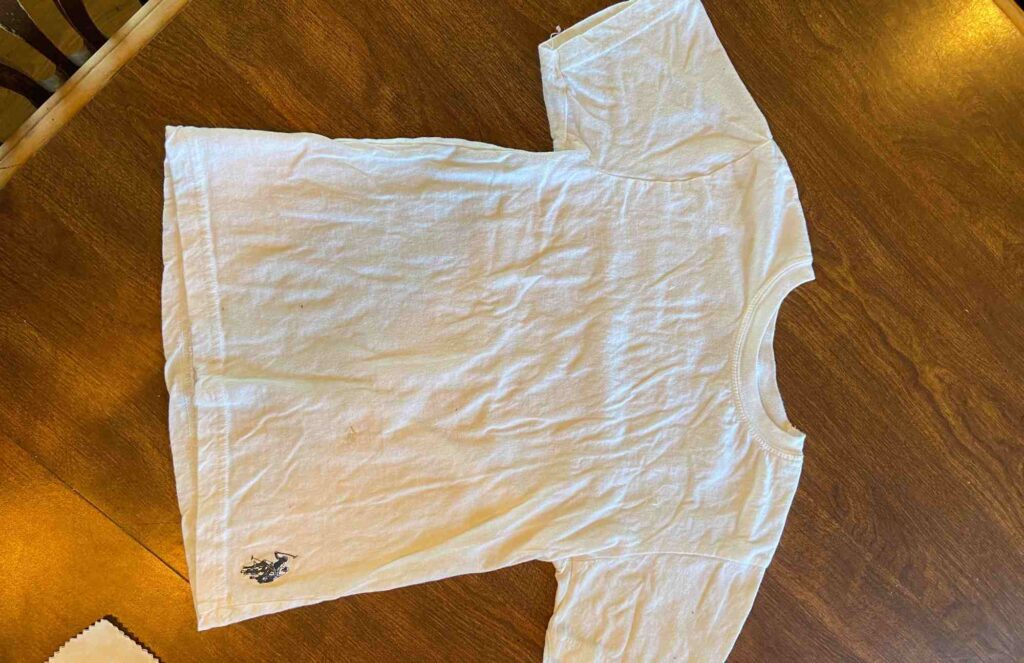
For this project, you will need a white t-shirt and some white fabric.
I grabbed a white t-shirt and a white pillowcase from a thrift store for this project.
I only used about half the pillowcase, so it was a perfect amount of fabric!
Supplies needed:
- White T-shirt
- Small amount of white fabric (I used an old pillow case)
- Sewing machine/needle and thread
- Brown belt to wrap around shirt
A Jedi uniform shirt consists of an undertunic, an overtunic, a sash around the waist, and a belt to hold it together.
For this shirt, the t-shirt will serve as our undertunic. We’ll cut two long rectangles to make the overtunic, and we’ll cut one long rectangle to use as the sash around the waist.
I grabbed a belt from the thrift store to use as the belt that goes over the sash. You could also get a bit of brown fabric to tie around the waist in its place.
Typically, a Jedi shirt has long, flowy sleeves. You could use a long sleeved shirt for this project instead of the short sleeved one I’m using, but since my son will also be wearing a thick jedi robe and thick jedi pants, I didn’t want him to get too hot in his costume and opted for short sleeves.
This tutorial will be easy to transform a short OR long sleeved shirt into a Jedi shirt!
Step 1: Undertunic and Overtunic
The first thing you’ll want to do is measure your shirt from the bottom to the top of the torso. Double it — and add a few extra inches so that it will be slightly lower than the bottom of the shirt. This measurement will serve as the length of the overtunic.
Then, measure the width of the shirt — from where the sleeve begins at the shoulder, all the way to the neckband of the shirt. Then add an inch. This will be the width of the overtunic.
Use these two measurements to cut out TWO long rectangles.
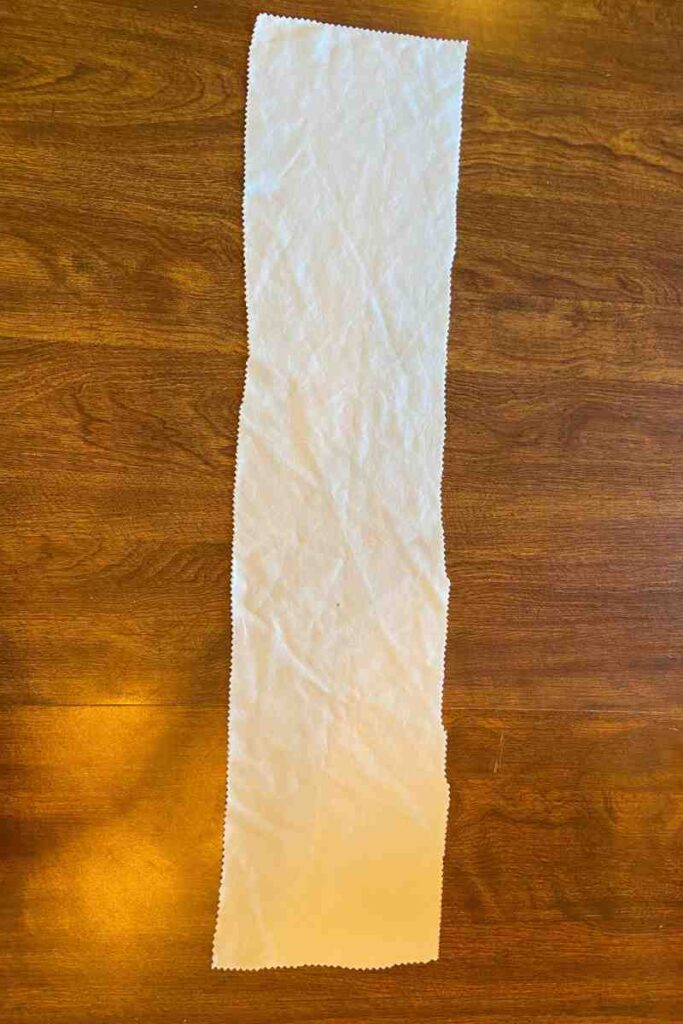
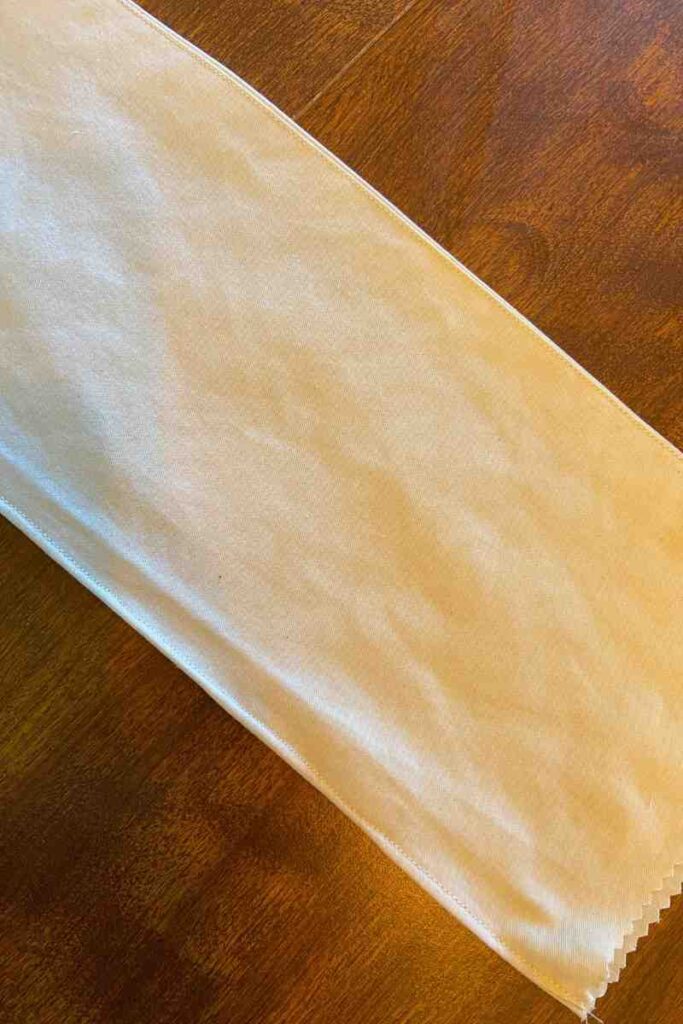
Fold each edge of the rectangle down TWICE to conceal raw edges, using no more than 1/2″ of fabric in your fold on each side.
Hem all the way around both rectangle.
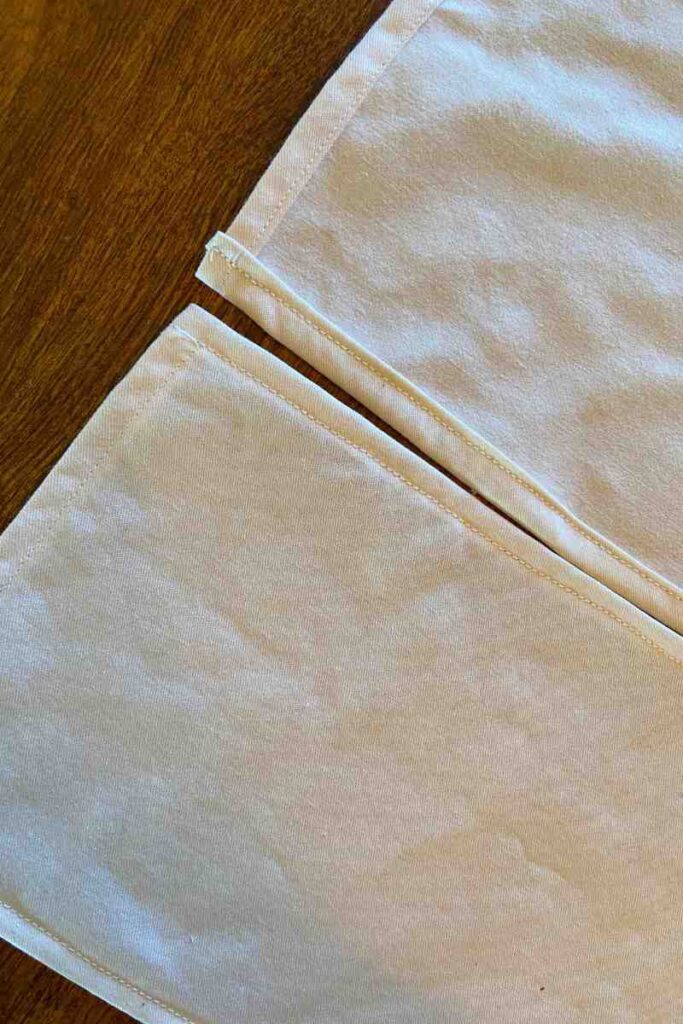
Fold each hemmed rectangle in half, and mark where the center is.
Attach each rectangle in the center right at the top of the shoulders of the t-shirt. Sew firmly into place.
Note — if you don’t have enough fabric to have the overtunic covering both the front and the back of the shirt, that’s okay. If this is just going to be used as a costume and will have a robe covering the back of the shirt, only the front of the shirt will be seen. Just attach enough of an overtunic to cover the whole front of the shirt, and don’t worry too much about the back.
Step 2: Waist sash
Now we’ll move onto the sash that goes around the waist!
Lay your tshirt flat on a table.
Measure how wide the shirt is, then add 1″-2″ in width.
Decide how tall you want the waist sash to be, and add 1″ to that measurement!
Hem your sash all the way around — make sure it stays true to your original measurements, especially the width of the shirt, otherwise it’ll look a little funny.
Once your sash has been hemmed, attach it to the waist of your shirt.
Sew the sash onto each side of your shirt, right at the seam.
It’s important to keep the BACK of the shirt without a sash — if you sewed a sash all around the shirt, it would be too tight to take the shirt on and off. Leaving the back of the t-shirt sash-less will keep the shirt stretchy enough to come on and off.

Styling the Shirt
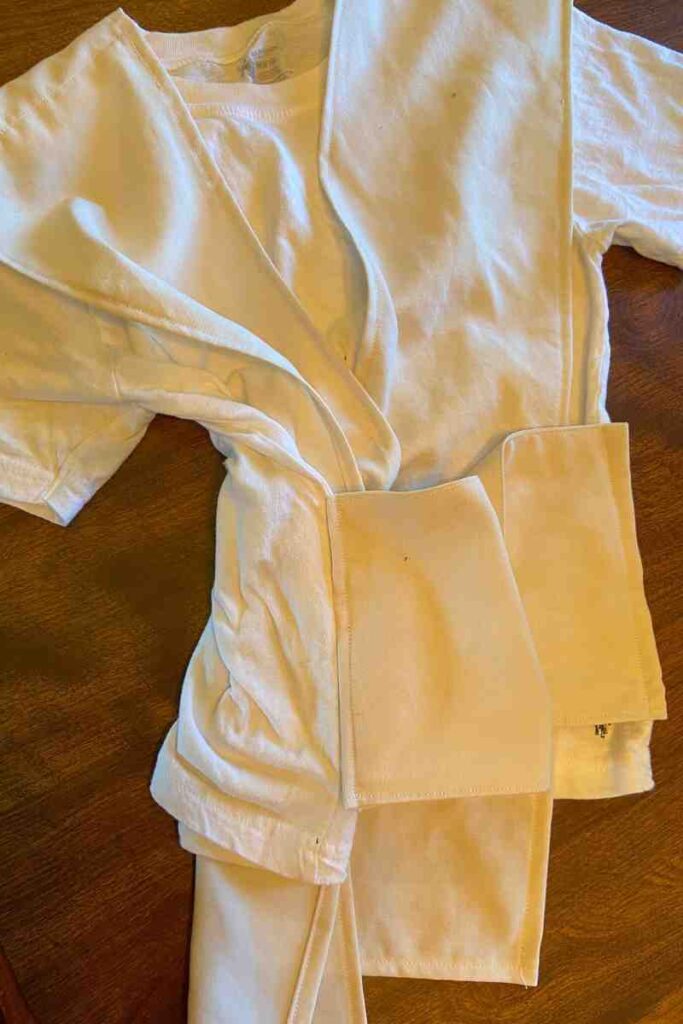
Once you sew on the sash and the overtunic, your shirt is finished!
All you need to do is style the shirt!
Tuck each overtunic rectangle under the sash.
Then, buckle on a brown belt around the sash, or tie some brown fabric around the waist over the sash.
I also made my son a Jedi robe and some easy matching elastic “Jedi pants” to go with his costume. We also grabbed him some black gloves from the thrift store to really complete the look.
I have tutorials for how to make both the pants and the robe if you are interested. You can find them here:
Jedi Robe Easy Sewing Tutorial
Easy Elastic Pants for Jedi Costume Sewing Tutorial