Best FREE Stuffed Elephant Sewing PDF Pattern and Tutorial
Here’s an elephant sewing pattern with an Instant Download PDF file to print! Print your pattern pieces, then come follow along on the blog while I walk you through how to make your sweet elephant!
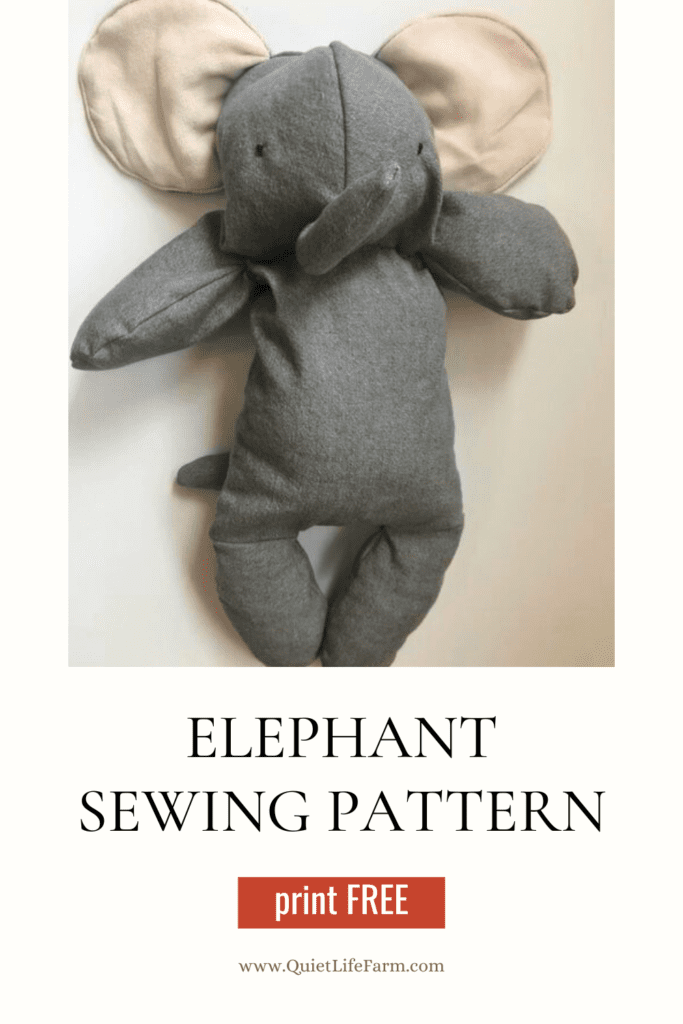
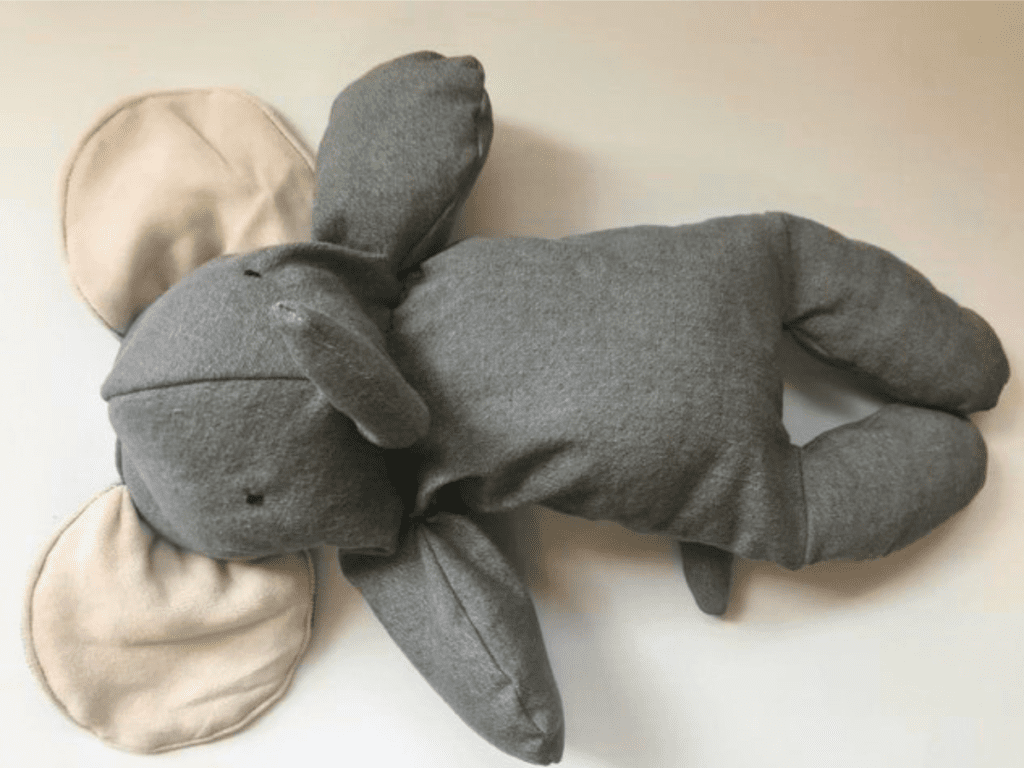
I’m so excited to show you all this elephant I designed!
My stuffed elephant pattern is a totally free sewing pattern — just click on the file below and you can print it right out!
Even better — this adorable elephant is WEIGHTED! He can even sit up on his own!
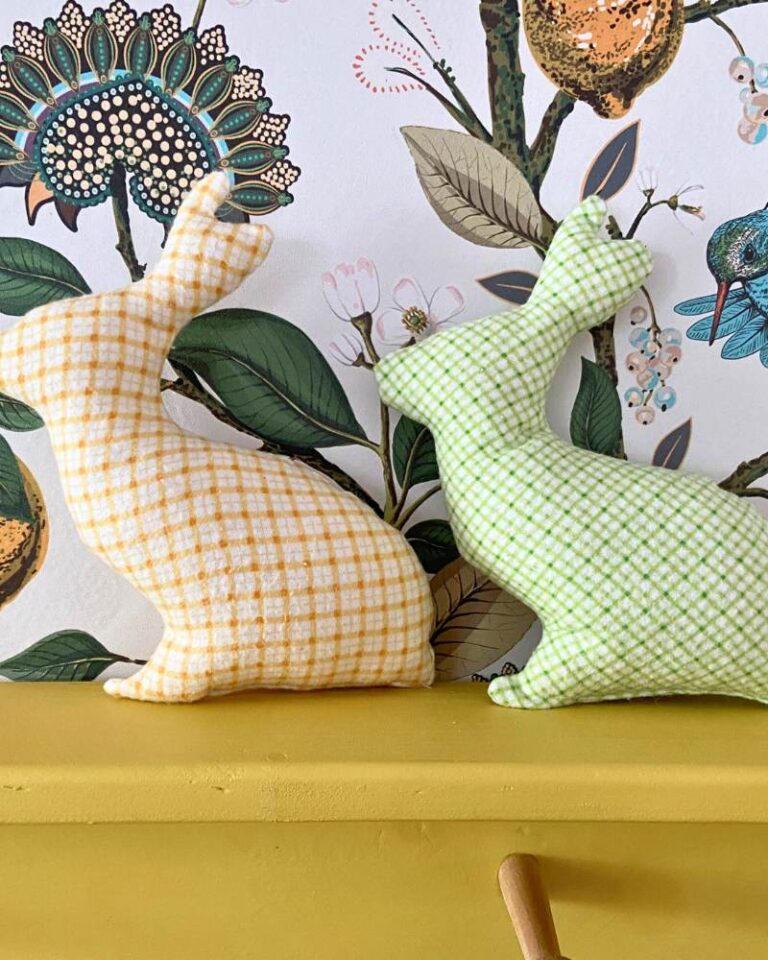
I love making soft toys for the little ones in my life! Be sure to snoop around the blog for my other free sewing patterns before you go!
And with that — let’s get right to it!

Supply List:
- Free Printable Sewing Pattern (in pdf format — below)
- Medium Weight Cotton Fabric
- Optional Contrast Fabric for the ears (think velvet, fleece fabrics, or corduroy fabric!)
- Sewing Machine (optional, but helpful!)
- Hand Sewing needle
- Fiberfill (I love wool!)
- Optional Poly Pellets (or weighted material of your choice)
Step 1: Print your pattern!
Print your freebie pattern for this fun stuffed animal below!
They’re full-size templates, each individual pattern piece will fit on its own single sheet of paper, so it’s ready to cut out and use!
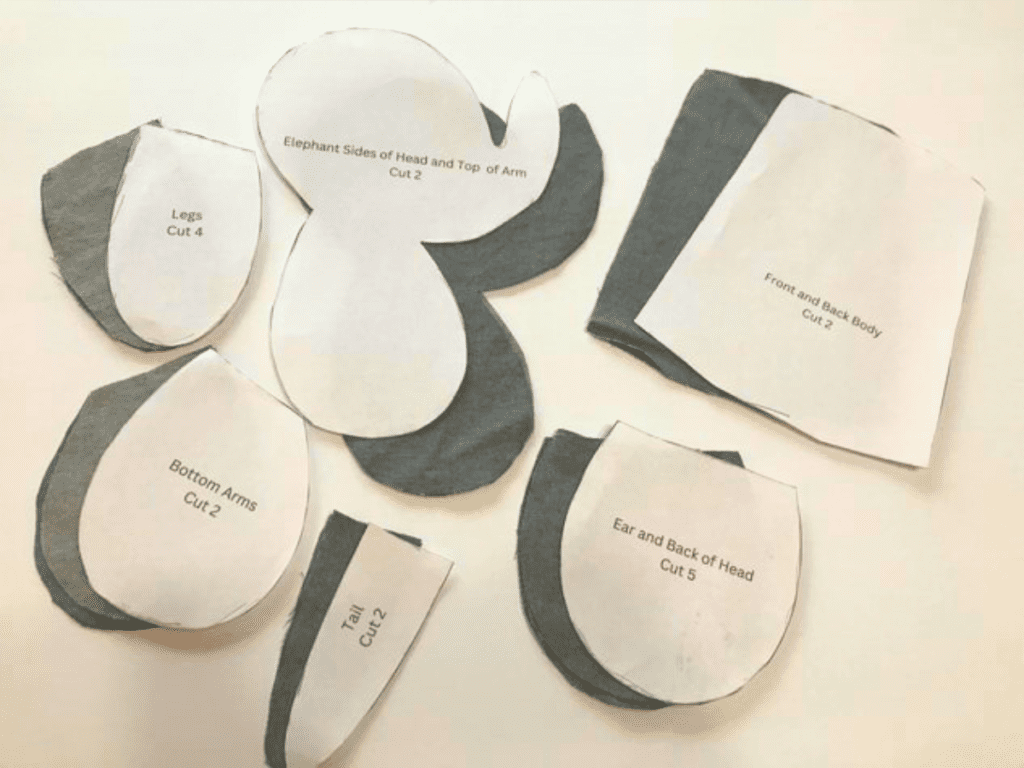
Step 2: Cut everything out
Next, you’ll want to cut everything out.
First, cut out your paper pattern pieces.
Then, cut out all of your fabric pieces.
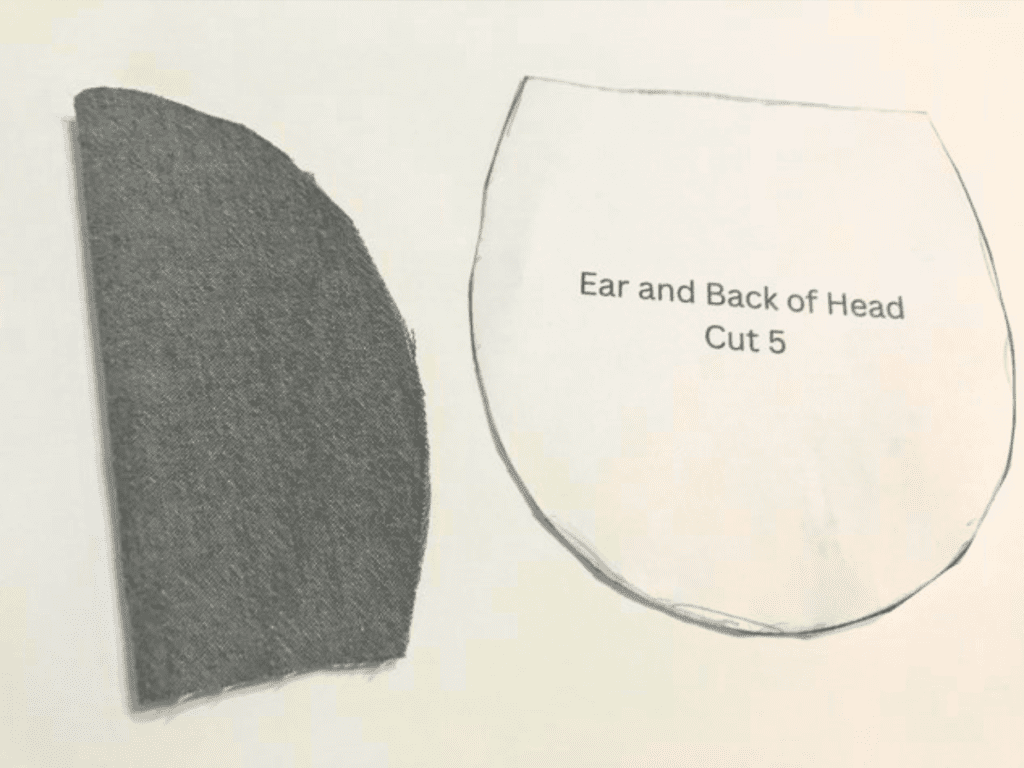
Please note that you will need 5 total ear pieces. Cut three ear pieces from your main fabric, and two pieces of your contrast fabric. The third ear piece that has been cut in your main fabric color will be the back of the elephant’s head.
You’ll want a medium weight cotton fabric for the main body of your elephant to give it the right feel. I used a thick men’s shirt from the thrift store for this project, and it worked out perfectly!
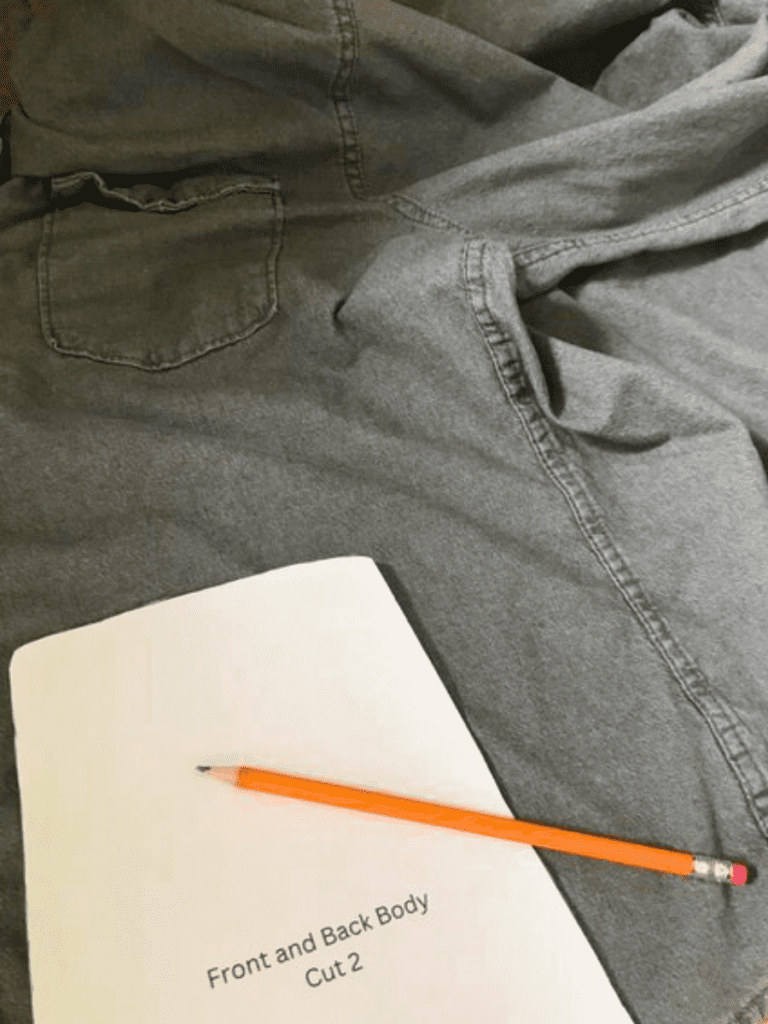
Above: Proof that I used a shirt to make this pattern!
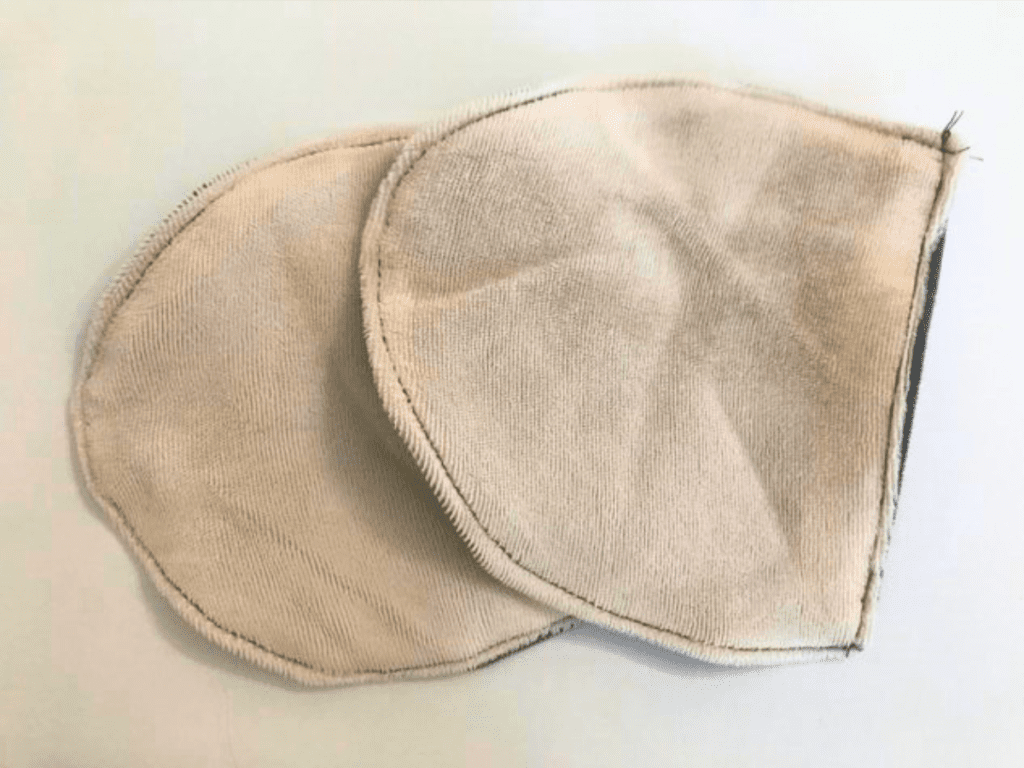
Step 3: Sew the Ears and Tail
Let’s get our ears and tail all ready to be used towards the end of our elephant assembly!
Think about your ear linings.
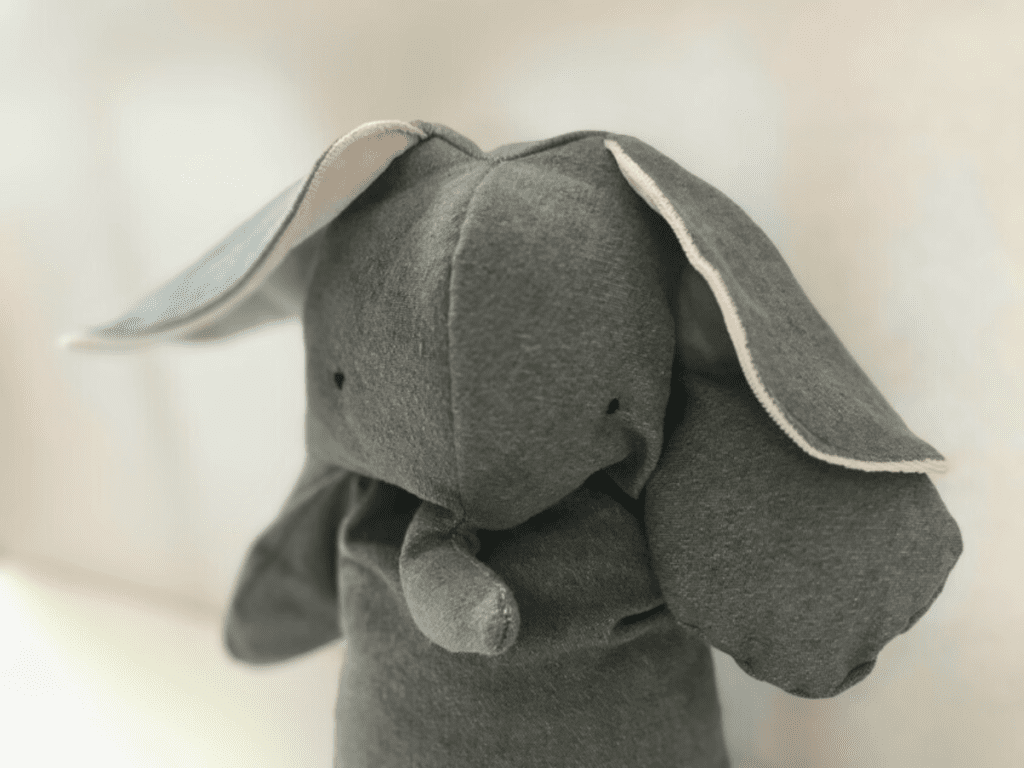
I chose a muted pink velvet, but this is also a great opportunity to add all sorts of bright colors to your elephant!
You can even use a fat quarter to inexpensively add a fun POP of fabric to the contrast side of the elephant’s ears!
Take an ear piece in your primary fabric color, and an ear piece in your contrasting fabric.
Put them right side together.
With a 1/4″ seam allowance, sew around the curved edge of the ear.
Turn the ear right side out.
Fold the straight side of the inside the “ear pocket” to hid your raw edges, and sew it closed.
Then, continue to sew a scant line of stitches — right at the very edge of the ear — all the way around the curved edge. This will help your ear stay flat even through years of love!
DO NOT stuff your ears.
Sew the tail, also using a 1/4″ seam allowance. (You will use a 1/4″ seam allowance for all seam allowances in this project, unless otherwise stated.)
Turn the tail right sides out (so the wrong sides are inside the tail).
Lightly stuff the tail with wool, or the fiberfill of your choice.
Fold the straight raw edge of the tail inside the tail, then sew closed to contain the fiberfill/wool.
Step 4: Sew the body piece
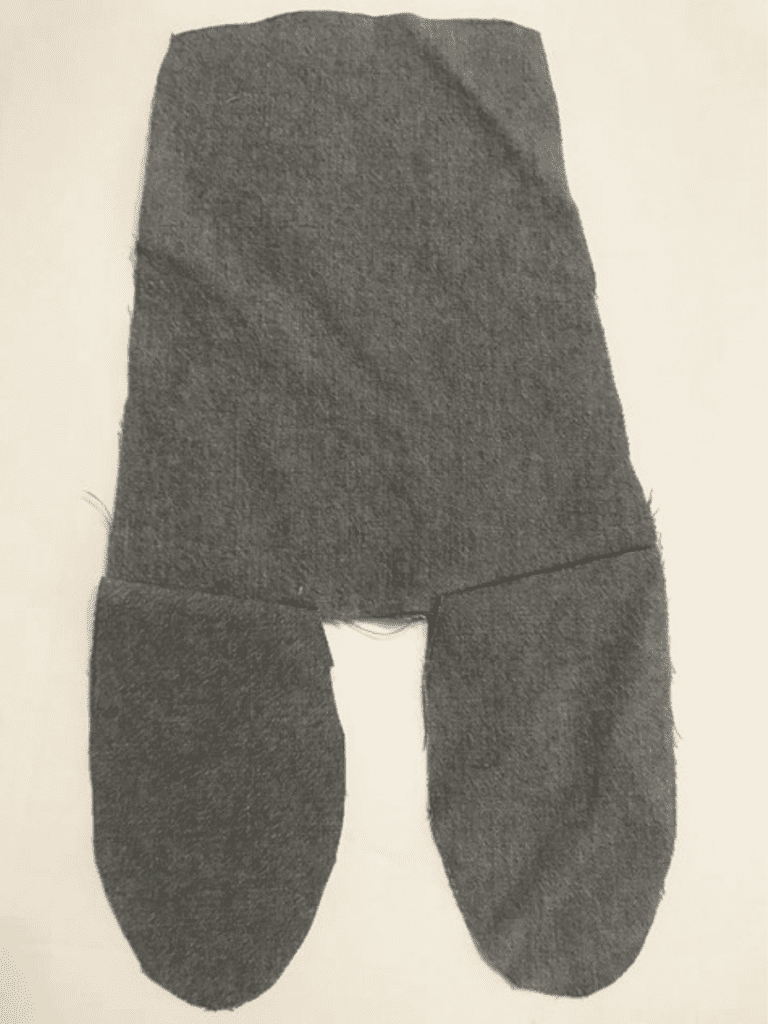
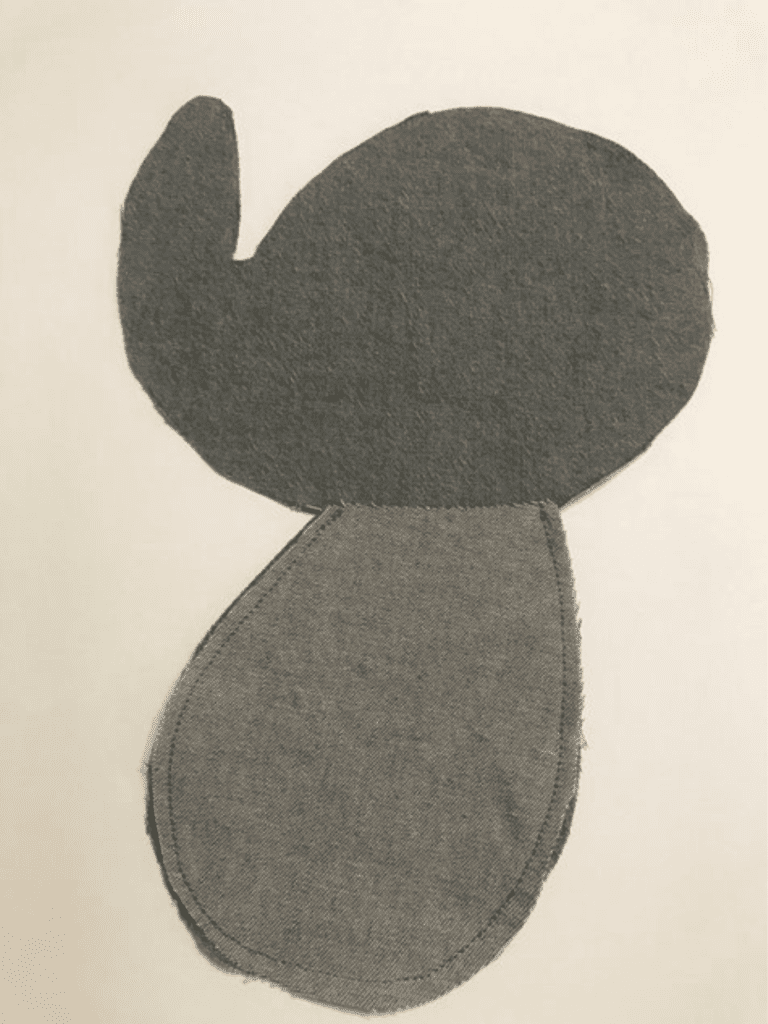
Take a back/tummy piece of the elephant.
Line the legs up with the diagonal straight edges at the bottom of the body.
With right sides together, sew the legs to the body.
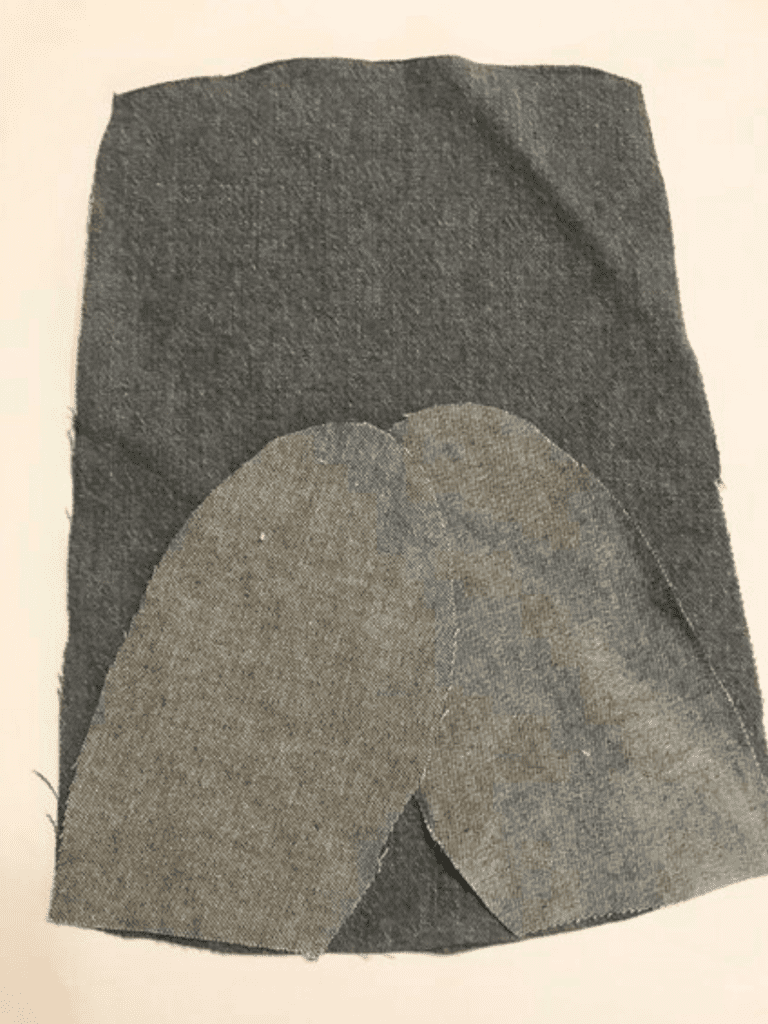
Complete for both body pieces.
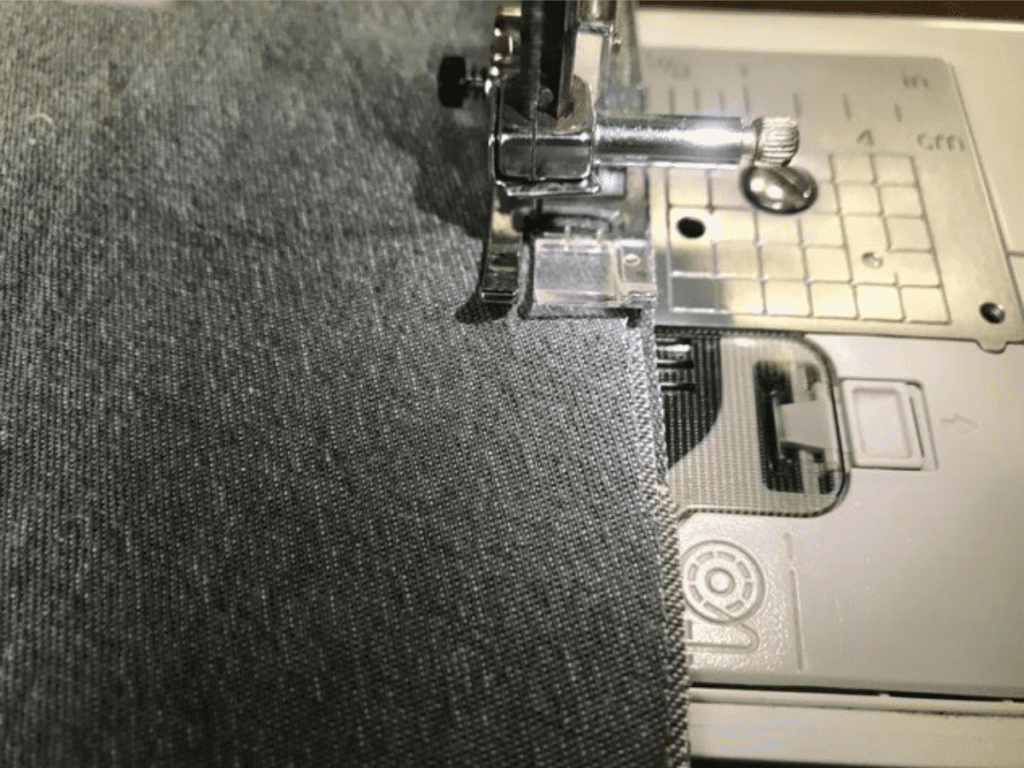
Then, put the right sides together of the body pieces, and sew all the way around, leaving the top straight edge of the body open.
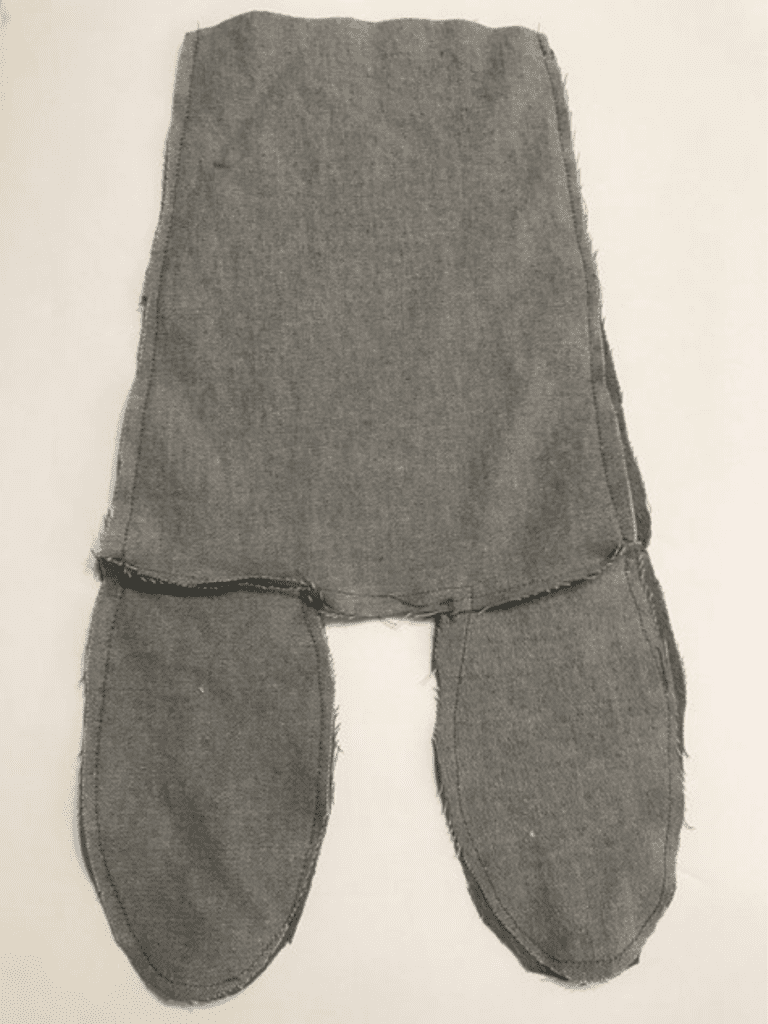
Set aside.
Step 5: Make the body weights
This step is totally optional — but if you want a weighted baby elephant, it really does make your finished elephant so much fun!
Plus, if your elephant is weighted, he will be able to sit up on his own!
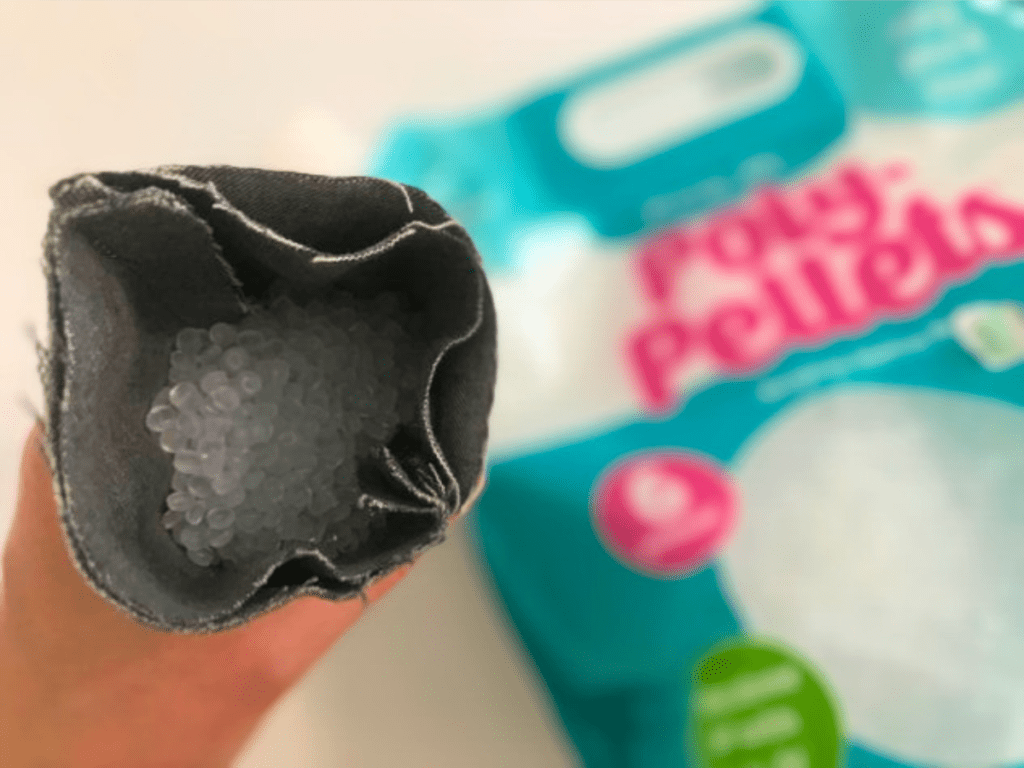
To make the weights to go inside your elephant, you’ll need poly pellets.
(My husband asked me again and again what poly pellets even actually ARE. I told him it’s the stuff Beanie Babies were filled with.)
If you want a not-plastic option, there are glass bead pellets out there on the market — just search for Waldorf doll making supplies!
(If you don’t get an “easy pour” bag of poly pellets, use a funnel to help prevent any spills.)
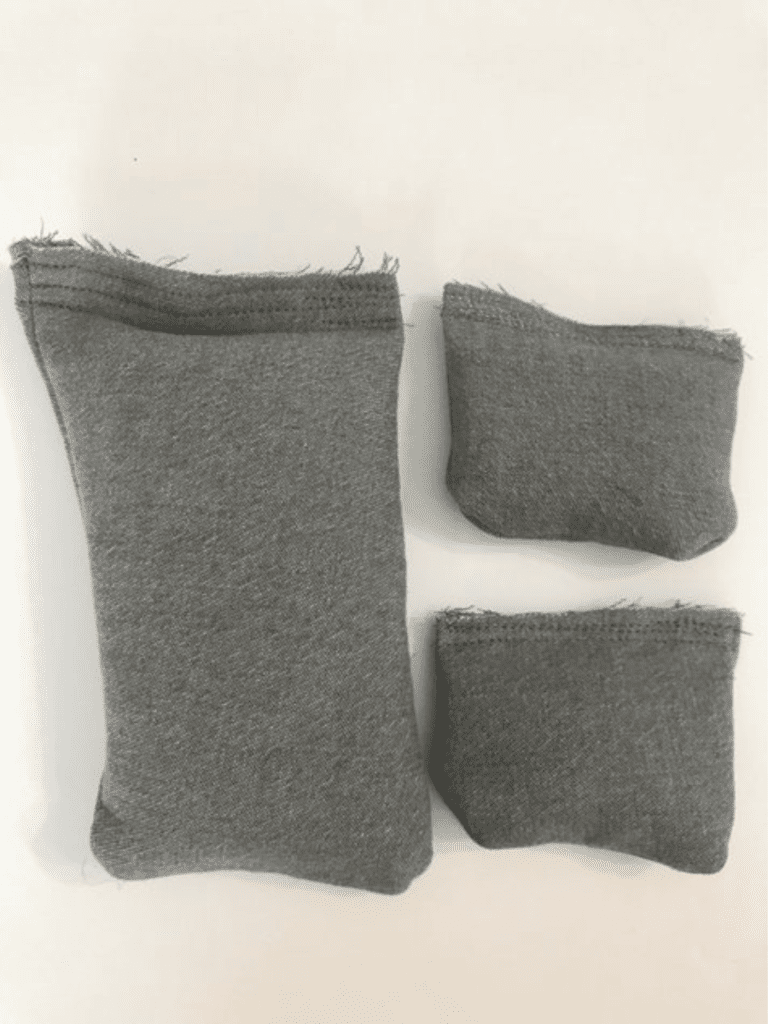
You’ll want one weight for the body, and two weights for the feet.
Cut out 4 rectangles of your medium weight cotton fabric that measure roughly 6″x4″. (it’s okay if this isn’t perfect.)
For the foot weights, cut out 8 squares measuring about 3″ by 2″ (again — it’s okay if this isn’t perfect, but for the feet you’ll want to make sure they’re not much bigger than this or they won’t fit inside the feet!)
Each weight should have 4 layers of fabric — 2 layers on each outside, with the poly pellets in the middle!
Sew 3 sides of the rectangles, leaving a short side open. Turn right side out.
Pour your poly pellets into each rectangle, filling it 3/4 of the way full.
Use a BIG seam allowance for the poly pellet sacks — a 1/2″ seam allowance!
Then (without hemming the edge), Sew it closed. 3 times. It’s good to be as sure as you can that the poly pellets never fall out!
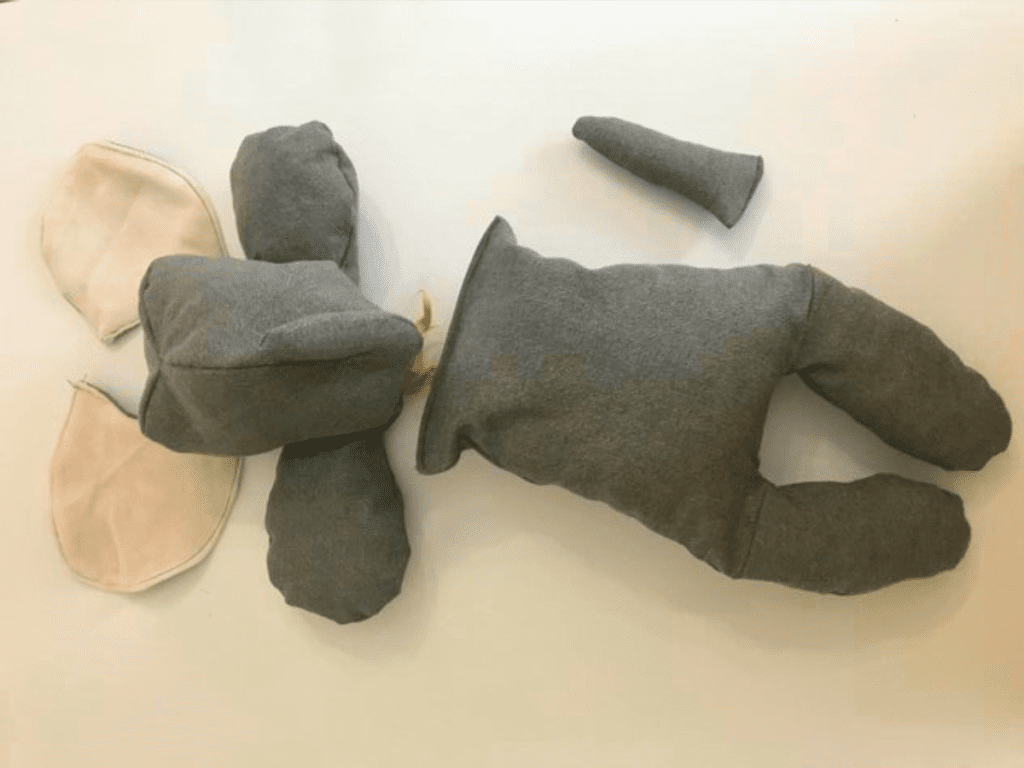
Step 6: Finish the body portion
Next we will be stuffing the weighted body!
Wrap your poly pellet weights with some wool.
Put one weight into each foot, and loosely stuff the remainder of the feet with wool.
You want to leave a good stuffing gap between the feet and the seat of the elephant — otherwise he will be too stiff to sit down!
After the feet, put your wool-wrapped body weight into the seat of the body.
Then, continue stuffing your body — but not too much! Leaving your elephant loosely stuffed will give this elephant a nice cuddly feel.
Hem the top of the body, and sew it closed (right at the edge) to contain all the fluff.
Set aside.
Step 7: Make the Head and Arms
The upper arms of the elephant are attached to the head.
We’ll start with putting the bottom sides of the arms on.
Take your other arm pieces, and sew them right sides together to the arm portion of the head (the trunk and round head should be on TOP, above the arm).
Don’t sew the top straight edge of the arm closed — this is where you’ll stuff the arms!
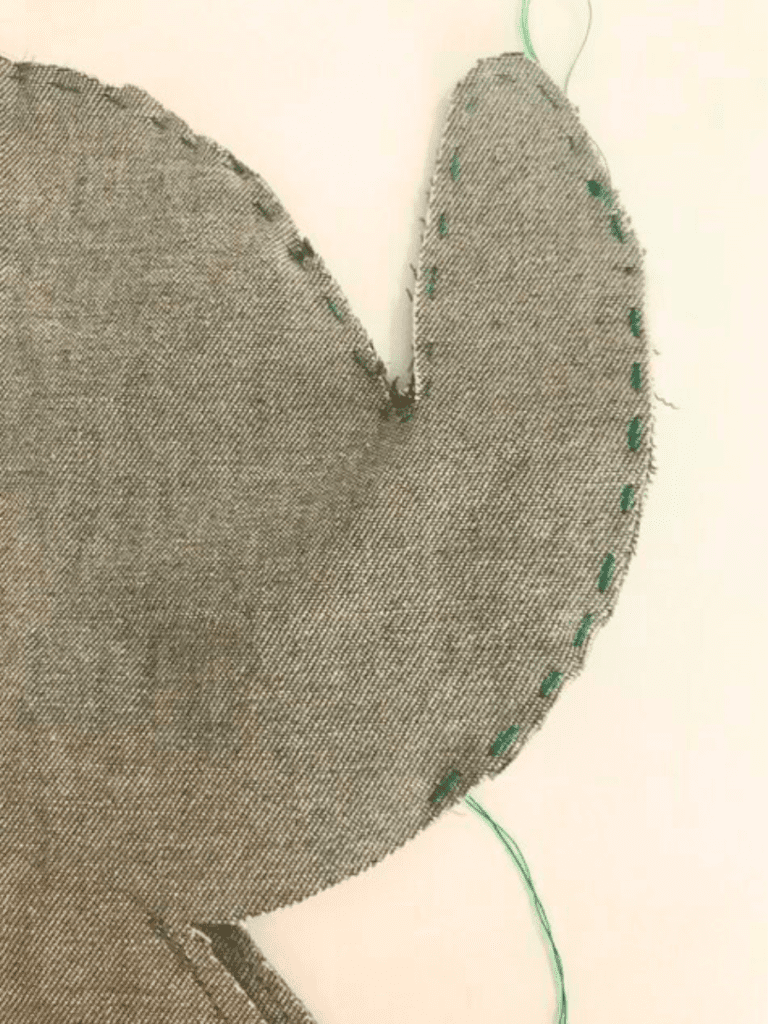
Next, we’ll use a basting stitch to attach the back gusset of the head. (remember — the back head gusset is your extra ear piece!)
Fold the back head gusset in half, and mark the halfway point.
Use a very contrasting color thread for your basting stitches! They’ll be easy to remove later this way!
Start at the bottom back of the head, and the bottom corner of the gusset.
With right sides together, sew halfway up the curved edge of the head gusset.
Then, sew the other half of the head gusset in the same way, to the other side head piece.
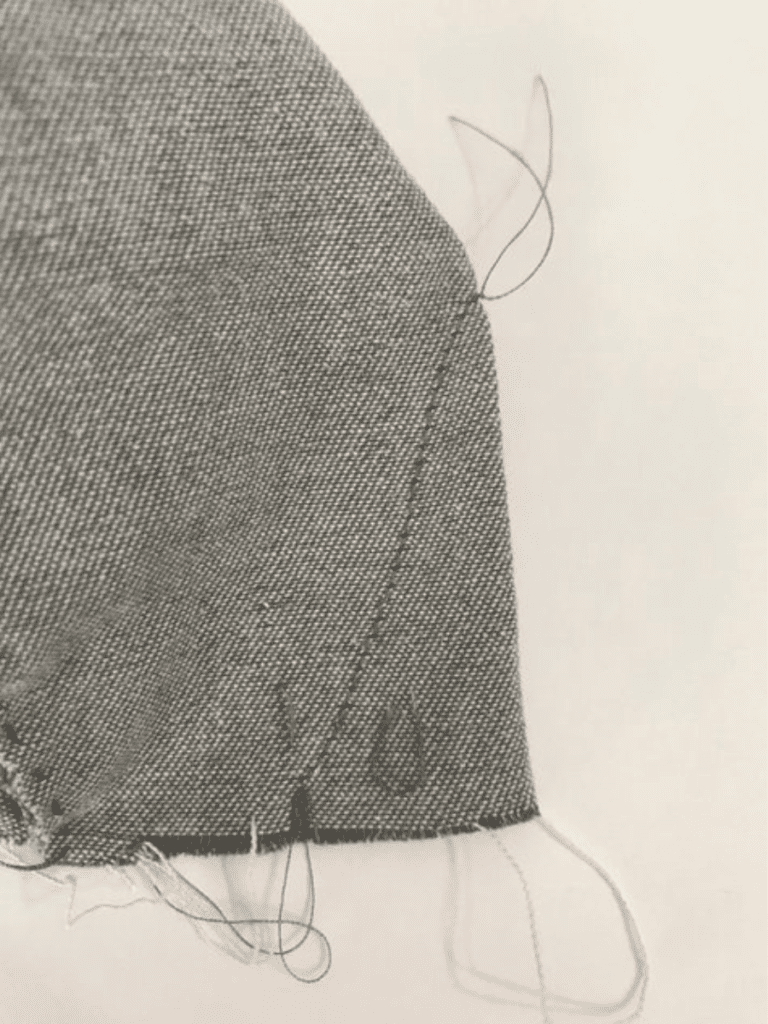
Once the head gusset is attached to the back of the head, use a basting stitch on the top sides of the head, all the way to the bottom of the trunk where the pattern indicates that you STOP sewing.

Now, use matching thread to make your permanent stitches where your basting stitches were, then remove your basting stitches.
Lastly, you’ll want to fold the bottom of the back head gusset in half. Start sewing in the bottom middle of this fold, and create a dart, about 2 inches long. (make a diagonal stitch to create a “triangle” that ends at the very edge/coming completely off of the fabric. The dart will help create a nice round elephant head!

Turn your head and upper arms right side out, and loosely stuff. Don’t sew anything closed.
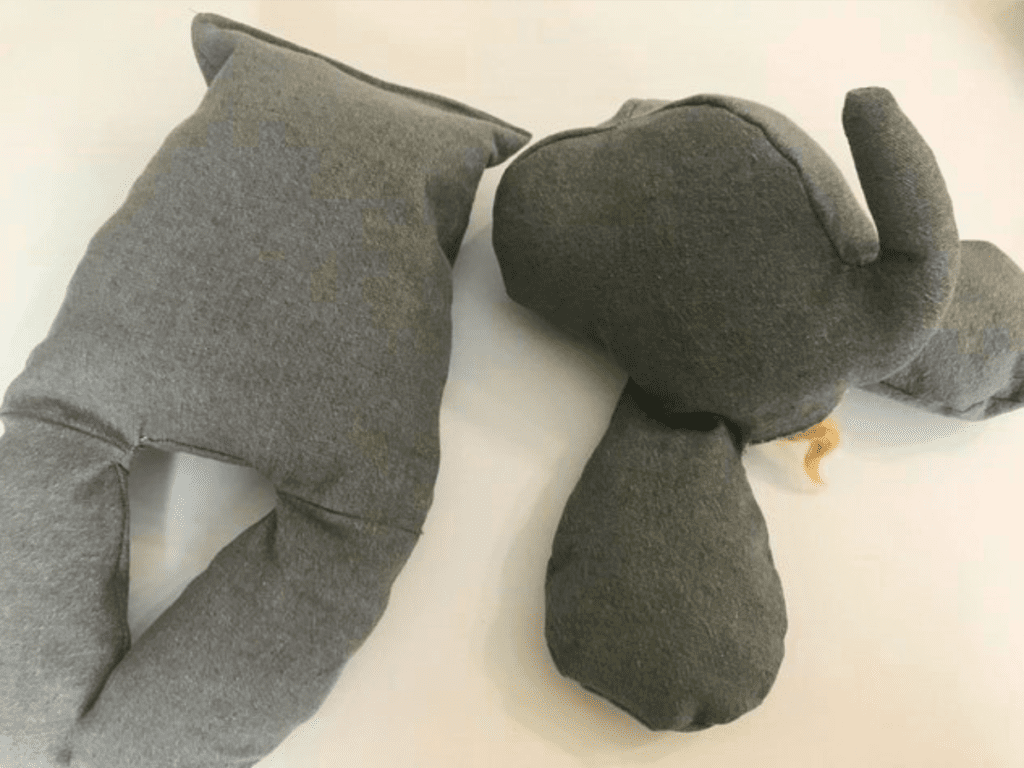
Step 8: Attach the head to the body, and add the final features!
To attach the head to the body, you’ll need to get out your hand needle and some matching thread.
Hand sew the head and bottom of the arms to the top of the elephant’s body.
A ladder stitch will get this done the most neatly!
I like to go around with a ladder stitch TWICE to make everything especially neat AND strong!
Once the head is attached to the body, use your hand sewing needle to attach the tail, and the ears.
The ears should be attached to the top of the head, right along the curved seam line on the top of the head.
Lastly, give your elephant some eyes! I used a french knot with some embroidery thread.
If you are using your elephant purely as decoration, or gifting it to an older child, button yes would also be adorable!
Tip: When hand sewing a toy, leave your tail ends of thread LONG. Then, rethread your tail ends with your needle, and weave them deeply into the body. This way, they’ll be hidden AND strong!
Please leave a comment!
I hope you enjoyed this lovely pattern to make your very own elephant friend!
Please leave a comment and let me know if you made this elephant, and who you made it for! These elephants would make great gifts, and I always love hearing about those of you who are crafting along with me!

Hi
I can’t find the pattern for the elephant – help please
Good morning, Jennifer!
The elephant pattern can be found under “Step 1: Print your Pattern.” Clicking on the exclusive content image here will open up the PDF pattern, ready for you to instantly print!
Hi how do I get the instructions can I print them off
Good morning, Carol! If you’d like to print the instructions, you can either copy and paste into a separate document, or on most computers can hold down “ctrl P” to print.
So excited to make this! Already cute out all the pieces and hope I can figure out how to put it all together. I’m a novice so we shall see. Instead of polyfill, I’m using barley, as my daughter requested an elephant microwaveable “wheat bag” for Christmas, and this pattern looks perfect for that! Thanks for making the pattern free!!
That is so sweet! What a wonderful idea to use barley, I love that idea! Thank you for sharing your experience with me!
Hi Thank you for elephant pattern. he’s really cute.
I’ll be making it in the new year.