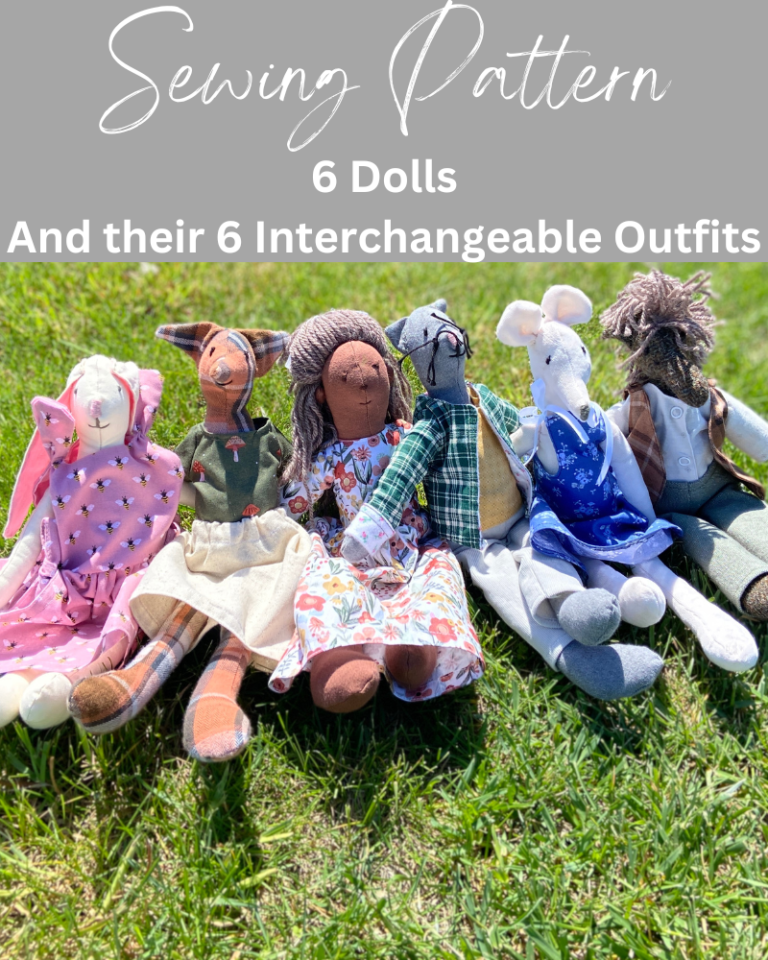
The Easiest Free Teddy Bear Sewing Pattern
Sew your own teddy bear in just a few minutes with this FREE very easy sewing pattern! Print your free pattern below!
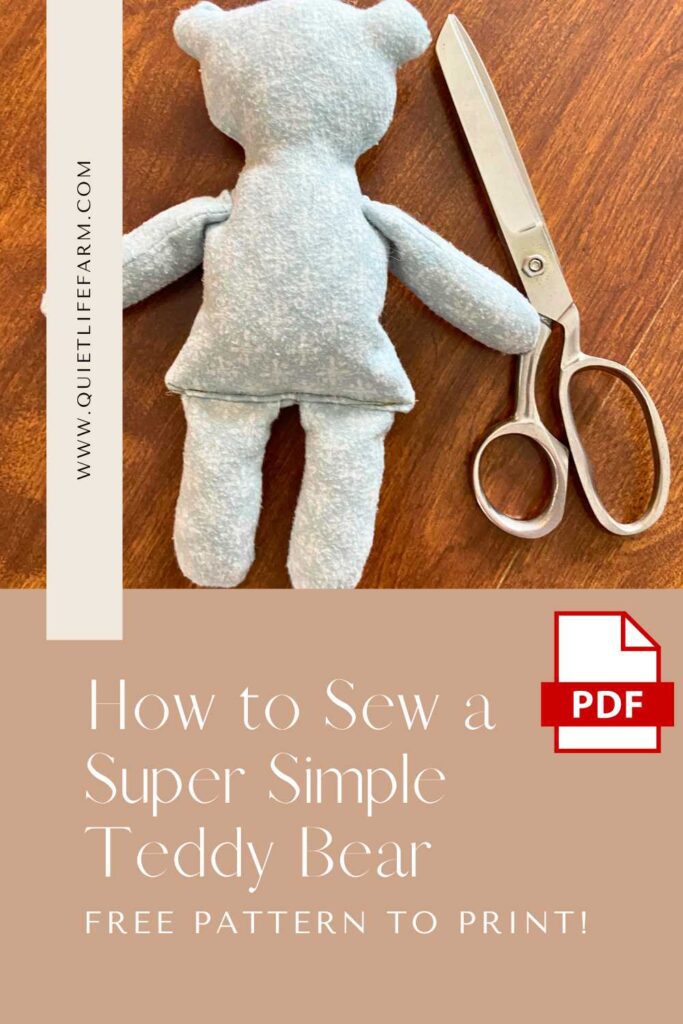
Sew your very own DIY teddy bear with the easiest teddy bear sewing pattern ever!
Print this pattern for free below!
This pattern is very, very easy — suitable for beginners.
He is fast to make! You can make a bunch for gifts in a short amount of time!
Supply List
To make this teddy, you will need:
- Small amount of cotton fabric
- Wool to stuff your bear with
- Scissors
- A sewing machine
- A hand sewing needle/thread
- FREE printable pattern! (Print out below!
Print out your pattern here!
To print out your pattern, get it below!
Your free pattern will be sent right to your email inbox.
The pattern comes as a PDF file, ready to print!
Once you have printed out your pattern, head back over to the blog and keep reading to see how to make this bear!
Step 1: Cut out your pattern
First, cut out your paper pattern.
The paper pattern has two simple pieces:
- One piece is for the head and body
- The other piece is for the arms and legs
Use a pencil to trace your pattern pieces over fabric.
You will want 2 body pieces.
You will want 8 arm/leg pieces.
After you trace your pattern pieces onto fabric, cut out your fabric pattern pieces.
Step 2: Sew the body of the bear
Next, we’ll sew the body of the bear.
To sew your bear’s body, lay the two body pieces right side together.
This means that the “pretty side” of your fabric will be facing each other, sandwiched on the inside.
The “dull side” of your fabric will be visible on both sides.
Using your sewing machine and a 1/4″ seam allowance, sew around the body of your bear.

Leave the bottom edge of your bear’s body OPEN, as marked on your paper pattern.
The bottom edge of your bear needs to stay open so that you can turn your pattern piece right side out and stuff it with wool!
Step 3: Sew the arms and legs
The arms and legs are made with the same pattern piece.
Each arm and leg requires 2 pieces.
This means you will need 8 arm/leg pattern pieces total.
Just like you did for the body of your bear, lay 2 arm/leg pattern pieces right side together.
Sew around each arm and leg with a 1/4″ seam allowance.
Leave the bottom flat edge of each arm/leg open (as marked on your paper pattern piece).
Step 4: Turn right side out and stuff

Next, you’ll want to turn all of your pieces right side out.
You can use an item such as a chopstick or the dull end of a knitting needle to help turn out the pieces if you need to.
Once all of your pieces have been turned right side out, stuff the body, arms, and legs with wool.
You will want to leave a little bit of empty space at the top of each arm and leg.
Leaving a little bit of empty space at the top of each arm and leg will allow the arms and legs to move more freely.
Step 5: Attach the legs to the body

The arms and legs are the same for the bear. It does not matter which pieces you use as the arms and as the legs.
To attach the legs to the body of your bear, you will want to place the tops of the legs INSIDE the open edge of your bear.
Fold the raw edges of the bottom of your bear’s body to the inside of the bear’s body.
This will hem the raw edges of your bear.
Use either a hand sewing needle or your sewing machine to attach the legs to the bottom of the bear’s body.
Keeping the raw edges folded inside the legs of your bear WHILE you attach the legs will hem the body and attach them at the same time.
Step 6: Attach the arms

Fold the raw edges of the arms to the inside of each arm.
Hem across the top of the arms to secure the hem and to close up the arm so that wool does not fall out.
Then, use a hand sewing needle to attach the arms to the body of the bear, right at the shoulders.
Tie a tight knot and leave your ends of your thread a few inches long.
Using your hand sewing needle, pull your long ends of thread INSIDE the bear, before poking out your needle on the other side of the bear and THEN cutting the thread short.
This will leave a few inches of thread INSIDE your bear’s body, unseen.
Finishing your hand sewing this way will keep your knots strong, and also make them look more neat as there will be no weak and tiny whisps of thread poking out at your knots.

More Free Patterns
If you enjoyed this free pattern, please do check out my others on the blog!
Here are some beginner friendly toy patterns you may enjoy:
Super Simple Cat Sewing Pattern
Super Simple Bunny Sewing Pattern