Easter Eggs: Sewing Reusable and Fill-able — print FREE!
Fabric Easter Eggs that can be filled with goodies are a great replacement for those plastic ones! Here’s a free (printable!) pattern and tutorial for how to make your very own that can be reused year after year!

Plastic Easter Eggs drive me crazy.
Okay — plastic kind of drives me crazy.
But those plastic Easter Eggs are especially awful in my eyes. They break easily, there can always be another one found under a couch or a chair months after the holiday has passed, and they pose a choking risk to young children.
It’s just not worth it to me.
A wonderful alternative are fabric Easter Eggs!
Fabric Easter Eggs are plastic-free, more durable than their plastic counterparts, and in my opinion much more lovely to look at!
Today I’m giving away a free printable pattern for how to make these eggs.
The pattern comes in TWO sizes: a regular sized egg, close to the same size as a standard plastic egg, plus a JUMBO Easter egg, perfect for filling with larger toys or treats!
After you print your pattern, follow along as I walk you through in this complete photographed tutorial!
Disclaimer: As an Amazon Associate, I earn from qualifying purchases at no cost to you! Thank you for your support as I continue to give away free patterns!
Supply List:
- Cotton Fabric (only a small amount. Great for scraps or fat quarters!)
- Sewing machine or needle/thread
- Free printable pattern (Below! Or, draw up your own!)
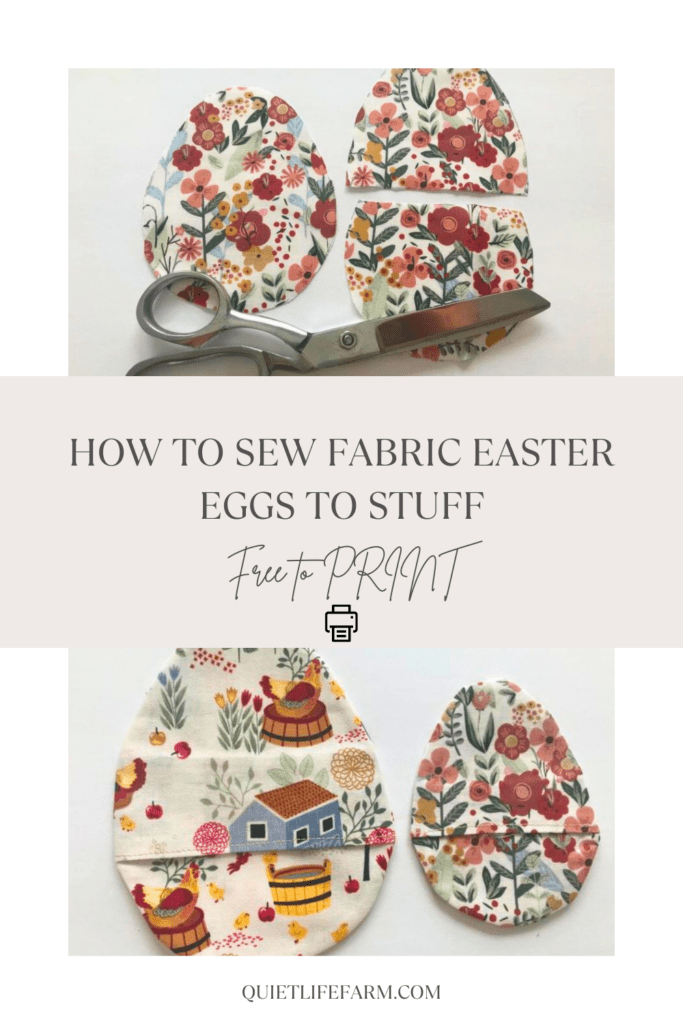
Step 1: Print, trace, and cut your Easter Eggs
First, you’ll need to either draw up your own pattern, or print out my free pattern HERE:
Note the two sizes for the eggs.
These eggs come in “regular size” and in “jumbo size.”
The regular sized eggs are great for filling anything that would fit in a standard sized plastic Easter egg.
The jumbo sized eggs work well for filling with larger treats.
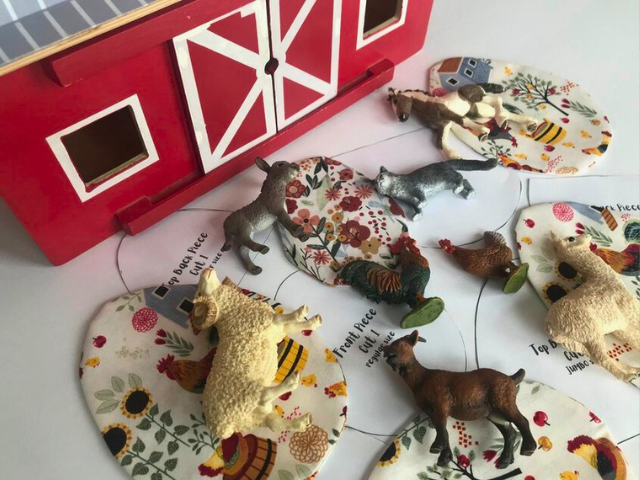
Our family has a tradition of placing a Schleich animal or two in each of our children’s Easter basket to add to their collection for their wooden barn. The jumbo sized eggs are perfect for just that!
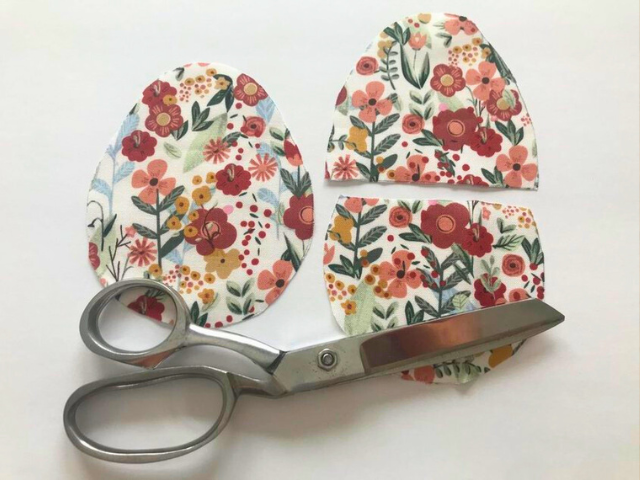
Once you have your Easter Egg pattern, trace and cut out your pieces.
You’ll need to trace and cut out one piece of fabric per pattern piece:
One front piece, on top back piece, and one bottom back piece.
This is the same for both the regular and jumbo sized eggs.

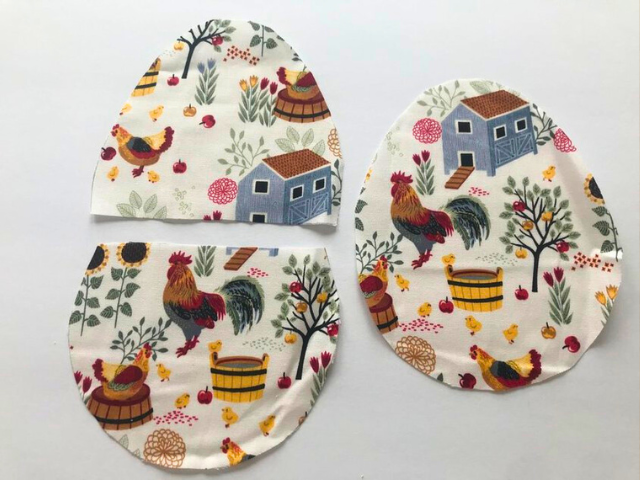
I’ll be making a jumbo sized egg in this photo tutorial, but the process is exactly the same for the regular sized egg pattern.
Step 2: Sew your Easter Eggs
Next we’ll sew our eggs!
First, hem the straight edge of both the top back and bottom back pieces.
Just a tiny hem with a 1/4″ seam allowance will do.
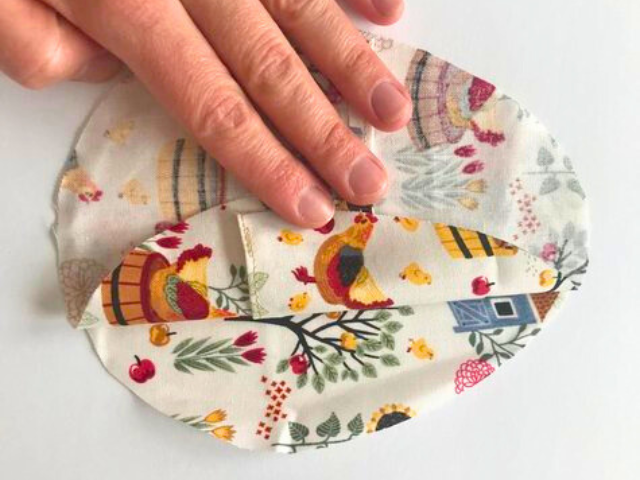
Next, lay your top back and bottom pieces on your front piece.
The front piece and two back pieces should be facing each other right side together.
This way, after it’s turned right side out, all the “pretty sides” of the fabric will show.
It doesn’t matter what order you place the top back piece or bottom back piece in. The eggs will still be fill-able perfectly well either way you lay them out.
Just be sure the front piece of the egg is on the bottom!
Also — be sure all the edges of the egg are lined up evenly.
The edges you have already hemmed on the top and bottom back pieces will overlap.
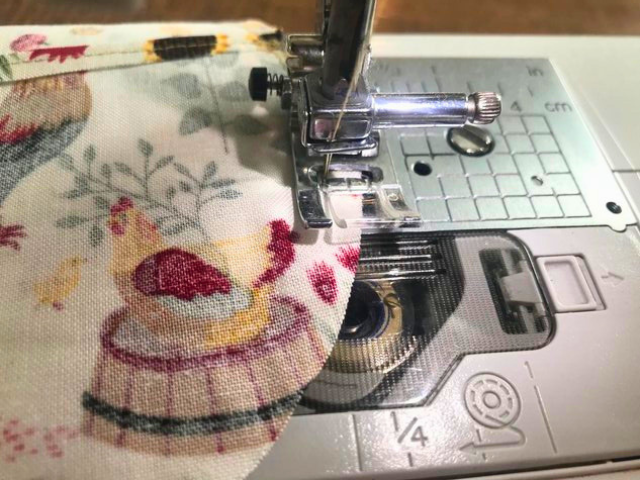
Next, sew around your egg.
Sew all around your egg, making sure to use a back stitch (knot) at the beginning and end of your seams.
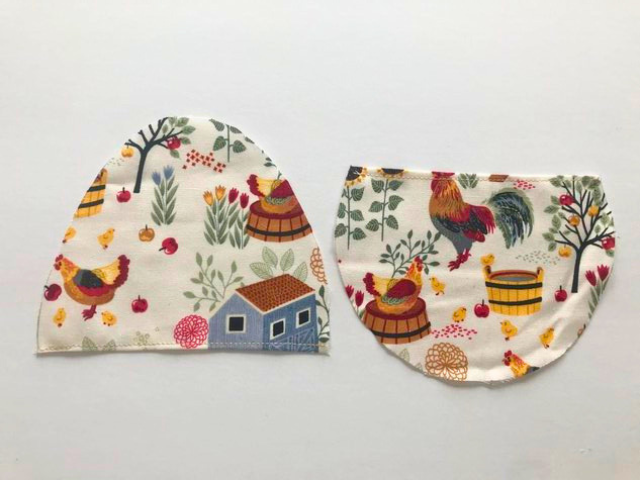
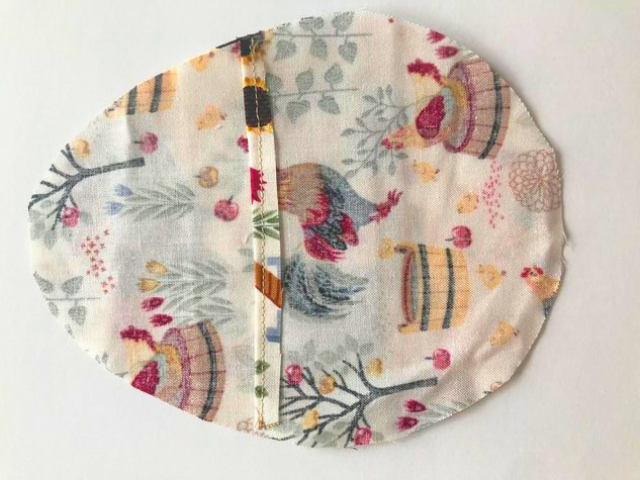
Above: What the front of your egg should look like

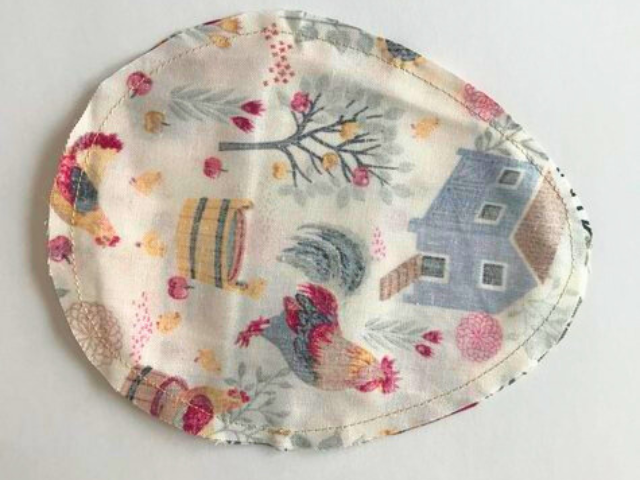
Above: What the back of your eggs should look like
Next, turn your egg right side out.
Iron your egg to make it look crisp and neat, if you wish!
Your egg is complete and ready to be filled!
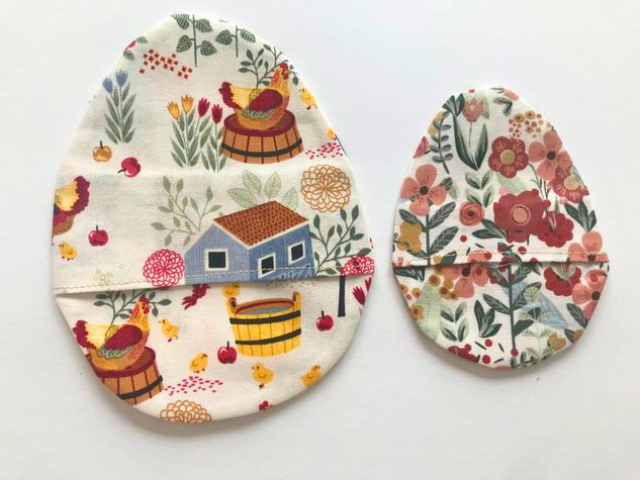
Above: Back side of completed jumbo and regular sized fabric Easter Eggs
Create a fun variety of these using all sort of colored scraps.
Or, perhaps make one color egg for each of your children.
These eggs can be used in baskets, for Easter egg hunts… all sorts of things!
To wash, first place in a mesh zippered laundry bag used for dedicates. This will prevent your eggs from getting lost in the wash, or from being too harshly agitated in the washing machine.
With proper care, these eggs will last for many, many years!
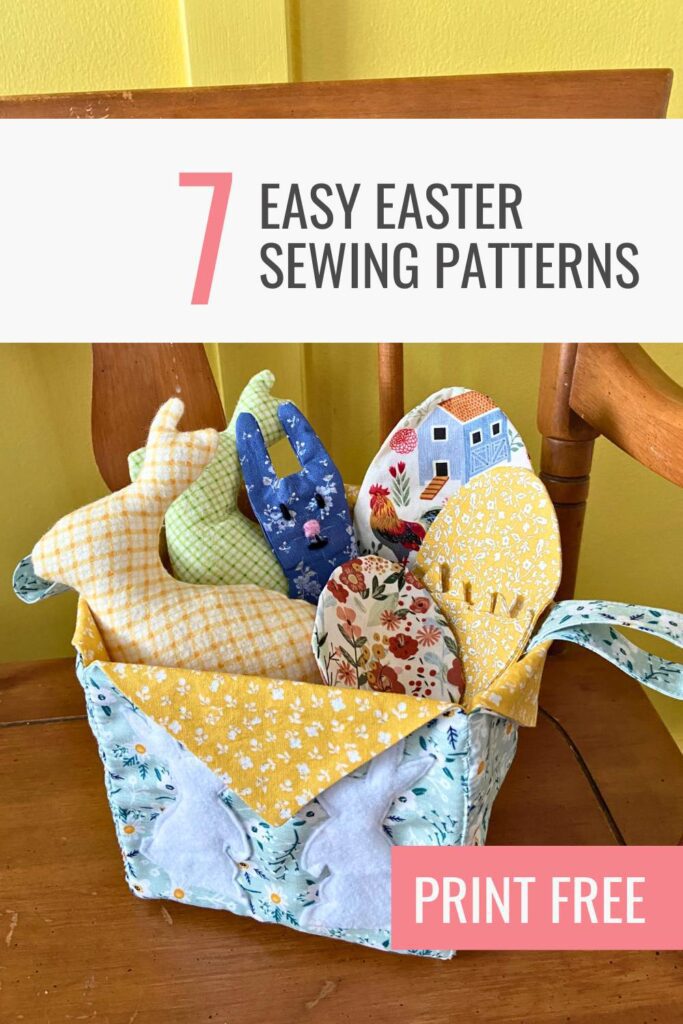
Check out my other FREE Easter Sewing patterns to print HERE!

Thank you for the easter egg file! I love how easy to follow and easy to make these are I made a few big and small for the grandkids
Thank you for your sweet comment, Kristie! I’m so glad you enjoyed it — I hope you and your grandkids have a wonderful Easter! Those grandkids so lucky to have a grandma who makes them handmade things!
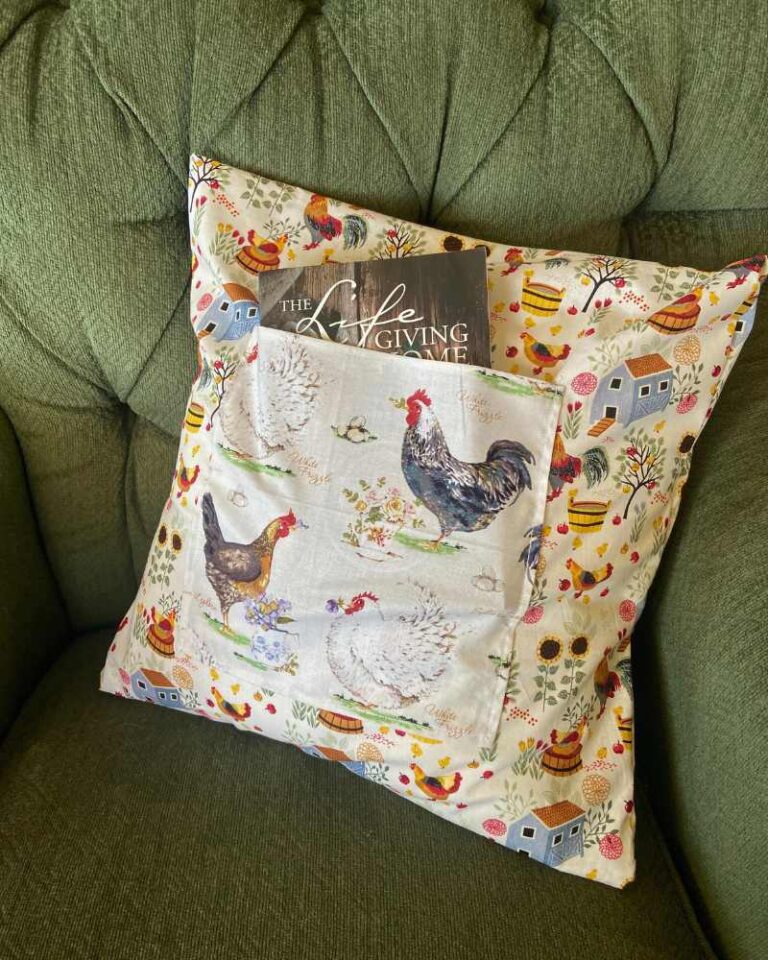
Where can I find the chicken material you used? It is so cute!
Hi, Brianna! So glad you love that fabric — I do, too! I got it from Hobby Lobby. It’s called “Chicken & Coops Cotton Calico Fabric” (and is currently 40% off!)
https://www.hobbylobby.com/Fabric-Sewing/Quilting-Fabrics/Cotton-Calico-Fabric/Chicken-Coops-Cotton-Calico-Fabric/p/81103644
Hi, Would you please give the dimensions of the ‘finished eggs’ for both sizes;
length and width
in your instructions and the same width that you used were selling together and the turn up width on the edge of the fold over.
I don’t have a printer yet and I’m trying to figure out what the sizes are to figure out what size of scrap fabric I might have that will fit the patterns.
Thanks
Hello! At the widest width, the jumbo egg measures 4 3/4″ wide, an the regular sized egg measures about 3 1/4″ wide. The jumbo egg is 6″ tall, and the regular egg is 4 1/2″ tall! I hope this helps!
Yes it does, Thanks❣️
That was supposed to read… SEAM width… used to sew together …And the turn up width of edge fold over.
I folded the hem about 1/4″ in length for the opening portion of the egg! I used a 1/8″ seam allowance when sewing around the eggs.
I do not see a link to print instructions for the Easter egg. I tried where there is a printer to no avail. I was able to print the pattern. How do I print instructions? Thank you!
Well aren’t these adorable?! I’ll have to try my hand at a few of these!
Thank you, Elizabeth! Happy sewing and Happy Easter!