Elastic Pants: Free Easy Printable Pattern for sizes 2T to 7
Disclaimer: As an Amazon Associate, I earn from qualifying purchases.
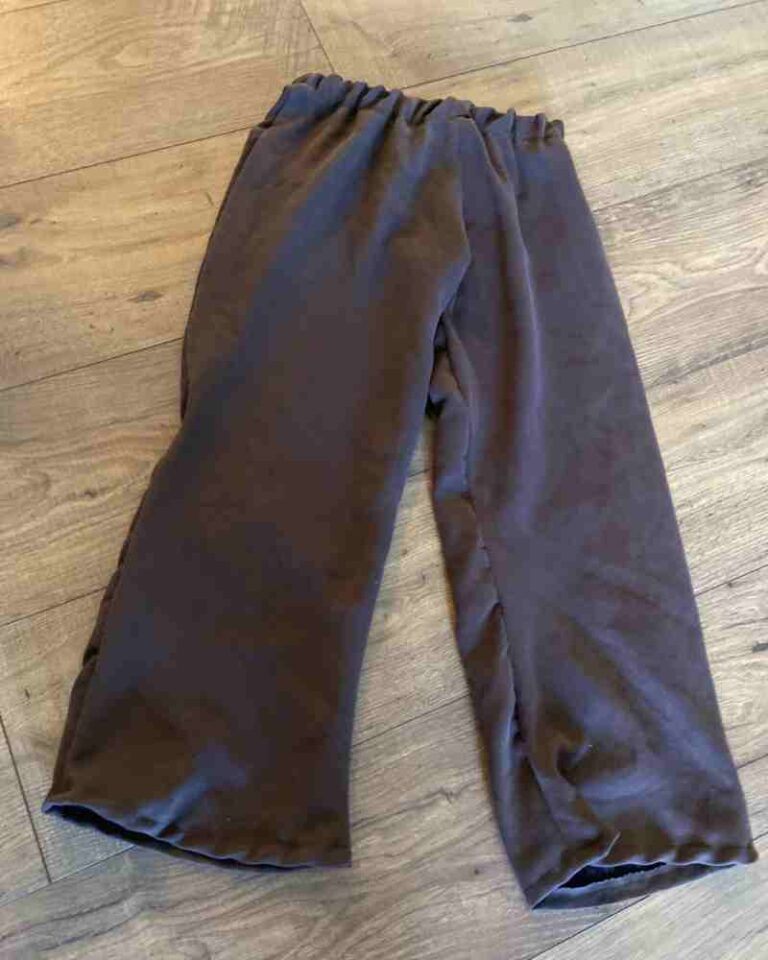
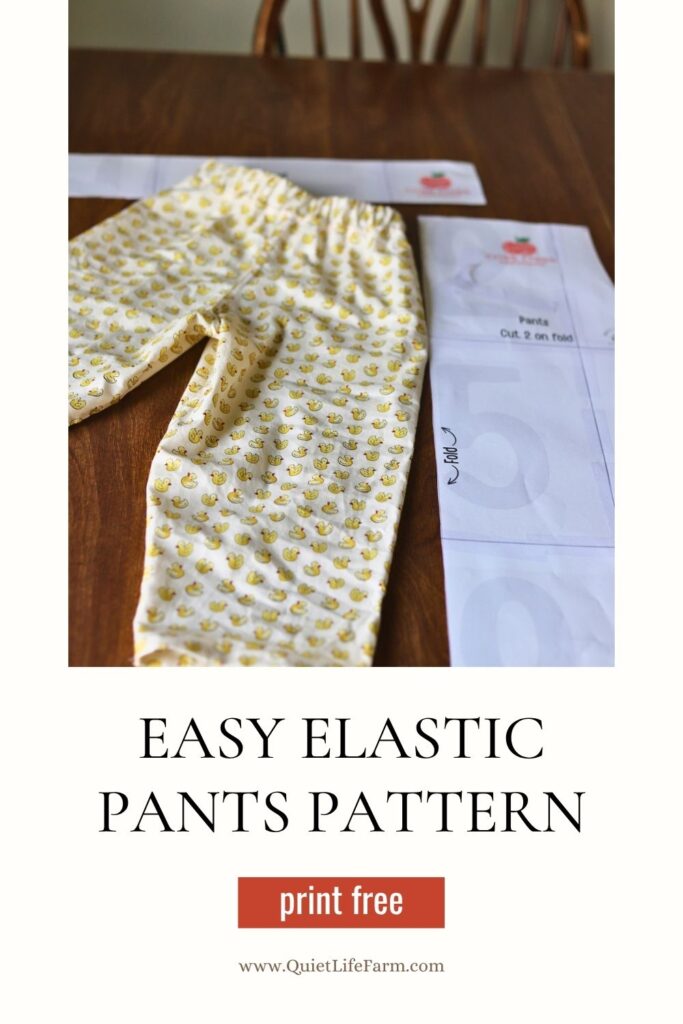
Today l am sharing with you my new and FREE to print child’s elastic pants pattern, Criss Cross Applesauce.
This elastic pants pattern comes in sizes 2T up to a 7, and is free to print out here on my blog.
Need a larger size? This pattern is also available in child sizes 8 – 12 and can be found using THIS LINK.
After you print and assemble your free pattern, you’ll want to cut out 3 pieces of fabric:
- Two separate leg pieces, cut at the FOLD of your fabric (fold your fabric before cutting it!)
- 1 waistband piece
Fabric Recommendations
You can use a lightweight or medium weight fabric for these pants.
I do suggest using a woven (not stretchy) fabric for these pants.
Think lightweight cotton/quilting fabric, medium weight canvas fabric, or even soft flannel fabric!
While you’re perfectly welcome to try out making these pants with a knit (stretchy) fabric, just know that I did not test this pattern with this type of fabric. (oh, and if you use a stretchy knit fabric, please be sure to use a zig zag stitch for them!)
Also, if you use a stretchy knit fabric, I don’t recommend a flat felled seam like what I’ll be showing you here today. You probably just want to use some pinking shears, sew everything right sides together with a zig zag stitch, and move along. (or use a serger if you have one)
Elastic
Lastly, you’ll want to have some elastic for these pants. You’ll want either a 1/2″ width elastic, a 3/4″ width elastic, or a 1″ width elastic.
The larger the width of the elastic, the stronger your waistband you’ll want! For an older child, I recommend the full 1″ width elastic. For a toddler, the 1/2″ width or the 3/4″ width might be softer against their little waist.
Some Quick Additional Notes For This Pattern
Before we dive on in, I want to give some additional notes that hopefully are helpful to you in making this pattern.
You will use a 1/2” seam allowance for this pattern, for the whole pattern.
You will also use a flat felled seam, which I will be showing you how to do step by step!
Lastly, I do have a video tutorial for these pants. I’ll put it down below!
Video Tutorial
Video Tutorial Coming (very) soon
Free Printable Pattern (Print it out here!)
Here’s your free printable pattern so you can follow along with this project!
If you enjoyed this pattern, please leave a comment below, pin this post to Pinterest, or even head over to my Etsy store for more ways to support me in making these free patterns! Thank you!
How To Make A Flat Felled Seam
Before we get into exactly how to make these pants, I want to go over making a flat felled seam.
This will be very helpful in making your pants!
Using a flat felled seam will make your pants stronger (if your children are like mine, they are ROUGH on their clothes, so I really value clothing that holds up to daily play on our little farm!), and it also gives a neat and professional finish for your pants!
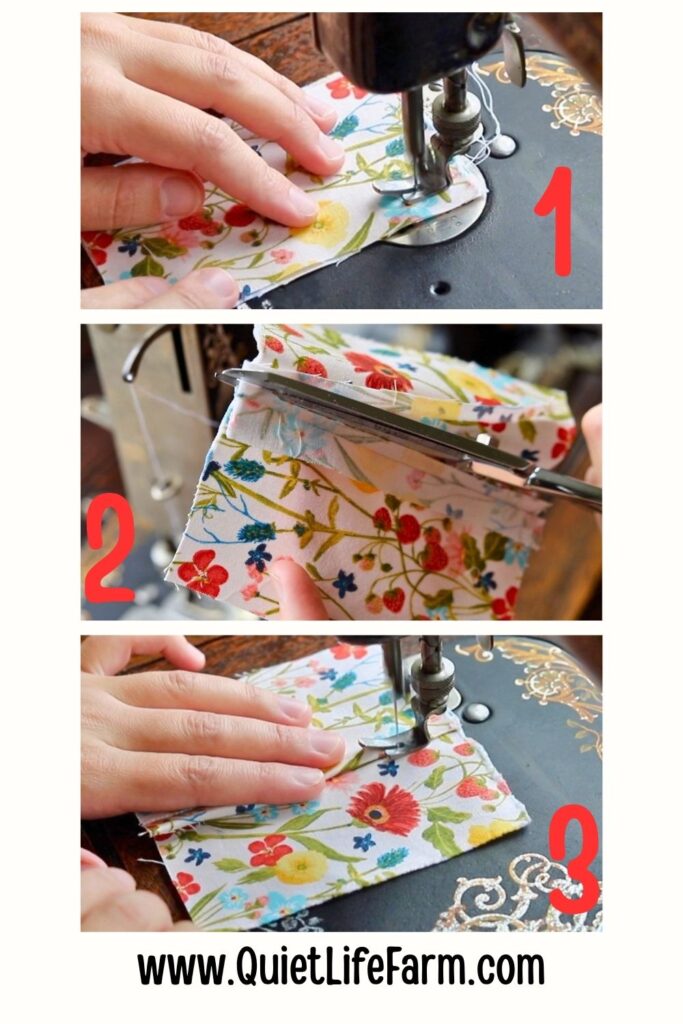
To make a flat felled seam for these pants, you will first sew WRONG sides together with your 1/2” seam allowance.
Iron your seam open, then trim just one side of your seam allowance in half so that there is now about 1/4” left on one side.
Fold the long side of your seam allowance over the short seam allowance, and iron flat so that all the raw edges are hidden away.
Then, sew right at the edge of this little fold.
Step 1
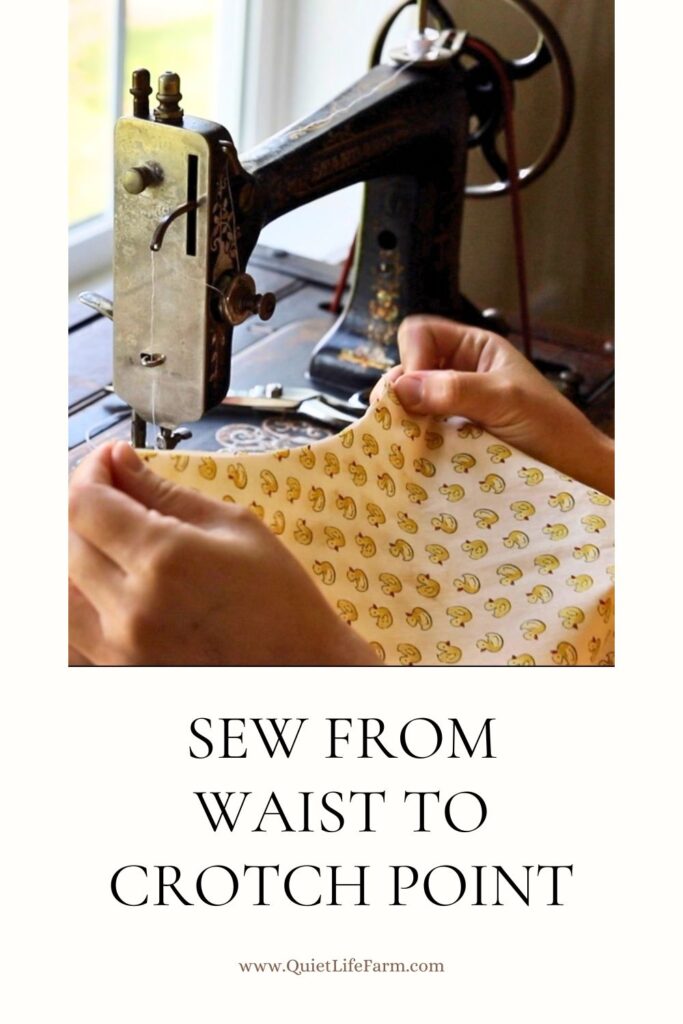
Now that we’ve gone over the flat felled seam, let’s get started on these pants.
The first thing you will want to do is lay the pants wrong sides together, and sew from the waist of the pants down to the crotch point.
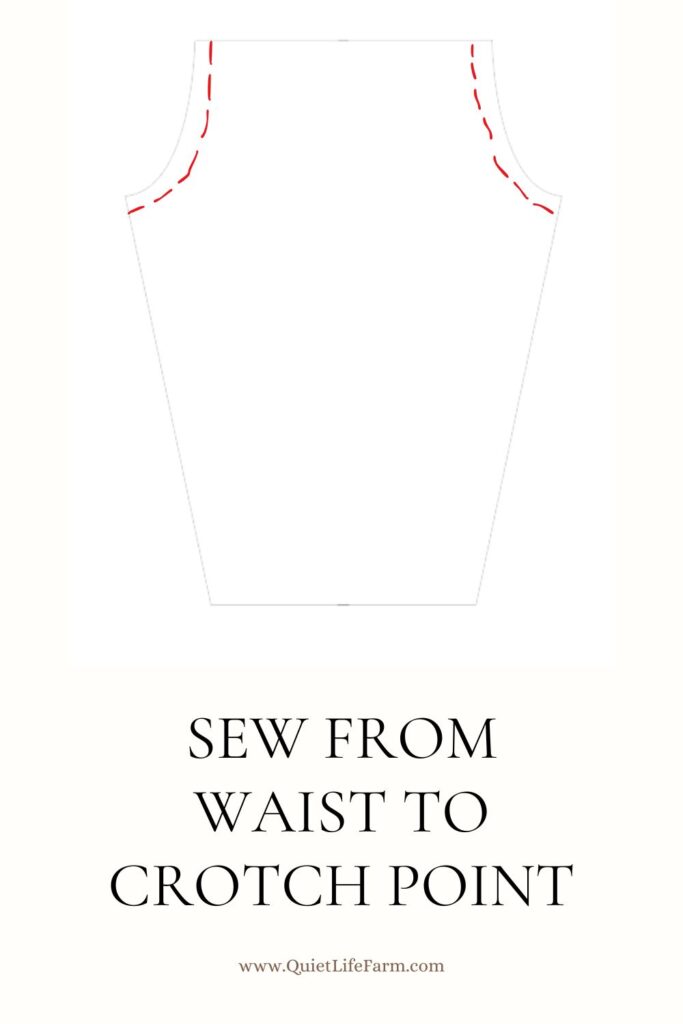
Trim off 1/2 of just one side of the seam allowance, and fold the long side of your seam allowance over and around the short seam allowance.
Iron it flat, and sew right at the edge of your fold.
Repeat this for both sides of the pants.
Step 2
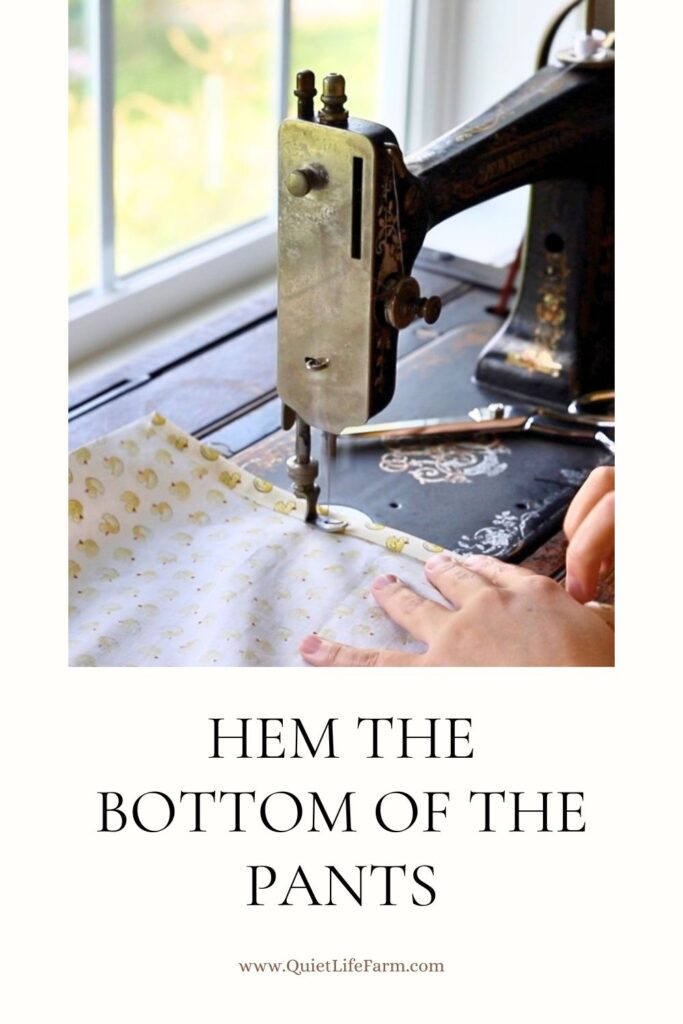
Next we are going to get ready to sew the pants legs together, but if you’re sewing one of the smallest sizes of this pattern, you might find it’s typically easier to go ahead and hem the bottom of the pants legs now.
Since I’m sewing the 2T size here, I’m going to go ahead and fold over the raw edges of the ankle part of the pants, iron it down, and sew right along the top fold of the hem.
Step 3
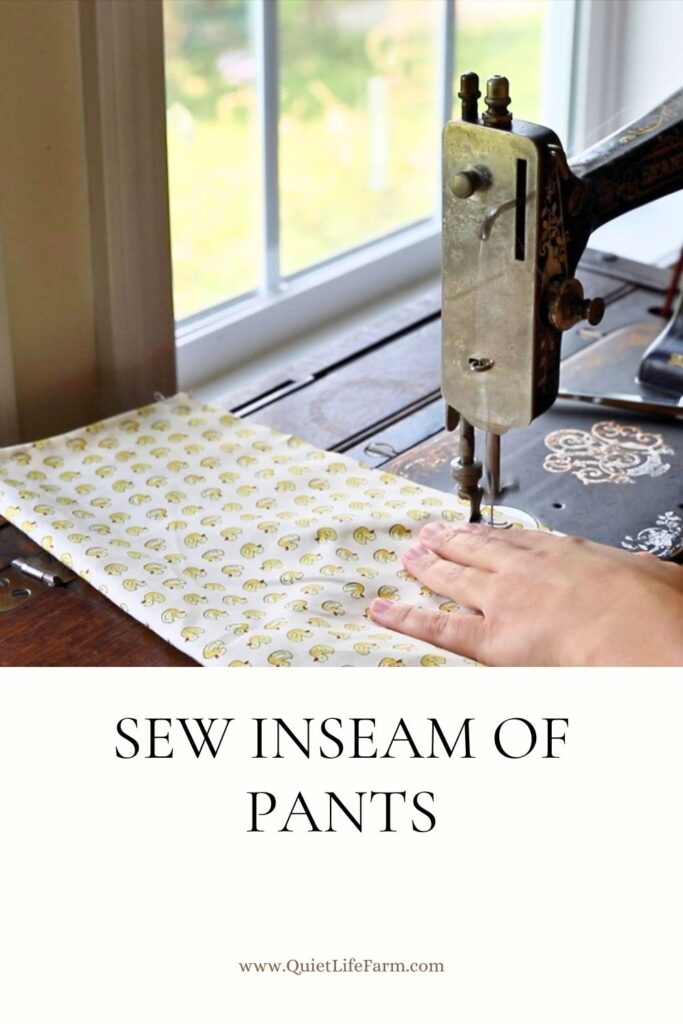
To sew the pants legs, lay your pants wrong sides together so that they resemble pants, and sew around the inseam, using a 1/2” seam allowance.
Trim off one side of your seam allowance in half, fold the longer side of your seam allowance down, and iron it into place before sewing your flat felled seam.
On the smallest sizes of the pants, instead of sewing this flat felled seam down starting at one leg and ending at the other, I find that it’s much easier to start at the top of the leg, sew down to the bottom of one leg, and then repeat this process for the other.
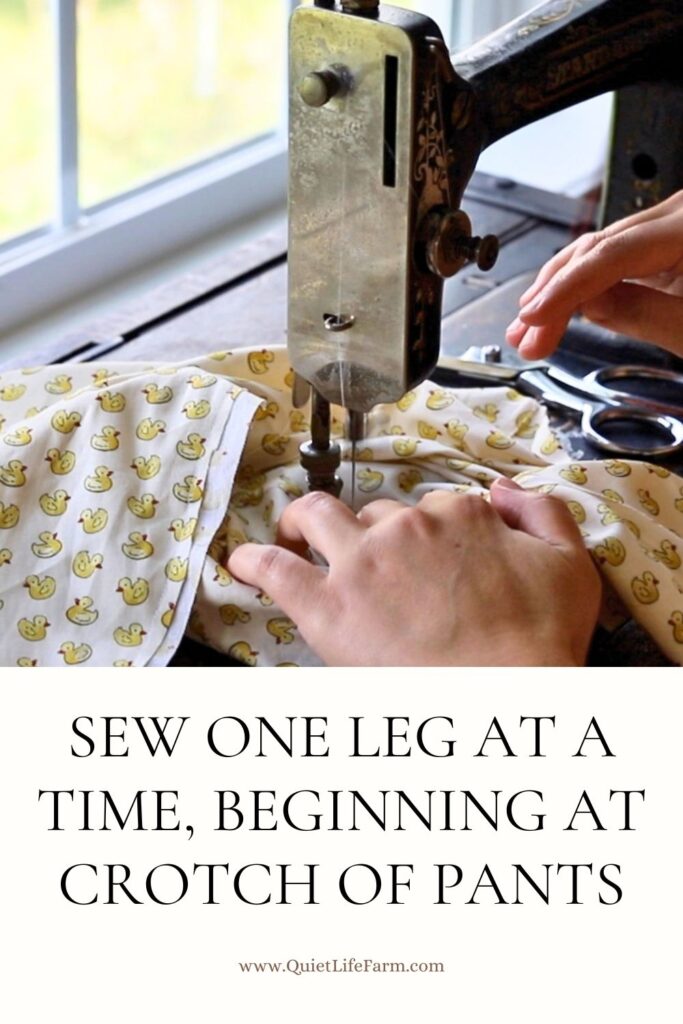
Basically, just start at the center of the crotch of the pants, and sew down one leg at a time, bunching up the leg as you reach closer to the ankle of the pants.
Step 4
Lastly, we will be sewing on the waistband.
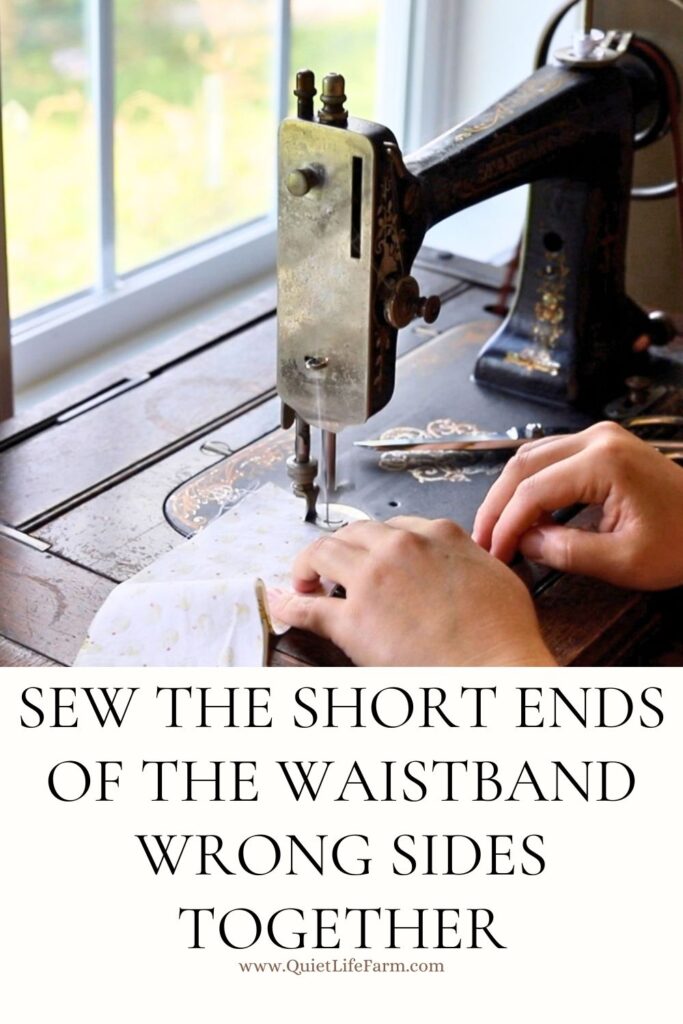
First, sew the short ends of your waistband right sides together with a 1/2” seam allowance.
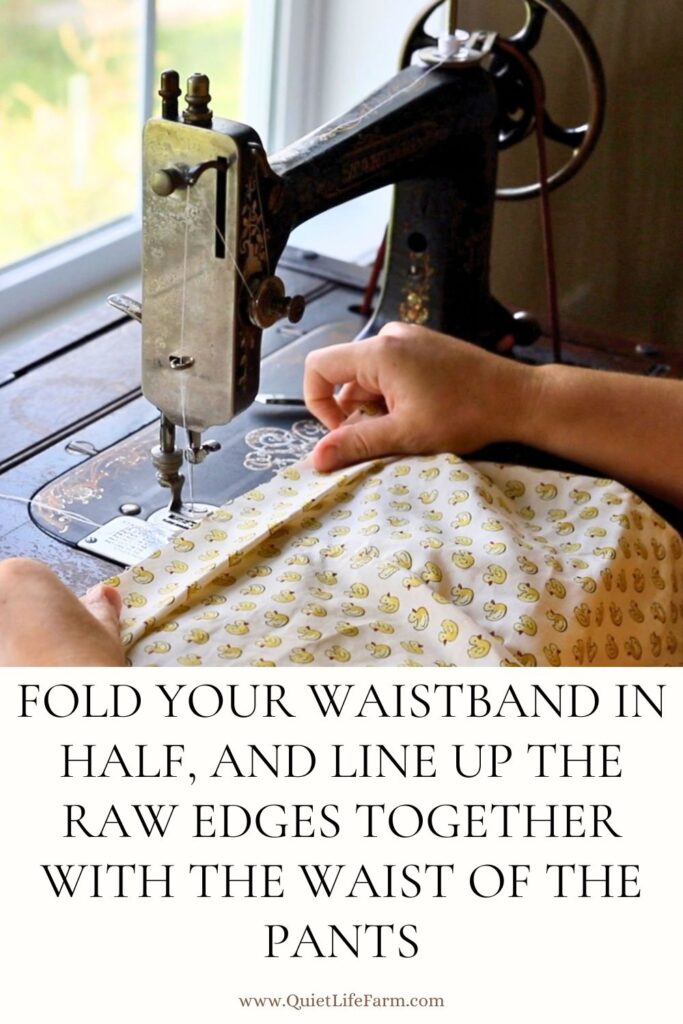
Fold your waistband in half, with the raw edges tucked away inside of the waistband.
Line up the seam on the waistband with the seam on whichever side you intend to be the back of the pants, and sew the waistband to the top of the pants, using a 1/2” seam allowance, and leaving a little opening so that you can stick some elastic inside the waistband.
Create a flat felled seam at the waistband, this time on the inside of the pants, by trimming off the bottom 3 layers of the seam allowance in half, and keeping the top half of the seam allowance at 1/2” of an inch.
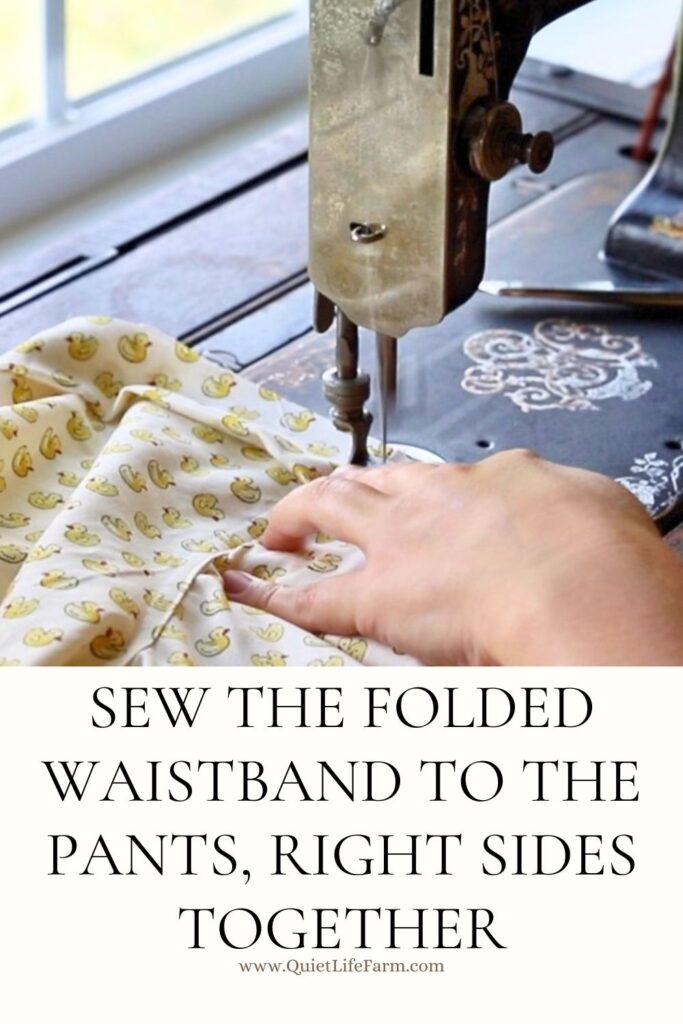
Fold the long half of the seam allowance over the other 3 short layers of your seam allowance, and sew it down into place, leaving a little opening for your elastic.
Elastic Choices
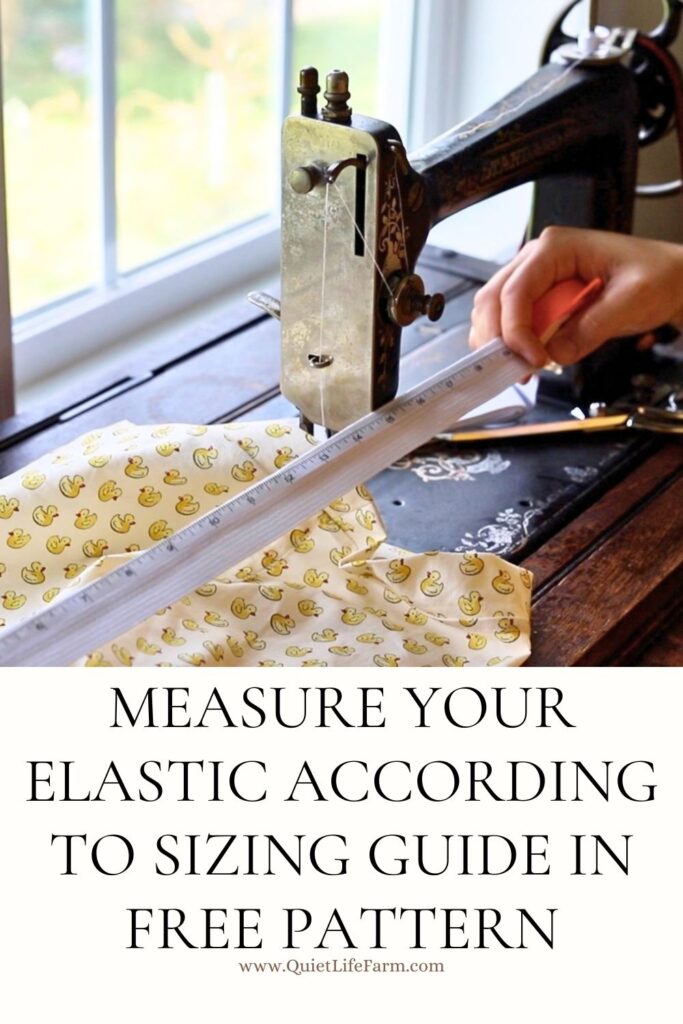
You can use either a 1/2” width elastic, a 3/4″ width elastic, or a 1” elastic if you really want a strong waistband for these pants.
I recommend a softer/smaller width elastic for the smaller sizes, and the 1″ width elastic for the larger sizes, but it’s really up to you how strong of an elastic waistband you want.
Just know that the maximum allowed room for the elastic is a 1″ width!
Since I’m sewing the 2T size here, I’m just using a 1/2” width elastic for these pants.
Cut your elastic to length (there’s a guide for this inside your pattern!), and weave it into the waistband.
Sew the ends of your elastic together.
I like to sew a little square at the end of my elastic to make sure it’s nice and strongly secured.
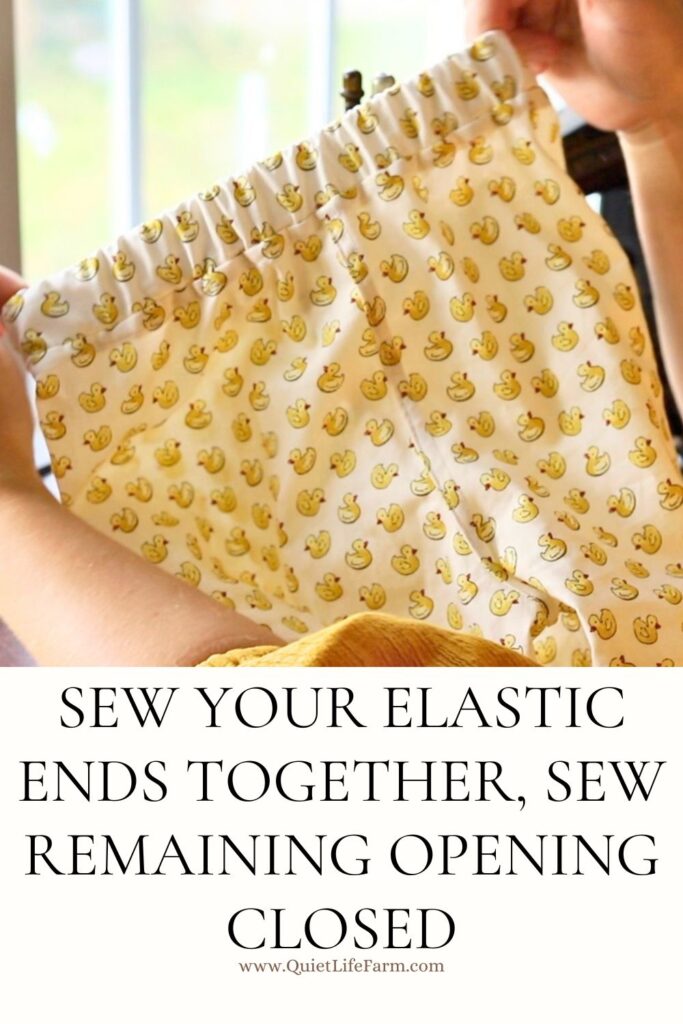
Sew the remaining opening of your fabric waistband closed.
I hope you enjoyed this free pattern! Please be sure to check out my other free patterns on my blog!