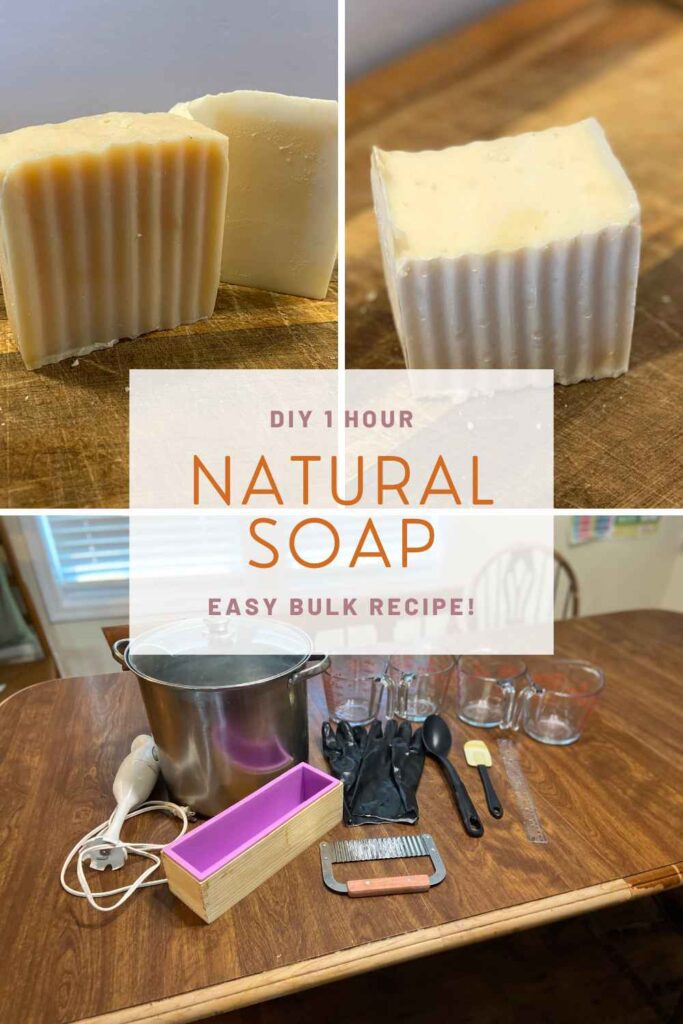
How to make Soap Step By Step Cold Process
Learn to make homemade soap with step-by-step instructions. This is how I make my own soap in extra large batches for my big family, in an hour! 1 year supply in 1 hour for $26!
Watch me make this soap in my YouTube video!

I love to make handmade soap for my family to use, and have over 10 years of experience making soap.
I opt for natural soap making over store-bought soap for several reasons:
- The cost of making my own soap is substantially cheaper than buying store bought soap — even more so when you factor in buying soap with clean ingredients! I did a cost breakdown — I pay about $26 to make this batch of 21+lbs of soap!
- I choose to use natural ingredients in my soap, giving me peace of mind using it on even the tiniest humans in my family.
- Soapmaking is not a time consuming project. In one hour (or slightly more, depending on how long it takes me to scrub my soapmaking supplies) from set up to clean up, I can have the satisfaction of making a large batch of soap that can last for a year of bathing my family of 7.
- I use my homemade soap for more than bathing — I love to use it to wash dishes, to do my laundry, and in my regular household cleaning routine. Keeping bulk homemade soap on hand makes it so easy for me to do this.
- Toddlers love to pour out liquid hand soap in the bathroom. There’s no real way to waste homemade bar soap.
- Let’s be honest — nobody can deny that using homemade soap feels “special!”
I make cold-process soap. This means I don’t heat my soap mixture once I add in my lye solution.
In hot process soap, you run the risk of burning your soap and/or overflowing your soap mixture. That’s not worth it to me, especially when making soap in a larger batch where I’m already pushing the limits of my soap pot! The cold process method makes soap a bit more foolproof!
My favorite type of soap is made with lard or tallow. I love the moisturizing benefits of animal fat, and the thrifty price to make it! (I purchase lard from my local butcher for 90 cents per pound, and beef fat from the same butcher for less than $1/per lb — and these are 2024 prices!)

I’ve also mentioned that I like to make soap in a larger batch — it’s the same amount of work with a yield that really makes it worth it! This batch makes over 21 pounds of soap!
Disclaimer: As an Amazon Associate, I earn from qualifying purchases. You’ll only see links for the products I actually use in my own soapmaking!

Soapmaking Supplies
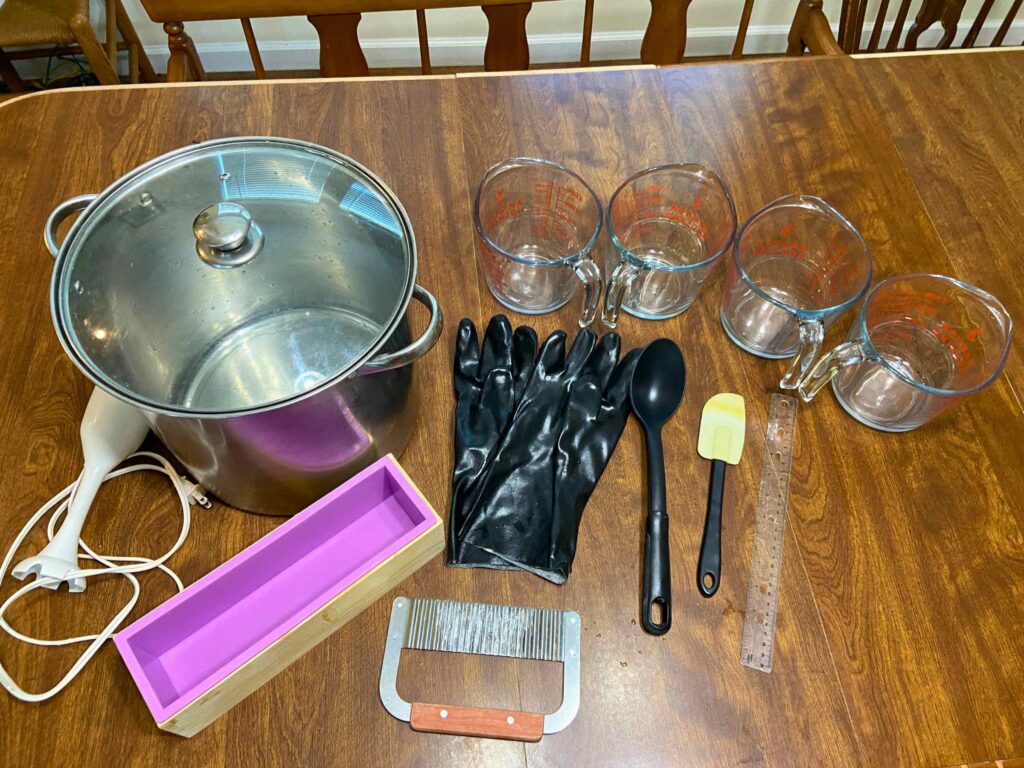
Here’s what I use while making soap! Please note that it is super important to keep all of these soapmaking supplies SEPARATE from your cooking supplies! Lye is caustic stuff — you don’t want anything leaching into the food you eat!
- 16 Quart stainless steel stock pot
- Seven 42 oz soap mold “bricks” these are what I use!
- Four 4-cup glass measuring cups — I use these!
- Thick, heavy duty PVC coated chemical gloves
- Immersion blender — either plastic or stainless steel will work
- Plastic (or stainless steel) spoon or ladle for scooping
- Plastic (NOT wood) silicone spatula (rubber spatula) for scraping off all the soap batter
- Soap cutter, I like a crinkle cut one!
- A ruler for measuring your soap while cutting it
Stick Blender
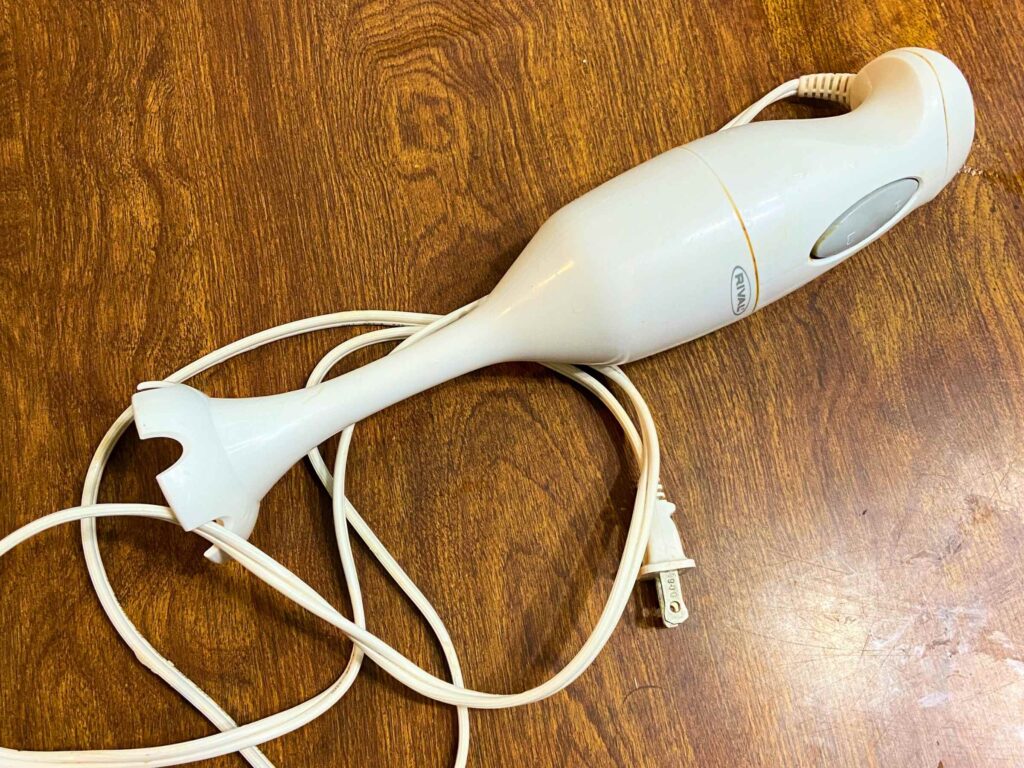
I got my immersion blender/stick blender at a thrift store.
It doesn’t matter how much or how little money you spend on one. As long as it works, it’ll work for your soap!
It’s a really good idea to keep TWO immersion blenders on hand, especially if you buy one second hand. This way, if you’re in the middle of soapmaking and your immersion blender motor fails on you, your soap can still be saved without having to stir it by hand!
Soap Molds

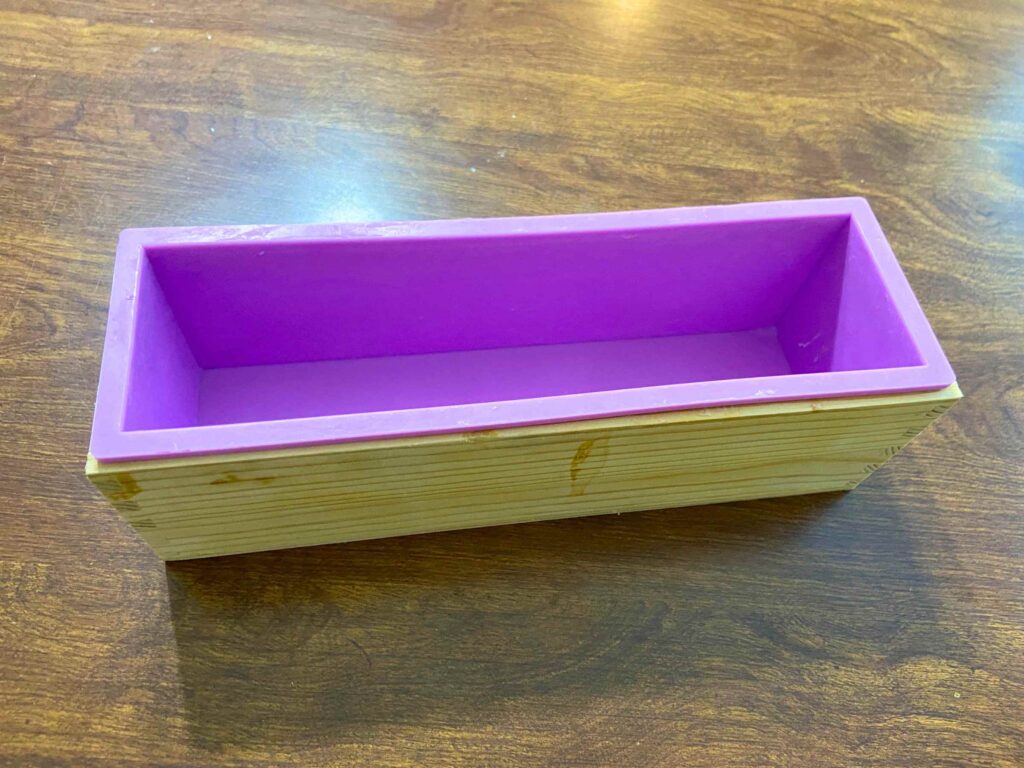
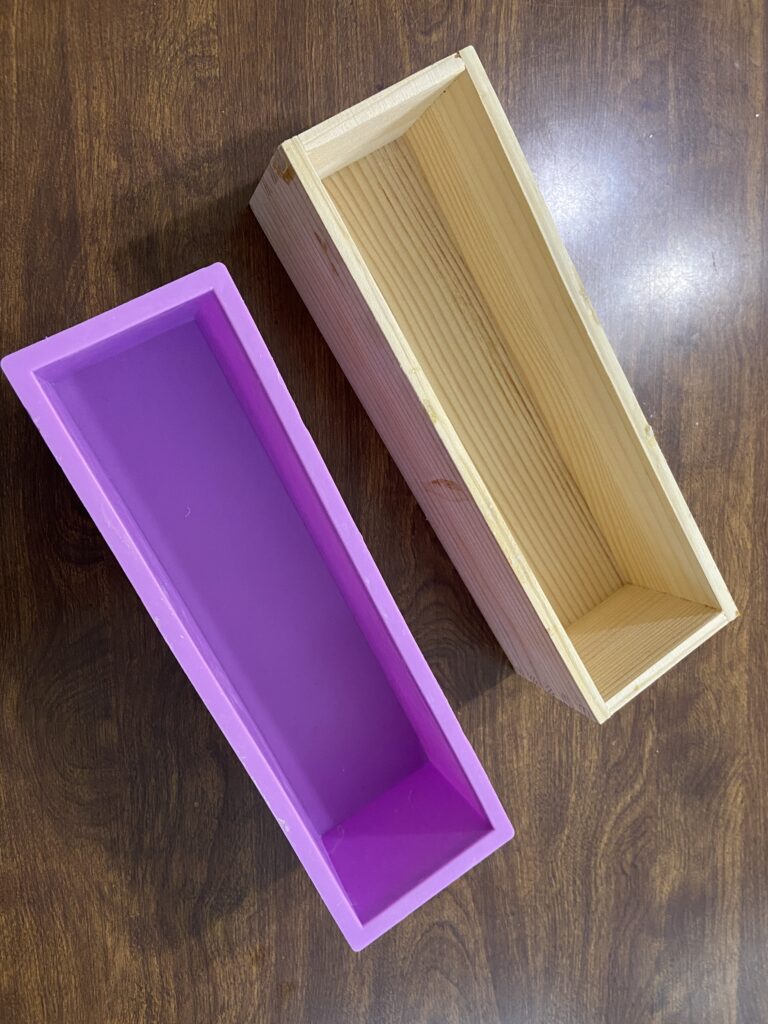
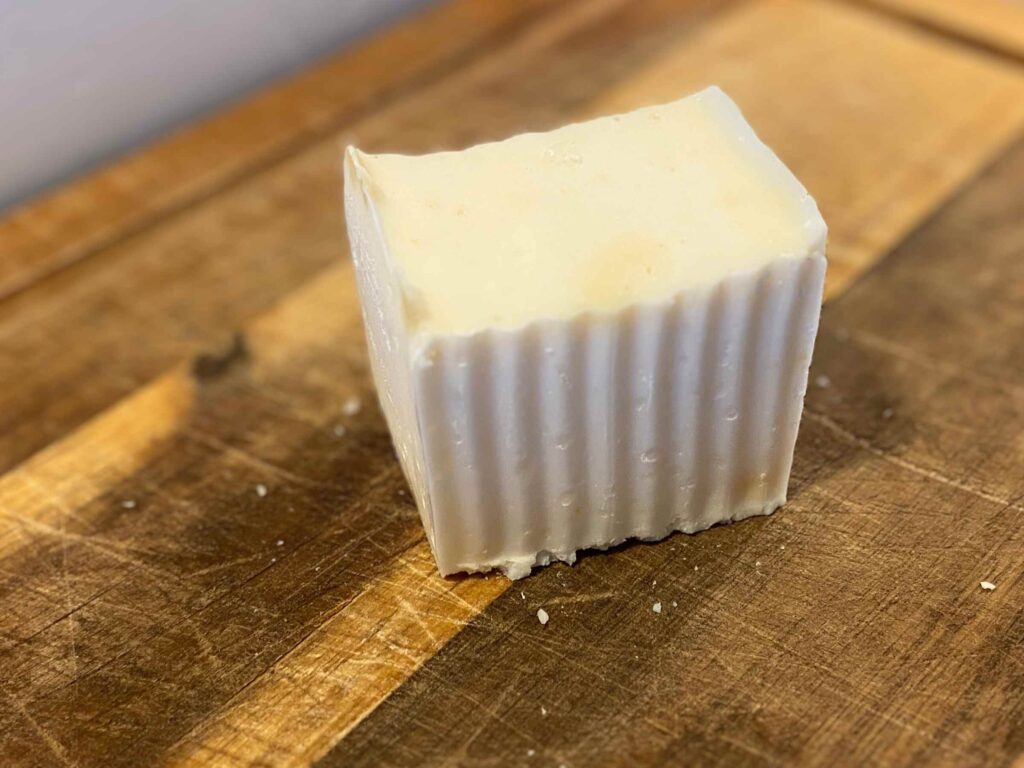
These are the brick molds I use. I really like them — you just pour the soap in, and then cut it to get a traditional looking bar of soap!
Sometimes I will cut my soap into 2″ bars instead of 1″ bars. I especially like the 2″ bars for when I wash my dishes with this soap.
To use the brick molds, keep the silicone portion INSIDE the wood portion before pouring in your soap.
Only remove the silicone lining after your soap has hardened for 24 hours. Just give it a little wiggle, and it should come right out of the wood! From there, you can easily peel the silicone part off of your brick of soap.
I own seven of these molds — technically, I own 6 of the previously mentioned brand, and one of this brand brick mold. They look totally identical. (This second brick mold is also where I got my soap cutters from!)
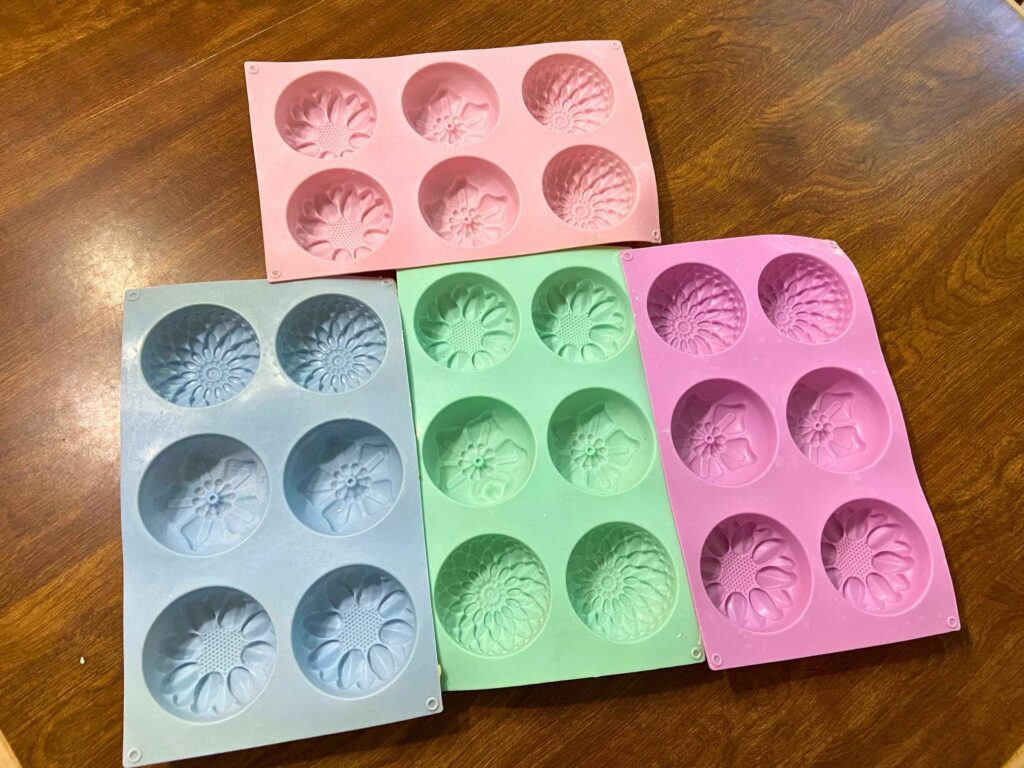
While I love my brick molds and how perfectly they get filled up with this soap recipe, I also love to use my pretty soap molds on occasion.
They come out roughly the same size as a regular bar of soap, and the tiny details on them always turn out perfectly!
Plus, they’re also silicone — so they peel right off your hardened soap without causing any damage or difficulty!
These are the pretty soap molds I own.
You can also use glass baking dishes for your soap molds. I used those for years before I got my “real” soap molds. They were fine to use, but annoying to cut, and I didn’t like the round edges they created. It was also impossible to get them as tall as the “real” soap molds are, which means I needed a lot of them to be able to fit all of my soap inside.
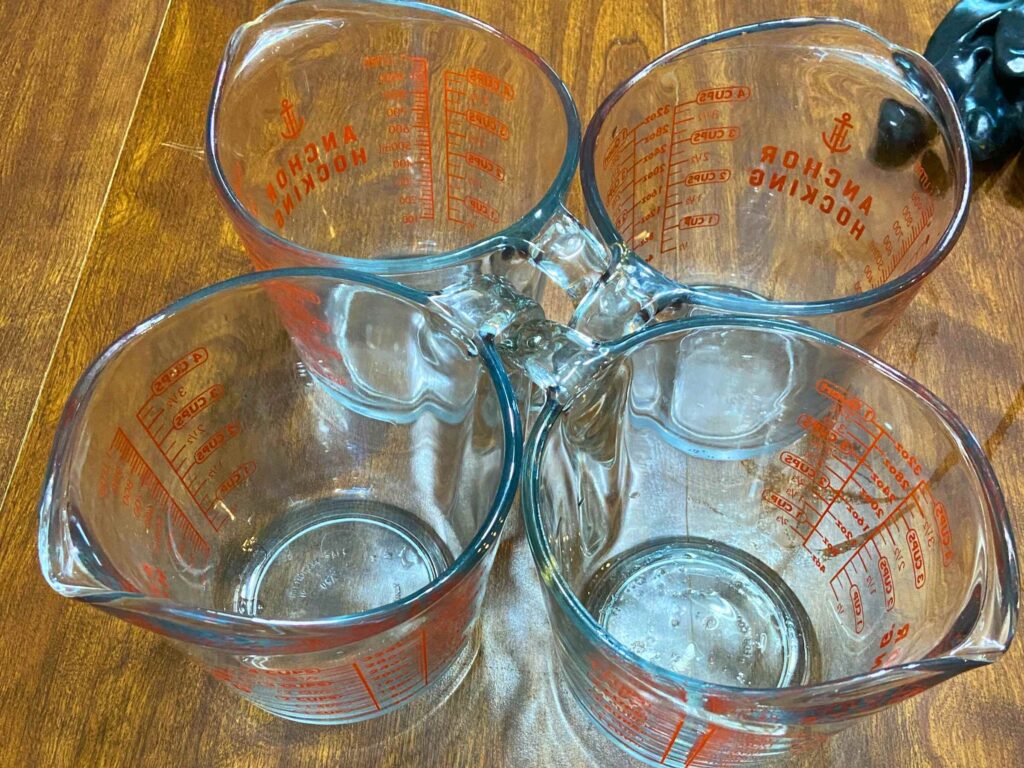
Here’s a closeup look at my giant Anchor glass measuring cups I use.

They have a 4 cup capacity, and are heat resistant — both very important things!
This is what I pour my lye (sodium hydroxide) into, before adding my lye to the water and letting it dissolve and cool down.

Again, you can find the exact cups I used here.
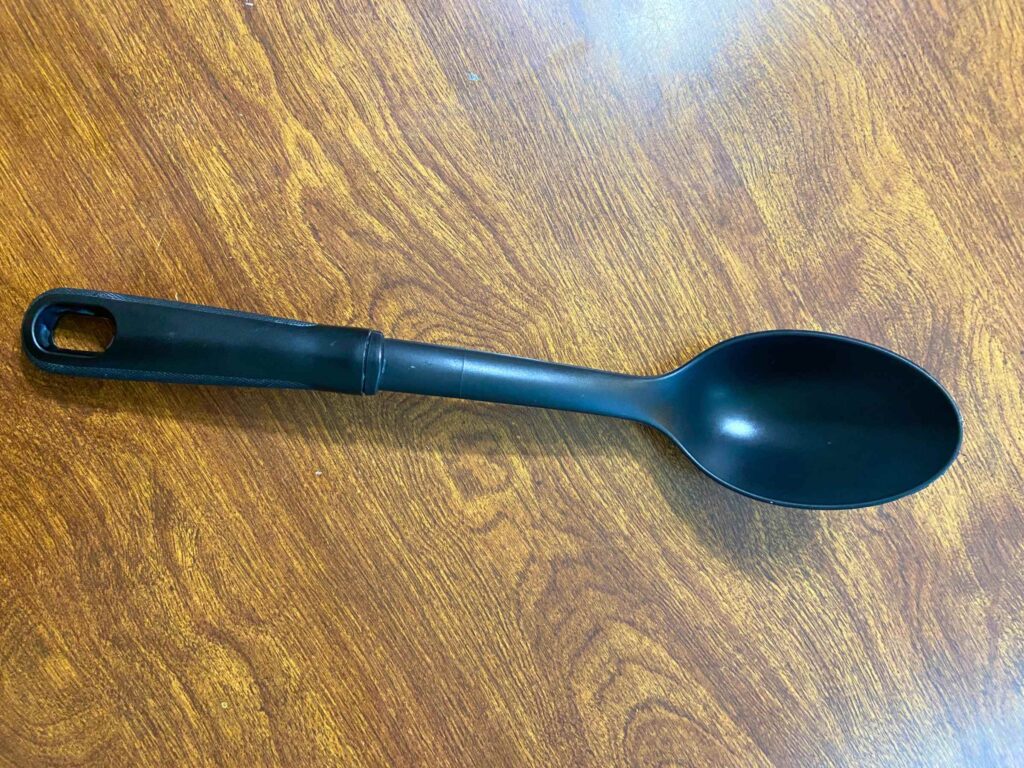
This is the cheap plastic spoon ladle I use for soapmaking. I use it for two steps.
First, I use it while mixing my lye and water together to get my lye to dissolve.
Then, I rinse it like crazy to make sure I get every last bit of lye off, and reuse the same spoon for scooping my soap mixture into my molds.
It’s nothing spectacular, just the cheapest black scooping spoon I could find at Walmart. But, I really like how long the handle is on it. I like being kept as far away from the lye as I can while making soap!
The Perfect Cut
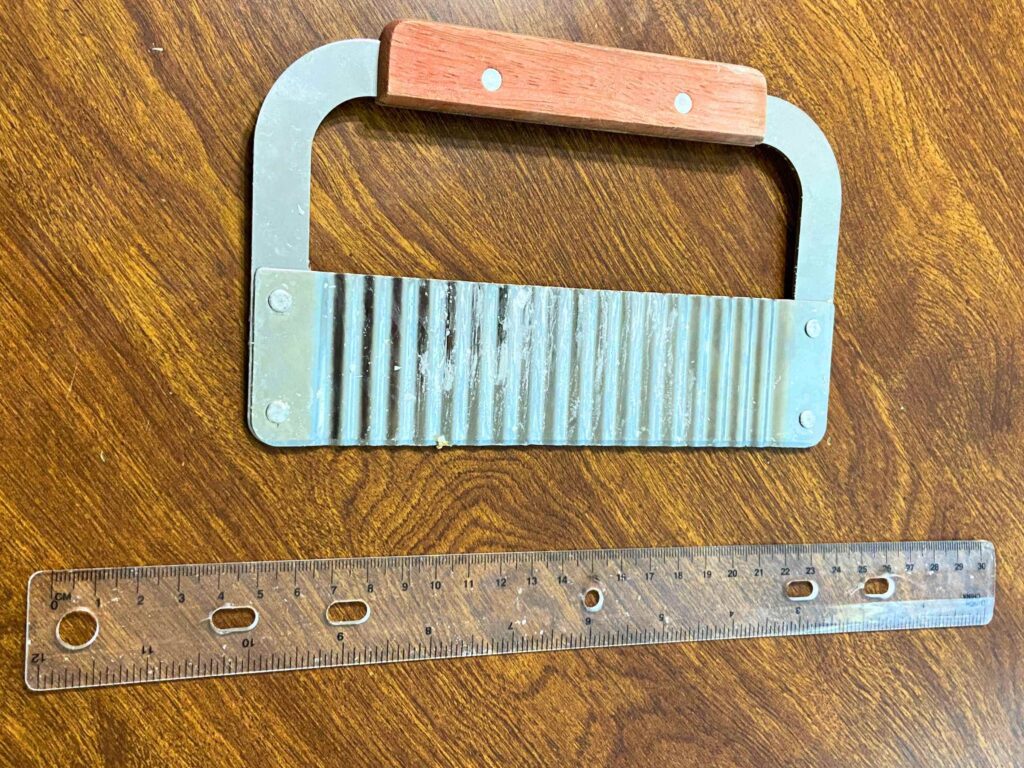
Here’s how I measure my soap before cutting it.
First I take the soap bricks out of the soap molds.
Then, I use my ruler to make little nicks on both edges of the soap loaf at either the 1″ mark (for a traditional sized bar) or at the 2″ mark (for a bulky oversized bar).

Lastly, I use the nicks I made in the soap loaf as guides and cut it with my crinkle cutter.
Remember that if you choose to use a crinkle cutter, unless you cut off each end to give it a crinkle edge, your first and last pieces of your soap brick will only have a crinkle cut on one side.
This doesn’t bother me at all for what I’m using it for, but if you want crinkle cuts on both sides of all of your bars of soap, just cut a sliver off of each end and set your soap slivers aside for other cleaning tasks such as mopping or washing laundry.
Setup and Safety
I can’t stress enough how important it is to be smart when around lye.
This is NOT a project to get your children involved in — keep your kids far, far away while making soap!
I only ever make soap at my kids’ naptime or bedtime, and I make it outside without stepping away from the process, and my husband stays inside with our sleeping children in view the entire time in case one of them wakes up so he can make sure that they go nowhere near the soapmaking process! (For this reason, I also only make soap in the summertime when the days are long and I still have PLENTY of sunlight to see what I’m doing!)
You can read more about on the safety about lye HERE.
Like I mentioned before, I make my soap outside. This provides ample ventilation, which is highly important.
It’s also super important to keep a safe distance from your soap — you do NOT want to accidentally inhale any of the fumes. Wear a mask and keep a safe distance and step away from your work area for fresh air (with your soapmaking still in sight) if you need to take breaks.
The soapmaker also needs to wear chemical gloves, goggles, and long sleeves/pants.
I also change my clothes entirely the second I have finished cleaning up all of my soapmaking, and immediately wash whatever I was wearing on a separate load of laundry in case I splattered lye somewhere on my clothing that I didn’t notice.
For my soapmaking setup — I put everything on a large plastic folding table. Plastic is important, as a wooden work surface would be easily eaten through by any lye splatters.
I keep my table directly next to a hose spigot in case I need immediate access to water.
You’ll also want an extension cord for your immersion blender nearby. (and remember to keep it away from your hose/water!)
Once I am finished with the soapmaking process, I do an initial rinse of all of my soapmaking supplies outside with the hose. Excessively rinse everything. Use lots of water. Be confident that your supplies are completely and utterly free of any leftover lye, and then handle those clean supplies as if they WERE still covered heavily in lye as you bring them inside for a second washing of soap and water in your kitchen sink. (be careful not to let anything drip while bringing it back inside!)
Lastly, don’t be so fearful of the soapmaking process that you don’t make soap at all. While lye is dangerous, just take your time to first learn about all the dangers and the recommended emergency procedures before making soap.
And remember, if this is your first batch of soap — it’s much more often that people who have been making soap for YEARS have accidents in soap making because they’ve become TOO comfortable going about it.
So just use caution when making soap, and be knowledgeable about what you’re doing.
Even with the calculated risk involved, I really do ENJOY the process of soap making! (And I love the finished product even better!)
My 3 Ingredient Large Batch Soap Recipe

Ingredients for my large, 21+ pound yield of soap recipe:
- 240 ounces of Lard or Tallow (or a mixture of both) (15 lbs)
- 31.25 ounces of Lye (sodium hydroxide — here’s what I buy)
- 69.88 ounces of COLD water
How to make my large batch of soap:
- Set up your soap making setup, and make sure you are wearing all of your safety goggles, gloves, etc (see above for safety recommendations and workspace setup)
- Measure your lard/tallow and melt your lard/tallow on the stove in your large stockpot, on low heat. Then, make sure your fat comes back to room temperature before proceeding. (you don’t want it to re-solidify, but you don’t want it to be hot, and you don’t want your stockpot to melt your work table!)
- Bring your pot of fat outside and place it on your plastic table.
- Measure out your lye and distribute even amounts of it into your four, 4-cup capacity glass measuring cups.
- Measure out your COLD water, and pour it in even amounts into each of your four glass measuring cups. Add in your lye, stirring with your plastic spoon until the lye begins to dissolve. If you don’t stir your lye water enough, your lye will sit at the bottom and begin to harden in your water, making a dangerous scenario as you’re stuck with having to get it to break up off of the bottom of your measuring cup. So, mix slowly, carefully, and thoroughly as you pour your cold water into each measuring cup, one by one. Some people use distilled water, but I find that using water right from my well does just fine.
- Do nothing for 30 minutes while waiting for your lye water to cool down. Just sit several feet away to breath in fresh air, and guard your soapmaking setup from any unsuspecting package delivery man or neighbor that may show up during your soapmaking. (It happens. You’ll get curious looks and questions, and they’ll be grateful that they didn’t bump into your lye water by accident.)
- Once your lye water has cooled down a bit (it will still be warm, that’s okay — you just don’t want it to burn or curdle your oils), very carefully pour your lye water into your liquefied lard/tallow. With each 4-cup measuring cup of lye water your pour in, give it a mix with your immersion blender while it is turned OFF (you don’t want to splatter your lye water onto you, just give it a good initial stir!!). Once all of your lye water has been poured into your fat, continue mixing it with your stick blender that’s turned OFF until it’s been well incorporated into your fat. Then, turn your immersion blender ON and on high speed and begin mixing your soap!
- This is where the saponification process takes place (the chemical reaction that results in soap). Continue to mix with your immersion blender in short bursts — mix for 5 minutes, then put your immersion blender down and take a break for 5 minutes. Then go back to your soap and use your immersion blender for another 5 minutes to mix it. You’ll continue this process until your soap comes to “trace” — this means that the chemical reaction is (mostly) complete. It’ll look like vanilla pudding when you’re done (see photo at the bottom of the page), and will hold stiff peaks when mixing it with your immersion blender. (Keep this far away from children — it really does look like vanilla pudding!)
- Pour soap into your molds. It should fit pretty perfectly when filling up 7 “brick” soap molds (linked above). Use your rubber spatula to scrape every last drop of your homemade soap goodness into your molds. Drop your soap molds from a few inches high down onto your table and give them a few good taps to make sure any air bubbles come out of the soap. Bring your soap molds carefully inside and put them in a safe and level place. If your soap molds have lids, either don’t use them at all, or don’t put them on your soap molds for at least the first 12 hours of your soap hardening and cooling down, otherwise it creates this weird condensation effect on your soap. Better yet, just throw the lids away. You don’t need them.
- After 24 hours, your soap should be hard and cold. Now you can remove your soap from the molds and cut it up (see my cutting method above).
- Allow your soap to cure for 2-6 weeks before using it. This will allow it to further harden, and to become more gentle before use. Your soap will store indefinitely, most people say it’ll last for a year, but in my experience it lasts much longer than that! (If you don’t use it up before then!)

Happy Soapmaking!


I’ve usually make vegan soap before and it costs way more and taken much longer than this. I pinned it – maybe I’ll try this one.
I hope you enjoy making it! I love how inexpensive it is and how little time it takes to make. It’s very mild and moisturizing, too!
Hi. Interesting article on soap making. That’s a huge batch. My question is this; do you render your lard or tallow for impurities before you use it in soap making? My thanks.
I buy my lard and tallow at my local butcher, and the lard has already been rendered. The butcher sells beef fat, not already rendered into tallow, so I take the beef fat home and render it into tallow myself. You can strain it through a mesh metal strainer or through cheesecloth! Sometimes I will have little impurities, but nothing very large, and even with my soap that has impurities, I find it lasts for years and haven’t ever had a bar of soap “spoil” before I’ve used it.
Instead of essential oils, could I use fresh herbs from my garden to add a little scent and pop of color? It so, how much would I need to add?
I would probably dry them out first! I have added tea leaves to my soap and it kept very well! I just sprinkled some on the top of my soap after I put them into my molds so that I could add it by hand. The only thing I would recommend is to be mindful of how small the pieces are — the dried herbs will come out of the soap little by little as you use up the soap, and big pieces might clog a drain!