3 Ways for How to make a Slip Knot in Knitting
Let’s go through 3 different ways to make a slip knot for knitting!
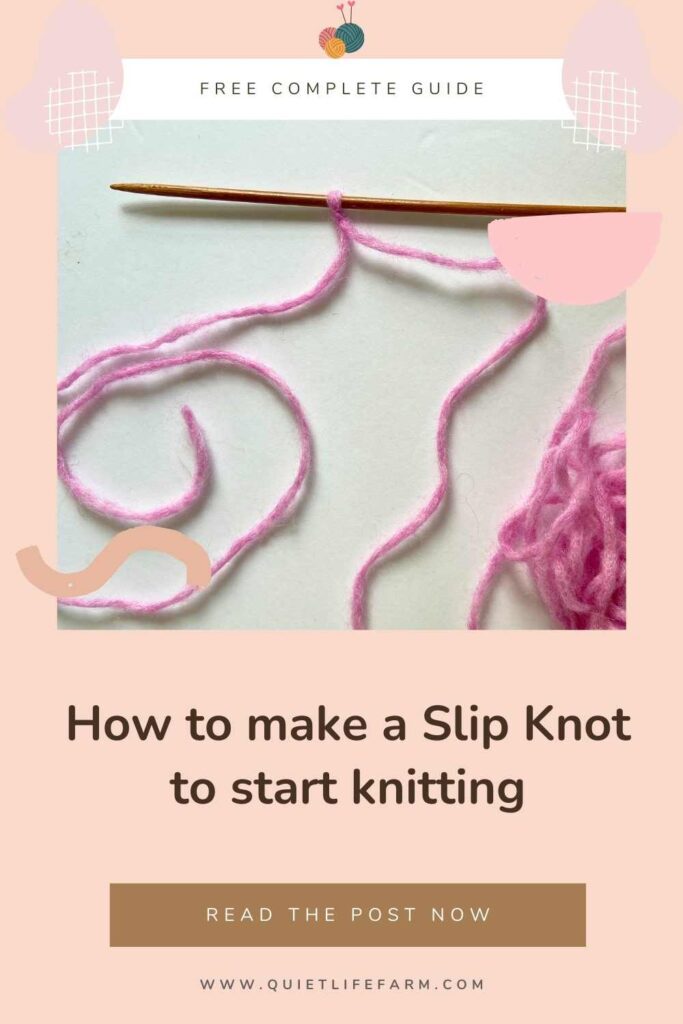
The starting point for any knitting project is creating a slip knot. Let’s discuss how to do so!
Here you’ll find step-by-step instructions for each method, plus photographs for the visual learner.
As a bonus, be sure to scroll down to the end of this post for some free knitting patterns!
Note: Methods #1 and #2 will also work to begin any crochet project!
Making a slip knot
Before you can start casting on stitches, you’ll need to make a slip knot.
A slip knot will count as your first stitch on your needles.
The type of knot you use for knitting is important. It’s important to make a slip knot as opposed to a double knot, because you’ll want that first stitch to have the same flexibility as the rest of your knitting stitches.
Occasionally, you will also see “slip knot” written as “slip loop.” These two terms are interchangeable.
Here are 3 ways you can make a slip knot to begin your knitting projects!
#1. Simple Slip Knot
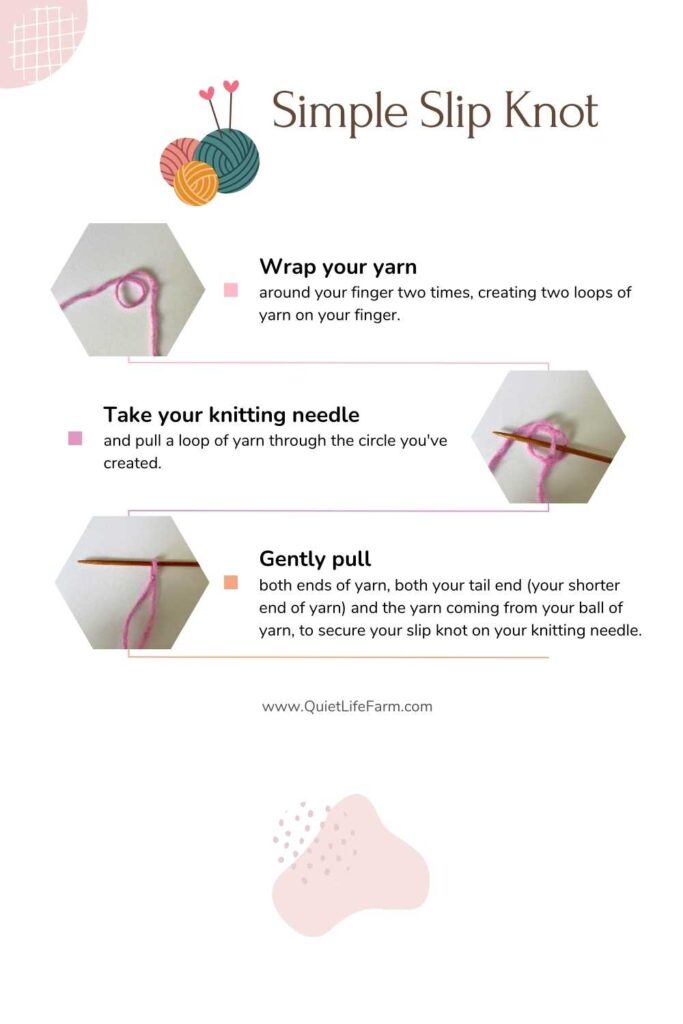
Here’s an easy way to get the perfect slip knot onto your knitting needles!
- Wrap your yarn around your finger two times, creating two loops of yarn on your finger.
- Take your knitting needle and pull a loop of yarn through the circle you’ve created.
- Gently pull both ends of yarn, both your tail end (your shorter end of yarn) and the yarn coming from your ball of yarn, to secure your slip knot on your knitting needle.
Tip: If you’re struggling to use your knitting needle to pull a loop of yarn in step 2, you can also use a crochet hook to better grab your yarn.
#2. Index Finger Slip Knot
Another method is to make a slip knot using your index finger before transferring it to your knitting needles.
This is the method I personally choose to use the most!
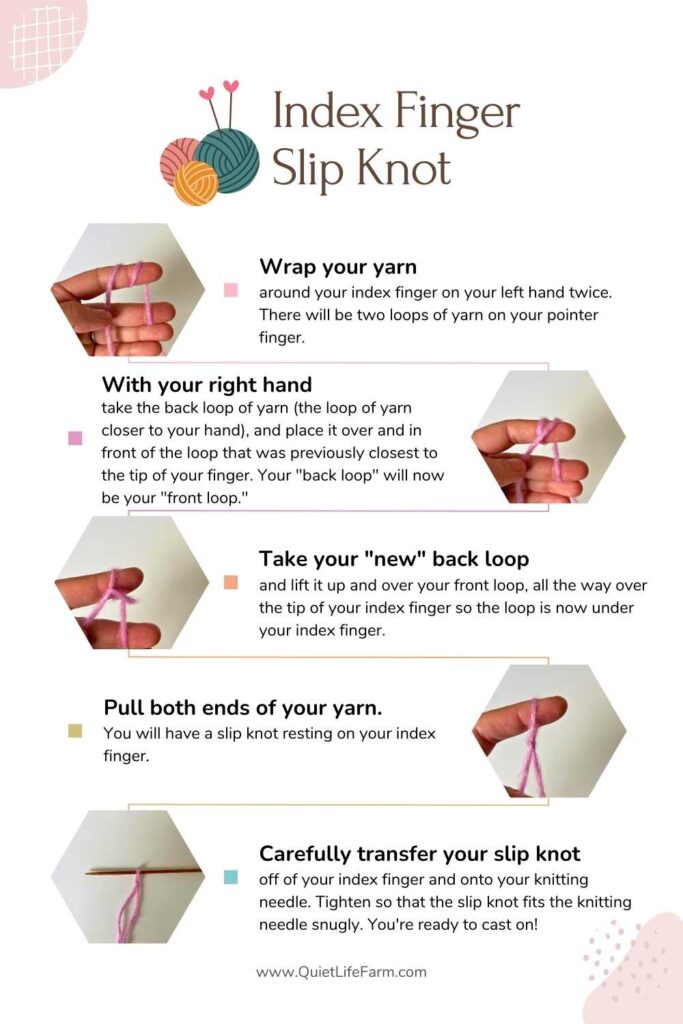
- Wrap your yarn around your index finger on your left hand twice. There will be two loops of yarn on your pointer finger.
- With your right hand, take the back loop of yarn (the loop of yarn closer to your hand), and place it over and in front of the loop that was previously closest to the tip of your finger. Your “back loop” will now be your “front loop.”
- Take your “new” back loop and lift it up and over your front loop, all the way over the tip of your index finger so the loop is now under your index finger.
- Pull both ends of your yarn. You will have a slip knot resting on your index finger.
- Carefully transfer your slip knot off of your index finger and onto your knitting needle. Tighten so that the slip knot fits the knitting needle snugly. You’re ready to cast on!
#3. Slip knot for a Long Tail Cast on
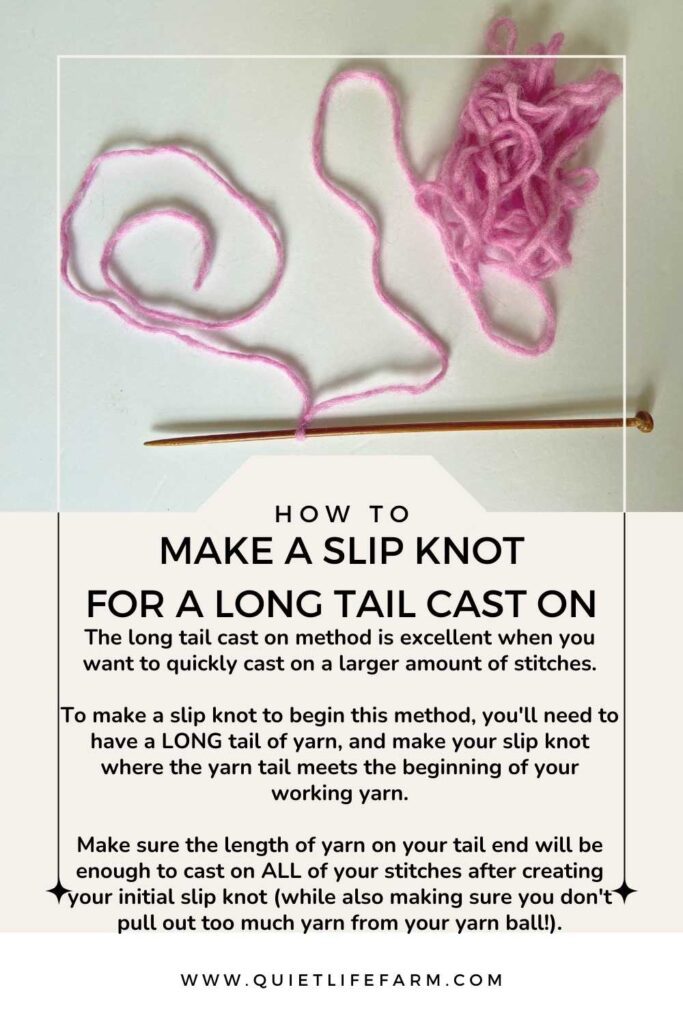
The long tail cast on method is excellent when you want to quickly cast on a larger amount of stitches.
To make a slip knot to begin this method, you’ll need to have a LONG tail of yarn, and make your slip knot where the yarn tail meets the beginning of your working yarn.
Make sure the length of yarn on your tail end will be enough to cast on ALL of your stitches after creating your initial slip knot (while also making sure you don’t pull out too much yarn from your yarn ball!).
You can use either method #1 or method #2 for creating a slip knot to begin a long tail cast on. The main difference is making sure that you have a long enough tail end to work with!
Just like cast on methods #1 and #2, your stitch count will include your slip knot as one of your stitches.
Every knitting journey begins with a slip knot! Which method is your favorite to use?