Waldorf Rabbit Doll Pattern Free PDF
Print out your free pattern below, then follow along on how to make this darling Waldorf rabbit doll!
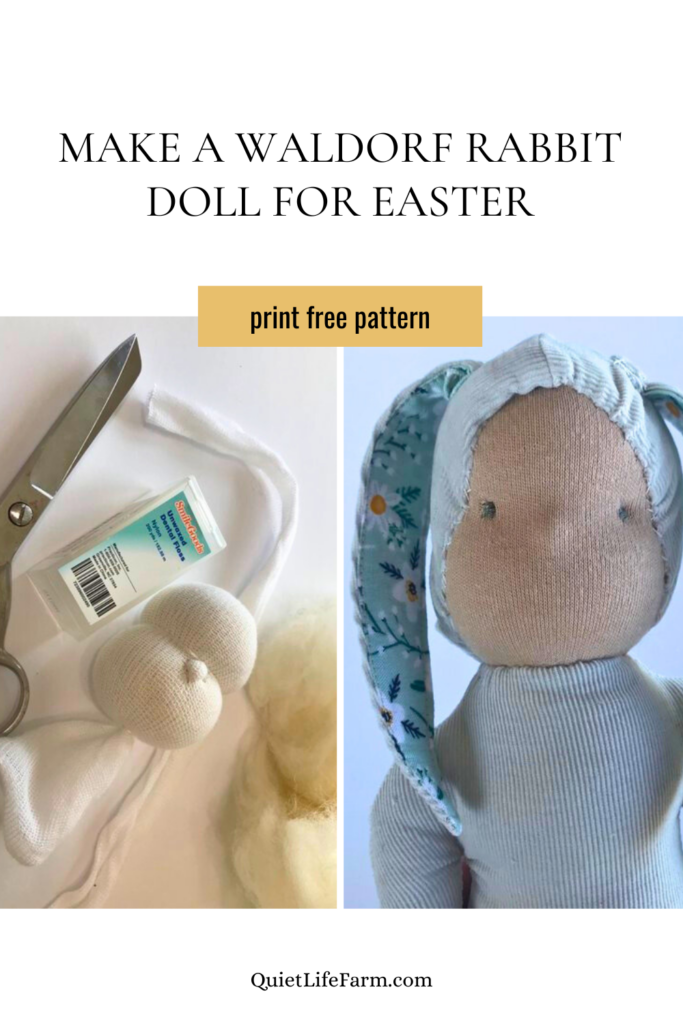
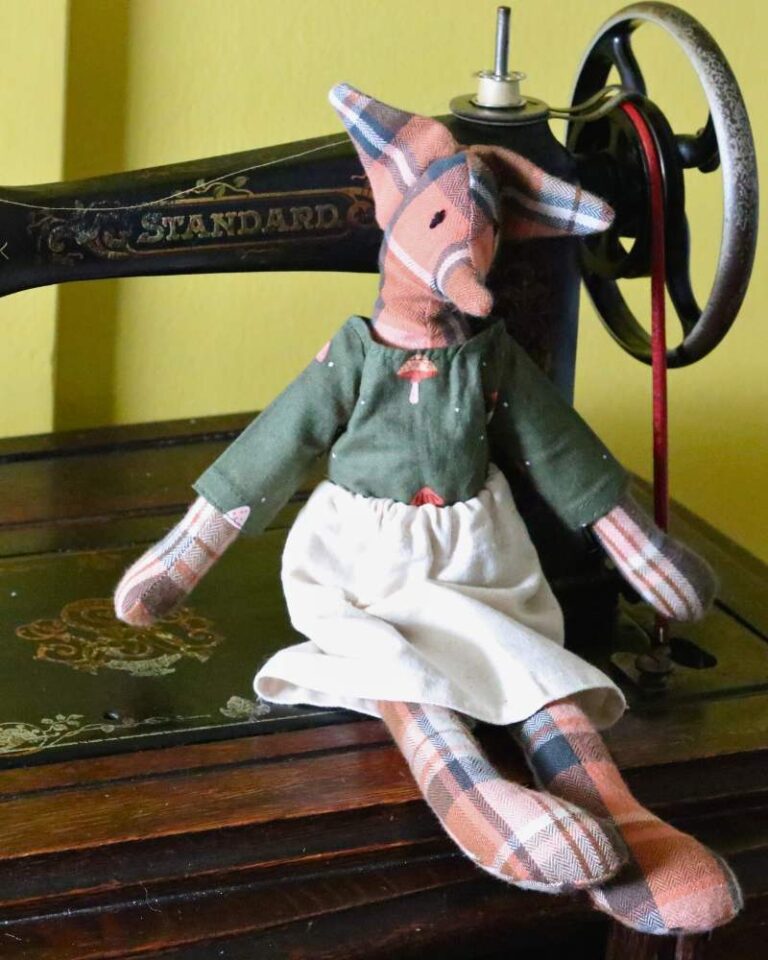
This sweet Waldorf rabbit doll is perfect to tuck away in your little one’s Easter basket this year!
Scroll down to print your free pattern for this doll.
Then, follow along for a free photographed tutorial!
Disclaimer: As an Amazon Associate, I earn from qualifying purchases.

Supply List for Waldorf Rabbit Doll:
- Cotton Interlock Fabric. I used this, but this is my favorite.
- Soft, thick cotton fabric for the body and outer ears
- Cotton quilting fabric for the inner ears
- Wool for filling your doll with
- A needle and thread/sewing machine
- Unwaxed Dental Floss for shaping the head
- Inner Head Tubing (I grabbed 2 1/4″, but 1 1/8″ will work, too!)
- Embroidery Floss for embroidering the eyes, and straight pins to mark the positions with
- Something to trace and mark your pattern/doll’s eye position with — a sewing chalk pencil, a regular pencil, whatever you have/prefer!
- Doll pattern (free and printable, get yours below!)
Get your Free PDF Pattern below!
Step One: Trace your Waldorf rabbit doll pattern
Head
The first thing you’ll want to do (after you print your pattern, of course) is cut out your pattern pieces.
Note that any portions with dotted lines is showing you to leave those portions OPEN when you go to sew.
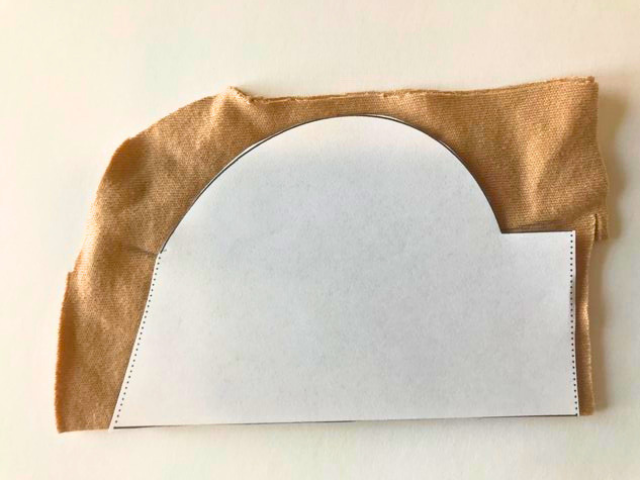
Let’s start with the head piece.
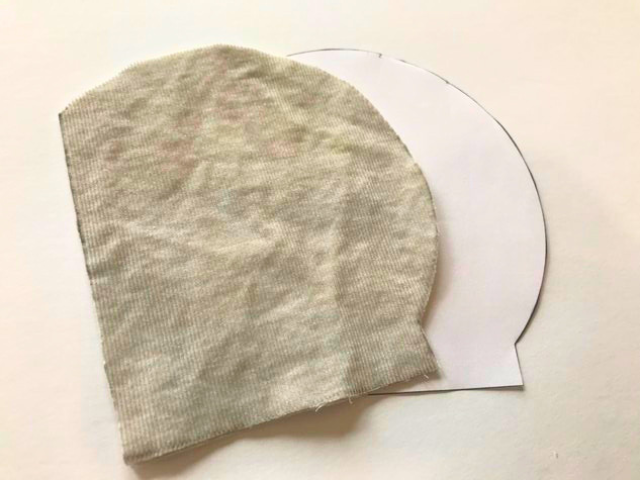
Trace the pattern for the head onto the cotton interlock fabric, remembering your fold.
Be sure that the “stretch” of the pattern will behave in a way that will make your head stretch WIDER, not taller.
Trace your pattern, but do not cut it.
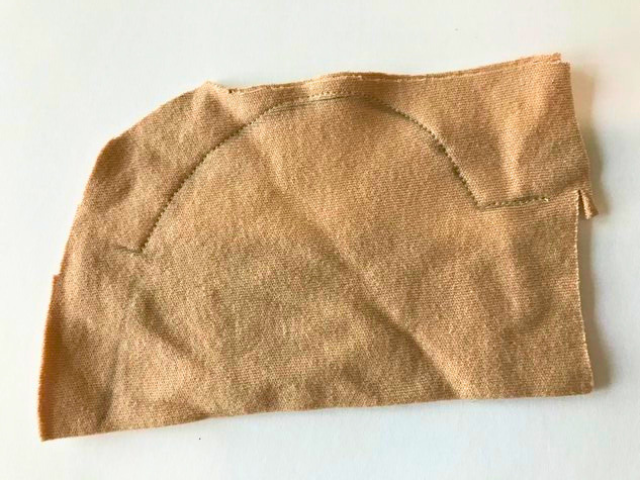
Instead, take your traced piece over to your sewing machine, and trace around your solid line (do not sew the edge of the fold — that will be the front center of the face).
Again, remember to leave the dotted line portions open!
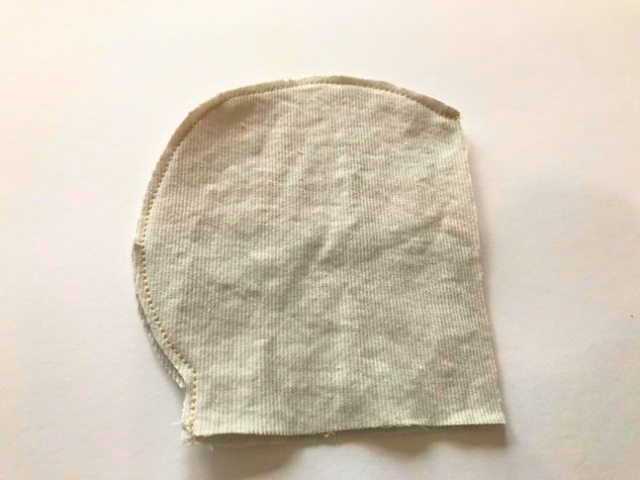
Now, leaving a seam allowance so that your stitches don’t all fall out, cut out the sewn head from the fabric.
Turn right side out, then set aside your cotton interlock head piece.
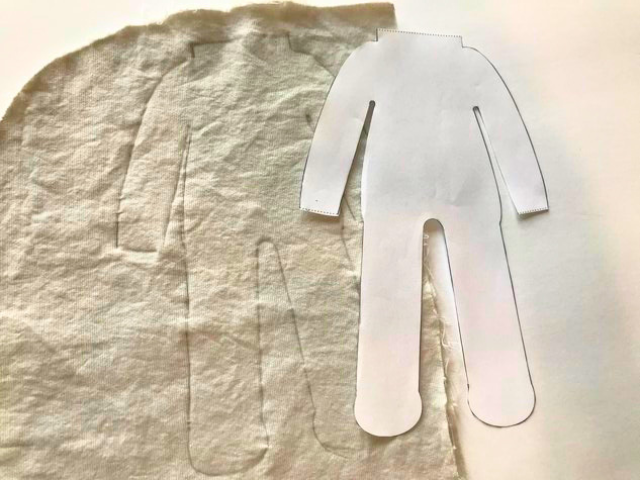
Body
Next, grab your thicker, soft cotton fabric that you plan to use for the body, head, and outer ears.
Fold your fabric so that there are two layers, making sure the layers are right sides together. Trace the body pattern.
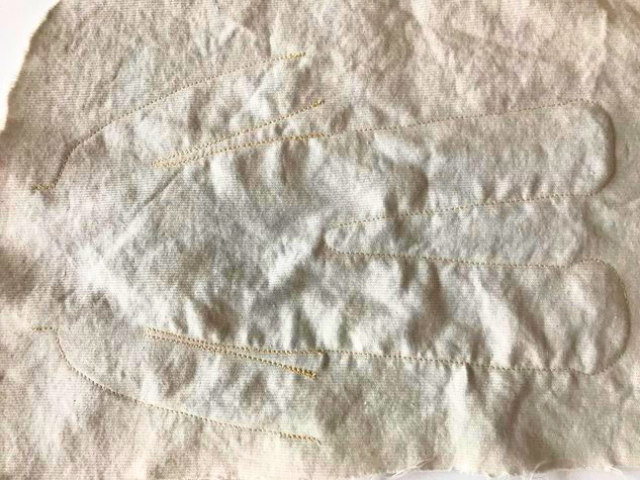
Take your traced body pattern over to your sewing machine, and sew around your body, leaving all of your dotted line edges open.
Sew a second round of stitches on the inner arms and inner sides of the doll. Since the seam allowance will be very small on this portion of the doll, you want the stitches to be extra strong.
If you’re still uncomfortable with how small the seam allowance is on this portion of the doll, you can stitch over this portion as many times as will make you feel comfortable!
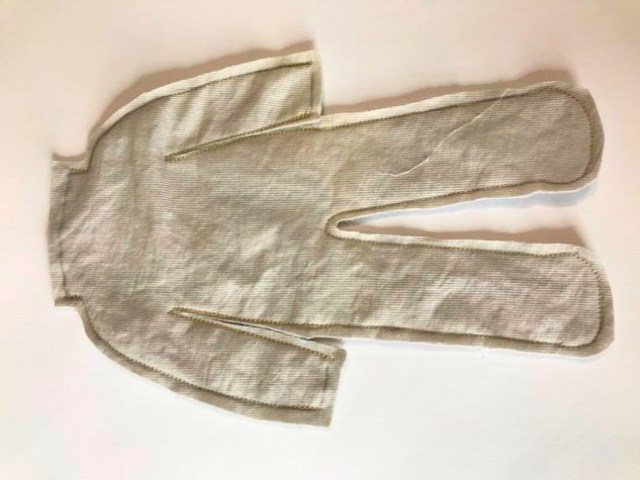
Leaving a seam allowance, cut around your stitches, turn right side out, and set aside your body piece.
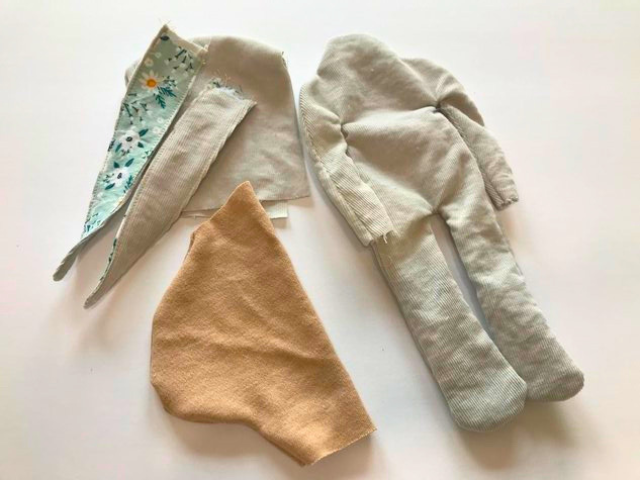
Next, trace and cut (no need to sew before you cut for these pieces!) two pieces of fabric for the hood, and four pieces of fabric for the ears.
You’ll want two pieces of the soft, thick fabric for the hood.
And, you’ll want two thick, soft pieces of fabric for the ears, plus two pieces of floral/contrasting fabric cut out for the inner ears.
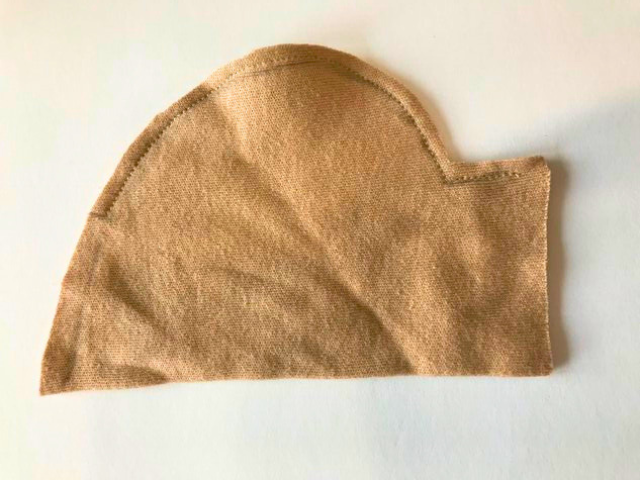
Hood
With your two (cut out) pattern pieces, place them right side together, and sew around the curved back edge all the way to the bottom straight line. (it should look a little bit like a question ? mark). Use a 1/8″ seam allowance.
Turn right side out and set aside.
Ears
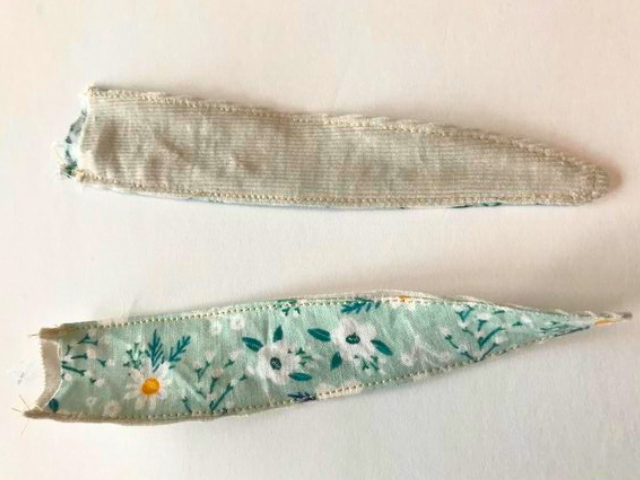
Turn your ear pieces right sides together, with one inner ear and one outer ear piece of fabric for each ear.
Sew around the ears with a 1/8″ seam allowance, leaving the straight edge open.
Turn your ears right side out, iron, and sew along the very, very, very edge of the ears to keep the ears neat and flat.
Set your ears aside.
Step two: Create the head for your Waldorf rabbit doll
Next we’ll start work on the inner head of your Waldorf rabbit doll.
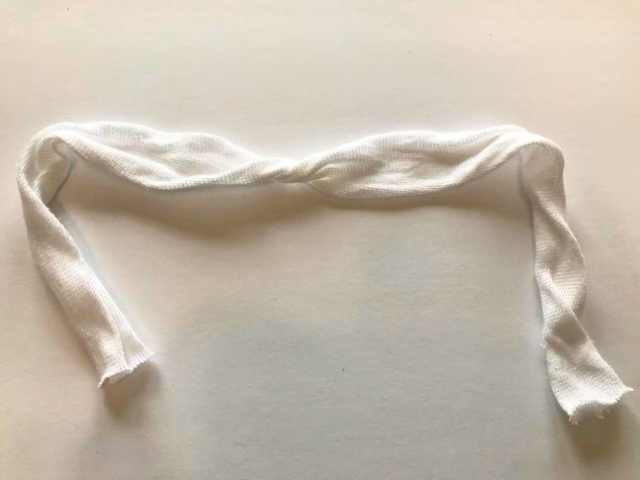
Take 20″ of cotton inner head tubing.
Fold and twist it in half.
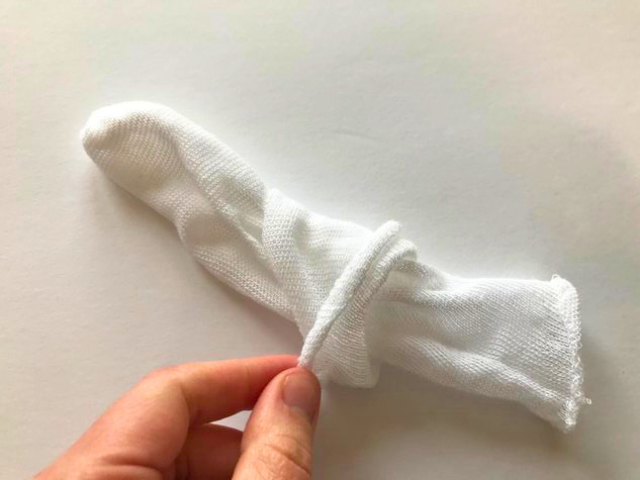
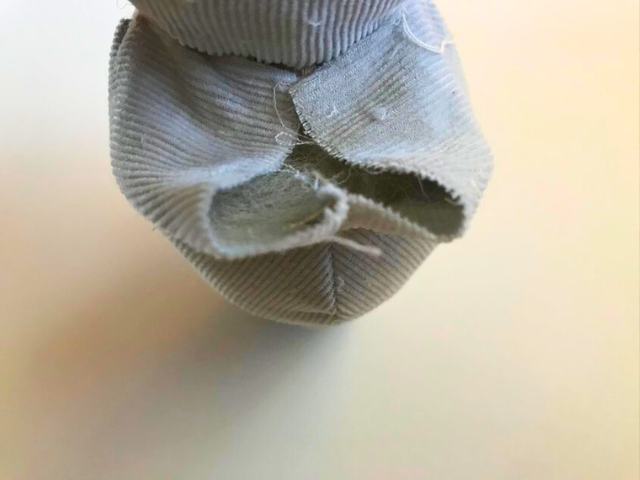
Right at the center twist, fold the head tubing as if you were folding together a pair of socks.
You want to create two layers of the head tubing by doing this, with a seamless “pocket” at the top.

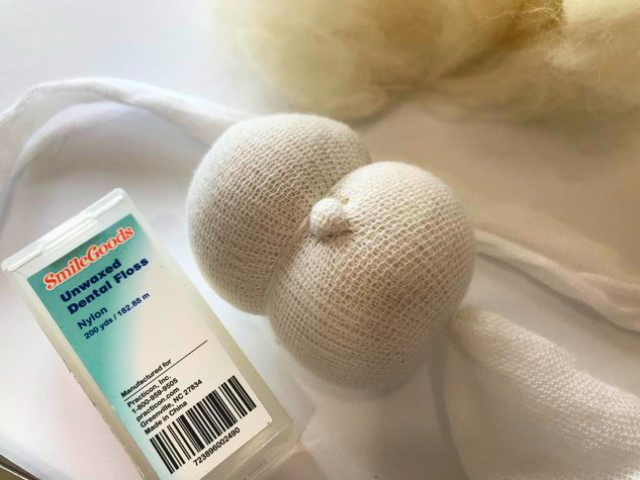
Begin FIRMLY filling the double layered inner head tubing with wool.
Start with a nice firm ball of wool. This creates the “core” of the head.
Begin tightly wrapping long strips of wool around the “core” of the head until the head measures about 8″ around.

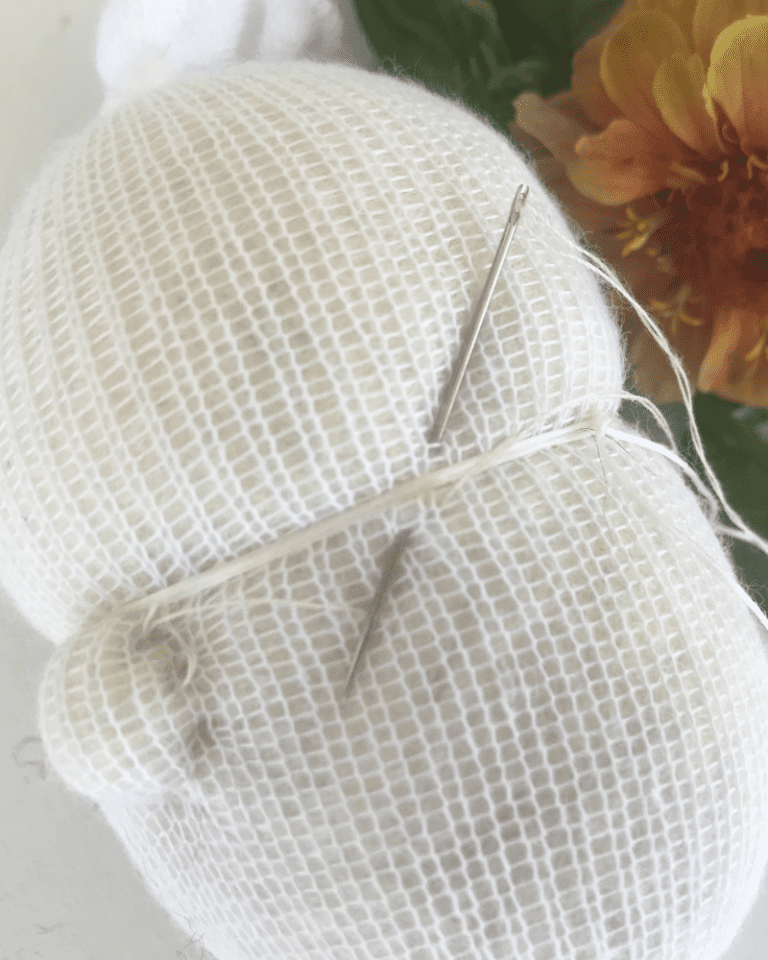
Place the ball of wool into the double layered inner head tubing. Measure the head to make sure it measures 8″ around.
Push the wool up and shape the head until it’s nice and round, then take some unwaxed dental floss and make a tie right under the head at the top of the “neck” to hold the wool into place.
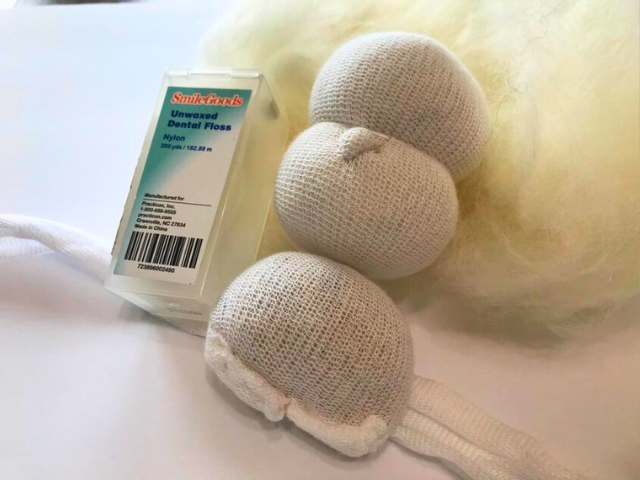
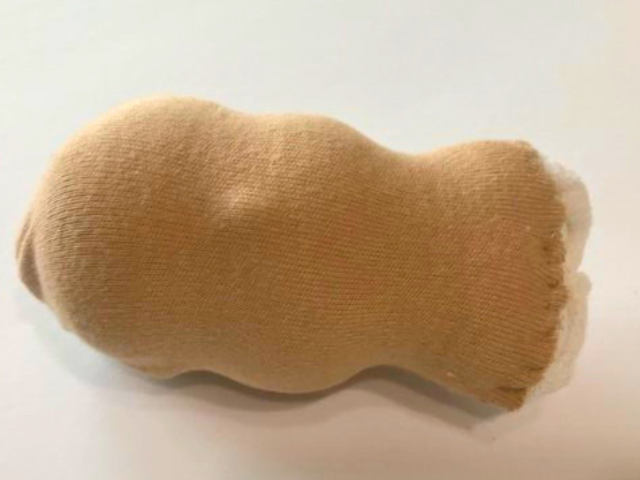
Shape the center of the inner head of your Waldorf Rabbit Doll
Next, you’ll want to mark the eyeline.
Take some unwaxed dental floss and tightly tie it around the center of the head.
I find when you tie the dental floss slightly above the center of the head, it gives the doll more of a childlike “full cheek” look.
Now you’ll want to use a needle and thread to shape a nose.
Use a needle to take the ends of your long threads and floss, and weave them into the inner head before cutting them short.
Lastly, stuff the “neck” of your inner head with some wool, then sew it closed. Again, remember to weave in your long ends of thread so they aren’t seen!
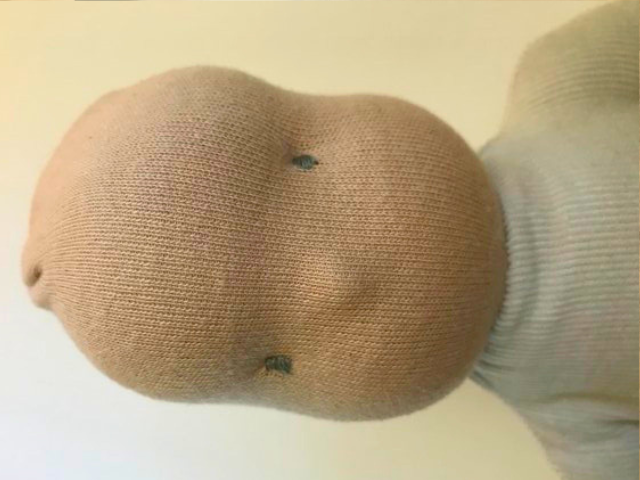
Work on the outer head of your Waldorf Rabbit Doll
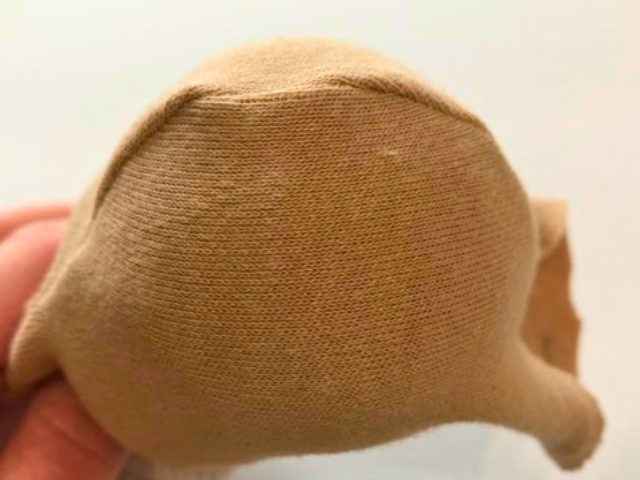
Place the inner head inside the cotton interlock fabric head piece.
Be sure that the seam is on the back of the head.
Pull the rounded head (the seam edge) over on top of the head so that it’s smooth.
Then, fold the top front piece of the head back, on top of the seamed fabric.
Sew the “skin” of your doll into place, being careful not to create any unseemly folds.
Position any unavoidable seams/rolls so that they will be hidden by the hood in your end product.
Next, pull the neck of your cotton interlock fabric over the neck of your inner head and sew into place.
Step 3: Finish the Waldorf Rabbit Doll’s body
Now, we’ll stuff the body.
Firmly stuff the body of your doll with wool.
A chopstick is really helpful for this part!
Stuff the arms, but don’t stuff too close to the wrists. We still need to attach the hands!
Attach the head
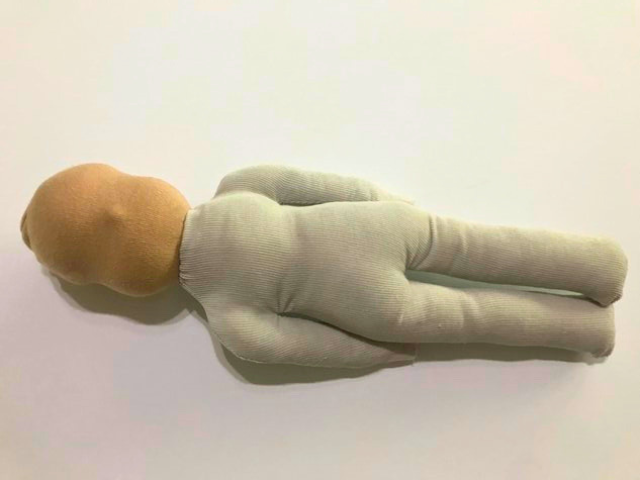
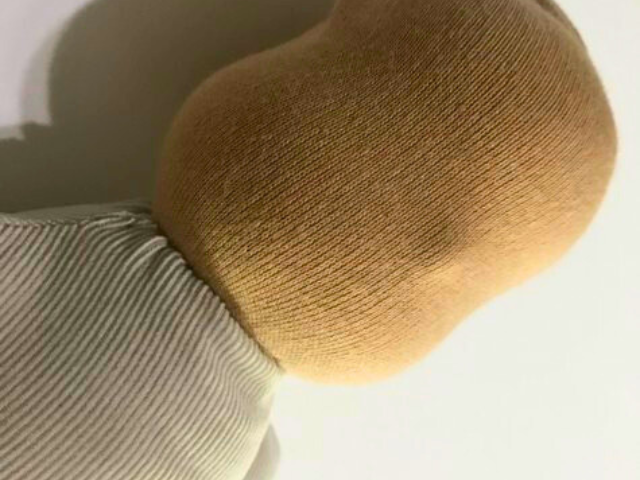
Put the head of your doll into your stuffed body.
Fold a hem on the neck of the body down, and use a ladder stitch to sew the head to the body.
Embroider some eyes to your doll’s face.
Create the hands
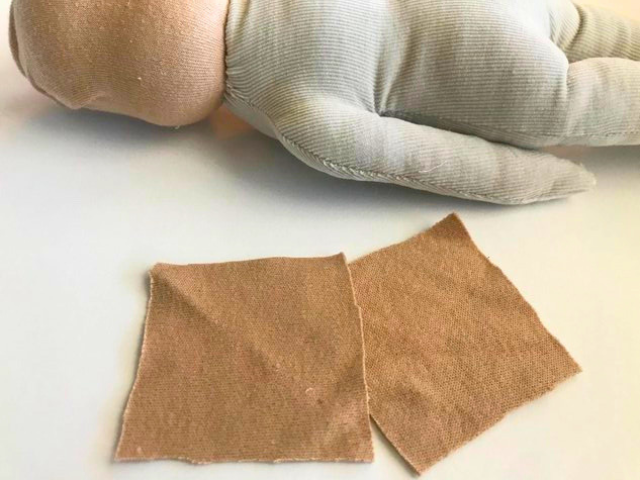
To create some hands for your doll, cut two small squares of cotton interlock fabric.
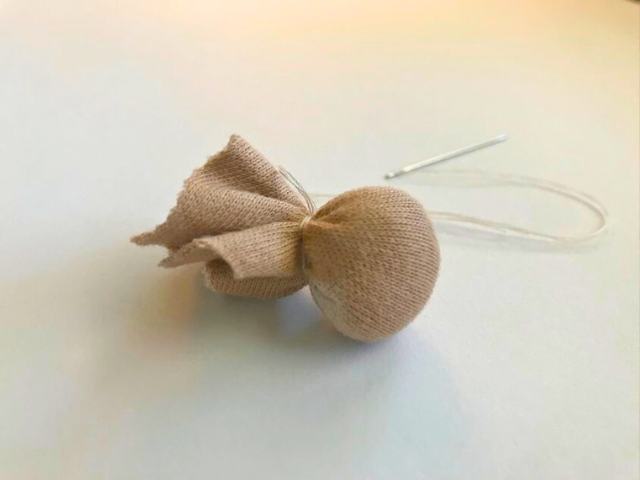
Bunch up a small amount of wool.
Place the ball of wool in the center of one of the squares, and fold all the corners in.
Sew around each “hand.”
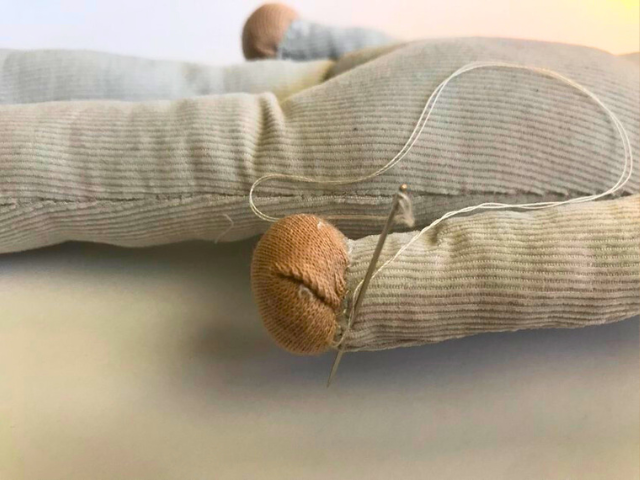
Stick the hand inside the sleeve of the doll. Hem the ends of the sleeves down, and use a ladder stitch to attach each hand.
Double check to make sure each hand is even! Be sure each square is cut to the same size, and make sure you use the same amount of wool to fill each hand with.
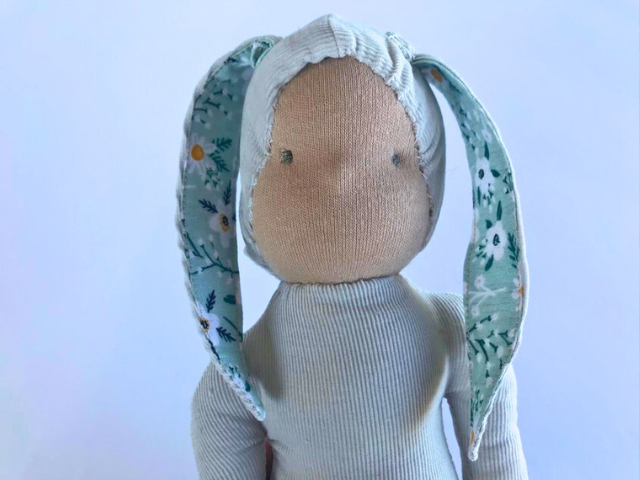
Attach the hood

Lastly, you’ll want to attach the hood (and the ears!) to your doll.
Fold a hem on the hood — around the face of the doll.
I stuffed a little extra wool into the hood to give a soft, rounded look to the head of the doll.
Starting at the top center of the face, begin sewing a ladder stitch all around the face of the doll.
To sew the back of the hood, fold the back of the hood twice (as seen in photos), then fold a hem before using a ladder stitch to attach the bottom of the hood to the top of the shoulders (not the neck of the doll).
Lastly, sew the ears onto the hood of the doll.
Add any finishing details, such as blush with a red crayon, or using a super fine fabric marker to add freckles.
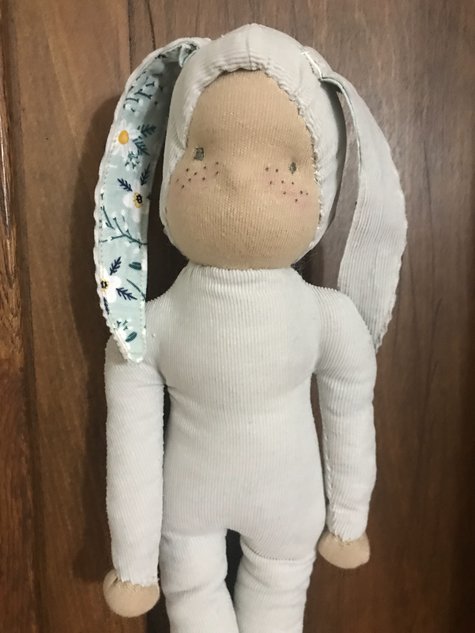
I hope you enjoyed making this Waldorf rabbit doll!
If you like making Waldorf dolls, please check out my other free Waldorf patterns by clicking HERE.
Thank you so much for reading, and have a lovely day!